Introduction
Welcome to our guide on how to connect your Firestick to WiFi. The Amazon Firestick is a popular streaming device that allows you to access a wide range of entertainment options right on your TV. However, in order to enjoy all the features and content it offers, you need to connect it to your home WiFi network.
Connecting your Firestick to WiFi is a straightforward process, and we will walk you through each step to ensure a hassle-free setup. By following the instructions provided in this guide, you will be able to connect your Firestick to WiFi in no time.
Before we get started, make sure you have the following items ready: your Firestick device, a compatible TV with an available HDMI port, and your WiFi network details, including the network name and password.
In the next sections, we will cover each step of the process in detail. We will guide you through preparing the Firestick and the TV, connecting the Firestick to the TV, accessing the Firestick settings, locating and connecting to your WiFi network, and finally testing the WiFi connection.
It’s important to note that the exact steps may vary slightly depending on the model and version of your Firestick. However, the basic process remains the same. So, let’s get started with the first step: preparing the Firestick and the TV.
Step 1: Prepare the Firestick and the TV
Before you can connect your Firestick to WiFi, you need to ensure that both the Firestick device and your TV are prepared for the setup process. Here are the steps:
- First, check that your TV is turned on and set to the correct HDMI input that corresponds to the port where your Firestick will be connected. Most TVs have multiple HDMI ports, so make sure you choose the one you intend to use.
- Next, insert the Firestick into one of the HDMI ports on your TV. If your Firestick comes with an HDMI extender cable, you can use it to make the connection process easier. Simply plug one end of the HDMI cable into the Firestick and the other end into the HDMI port on your TV.
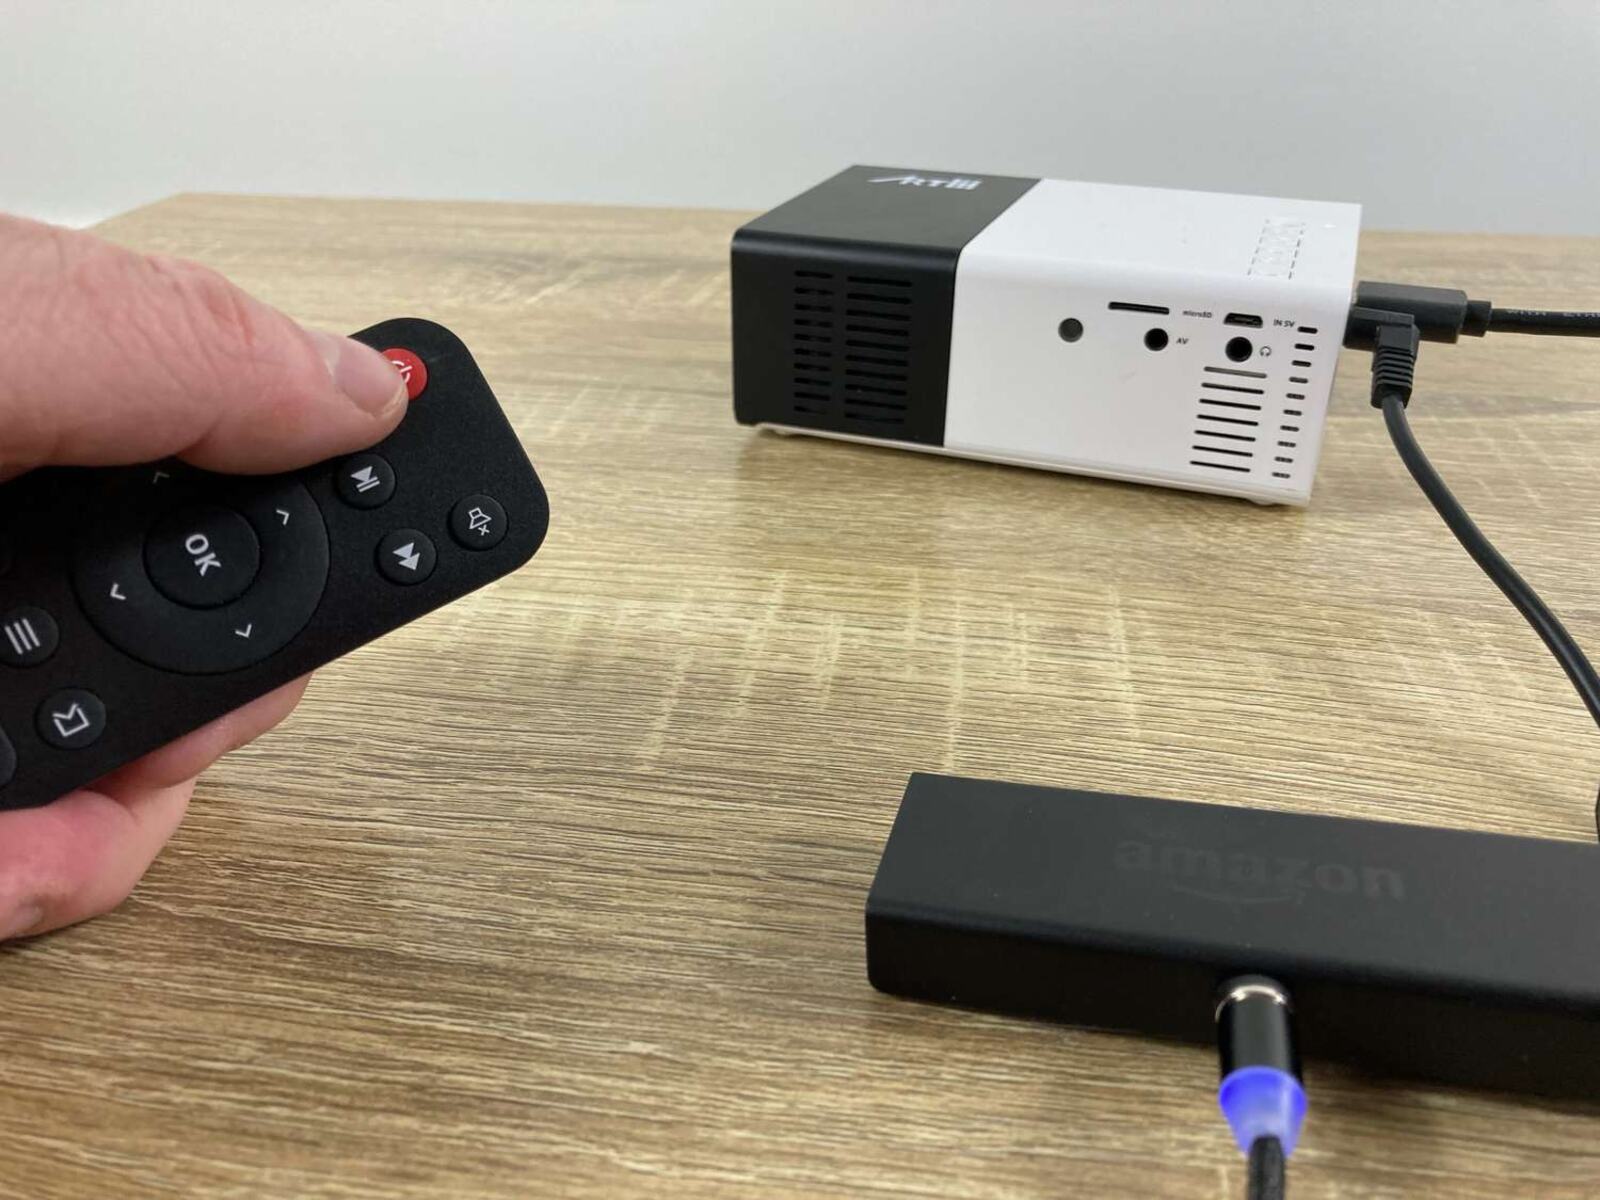
- Now, ensure that the Firestick is powered. Connect the included power adapter to the micro-USB port on the Firestick, and then plug the other end into a power outlet. You should see the Firestick device light up, indicating that it is receiving power.
- If your Firestick remote requires batteries, make sure to insert them into the remote before proceeding. The Firestick remote typically comes with two AAA batteries.
- Finally, using the TV remote, switch the input source to the HDMI port where the Firestick is connected. This step may vary depending on your TV model, so refer to the TV’s user manual if you encounter any difficulties.
Once you have prepared the Firestick and the TV, you are ready to move on to the next step: connecting the Firestick to the TV. This step will allow you to establish a physical connection between the two devices, paving the way for the WiFi setup process.
Step 2: Connect the Firestick to the TV
Now that you have prepared the Firestick and the TV, it’s time to establish a physical connection between them. Follow these steps to connect the Firestick:
- Ensure that both the Firestick and the TV are powered on.
- Using the Firestick remote, navigate to the HDMI input channel on your TV where you connected the Firestick.
- Once you have selected the correct HDMI input, you should see the Firestick startup screen on your TV. This indicates that the Firestick is successfully connected to the TV.
- If you don’t see anything displayed on your TV screen, make sure you have properly connected the Firestick to the TV and that the TV is set to the correct HDMI input. You can also try unplugging and reconnecting the Firestick to ensure a secure connection.
After successfully connecting the Firestick to the TV, you are now ready to proceed with setting up the WiFi connection. In the next steps, we will guide you through accessing the Firestick settings, locating and connecting to your WiFi network, and testing the WiFi connection. Stay tuned!
Step 3: Power on the Firestick
Now that you have connected your Firestick to the TV, it’s time to power it on. Follow these steps to turn on the Firestick:
- Make sure the Firestick is properly connected to the TV and that the TV is set to the correct HDMI input.
- Locate the power adapter that came with your Firestick.
- Connect one end of the power adapter cable to the micro-USB port on the Firestick.
- Plug the other end of the power adapter cable into a power outlet.
- The Firestick will automatically turn on and you should see the Amazon logo on your TV screen.
If you do not see any display on your TV screen, double-check the power connections and ensure that the TV is set to the correct HDMI input. You may also want to try using a different HDMI cable or port to rule out any hardware issues.
Once the Firestick is powered on, it may take a moment to initialize and load the operating system. You will then be greeted with the Firestick home screen, ready to set up the WiFi connection.
In the next step, we will guide you through accessing the Firestick settings to begin the WiFi setup process. Keep reading to learn how to connect your Firestick to WiFi.
Step 4: Access the Firestick Settings
After powering on the Firestick, the next step is to access the Firestick settings. Follow these instructions to navigate to the settings menu:
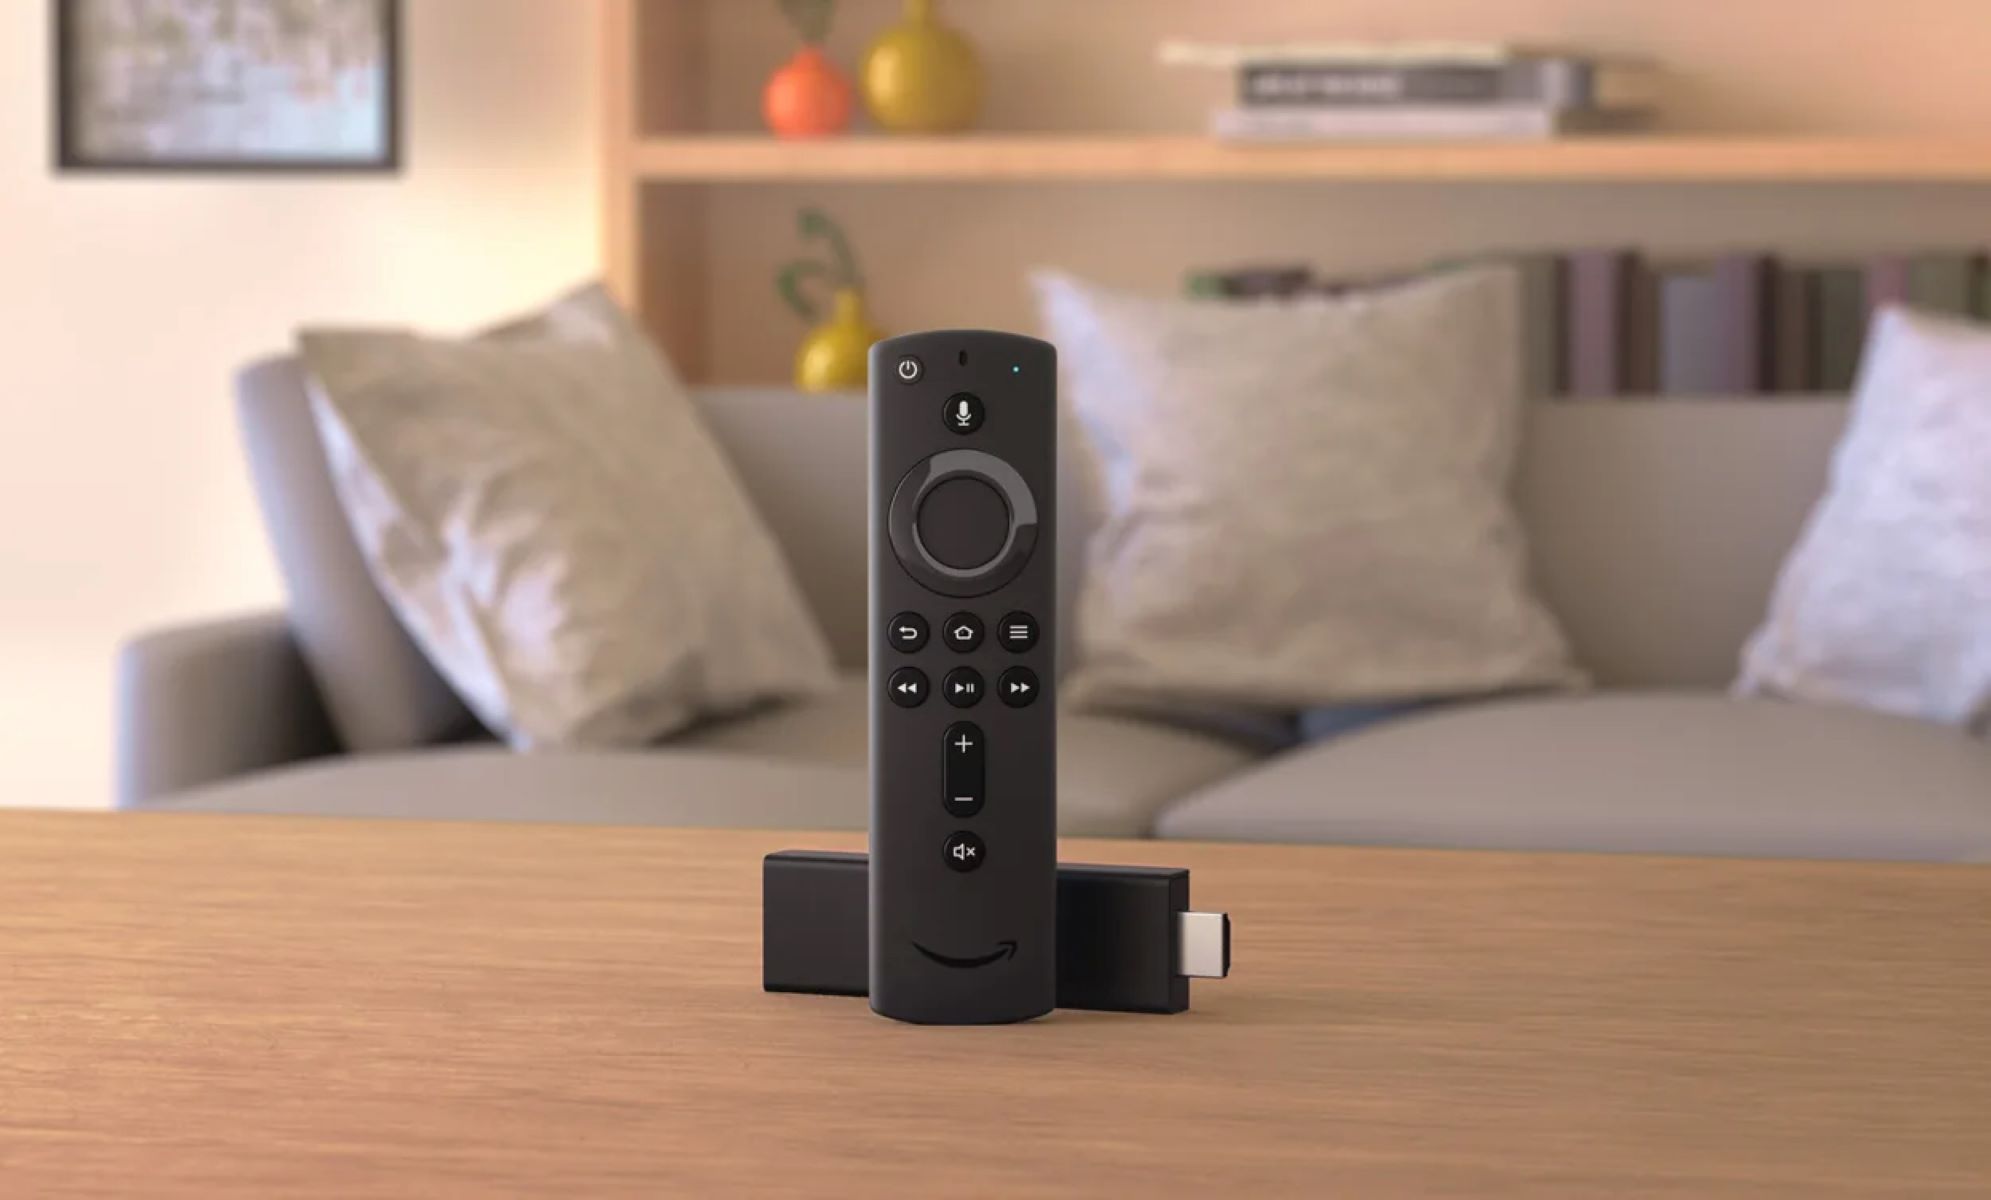
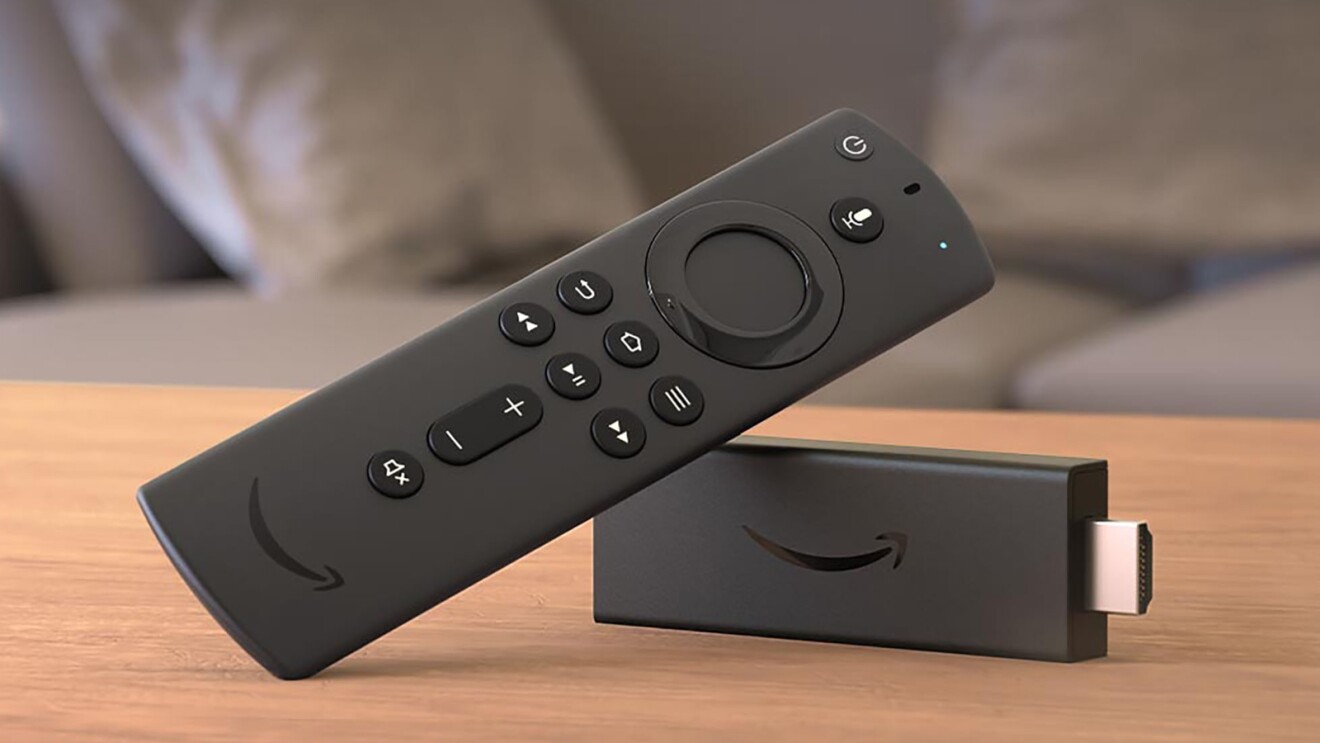
- Using the Firestick remote, press the home button (the one with the house icon) located at the top left corner.
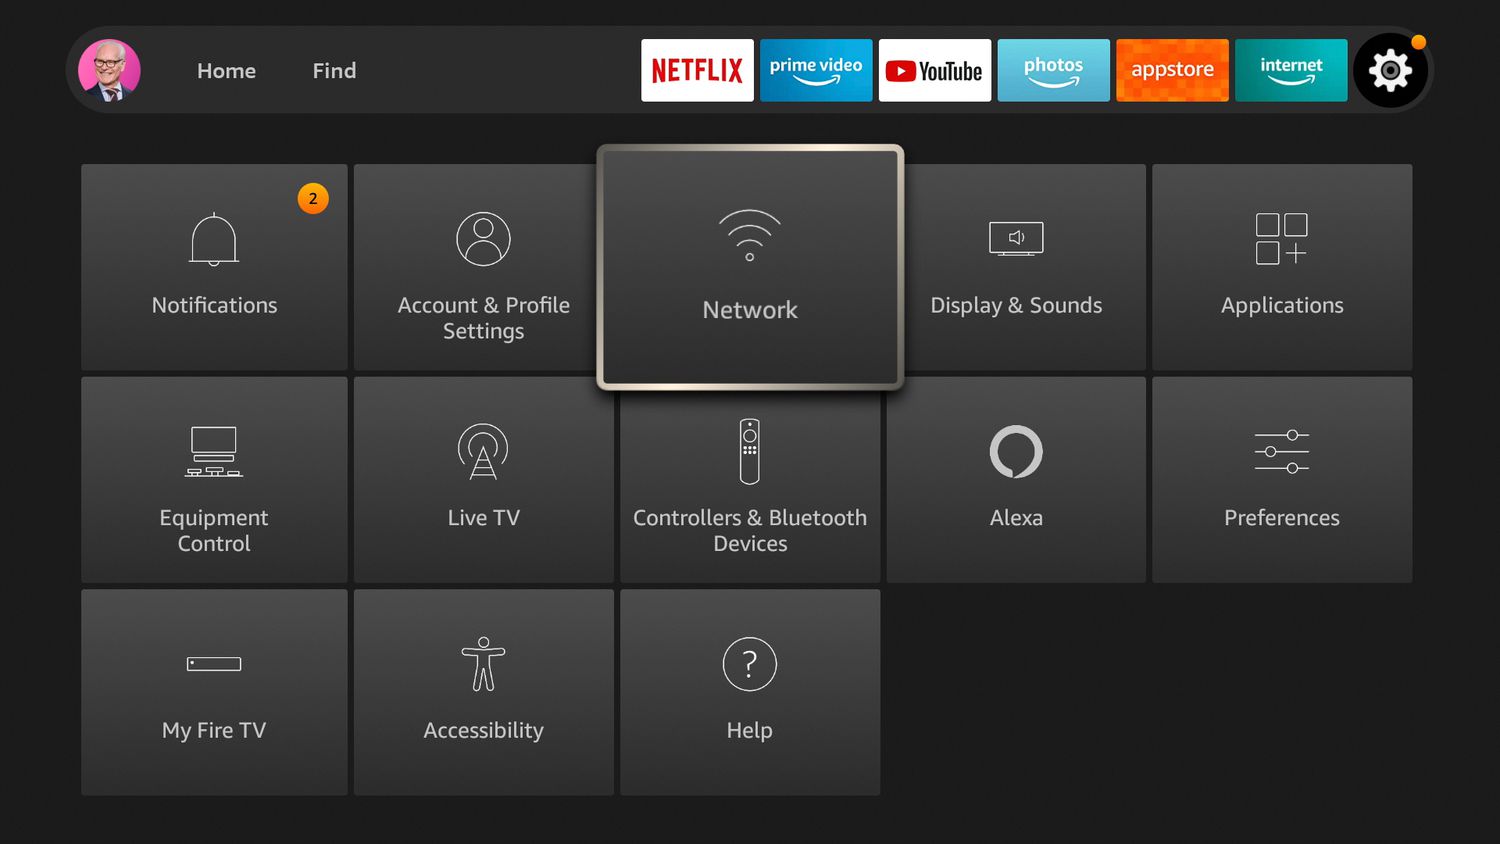
- From the Firestick home screen, use the remote to navigate to the top menu and select “Settings”.
- In the settings menu, you will find various options and categories to customize your Firestick. Use the remote to navigate through the options.
- Scroll down and select the “Network” option. This will lead you to the network settings for your Firestick.
Once you have accessed the network settings, you will be able to view and manage your WiFi connections. The next step is to locate your WiFi network and establish a connection with it. Continue reading to learn how to connect your Firestick to your WiFi network.
Step 5: Locate the Wi-Fi network
Now that you have accessed the network settings on your Firestick, it’s time to locate your WiFi network. Follow these steps to find and select your WiFi network:
- From the network settings menu, you will see a list of available WiFi networks. The list may take a few moments to populate.
- Using the Firestick remote, scroll through the list to find your WiFi network. The network names will be displayed, and you can use the directional buttons on the remote to navigate through the list.
- If you have a dual-band router, you may see both 2.4GHz and 5GHz network options. Choose the network that you want to connect to, depending on your preference and network capabilities.
- If you do not see your WiFi network listed, select the “Rescan” option to refresh the list. It’s also a good idea to make sure that your WiFi router is within range and functioning properly.
Once you have located your WiFi network in the list, you are ready to proceed to the next step, which involves connecting to your WiFi network. Keep reading to learn how to establish a connection.
Step 6: Connect to the Wi-Fi network
After locating your WiFi network on the Firestick, it’s time to establish a connection. Follow these steps to connect to your WiFi network:
- Using the Firestick remote, highlight your WiFi network in the list of available networks.
- Press the select button (the middle button with the checkmark icon) on the remote to choose your WiFi network.
- If your WiFi network is password protected, a prompt will appear asking for the network password.
- Using the remote, enter your WiFi network password. Make sure to input the password correctly, paying attention to uppercase and lowercase letters if applicable.
- Once you have entered the password, select “Connect” or press the play button (the triangle icon) on the remote.
The Firestick will now attempt to establish a connection to your WiFi network. It may take a few moments for the connection to be established. You will see a status indicator on the screen, showing the progress of the connection attempt. If successful, the Firestick will display a message indicating that it is connected to the WiFi network.
If the connection fails, double-check your WiFi network password and try again. Ensure that you are within range of your WiFi router and that there are no interferences that could disrupt the connection.
Once you have successfully connected your Firestick to the WiFi network, you are almost done with the setup process. The next step involves testing the WiFi connection to ensure it is working properly. Keep reading to learn how to test the WiFi connection.
Step 7: Enter the Wi-Fi network password
If your WiFi network is password protected, you will need to enter the network password to establish a connection between your Firestick and the network. Follow these steps to enter your WiFi network password:
- After selecting your WiFi network from the list, a prompt will appear asking for the network password.
- Using the Firestick remote, use the on-screen keyboard to enter your WiFi network password.
- To navigate through the on-screen keyboard, use the directional buttons on the remote to move the cursor and select letters, numbers, or special characters.
- If your password contains uppercase letters, use the shift button (up arrow) on the remote to switch between uppercase and lowercase mode.
- Take your time to ensure that you enter the correct password. Pay attention to any uppercase or lowercase letters, as the WiFi network password is case-sensitive.
- Once you have entered the password, select “Connect” or press the play button (the triangle icon) on the remote to proceed.
The Firestick will now attempt to establish a connection to your WiFi network using the entered password. If the password is correct and the connection is successfully established, you will see a message indicating that your Firestick is connected to the WiFi network.
If you have entered an incorrect password, the Firestick will display an error message. Double-check the WiFi network password and try again, ensuring that you input the correct characters in the exact order.
Now that you have successfully entered the WiFi network password, you are one step closer to enjoying all the content and features available on your Firestick. The next step involves testing the WiFi connection to ensure it is stable. Keep reading to learn how to test the WiFi connection.
Step 8: Test the Wi-Fi connection
Now that you have connected your Firestick to the Wi-Fi network, it’s essential to test the connection to ensure its stability and functionality. Follow these steps to test your Wi-Fi connection:
- From the network settings menu, navigate back to the main settings menu by selecting the back button on the Firestick remote.
- Scroll down and select “My Fire TV” or “Device” depending on your Firestick model.
- In the device settings menu, select “About” or “Network” to view detailed information about your Firestick’s network connection.
- Look for the “Network” or “WiFi” section. Here, you will find the status of your Wi-Fi connection, including the network name, IP address, signal strength, and connection speed.
- Verify that the network name displayed matches the Wi-Fi network you intended to connect to. If it does, it means your Firestick is successfully connected to the Wi-Fi network.
- To further test your Wi-Fi connection, you can open a streaming app, such as Netflix or Amazon Prime Video, and attempt to stream a video. If the video plays smoothly without buffering or interruptions, it indicates a stable Wi-Fi connection.
If you encounter any issues during the testing phase, such as a failed connection or poor signal strength, try the following troubleshooting steps:
- Restart your Firestick: Go to the Firestick settings, select “Device” or “My Fire TV”, and choose “Restart”.
- Restart your router: Unplug your router from the power source, wait for a few seconds, and plug it back in. Allow the router to fully restart before checking the Wi-Fi connection again.
- Move closer to the router: If you are experiencing a weak signal, try moving your Firestick closer to the Wi-Fi router to improve the connection.
- Check for interferences: Make sure there are no devices or obstacles that may be causing interference with your Wi-Fi signal, such as microwave ovens or thick walls.
- Contact your internet service provider (ISP): If the issue persists, reach out to your ISP for further assistance.
By following these steps and troubleshooting any issues you may encounter, you should be able to establish and test a stable Wi-Fi connection for your Firestick. Now, enjoy the wide range of content and entertainment options available at your fingertips!
Conclusion
Congratulations! You have successfully connected your Firestick to WiFi. By following the steps outlined in this guide, you prepared the Firestick and the TV, connected the Firestick to the TV, powered on the Firestick, accessed the Firestick settings, located and connected to your WiFi network, entered the WiFi network password, and tested the WiFi connection.
Now that your Firestick is connected to WiFi, you can enjoy a plethora of entertainment options available on various streaming platforms. Whether you want to stream movies, TV shows, music, or play games, your Firestick offers endless possibilities.
Remember, if you encounter any issues during the setup process or experience connectivity problems down the line, refer back to this guide for troubleshooting steps. And don’t hesitate to reach out to the Firestick support team or your internet service provider (ISP) for further assistance.
Now sit back, relax, and enjoy the seamless streaming experience that your Firestick provides. Happy streaming!


