Introduction
Connecting a CPU (Central Processing Unit) to a monitor is essential for using a computer system. Whether you’re setting up a brand new desktop computer or simply need to connect a monitor to an existing CPU, this step-by-step guide will walk you through the process. By following these instructions, you’ll be able to enjoy a clear display and start using your computer in no time.
Before we dive into the steps, it’s important to note that there are several types of video cables and ports available on both the CPU and the monitor. The exact connection method may vary depending on the specific equipment you have. However, the overall process remains relatively similar across different setups.
In this guide, we’ll cover the basics of connecting a CPU to a monitor using a standard video cable, such as HDMI, VGA, or DisplayPort. These cables transmit video signals from the CPU to the monitor, allowing you to see the graphical output of your computer. Without a proper connection, you won’t be able to view anything on your monitor.
Whether you’re a beginner or a seasoned computer user, this guide will help you successfully connect your CPU to a monitor. So let’s get started with the first step: gathering the necessary cables and equipment.
Step 1: Gather the necessary cables and equipment
Before you can connect your CPU to a monitor, you’ll need to gather the required cables and equipment. The exact cables you’ll need depend on the ports and connectors available on both your CPU and monitor. Here’s a list of commonly used cables:
- HDMI Cable: This is the most commonly used cable for connecting modern computers to monitors. It supports high-definition video and audio.
- VGA Cable: VGA (Video Graphics Array) cables are an older type of connection, primarily used in older computers and monitors. While still in use, VGA does not support high-definition video or audio.
- DisplayPort Cable: DisplayPort cables are becoming more popular due to their ability to support high-resolution video and audio.
- DVI Cable: DVI (Digital Visual Interface) cables are commonly used for older monitors and some desktop computers. They can transmit digital or analog signals, depending on the type of DVI connector.
In addition to the cables, you’ll also need to make sure you have the necessary adaptors if your CPU or monitor does not have matching ports. For example, if your monitor only has a VGA port but your CPU has an HDMI output, you’ll need an HDMI-to-VGA adaptor.
Before purchasing any cables or adaptors, it’s important to check the ports available on both your CPU and monitor to ensure compatibility. Once you have the right cables and adaptors, you’re ready to move on to the next step: positioning the monitor and CPU.
Step 2: Position the monitor and CPU
After gathering the necessary cables and equipment, the next step is to properly position your monitor and CPU. Consider the following guidelines:
- Find a stable surface: Place your monitor and CPU on a stable and sturdy surface, such as a desk or table. Make sure there is enough space for both devices and that they are not cramped or obstructed.
- Ergonomic placement: Position your monitor at eye level to ensure a comfortable viewing experience and prevent strain on your neck and eyes. Adjust the height and tilt of the monitor accordingly. Also, make sure the CPU is easily accessible for maintenance and cable management.
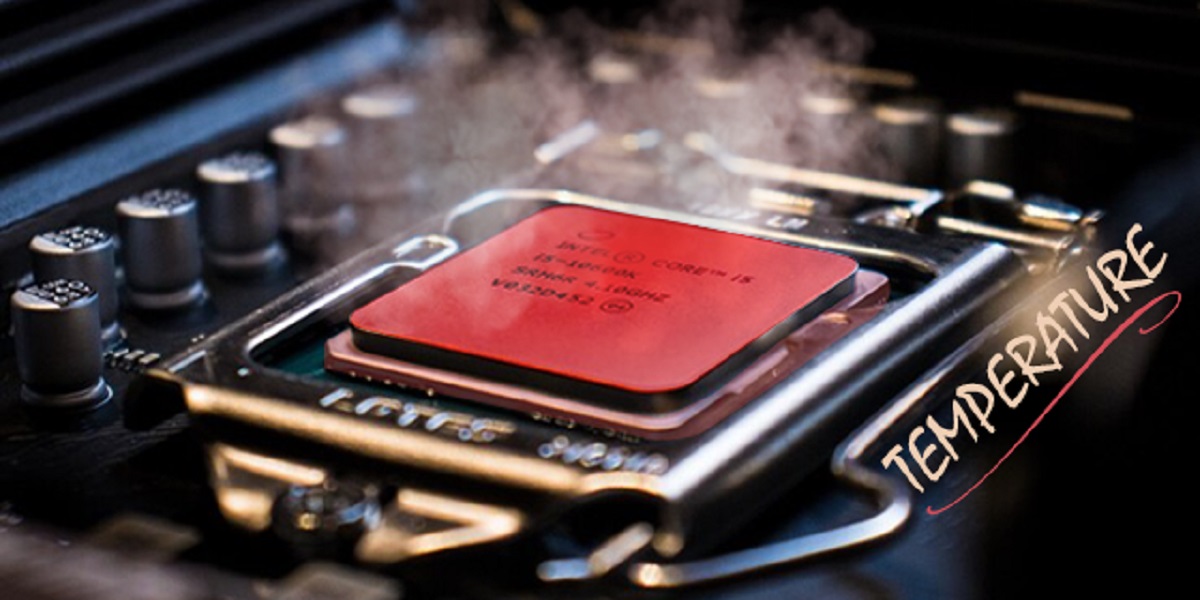
- Avoid direct sunlight: Place the monitor and CPU away from direct sunlight or bright light sources to avoid glare or overheating.
- Consider cable management: Organize the cables from your monitor and CPU to avoid tangling or tripping hazards. You can use cable clips, ties, or cable management solutions to keep the cables neat and out of the way.
- Proper ventilation: Ensure there is sufficient airflow around the CPU to prevent overheating. Keep the CPU away from obstructed vents and avoid placing objects on top of it.
By following these positioning guidelines, you create an ergonomic and functional setup for your monitor and CPU. With the hardware in place, you’re ready to move on to the next step: identifying the video output ports on the CPU.
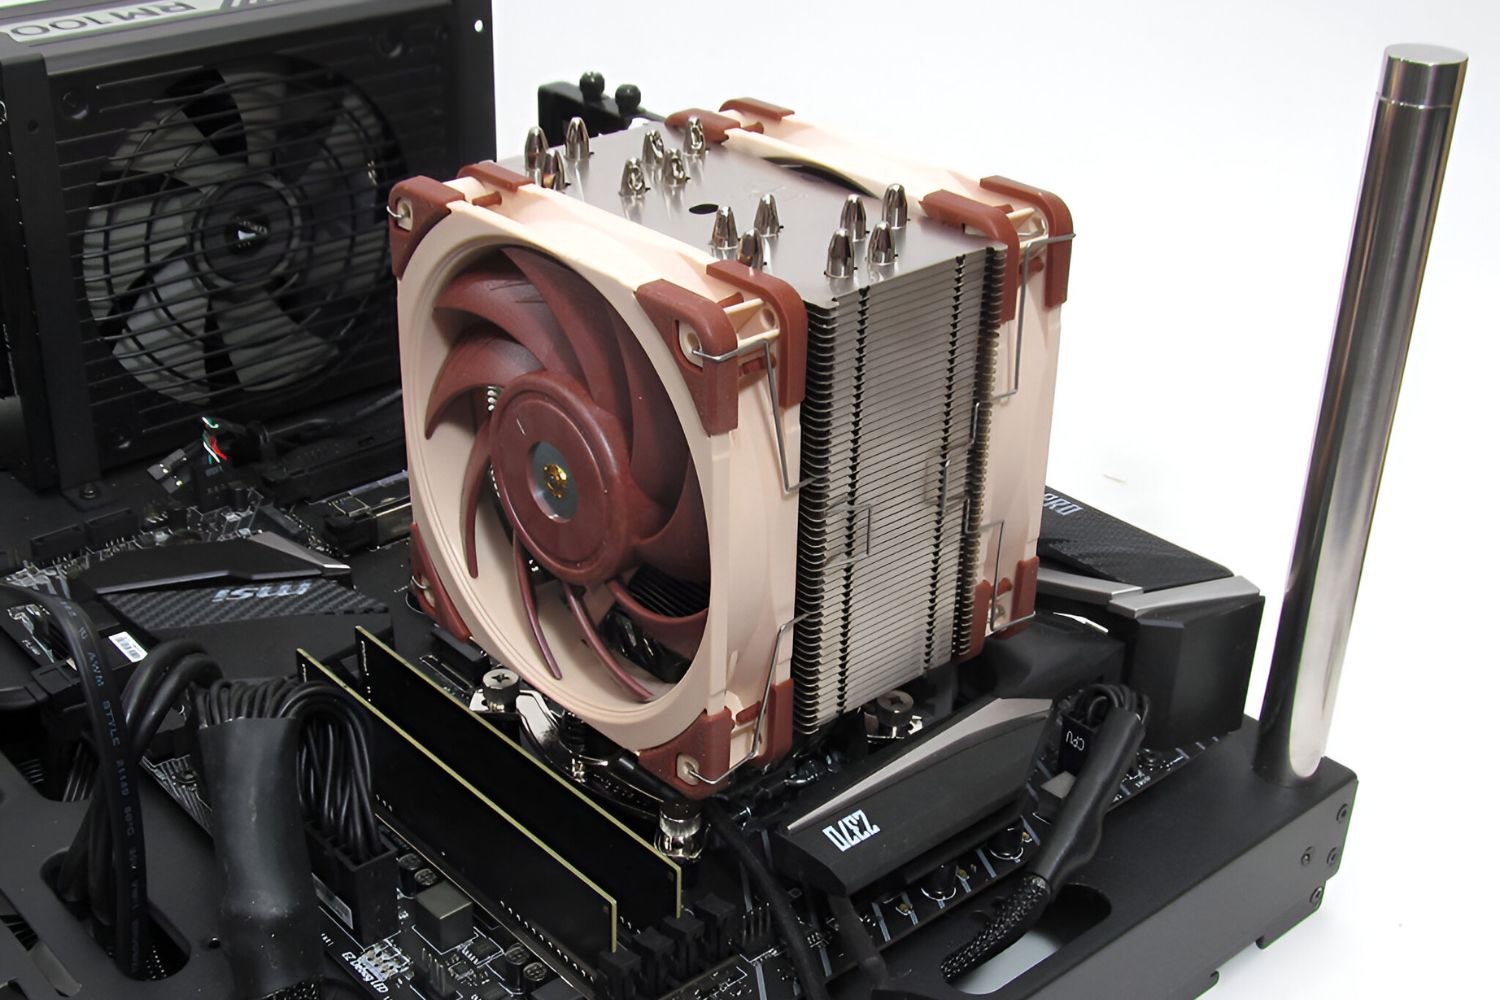
Step 3: Identify the video output ports on the CPU
Before you can connect the CPU to the monitor, you need to identify the video output ports on the CPU. These ports are responsible for transmitting the video signal from the CPU to the monitor. Here are the most common video output ports you might find on a CPU:
- HDMI port: HDMI (High-Definition Multimedia Interface) ports are rectangular and typically labeled “HDMI.” They support both high-definition video and audio signals.
- VGA port: VGA (Video Graphics Array) ports are trapezoidal and usually colored blue. They are commonly found on older CPUs and support analog video signals.
- DisplayPort: DisplayPort ports are rectangular with one corner cut diagonally. They are increasingly popular and support high-definition video and audio.
- DVI port: DVI (Digital Visual Interface) ports can come in different shapes and have several pin configurations. They support both digital and analog video signals.
Take a look at the back panel of your CPU and locate these ports. Depending on your CPU model, you may have one or more of these ports available. It’s important to note which ports your CPU supports, as this will determine the type of video cable you need to connect to the monitor.
Once you have identified the video output ports on your CPU, you’re ready to move on to the next step: attaching the video cable to the CPU.
Step 4: Attach the video cable to the CPU
With the video output ports on the CPU identified, it’s time to connect the video cable. The type of cable you’ll use depends on the ports available on your CPU and the corresponding port on your monitor. Here’s how to attach the video cable to the CPU:
- Match the cable with the ports: Select the appropriate video cable based on the ports available on your CPU. For example, if your CPU has an HDMI port, use an HDMI cable. If it has a VGA port, use a VGA cable, and so on.
- Align the cable and the port: Take one end of the video cable and align it with the corresponding port on the CPU. Ensure the cable and the port are properly oriented before inserting the connector.
- Insert the connector into the port: Gently push the connector into the port until it is firmly seated. Make sure it is securely connected to avoid any loose or unstable connections.
- Tighten any screws or locks: Depending on the cable and port type, you may need to tighten screws or locks to secure the connection. Follow the instructions if any locking mechanism is present.
Once the video cable is properly attached to the CPU, you can move on to the next step: connecting the other end of the video cable to the monitor.
Step 5: Connect the other end of the video cable to the monitor
Now that you have connected one end of the video cable to the CPU, it’s time to connect the other end to your monitor. The process may vary slightly depending on the type of cable and monitor you have. Here’s how you can connect the video cable to the monitor:
- Identify the video input port on your monitor: Look for the video input ports on your monitor. Common video input ports include HDMI, VGA, DisplayPort, and DVI.
- Match the cable with the monitor’s port: Choose the appropriate end of the video cable based on the available ports on your monitor. Make sure the cable and the port are compatible.
- Align the cable and the port: Align the connector on the other end of the video cable with the matching video input port on the monitor. Ensure the cable and the port are properly aligned before inserting the connector.
- Insert the connector into the port: Gently insert the connector into the video input port on the monitor. Apply light pressure until the connector is securely connected and does not wiggle or come loose.
- Secure any screws or locks: If your video cable has screws or locking mechanisms, tighten them to secure the connection. This helps ensure a stable and reliable connection between the monitor and the cable.
Once you have successfully connected the other end of the video cable to the monitor, you are almost ready to start using your computer. In the next step, we will power on the CPU and monitor to complete the setup process.
Step 6: Power on the CPU and monitor
With the video cable connections in place, it’s time to power on both the CPU and the monitor. Here’s how to do it:
- Locate the power button on the CPU: Look for the power button or switch on your CPU. It is usually located on the front or top panel. Press the power button to turn on the CPU.
- Check the monitor’s power source: Ensure that your monitor is plugged into a power source. Connect the monitor’s power cord to an electrical outlet or power strip.
- Turn on the monitor: Locate the power button on your monitor and press it to turn the monitor on. The monitor will display a power indicator or a manufacturer logo once it is powered up.
- Check for any additional power switches: Some monitors may have an additional power switch or button on the side or bottom panel. If present, make sure the power switch on the monitor is turned on as well.
- Wait for the boot-up process: Give the CPU and monitor a few moments to start up. During this time, the CPU will go through its boot-up process, and the monitor will establish a connection with the CPU.
- Verify the display: Once the boot-up process is complete, you should see your computer’s display on the monitor. If not, double-check the cable connections and make sure they are all securely plugged in.
By following these steps, you have successfully powered on the CPU and the monitor. Now it’s time to move on to the next step: adjusting display settings if necessary.
Step 7: Adjust display settings if necessary
After connecting and powering on the CPU and monitor, you may need to adjust the display settings to ensure optimal visuals. Here’s how you can adjust the display settings:
- Access the display settings menu: Use the buttons or controls on your monitor to access the display settings menu. This menu allows you to make adjustments to various display properties.
- Resolution settings: In the display settings menu, you can adjust the screen resolution. Higher resolutions offer crisper visuals, while lower resolutions can increase the size of the content on the screen. Choose the resolution that suits your preference.
- Brightness and contrast: You can also adjust the brightness and contrast levels to improve the overall image quality. Increase or decrease these settings until you achieve the desired brightness and contrast for your viewing comfort.
- Color calibration: Some monitors offer color calibration options to fine-tune the color accuracy and vibrancy. Use these settings if you want to adjust the color balance, saturation, or hue to your liking.
- Other settings: Explore additional settings such as aspect ratio, refresh rate, and sharpness. Adjust these settings according to your personal preferences and the capabilities of your monitor.
- Save the settings: Once you have made your desired adjustments, save the settings in the display menu. The monitor will apply the new settings and display the adjusted visuals.
By adjusting the display settings, you can optimize the viewing experience and customize the visuals to your liking. Take some time to experiment with different settings and find the configuration that suits you best.
If you encounter any issues or have difficulty accessing the display settings menu, refer to the user manual or consult the manufacturer’s website for more specific instructions.
Step 8: Troubleshooting common issues
Even after following all the previous steps, you might encounter some common issues while connecting your CPU to the monitor. Here are a few troubleshooting tips to help resolve these issues:
- No display on the monitor: If your monitor is not displaying anything after connecting and powering on the CPU, double-check the cable connections. Ensure that the video cable is securely attached to both the CPU and the monitor. Try unplugging and re-plugging the cable.
- Blurred or distorted display: If you notice a blurred or distorted display, check the resolution settings on your monitor and CPU. Make sure they are set to the recommended or optimal resolution for your monitor. Adjust the settings accordingly until the display appears clear and sharp.
- No audio: If you connected your monitor using an HDMI cable and are not getting any audio, check the audio settings on your computer. Verify that the correct audio output is selected and that the volume is not muted. You may also need to update your audio drivers.
- Incompatible ports: If you find that the ports on your CPU and monitor are not compatible, you may need to use adaptors or invest in a different type of cable. For instance, if your CPU has a VGA port but your monitor only accepts HDMI, you’ll need a VGA-to-HDMI adaptor or a VGA-to-HDMI cable.
- Driver issues: In some cases, outdated or incompatible graphics drivers can cause display problems. Update your graphics drivers to the latest version available from the manufacturer’s website. This can often resolve issues related to screen flickering, display artifacts, or color inaccuracies.
- Power-related issues: If your monitor does not power on, double-check the power connections. Ensure that the power cord is securely plugged into both the monitor and the power outlet. If using a power strip, make sure it is turned on and functioning properly.
- Monitor not detected: If your CPU does not detect the monitor, you can try restarting both the CPU and the monitor. If the issue persists, check the cable connections and ensure they are firmly secured. Also, verify that the monitor is set to the correct video input source.
If you continue to experience issues despite troubleshooting, consider seeking assistance from technical support or referring to the user manual for your specific CPU and monitor models.
By following these troubleshooting steps, you should be able to overcome common issues and enjoy a seamless connection between your CPU and monitor.
Conclusion
Connecting a CPU to a monitor is a crucial step in setting up and using a computer system. By following the step-by-step guide we’ve provided, you can successfully connect your CPU to a monitor and enjoy a clear and vibrant display.
We started by gathering the necessary cables and equipment, ensuring that you have the right video cable for your CPU and monitor. We then discussed the importance of positioning your monitor and CPU in a stable and ergonomic manner.
Next, we identified the video output ports on the CPU, allowing you to choose the appropriate cable for connection. We then went through the process of attaching the video cable to the CPU and connecting the other end to the monitor.
Afterwards, we powered on the CPU and monitor, ensuring that both devices were properly connected and receiving power. We also covered the importance of adjusting display settings to optimize the visuals on your monitor.
Lastly, we explored common issues that may arise during the setup process and provided troubleshooting tips to help you overcome them. By following these troubleshooting steps, you can address any connectivity or display problems that may occur.
Remember, the specific steps and methods may vary depending on your CPU and monitor models. Always refer to the user manual or manufacturer’s guidelines for more specific instructions.
With the CPU successfully connected to the monitor, you’re now ready to dive into the world of computing, whether it’s for work, entertainment, or personal use. Enjoy your newly connected setup and make the most of your computer experience!