Introduction
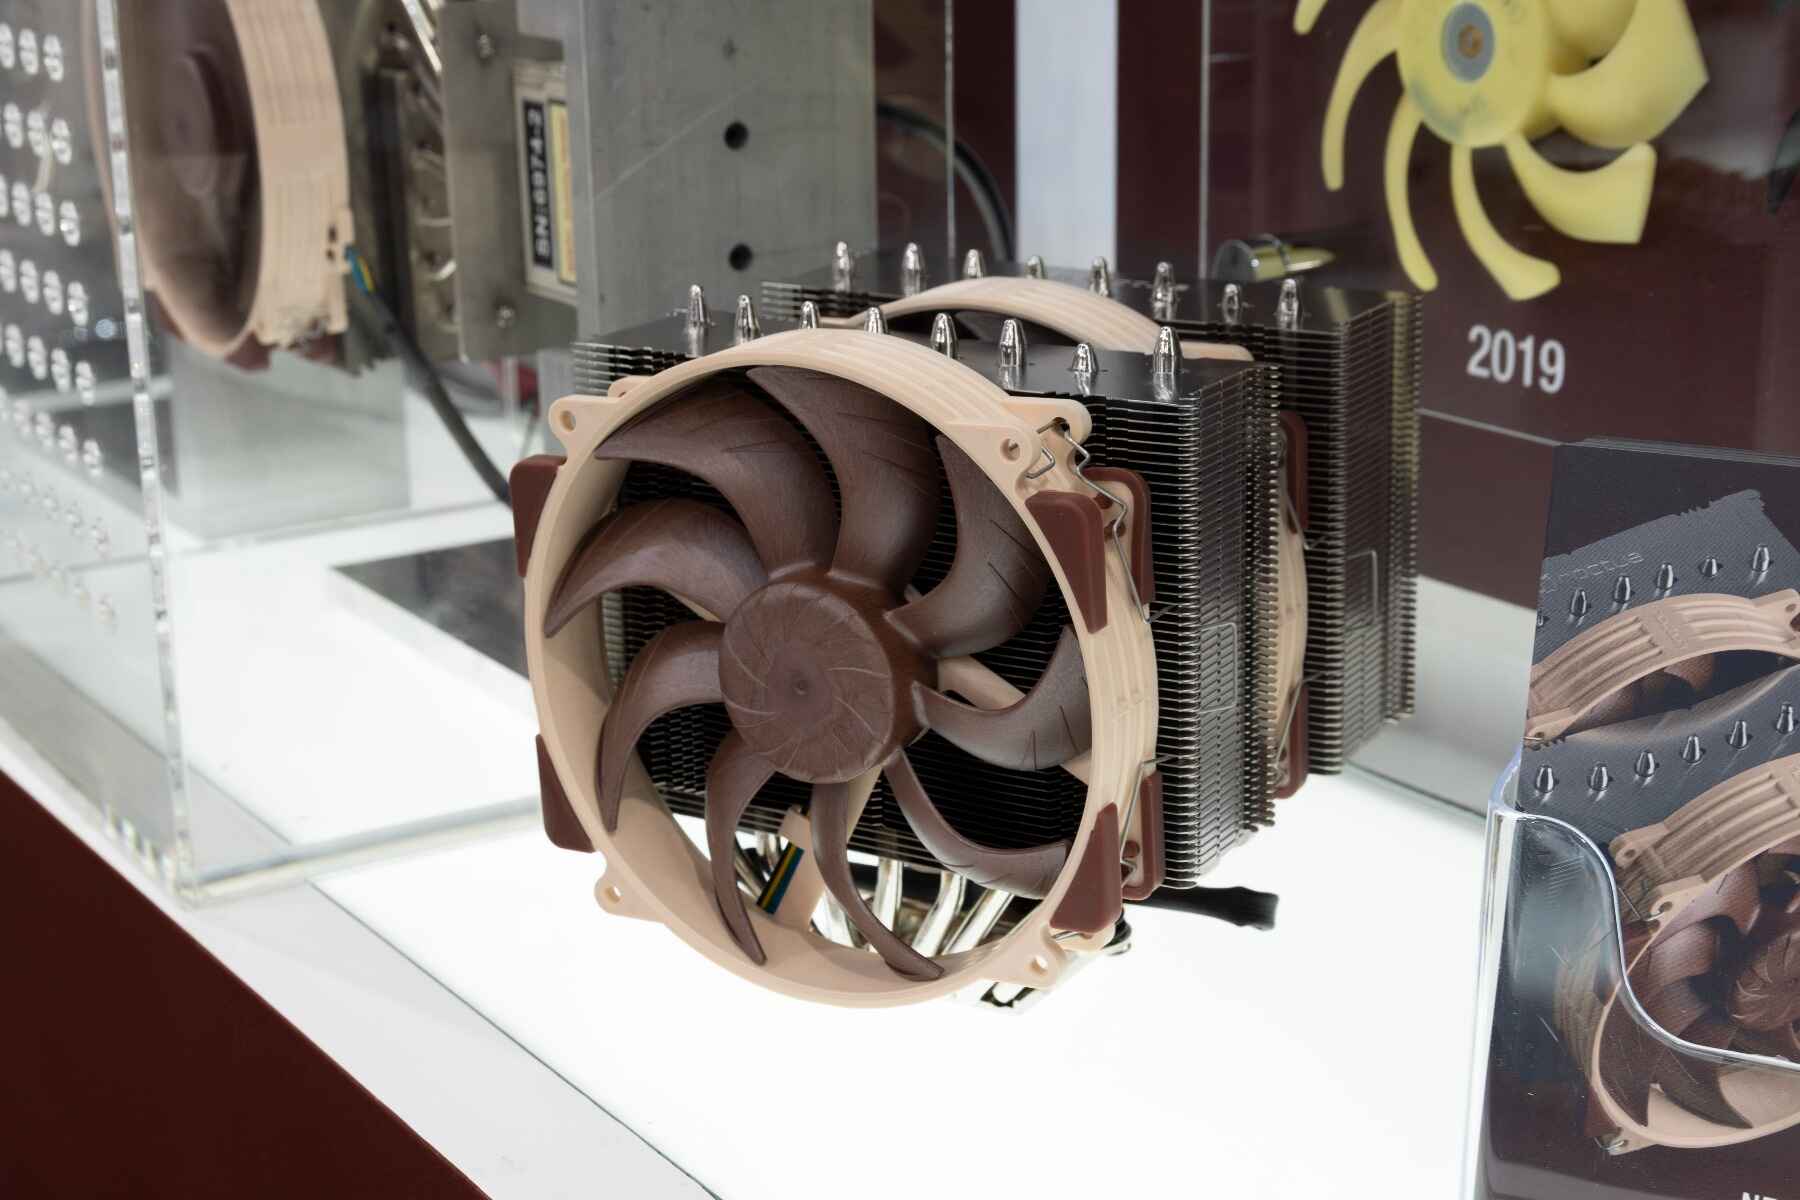
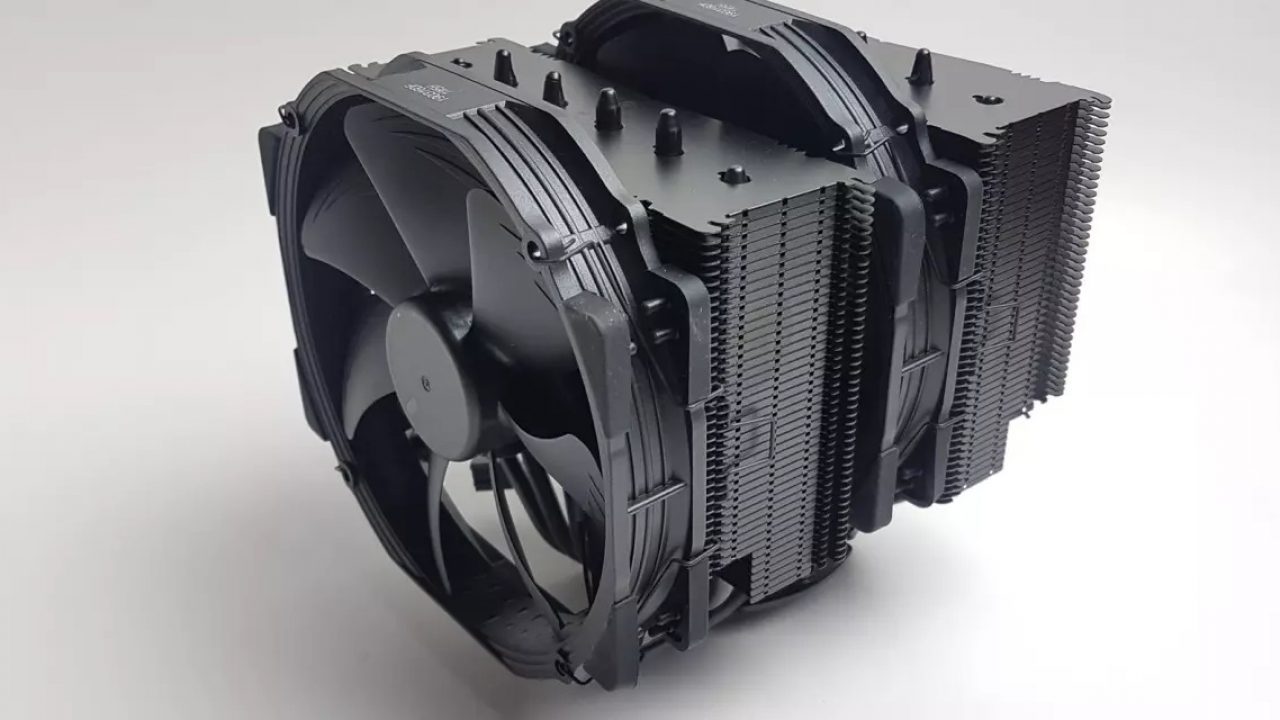
Welcome to our guide on how to install the Noctua CPU cooler! If you’re looking to upgrade your CPU cooling system for better performance and efficiency, you’ve come to the right place. Noctua is renowned for manufacturing high-quality cooling solutions that deliver exceptional results. This step-by-step installation guide will walk you through the process, ensuring a hassle-free experience.
Proper CPU cooling is essential for maintaining optimal performance and preventing overheating that can lead to system instability and potential damage. The Noctua CPU cooler is designed to effectively dissipate heat and keep your CPU operating at a safe temperature, even under heavy workloads and intense gaming sessions.
Before we dive into the installation process, it’s important to ensure you have all the necessary tools and materials. This will help streamline the process and ensure a successful installation. Don’t worry; you won’t need any specialized tools – just a few common items that you likely already have on hand. Let’s take a look at what you’ll need.
Required Tools and Materials
Before you begin installing your Noctua CPU cooler, make sure you have the following tools and materials:
- Screwdriver – Most Noctua coolers use standard Phillips head screws, so a medium-sized screwdriver should suffice.
- Isopropyl Alcohol – You’ll need this for cleaning the CPU surface and removing any residual thermal paste.
- Clean Cloth or Cotton Swabs – These will help you apply the isopropyl alcohol and clean the CPU and cooler surfaces.
- Thermal Paste – It’s essential to apply a thin layer of thermal paste between the CPU and the cooler base to improve heat transfer.
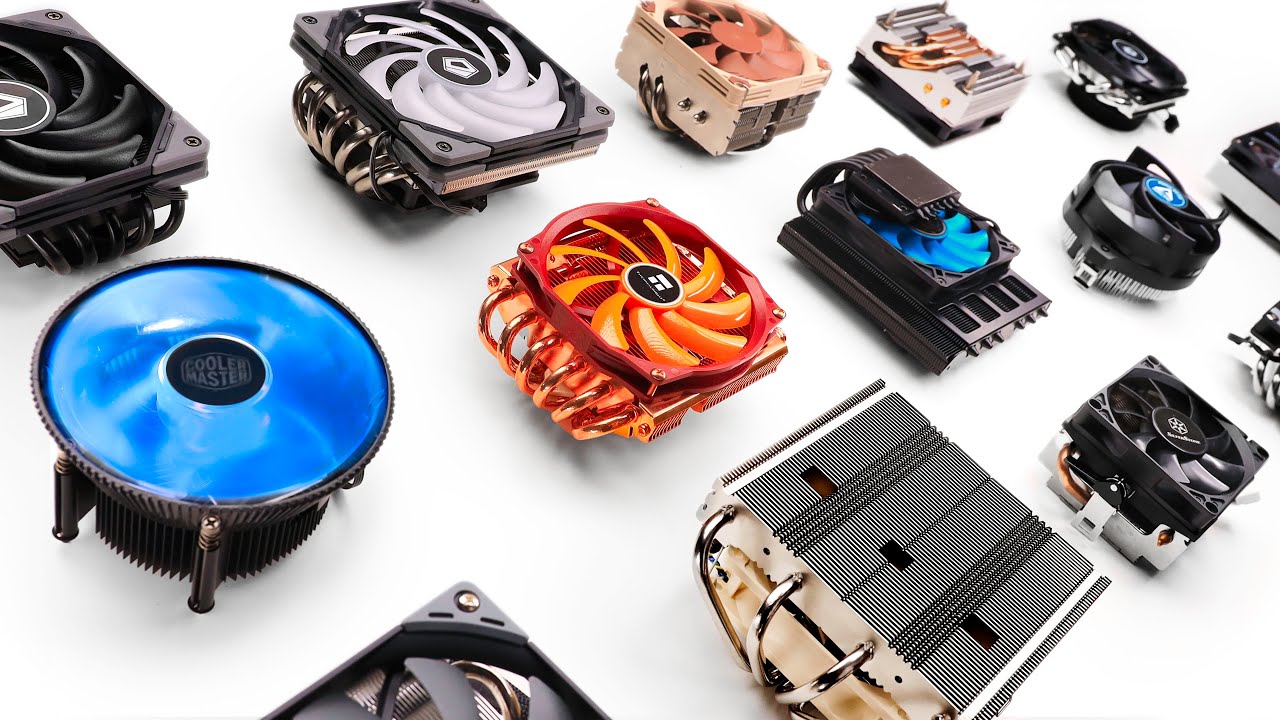
- Noctua CPU Cooler – Of course, you’ll need the Noctua cooler itself. Make sure you have the correct model that is compatible with your CPU socket.
- Additional Fans (Optional) – Some Noctua coolers allow for the installation of additional fans for increased cooling performance. If you want to add extra fans, make sure you have them ready.
Ensure that you have all the necessary tools and materials within reach before you start the installation process. This way, you won’t have to search for anything in the middle of the process, saving valuable time and ensuring a smooth installation.
Preparing for Installation
Before diving into the installation process, it’s crucial to take a few preparatory steps to ensure a seamless installation of your Noctua CPU cooler.
The first step is to shut down your computer and disconnect the power source. It’s essential to work on your computer in a safe and powered-off state to avoid any potential electrical hazards.
Next, carefully read the instruction manual that came with your Noctua CPU cooler. Each model may have specific installation steps and requirements that you should be aware of beforehand. Familiarize yourself with the manual to familiarize yourself with the process.
Now, gather all the necessary tools and materials mentioned in the previous section so that they’re readily available during the installation process. Having everything within reach will save you time and make the installation smoother.
Once you have everything ready, find a well-lit and spacious area to work on. Make sure you have enough space to maneuver the CPU cooler and access the motherboard without any obstructions.
Now it’s time to remove any existing CPU cooler that is currently installed. Check if the computer has a stock cooler or a different aftermarket cooler. Follow the manufacturer’s instructions or general guidelines for removing the existing cooler, which usually involve unscrewing or unlatching the cooler from the motherboard. Carefully disconnect any fan or power cables attached to the cooler as well.
After removing the cooler, it’s a good idea to clean the CPU and cooler surfaces from any existing thermal paste residue. Use a clean cloth or cotton swabs dampened with isopropyl alcohol to wipe away the old thermal paste. Ensure that both surfaces are clean and dry before proceeding.
With the preparation steps complete, you’re now ready to move on to the actual installation of your Noctua CPU cooler. Follow the next sections of this guide to ensure a successful and effective installation process.
Removing the Old CPU Cooler
Before installing your new Noctua CPU cooler, you’ll need to remove the old CPU cooler that’s currently installed on your motherboard. Here’s a step-by-step guide on how to remove the old CPU cooler:
- 1. Start by shutting down your computer and disconnecting the power source. This is crucial to ensure your safety and prevent any potential electrical damage.
- 2. Identify the CPU cooler that’s currently installed on your motherboard. It could be a stock cooler or an aftermarket cooler.
- 3. Locate the screws or clips that are securing the CPU cooler to the motherboard. These are usually found on the corners of the cooler.
- 4. Unscrew or unclip the CPU cooler carefully. Be gentle and take your time to avoid any damage to the motherboard or CPU.
- 5. Once you’ve released the CPU cooler, gently lift it off the motherboard. Be cautious as it may still be attached to the CPU socket.
- 6. Disconnect any fan or power cables that are connected to the CPU cooler. These cables are usually attached to the fan header on the motherboard.
- 7. With the CPU cooler removed, inspect the CPU and cooler surfaces to see if there’s any leftover thermal paste. If there is, use a clean cloth or cotton swabs dampened with isopropyl alcohol to wipe away the old thermal paste.
Make sure to remove all traces of the old thermal paste to ensure proper heat transfer with your new Noctua CPU cooler. Once you’ve completed these steps, you’re now ready to apply the thermal paste and install your Noctua CPU cooler. Keep reading to learn how.
Applying Thermal Paste
Thermal paste is a crucial element in ensuring optimal heat transfer between the CPU and the cooler. It fills the microscopic gaps between the CPU and the cooler, improving thermal conductivity. Here’s a step-by-step guide on how to apply thermal paste correctly:
- 1. Start by preparing the CPU surface. Ensure it is clean and free from any dirt, debris, or old thermal paste. Use a clean cloth or cotton swabs dampened with isopropyl alcohol to wipe away any residue.
- 2. Take a small amount of thermal paste, roughly the size of a pea. It’s important not to overapply as excess paste can impede heat transfer or cause spillage.
- 3. Place the paste on the center of the CPU surface. Avoid spreading it with your finger or any other tool. The pressure from the cooler installation will evenly spread the paste.
- 4. Once the paste is applied, carefully position the Noctua CPU cooler on top of the CPU. Align the mounting holes of the cooler with the corresponding holes on the motherboard.
- 5. Gently press the cooler down onto the CPU, ensuring even contact with the thermal paste. Apply firm but gentle pressure, avoiding any sudden movements or excessive force.
- 6. Slowly tighten the mounting screws or clips in a diagonal pattern. This helps ensure even pressure distribution and proper alignment of the CPU cooler.
- 7. Continue tightening the screws or clips until they are secure, but be careful not to overtighten, as this can damage the CPU or motherboard.
Remember, the goal is to achieve a thin and uniform layer of thermal paste between the CPU and the cooler. This will provide optimal heat transfer and ensure the most efficient cooling performance. Once the thermal paste is applied, you can proceed to install the Noctua CPU cooler onto the motherboard. Read on for the next section on the installation process.
Installing the Noctua CPU Cooler
Now that you have prepared the CPU and applied the thermal paste, it’s time to install the Noctua CPU cooler. Follow these steps for a successful installation:
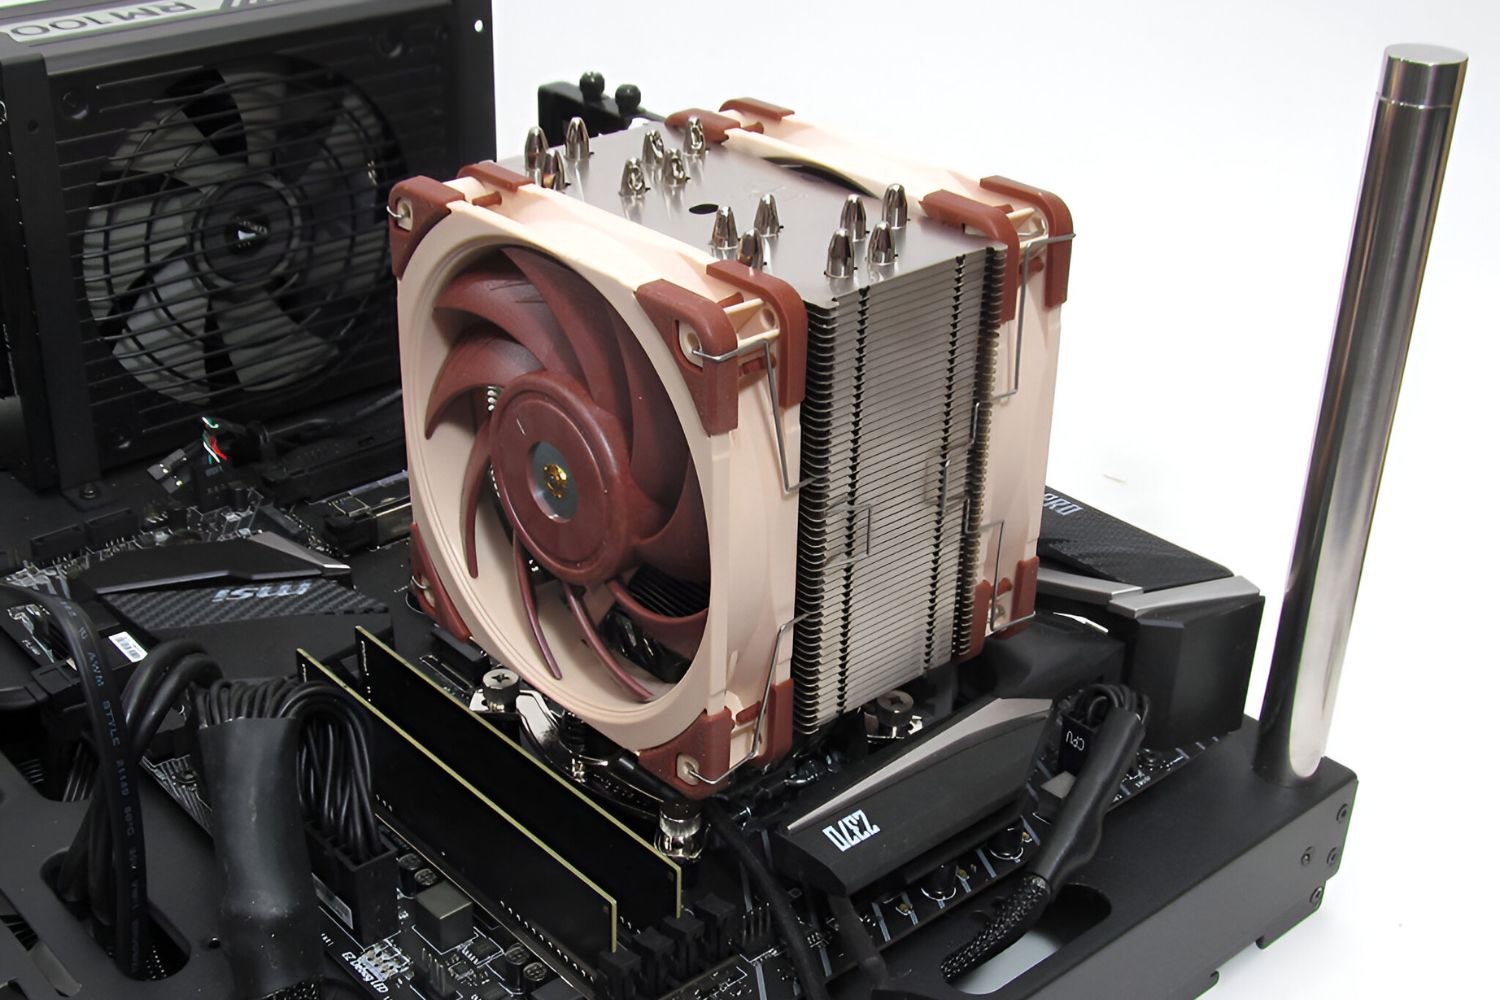
- 1. Align the mounting holes on the Noctua CPU cooler with the corresponding holes on the motherboard. Make sure the cooler is positioned correctly to ensure an optimal fit.
- 2. Gently lower the cooler onto the CPU, ensuring that the thermal paste makes contact with the CPU surface.
- 3. Once the cooler is in place, secure it using the provided mounting screws or clips. Tighten them in a diagonal pattern, ensuring even pressure distribution.
- 4. Be careful not to overtighten the screws or clips, as this can damage the CPU or motherboard. Follow the specifications recommended by Noctua for tightening the cooler.
It’s important to note that different Noctua CPU cooler models may have slightly different installation methods. Therefore, it’s crucial to refer to the instruction manual specific to your cooler model for detailed instructions and any additional steps that may be necessary.
Once the CPU cooler is securely installed, you can proceed to connect the fan(s) to ensure proper cooling performance. Read on for the next section on connecting the fan(s) to your Noctua CPU cooler.
Connecting the Fan(s)
After successfully installing the Noctua CPU cooler onto your motherboard, it’s time to connect the fan(s) for optimal cooling performance. Here’s a step-by-step guide on how to connect the fan(s) to your Noctua CPU cooler:
- 1. Identify the fan connector(s) on your Noctua CPU cooler. Depending on the model, there may be one or multiple fan connectors.
- 2. Gently locate the corresponding fan connector(s) on the motherboard. These are usually labeled as CPU_FAN or SYS_FAN.
- 3. Connect the fan cable(s) to the designated fan connector(s) on the motherboard. Ensure a secure and snug connection, making sure the pins align properly.
- 4. If you are installing multiple fans, you can either daisy-chain them or connect each fan to a separate fan connector on the motherboard.
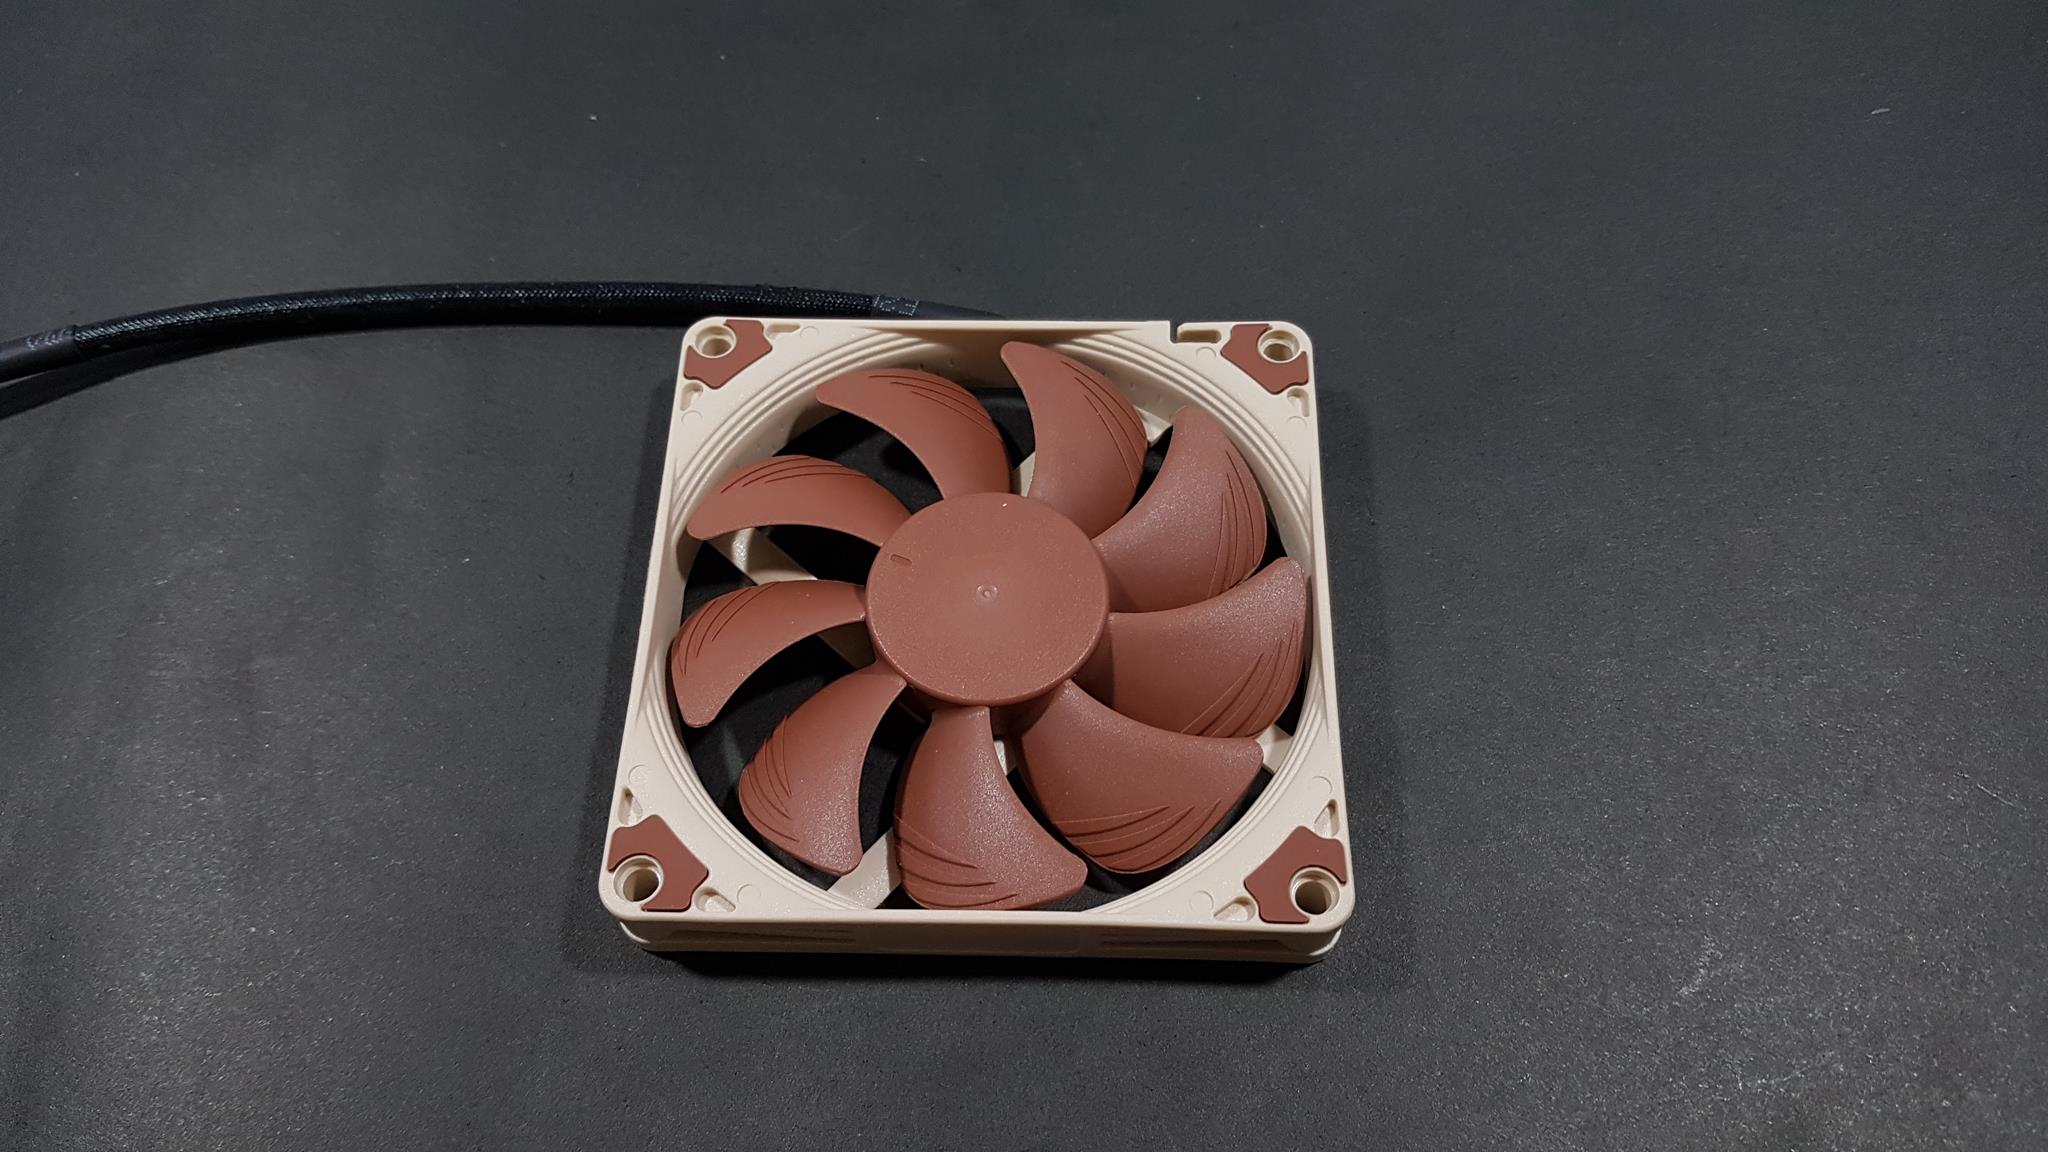
- 5. Check the fan orientation to ensure proper airflow. Most Noctua fans have arrow indicators that show the direction of airflow. Position the fans accordingly for optimal cooling efficiency.
- 6. Once all the fan(s) are connected, double-check that the connection is secure and that they spin freely. If needed, adjust the cable routing for a clean and organized installation.
Connecting the fan(s) ensures that your Noctua CPU cooler can effectively dissipate heat, keeping your CPU cool even under heavy loads. Be mindful of fan placement and airflow direction, as this can significantly impact cooling performance. Consult the instruction manual for your specific Noctua CPU cooler model for any additional fan installation instructions or recommendations.
With the fan(s) connected, your Noctua CPU cooler is now fully set up and ready to keep your CPU cool and running smoothly. The next section will cover the steps for securing the cooler onto the motherboard.
Securing the Cooler
Once you have installed and connected the fan(s) to your Noctua CPU cooler, it’s crucial to ensure that the cooler is securely fastened to your motherboard. Properly securing the cooler will prevent any movement or instability, ensuring continuous and efficient cooling performance. Here are the steps to securely fasten the cooler:
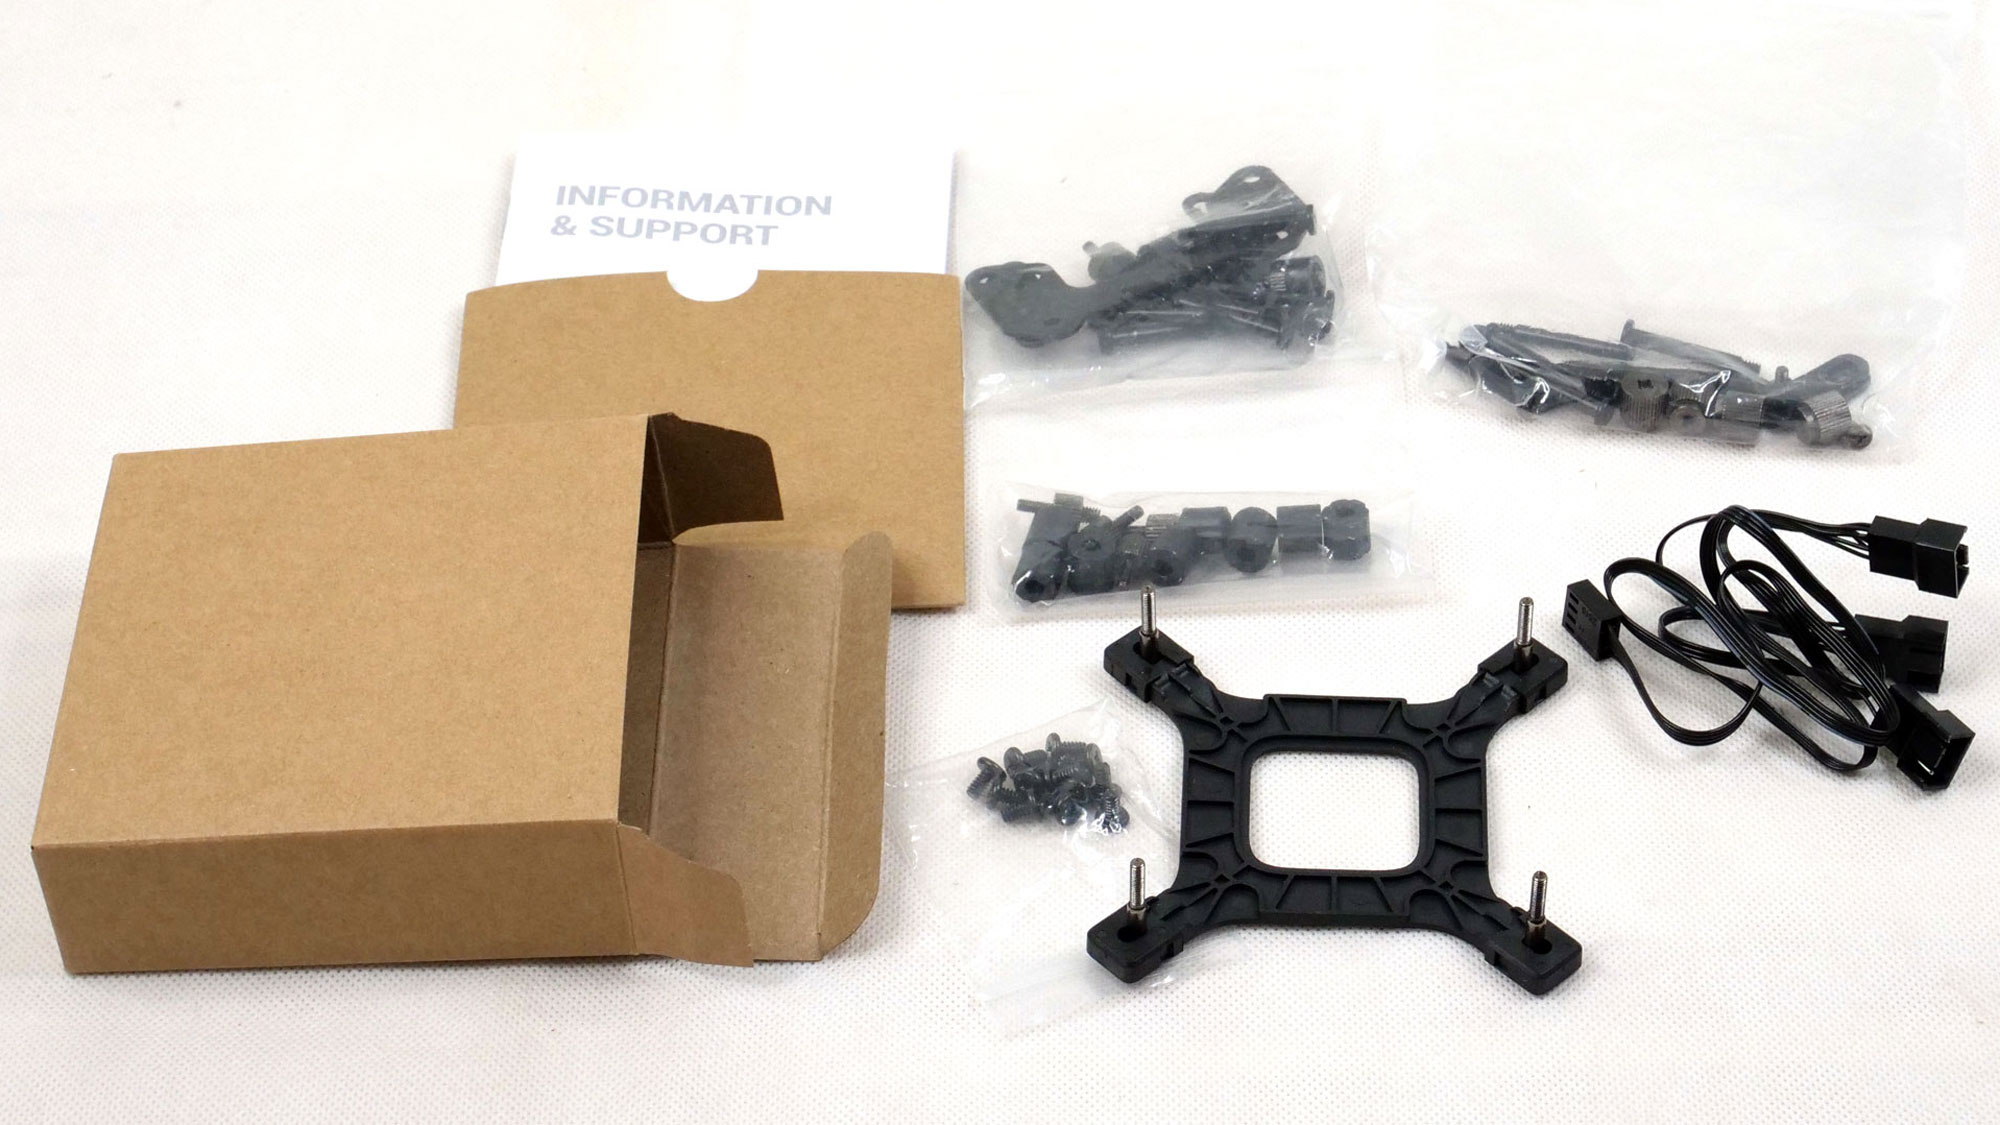
- 1. Locate the mounting screws or clips that came with your Noctua CPU cooler. These are designed to connect the cooler to the mounting bracket or the motherboard directly.
- 2. Carefully screw or clip the mounting hardware onto the designated holes on the cooler. Ensure the cooler is aligned properly with the mounting bracket or motherboard.
- 3. Use a screwdriver or your hands, depending on the type of mounting mechanism, to tighten the screws or clips. Apply enough pressure to secure the cooler, but avoid over-tightening to prevent any damage to the CPU or motherboard.
- 4. Follow the recommended tightening sequence mentioned in the Noctua installation manual. This sequence helps ensure even pressure distribution and a secure installation.
- 5. Double-check that all screws or clips are tight and the cooler is firmly attached to the motherboard. Gently wiggle the cooler to ensure there is no movement or looseness.
Securing the cooler is crucial to maintain good contact between the CPU and the cooler, allowing for efficient heat transfer. A properly secured cooler also reduces the risk of damage due to movement or vibrations during system operation.
Once the cooler is securely fastened, you’re almost done with the installation process. The next section will cover the steps to test and monitor the performance of your Noctua CPU cooler for a smooth and flawless operation.
Testing and Monitoring
After completing the installation process of your Noctua CPU cooler, it’s important to perform some tests and monitor its performance to ensure everything is functioning properly. Here are some steps to test and monitor your Noctua CPU cooler:
- 1. Power on your computer and closely observe the fan(s) of the CPU cooler. Ensure that they are spinning and generating airflow. Abnormal noises or lack of movement may indicate an issue with the fan(s).
- 2. Enter the BIOS or use system monitoring software to check the CPU temperature. Monitor the temperature to ensure that it remains within safe limits, even under stress or heavy usage.
- 3. Run CPU-intensive tasks or stress tests to put a load on your CPU. This will help determine if the cooler is effectively cooling the CPU and maintaining stable temperatures.
- 4. Monitor the CPU temperature during the stress test and make note of any significant increases. Abnormally high temperatures could indicate an installation issue or inadequate cooling.
- 5. If the CPU temperature exceeds safe limits or you experience instability issues, double-check the cooler installation, ensure proper contact with the CPU, and verify that the thermal paste is applied correctly.
- 6. Consider using software monitoring tools to keep track of CPU temperatures and fan speeds during regular usage. This will allow you to detect any abnormalities or potential cooling issues.
Regularly testing and monitoring the performance of your Noctua CPU cooler will help ensure that your CPU remains within safe temperature ranges, leading to optimal performance and longevity. If you notice any irregularities or concerns during the testing and monitoring process, it’s advisable to consult Noctua’s support or seek assistance from professional technicians to address the issue promptly.
By performing these tests and monitoring the performance of your Noctua CPU cooler, you can have peace of mind knowing that your CPU is effectively cooled and protected during its operation.
Troubleshooting and Tips
During the installation process of your Noctua CPU cooler, you may encounter some common issues or challenges. In this section, we will provide guidance on troubleshooting these issues and offer some additional tips to ensure a successful installation:
- 1. Uneven Pressure: If you notice uneven pressure distribution or difficulty tightening the screws evenly, try tightening them in a cross or diagonal pattern. This will help distribute the pressure evenly across the CPU cooler.
- 2. CPU Temperature Spikes: If you experience sudden temperature spikes or higher-than-expected temperatures, double-check the installation. Ensure that the cooler is properly seated, and the thermal paste is applied correctly. Also, verify that the fan(s) are spinning and providing adequate airflow.
- 3. Fan Noise: If you find the fan noise bothersome, check the fan settings in your system’s BIOS or software control panel. Adjust the fan curve or profiles to strike a balance between cooling performance and noise level. Consider using Noctua’s low-noise adapters or PWM control options for quieter operation.
- 4. Compatibility Issues: Ensure that the Noctua CPU cooler you’ve selected is compatible with your specific CPU socket. Consult Noctua’s website or product documentation for compatibility information. If you encounter compatibility issues, reach out to Noctua’s support team for assistance.
- 5. Cable Management: Proper cable management can improve airflow and prevent cables from obstructing the CPU cooler or fan(s). Neatly arrange and secure cables to ensure a clean and unobstructed installation.
Remember to consult the instruction manual provided by Noctua. It contains detailed information and specific troubleshooting steps for your CPU cooler model. Noctua also provides excellent customer support, so don’t hesitate to reach out to them if you encounter any issues or have questions.
By keeping these troubleshooting tips in mind and following the installation instructions carefully, you can overcome common challenges and ensure a successful installation of your Noctua CPU cooler.
Conclusion
Congratulations on successfully installing your Noctua CPU cooler! By following this step-by-step guide, you’ve taken the necessary steps to enhance your CPU’s cooling performance and ensure its longevity.
We started by introducing the importance of a well-functioning CPU cooler and the benefits of choosing Noctua for your cooling needs. We then provided a list of required tools and materials to have on hand for the installation process.
We covered the preparation steps, including shutting down the computer, removing the old CPU cooler, and applying thermal paste to facilitate optimal heat transfer. We then detailed the process of installing the Noctua CPU cooler with precision and securing it firmly.
Connecting the fan(s) and properly managing cables were highlighted to ensure efficient cooling and airflow. We emphasized the significance of testing and monitoring the CPU temperature and provided troubleshooting tips for potential issues that may arise during the installation process.
Remember, if you encounter any difficulties or have questions, Noctua’s support team is always available to assist you. By ensuring proper installation and regular monitoring of your Noctua CPU cooler’s performance, you can enjoy the benefits of improved cooling, better CPU performance, and increased system stability.
Congratulations once again on your successful installation of the Noctua CPU cooler. Enjoy the cooler temperatures and improved performance of your CPU!


