Introduction
Welcome to this guide on how to connect your Vizio Smart TV to the internet. With the increasing popularity of streaming services and online content, it’s essential to have a stable internet connection for your smart TV to ensure a seamless viewing experience. Whether you’re a first-time smart TV user or simply need to reconnect your Vizio TV to a new network, we’ve got you covered.
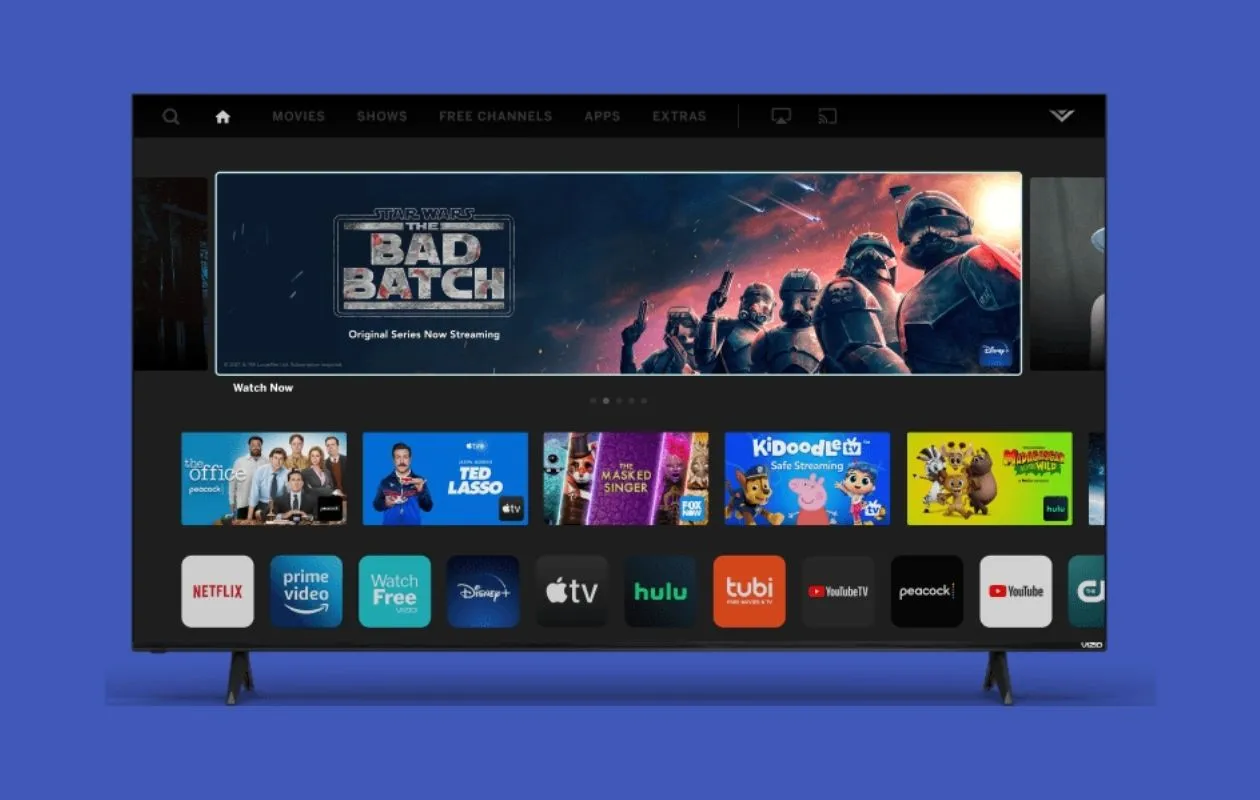
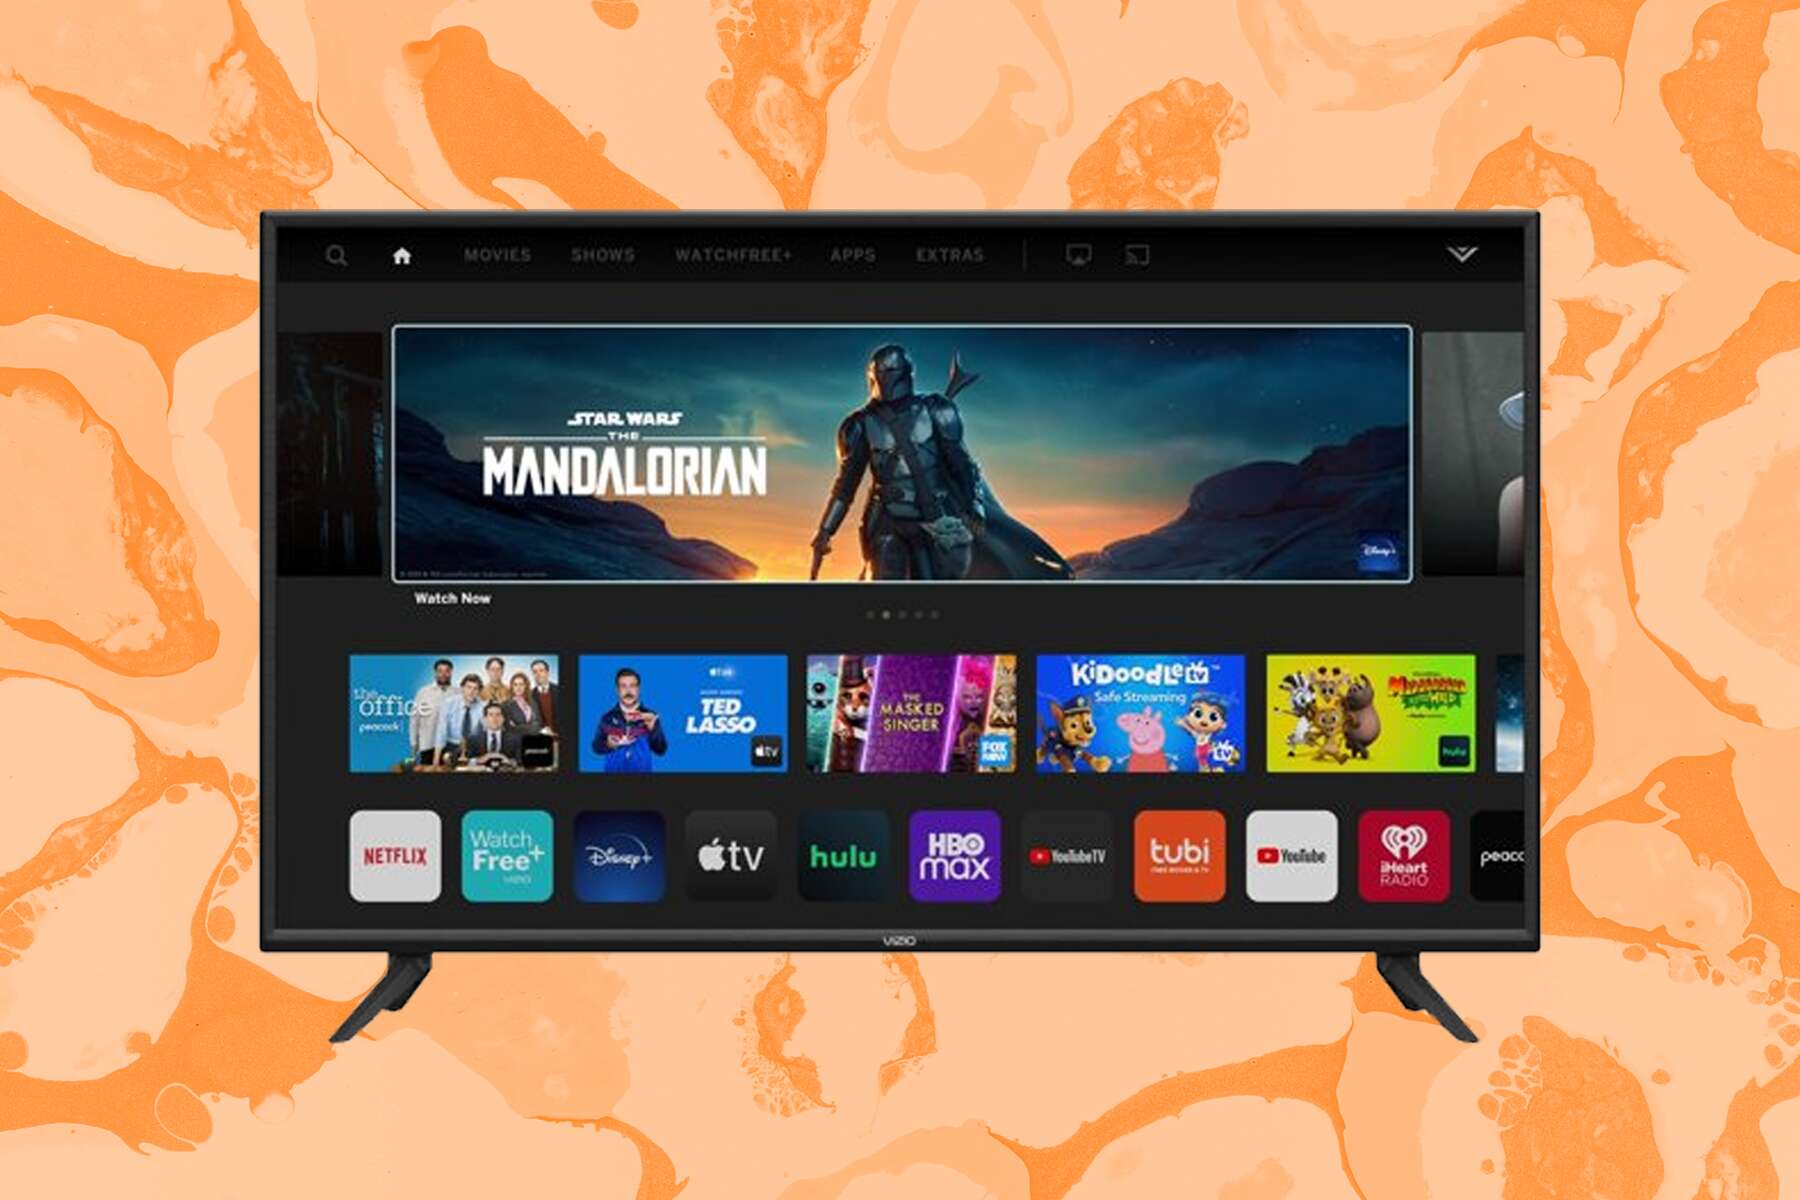
A Vizio Smart TV allows you to access a wide range of apps, stream movies and TV shows, and browse the internet from the comfort of your living room. However, before you can enjoy these features, you need to connect your TV to your home network or a Wi-Fi network.
In this guide, we’ll take you through a step-by-step process to connect your Vizio Smart TV to the internet. We will cover checking your network connection, accessing the network settings on your TV, selecting your Wi-Fi network, entering the Wi-Fi password, and testing the internet connection to ensure everything is set up correctly.
It’s worth noting that the exact steps may vary slightly depending on the specific model of your Vizio Smart TV and the firmware version it is running. However, the general process remains the same across most models. Make sure to refer to your TV’s user manual if you encounter any specific variations.
So, without further ado, let’s jump into the step-by-step instructions to connect your Vizio Smart TV to the internet and start enjoying your favorite content!
Step 1: Check your network connection
Before diving into the process of connecting your Vizio Smart TV to the internet, it’s important to ensure that your network connection is stable and working properly. This step will help you avoid any potential issues during the setup process.
Here’s how you can check your network connection:
- Make sure your router is turned on and functioning correctly. Check the power and internet lights on your router to confirm that it is receiving power and connected to the internet.
- If you are using a wired connection, ensure that the Ethernet cable is securely connected to both your TV and the router. If the cable appears to be damaged, try using a different cable for troubleshooting purposes.
- If you are using a wireless connection, ensure that your Wi-Fi network is active and working. You can do this by connecting another device, such as a smartphone or laptop, to the Wi-Fi network and checking if it can access the internet.
- If you are experiencing connectivity issues with your Wi-Fi network, you can try restarting your router. Simply unplug the power cord from the router, wait for about 10 seconds, and then plug it back in. This can often resolve minor connectivity issues.
- For additional troubleshooting, you can also try rebooting your TV. Simply turn off your Vizio Smart TV, unplug it from the power source, wait for a few minutes, and then plug it back in and power it on.
By ensuring that your network connection is stable and functioning correctly, you can proceed with confidence to the next steps of connecting your Vizio Smart TV to the internet. In the next step, we will guide you on how to power on your TV and access the menu.
Step 2: Power on your Vizio Smart TV
Once you have checked your network connection and ensured that everything is working properly, it’s time to power on your Vizio Smart TV. Follow these simple steps:
- Locate the power button on your TV or the remote control. The power button is typically located on the lower-right side or the back of the TV.
- If you are using the remote control, press the power button to turn on the TV. If you are using the power button on the TV itself, simply press it to power on the TV.
- Wait for a few moments as the TV boots up. You may see the Vizio logo or a loading screen during this process.
- Once the TV has powered on, you will be greeted with the main home screen or the last input source you used. If you are not on the home screen, press the “Menu” button on your remote control to access the main menu.
Powering on your Vizio Smart TV is the first step towards connecting it to the internet and accessing all the smart features it offers. In the next step, we will guide you on how to navigate to the network settings on your TV.
Step 3: Open the menu
After successfully powering on your Vizio Smart TV, the next step is to access the main menu. The menu is where you can find various settings and options, including the network settings that you will need to connect your TV to the internet. Here’s how to open the menu:
- On your Vizio remote control, locate and press the “Menu” button. The menu button is typically located in the center or towards the bottom of the remote.
- As you press the “Menu” button, the main menu screen will appear on your TV. This screen displays different options and settings that you can navigate through using the arrow keys on your remote control.
- Use the arrow keys to navigate through the menu options. The available options may vary depending on the specific model of your Vizio Smart TV. Look for options related to network or internet settings.
- Once you have selected the desired option related to network settings, press the “OK” or “Enter” button on your remote control to access that specific setting.
Opening the menu is an essential step in the process of connecting your Vizio Smart TV to the internet. It allows you to access the network settings where you can choose your Wi-Fi network and enter the necessary details. In the next step, we will guide you on how to navigate to the network settings on your TV.
Step 4: Navigate to the Network settings
Once you have opened the main menu on your Vizio Smart TV, the next step is to navigate to the network settings. This is where you can manage and configure your TV’s internet connection. Follow these steps to access the network settings:
- Using the arrow keys on your remote control, navigate through the menu options to find the “Network” or “Network Settings” option. The location of this option may vary depending on your TV model, but it is often located within the “Settings” or “Setup” category.
- Once you have highlighted the “Network” option, press the “OK” or “Enter” button on your remote to access the network settings.
- A new screen will appear with different network settings and options. Again, the available options may vary depending on your TV model. Look for options such as “Wi-Fi Setup” or “Wireless Network Setup”.
- Highlight the desired network setup option and press the “OK” or “Enter” button on your remote to proceed.
Navigating to the network settings is a crucial step in connecting your Vizio Smart TV to the internet. It is through these settings that you can choose your Wi-Fi network and enter the necessary details for connection. In the next step, we will guide you on how to select the Wi-Fi option from the network settings.
Step 5: Select the Wi-Fi option
After accessing the network settings on your Vizio Smart TV, the next step is to select the Wi-Fi option. This will allow you to choose your wireless network from the available options. Follow these steps to select the Wi-Fi option:
- Within the network settings menu, look for the option that says “Wi-Fi” or “Wireless”. This option is usually listed alongside other network connection options.
- Highlight the Wi-Fi option using the arrow keys on your remote control.
- Press the “OK” or “Enter” button on your remote to select the Wi-Fi option and proceed to the next step.
By selecting the Wi-Fi option, you are indicating that you want to connect your Vizio Smart TV to a wireless network. In the following step, we will guide you on how to scan for available networks so that you can choose your specific Wi-Fi network for the connection.
Step 6: Scan for available networks
Once you have selected the Wi-Fi option in the network settings menu of your Vizio Smart TV, the next step is to scan for available networks. This will allow your TV to detect and display a list of nearby Wi-Fi networks that you can connect to. Follow these steps to scan for available networks:
- Within the Wi-Fi settings menu, look for an option that says “Scan” or “Search for Networks”. This option is typically located near the top or bottom of the screen.
- Highlight the “Scan” or “Search for Networks” option using the arrow keys on your remote control.
- Press the “OK” or “Enter” button on your remote to initiate the scanning process.
- Wait for a moment as your Vizio Smart TV scans for available Wi-Fi networks in your vicinity. The TV will display a list of detected networks on the screen.
Scanning for available networks helps you identify which Wi-Fi networks are within range of your TV. In the upcoming step, we will guide you on how to choose your specific Wi-Fi network from the list of available networks.
Step 7: Choose your Wi-Fi network
After scanning for available networks on your Vizio Smart TV, it’s time to choose your specific Wi-Fi network from the list. This will allow your TV to establish a connection with your home network. Follow these steps to choose your Wi-Fi network:
- Using the arrow keys on your remote control, navigate through the list of available Wi-Fi networks displayed on the screen. Each network will typically be labeled with its respective network name (SSID).
- Highlight your desired Wi-Fi network by navigating to it with the arrow keys. Ensure that you select the correct network associated with your home or desired network connection.
- Once your desired Wi-Fi network is highlighted, press the “OK” or “Enter” button on your remote to select it.
By choosing your Wi-Fi network, you are indicating that you want your Vizio Smart TV to connect to that specific network for internet access. In the following step, we will guide you on how to enter the password for your selected Wi-Fi network.
Step 8: Enter the Wi-Fi network password
Once you have selected your desired Wi-Fi network on your Vizio Smart TV, the next step is to enter the Wi-Fi network password. This password is required to establish a secure connection to your wireless network. Follow these steps to enter the Wi-Fi network password:
- Using the on-screen keyboard or the arrow keys on your remote control, navigate to the password field.
- Using the on-screen keyboard, enter the password for your Wi-Fi network. Take note of any uppercase or lowercase letters, numbers, or special characters in your password, as the keyboard layout may change depending on the input requirements.
- Double-check the entered password to ensure its accuracy. Passwords are case-sensitive, so be mindful of any capitalization.
- Once you have entered the Wi-Fi network password accurately, navigate to the “Connect” or “Join” button using the arrow keys on your remote.
- Press the “OK” or “Enter” button on your remote to initiate the connection process.
Entering the correct Wi-Fi network password ensures that your Vizio Smart TV can securely connect to your home network. In the next step, we will guide you on how to confirm the connection to your Wi-Fi network.
Step 9: Confirm the connection
After entering the Wi-Fi network password on your Vizio Smart TV, the next step is to confirm the connection. This will verify that your TV is successfully connected to your Wi-Fi network and can access the internet. Follow these steps to confirm the connection:
- Once you have entered the Wi-Fi network password, your Vizio Smart TV will attempt to connect to the network.
- Wait for a moment as the TV establishes a connection with the Wi-Fi network. You may see a confirmation message or a loading icon indicating that the connection is being established.
- If the connection is successful, you will typically see a message confirming the connection status. This message might say “Connected” or display the Wi-Fi network name that you are connected to.
Confirming the connection ensures that your Vizio Smart TV is properly connected to your Wi-Fi network and can begin accessing online content. In the final step, we will guide you on how to test your internet connection to ensure everything is working correctly.
Step 10: Test your internet connection
After confirming the connection to your Wi-Fi network, it’s essential to test your internet connection on your Vizio Smart TV. This will ensure that your TV can successfully access online content without any issues. Follow these steps to test your internet connection:
- From the network settings or main menu of your Vizio Smart TV, navigate to the “Network Status” or “Internet Connection” option. This option may be located within the network settings or under a separate category.
- Select the “Network Status” or “Internet Connection” option using the arrow keys on your remote control and press the “OK” or “Enter” button.
- Your Vizio Smart TV will now perform a test to check the internet connection. This test usually involves verifying the connection speed and checking for any potential issues.
- Wait for the test to complete. You may see a progress indicator or a loading screen during this process.
- If the test is successful, you will typically see a message indicating that your internet connection is working properly. You may also see details about the connection speed and stability.
Testing your internet connection ensures that your Vizio Smart TV is ready to access online content, stream videos, and browse the web without interruptions. If the test results indicate any issues, you may need to troubleshoot your network settings or contact your internet service provider for further assistance.
Congratulations! You have successfully connected your Vizio Smart TV to the internet and tested the connection. Now you can begin enjoying a wide range of online content and smart features on your TV.
Conclusion
Connecting your Vizio Smart TV to the internet is a simple process that allows you to unlock a world of entertainment options. By following the step-by-step instructions in this guide, you can easily establish a stable and secure connection to your Wi-Fi network.
We started by checking the network connection to ensure it is working correctly. Then, we powered on the TV and accessed the menu to navigate to the network settings. Next, we selected the Wi-Fi option and scanned for available networks, choosing our specific Wi-Fi network. After entering the Wi-Fi network password, we confirmed the connection and tested the internet connection to ensure everything was set up properly.
With your Vizio Smart TV now connected to the internet, you can enjoy streaming your favorite movies and TV shows from popular services like Netflix, Hulu, and Amazon Prime Video. You’ll also have access to a range of apps and features that enhance your viewing experience.
If you encounter any issues during the setup process or experience connectivity problems in the future, don’t hesitate to refer back to this guide or consult your TV’s user manual for specific troubleshooting steps.
Now that you’re equipped with the knowledge to connect your Vizio Smart TV to the internet, sit back, relax, and enjoy your favorite shows and movies on the big screen!


