Introduction
When building or upgrading your computer’s graphics card, you might come across a scenario where your power supply unit (PSU) only has a 6-pin connector, while your GPU requires an 8-pin connector. This situation can be challenging, but fear not, as there is a solution – connecting a 6-pin PSU to an 8-pin GPU.
Understanding the power connectors and their compatibility is crucial to ensure a secure and stable connection between your PSU and GPU. This guide will walk you through the steps necessary to make this connection safely, allowing you to power your GPU effectively.
Before proceeding, it is essential to note that modifying cables or connectors should be approached carefully and only if you have experience or are confident in your skills. If you’re unsure or uncomfortable, it’s best to consult a professional technician.
By following this step-by-step guide, you’ll be able to connect your 6-pin PSU to an 8-pin GPU without having to invest in a new power supply unit.
Understanding the Power Connectors
Before diving into the process of connecting a 6-pin PSU to an 8-pin GPU, it’s important to have a good grasp on the power connectors involved. These connectors play a crucial role in delivering the required power from the PSU to the GPU.
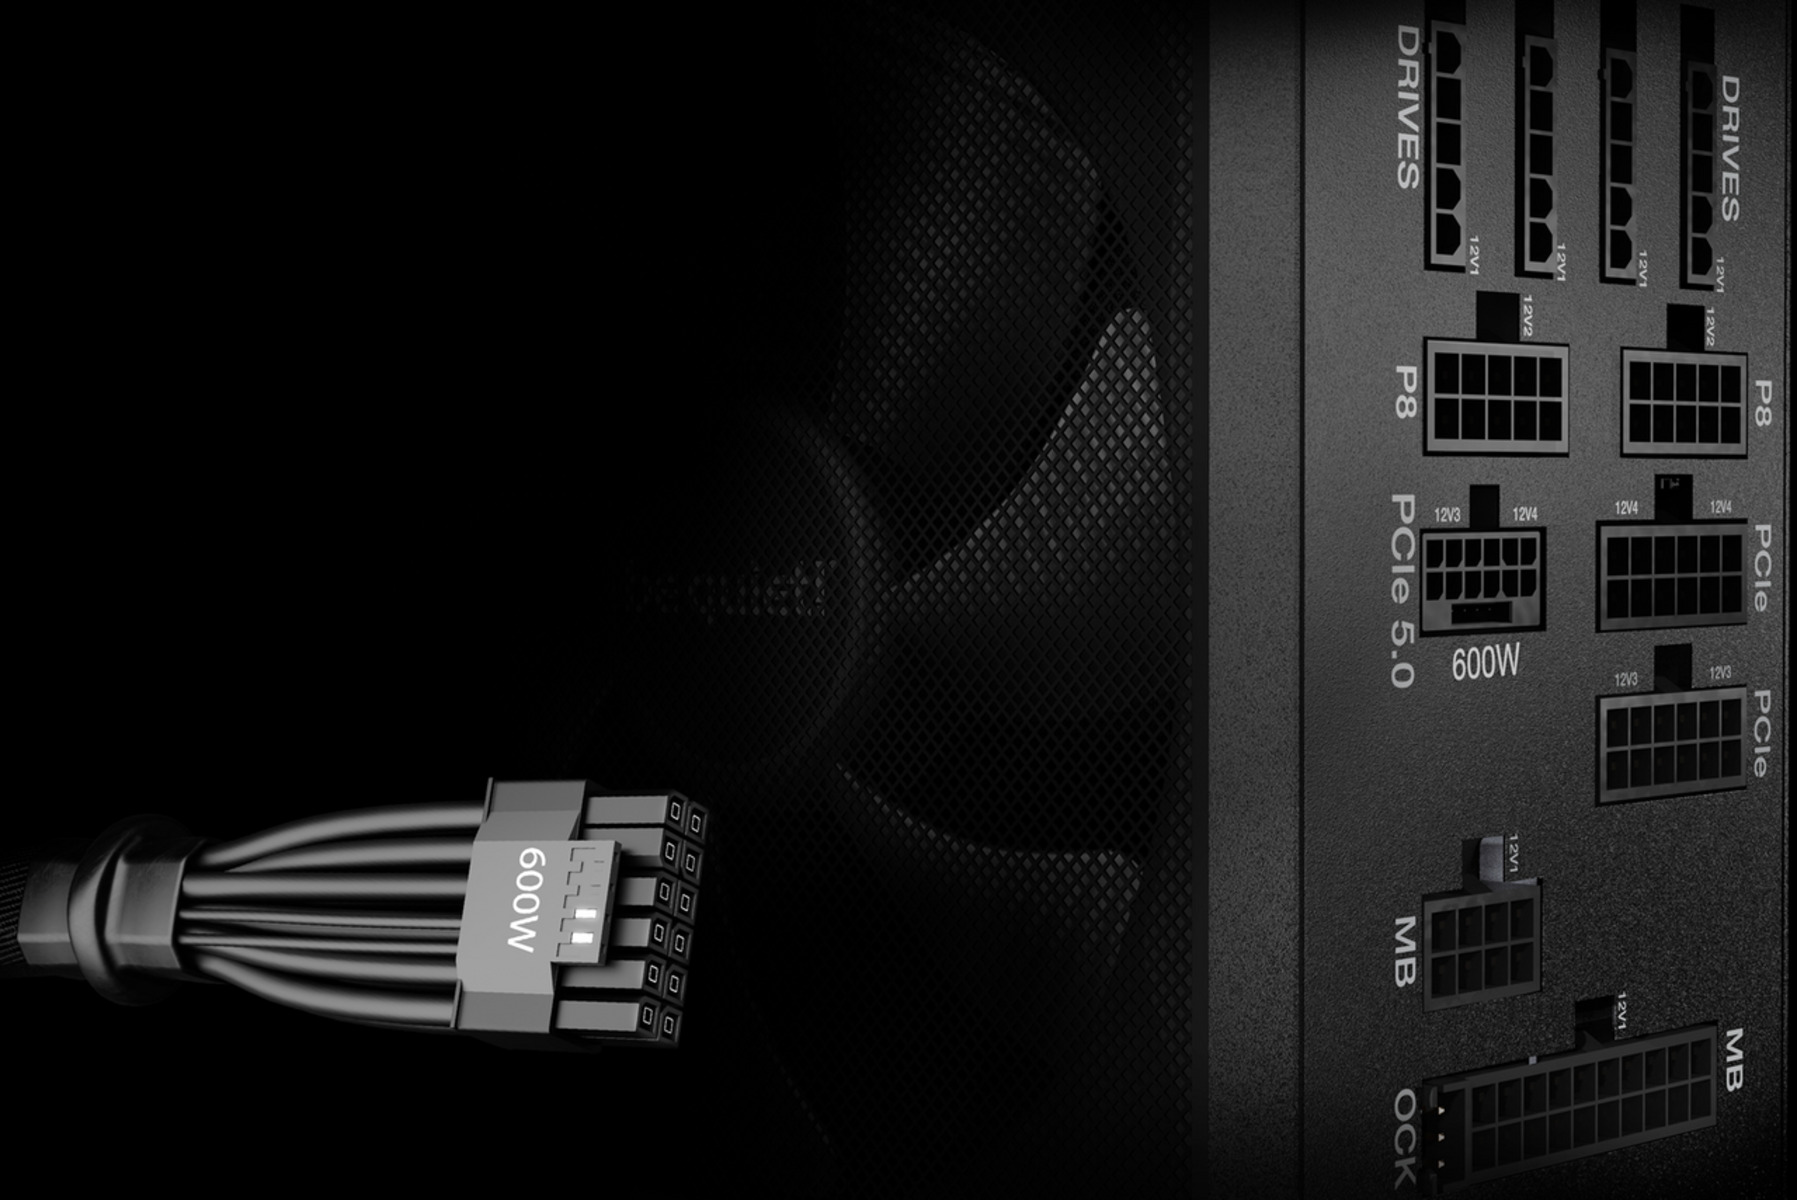
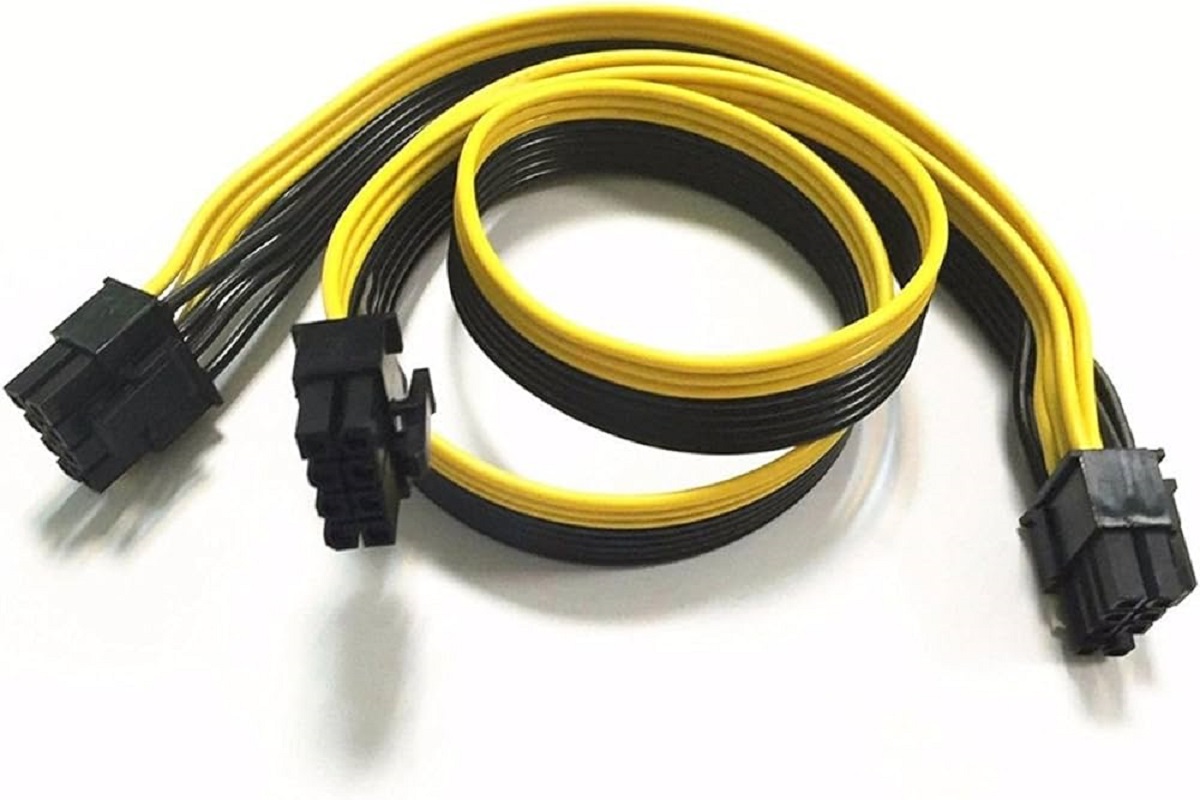
The 6-pin and 8-pin connectors, also known as PCI-E power connectors, are widely used in modern GPUs. The 6-pin connector consists of three 12-volt power cables and three ground wires, allowing it to deliver up to 75 watts of power to the GPU. On the other hand, the 8-pin connector features an extra 12-volt power cable and ground wire, providing up to 150 watts of power.
It’s important to check your GPU’s specifications to determine if it requires an 8-pin connector. Some lower-powered GPUs may only require a 6-pin connector, while high-performance GPUs may demand the additional power provided by the 8-pin connector.
When connecting a 6-pin PSU to an 8-pin GPU, it’s crucial to keep in mind that the extra power delivered through the 8-pin connector is designed to provide stability and prevent power-related issues during heavy usage. While connecting a 6-pin PSU will still provide power to the GPU, it may limit its performance potential.
In order to proceed with the connection, it’s important to understand the compatibility of your specific setup and the potential performance limitations that may arise. It’s always recommended to consult your GPU’s manufacturer or technical support to ensure the compatibility and functionality of the connection.
Safety Precautions
Before attempting to connect a 6-pin PSU to an 8-pin GPU, it’s crucial to prioritize safety to avoid any potential damage to your hardware or harm to yourself. Here are some essential safety precautions to follow:
- Power Down: Before working with any computer components, make sure to power down your computer and disconnect it from any power source. This will prevent any potential electrical accidents while handling the cables.
- Avoid Static Electricity: Static electricity can damage sensitive computer components. To prevent static discharge, use an anti-static wristband or touch a grounded metal object before handling any components.
- Handle with Care: When handling cables or connectors, avoid using excessive force or pulling on the wires. Gentle handling will help prevent any accidental damage.
- Inspect Cables: Before connecting any cables, visually inspect them for any signs of damage, fraying, or wear. Damaged cables should be replaced to ensure a safe connection.
- Use the Correct Tools: Only use appropriate tools when modifying cables or connectors. Using improper or low-quality tools can lead to damage or poor connections.
- Read Documentation: Familiarize yourself with the documentation provided by the GPU and PSU manufacturers. This will help you understand any specific requirements or warnings.
- Consult Professionals if Unsure: If you are uncertain about any step or lack confidence in your abilities, it’s always wise to seek professional assistance. They will ensure the process is carried out safely and correctly.
By following these safety precautions, you can minimize the risk of accidents and ensure a smooth and secure connection between your 6-pin PSU and 8-pin GPU.
Step 1: Checking Compatibility
Before proceeding to connect your 6-pin PSU to an 8-pin GPU, it’s essential to ensure the compatibility between your power supply unit and graphics card. Incompatible connections can result in unstable power delivery and potential damage to your hardware.
Start by examining the power supply unit and the available cables. Look for a 6-pin connector that can be connected to your GPU. If your power supply unit doesn’t have a 6-pin connector, you may need to consider alternative solutions or upgrade your power supply unit.
Next, refer to your GPU’s documentation or the manufacturer’s website to determine its power requirements. Look for the recommended or minimum power supply requirement and check if it specifies an 8-pin connector. Keep in mind that some GPUs may have additional power requirements or a combination of 6-pin and 8-pin connectors.
If your GPU recommends an 8-pin connector, it’s wise to consider the overall power delivery and stability. Connecting a 6-pin PSU to an 8-pin GPU may limit the power supply to your graphics card, potentially impacting its performance. Evaluate if your power supply unit can handle the additional power demands and if you are comfortable with any potential performance limitations.
Additionally, check the cable lengths and available space in your computer case to ensure a proper fit for the modified connection. Measure the distance between the PSU and the GPU to determine if the cables are long enough.
By thoroughly checking the compatibility between your power supply unit and GPU, you can make an informed decision about whether connecting a 6-pin PSU to an 8-pin GPU is the right choice for your setup.
Step 2: Disconnecting Power
Before proceeding with the modification and connection process, it’s important to disconnect power from your computer to ensure the safety of both yourself and your hardware.
Start by shutting down your computer completely. Once it is powered off, unplug the power cord from the electrical outlet. This step is crucial as it eliminates the risk of electrical shock while working on the internal components.
Next, open your computer case. Refer to your computer’s documentation or manufacturer’s website for specific instructions on how to safely open your case, as it may vary depending on the computer model or chassis design.
Once the case is open, locate the power supply unit (PSU) and identify the cables connected to your graphics card. Gently disconnect these cables from the GPU, ensuring that you grip the connectors and not pull on the cables themselves. Take note of the cable connections and positions to facilitate the reconnection process later.
It’s important to handle the cables with care and avoid any unnecessary tugging or bending as this could damage the cables or connectors. If you encounter any resistance when disconnecting the cables, double-check for any locking mechanisms or clips that may need to be released.
After disconnecting the power cables, close your computer case securely. This will prevent any accidental contact with internal components while working on the modified cable connection.
By taking the time to properly disconnect the power from your computer, you reduce the risk of electrical accidents and ensure a safe environment for the modification process.
Step 3: Identifying the Correct Cable
Before proceeding with the modification and connection process, it’s important to identify the correct cable that will be used to connect the 6-pin PSU to the 8-pin GPU.
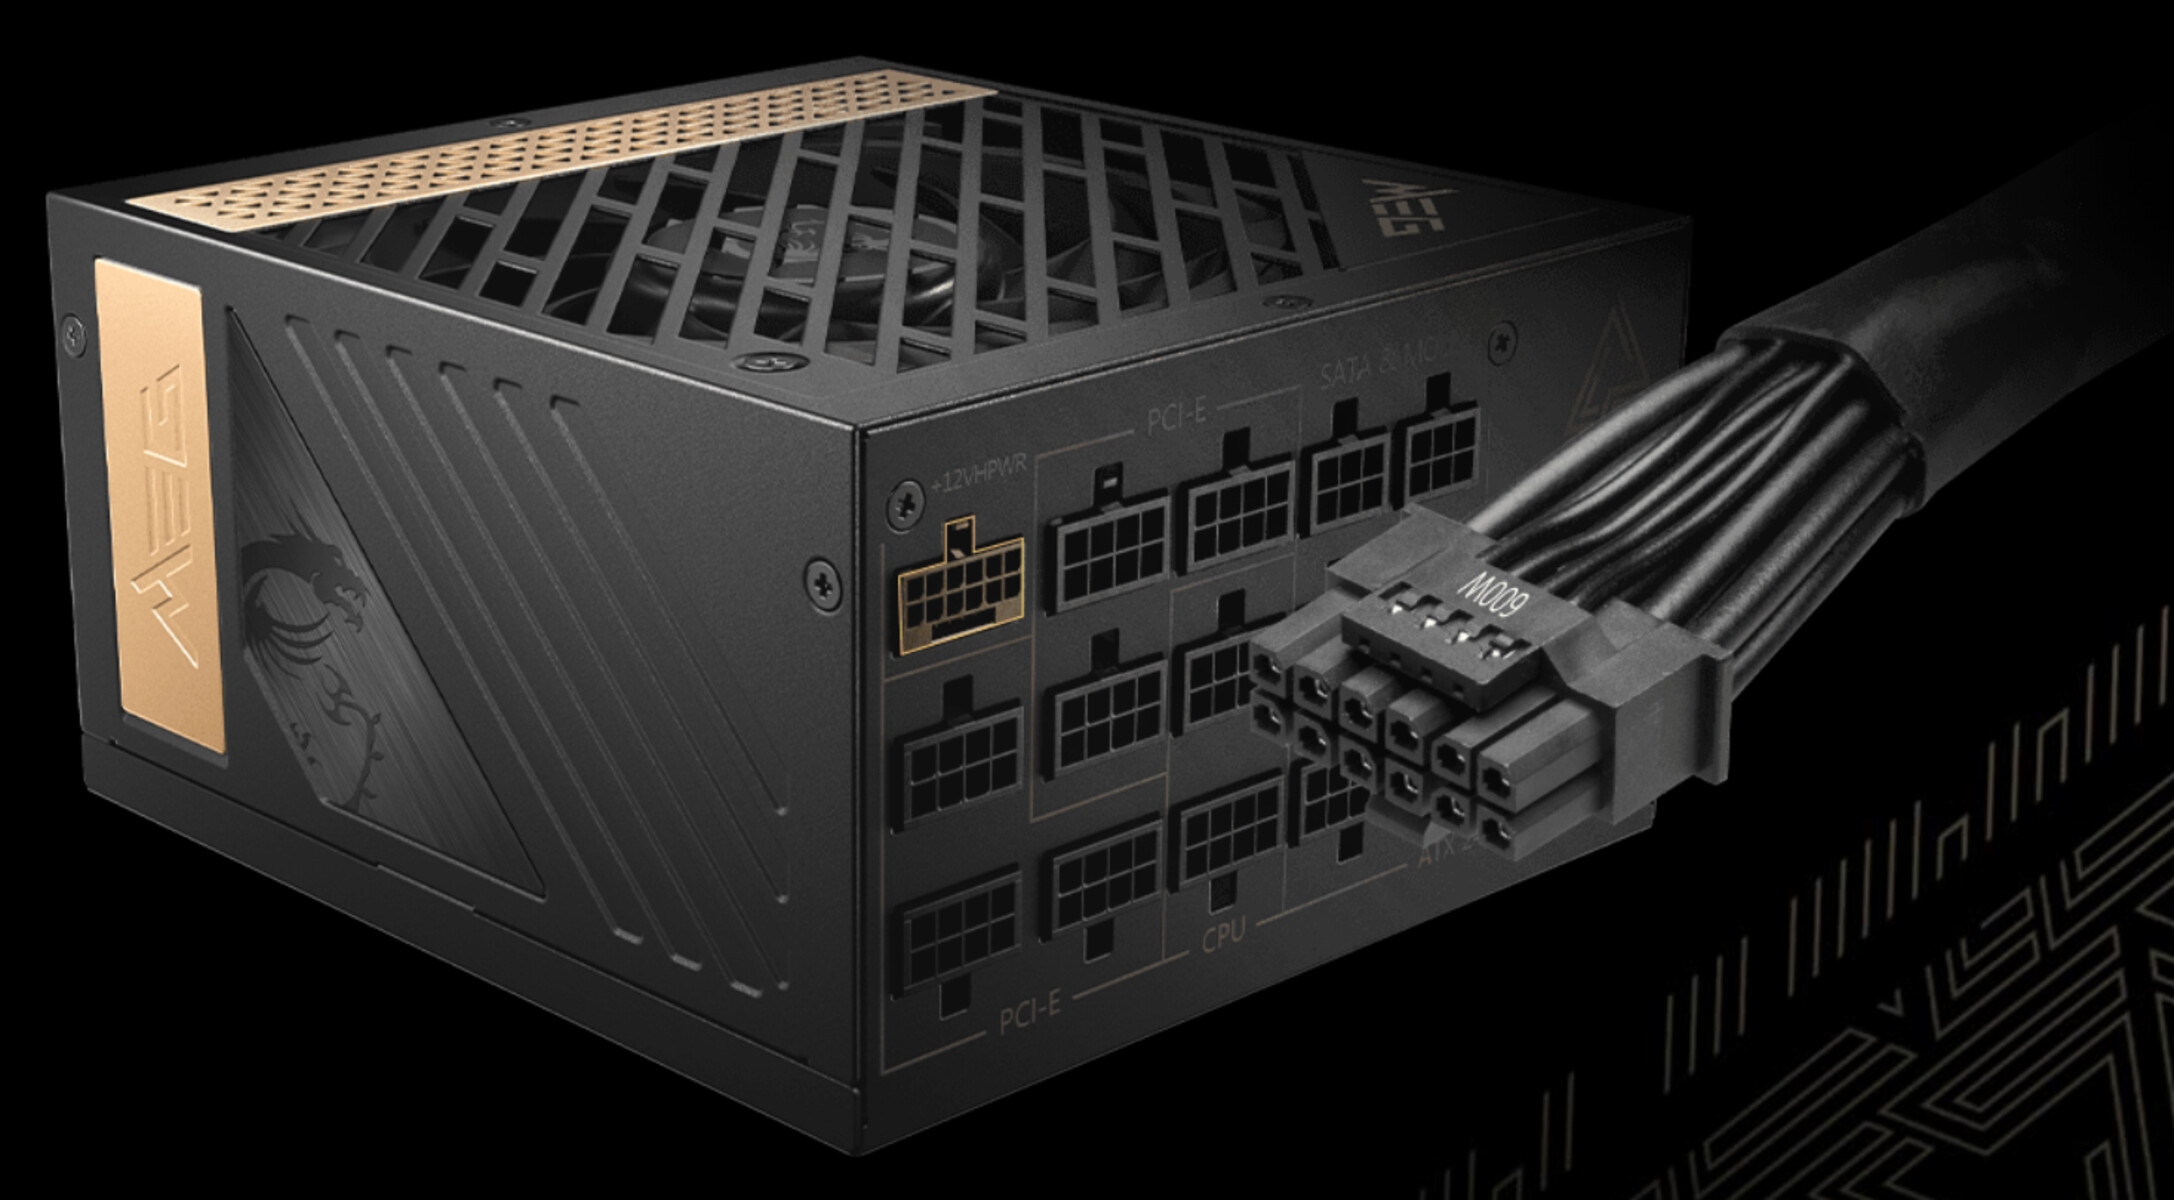
Start by locating the available cables that came with your power supply unit (PSU). Depending on the model and brand of your PSU, you may have multiple cables to choose from. Look for a 6-pin PCI-E power cable that corresponds to the GPU connector on your graphics card. It typically has a black connector with six pins.
Inspect the cable to ensure it is in good condition, with no visible signs of damage such as fraying or exposed wires. It’s essential to use a cable that is in proper working condition to ensure a safe and reliable connection.
If you have multiple 6-pin PCI-E power cables, double-check the labeling or the documentation provided with your PSU to determine which cable is designed for the desired power output. Some PSUs may have cables labeled with their wattage or provide additional information to help you identify the correct cable.
Pay attention to the cable length as well. Ensure that it is long enough to reach from the PSU to the GPU connection without straining or tugging on the cable. This will help maintain a clean and organized cable management setup within your computer case.
By identifying the correct cable for the 6-pin PSU connection, you ensure that the modified connection is compatible and in line with the power requirements of your GPU.
Step 4: Modifying the Cable
Modifying the cable is a crucial step in connecting a 6-pin PSU to an 8-pin GPU. This modification allows you to convert the 6-pin connector into an 8-pin connector to meet the power requirements of your graphics card.
Start by carefully examining the 6-pin PCI-E power cable you identified in the previous step. Take note of the layout of the pins and the configuration of the wires. The 6-pin connector will have three 12-volt power cables and three ground wires.
To convert this cable into an 8-pin connector, you will need to add an extra 12-volt power cable and an additional ground wire. Depending on your PSU’s specifications, you may have an additional cable available with the required connectors. Alternatively, you can purchase a specialized cable or seek professional assistance to ensure compatibility and safety.
Using wire cutters and strippers, carefully cut the additional 12-volt power cable and ground wire to the appropriate length. Strip the ends of the wires to expose the copper underneath, ensuring that the stripped portion is long enough for a secure connection.
Next, position the newly cut 12-volt power cable and ground wire alongside the existing cables in the 6-pin PCI-E power cable. Use electrical tape or heat shrink tubing to secure and insulate the connections, ensuring that there is no exposed copper. This will prevent any short circuits and ensure a safe and stable connection.
Double-check the modified cable to ensure that the connectors and wires are secure and properly insulated. This step is crucial to prevent any loose connections or potential electrical hazards.
By successfully modifying the cable to accommodate the additional power required by your GPU, you are one step closer to connecting your 6-pin PSU to an 8-pin GPU and ensuring optimal power delivery.
Step 5: Connecting the 6 Pin PSU to 8 Pin GPU
Now that you have modified the cable to accommodate the additional power, it’s time to connect your 6-pin PSU to the 8-pin GPU.
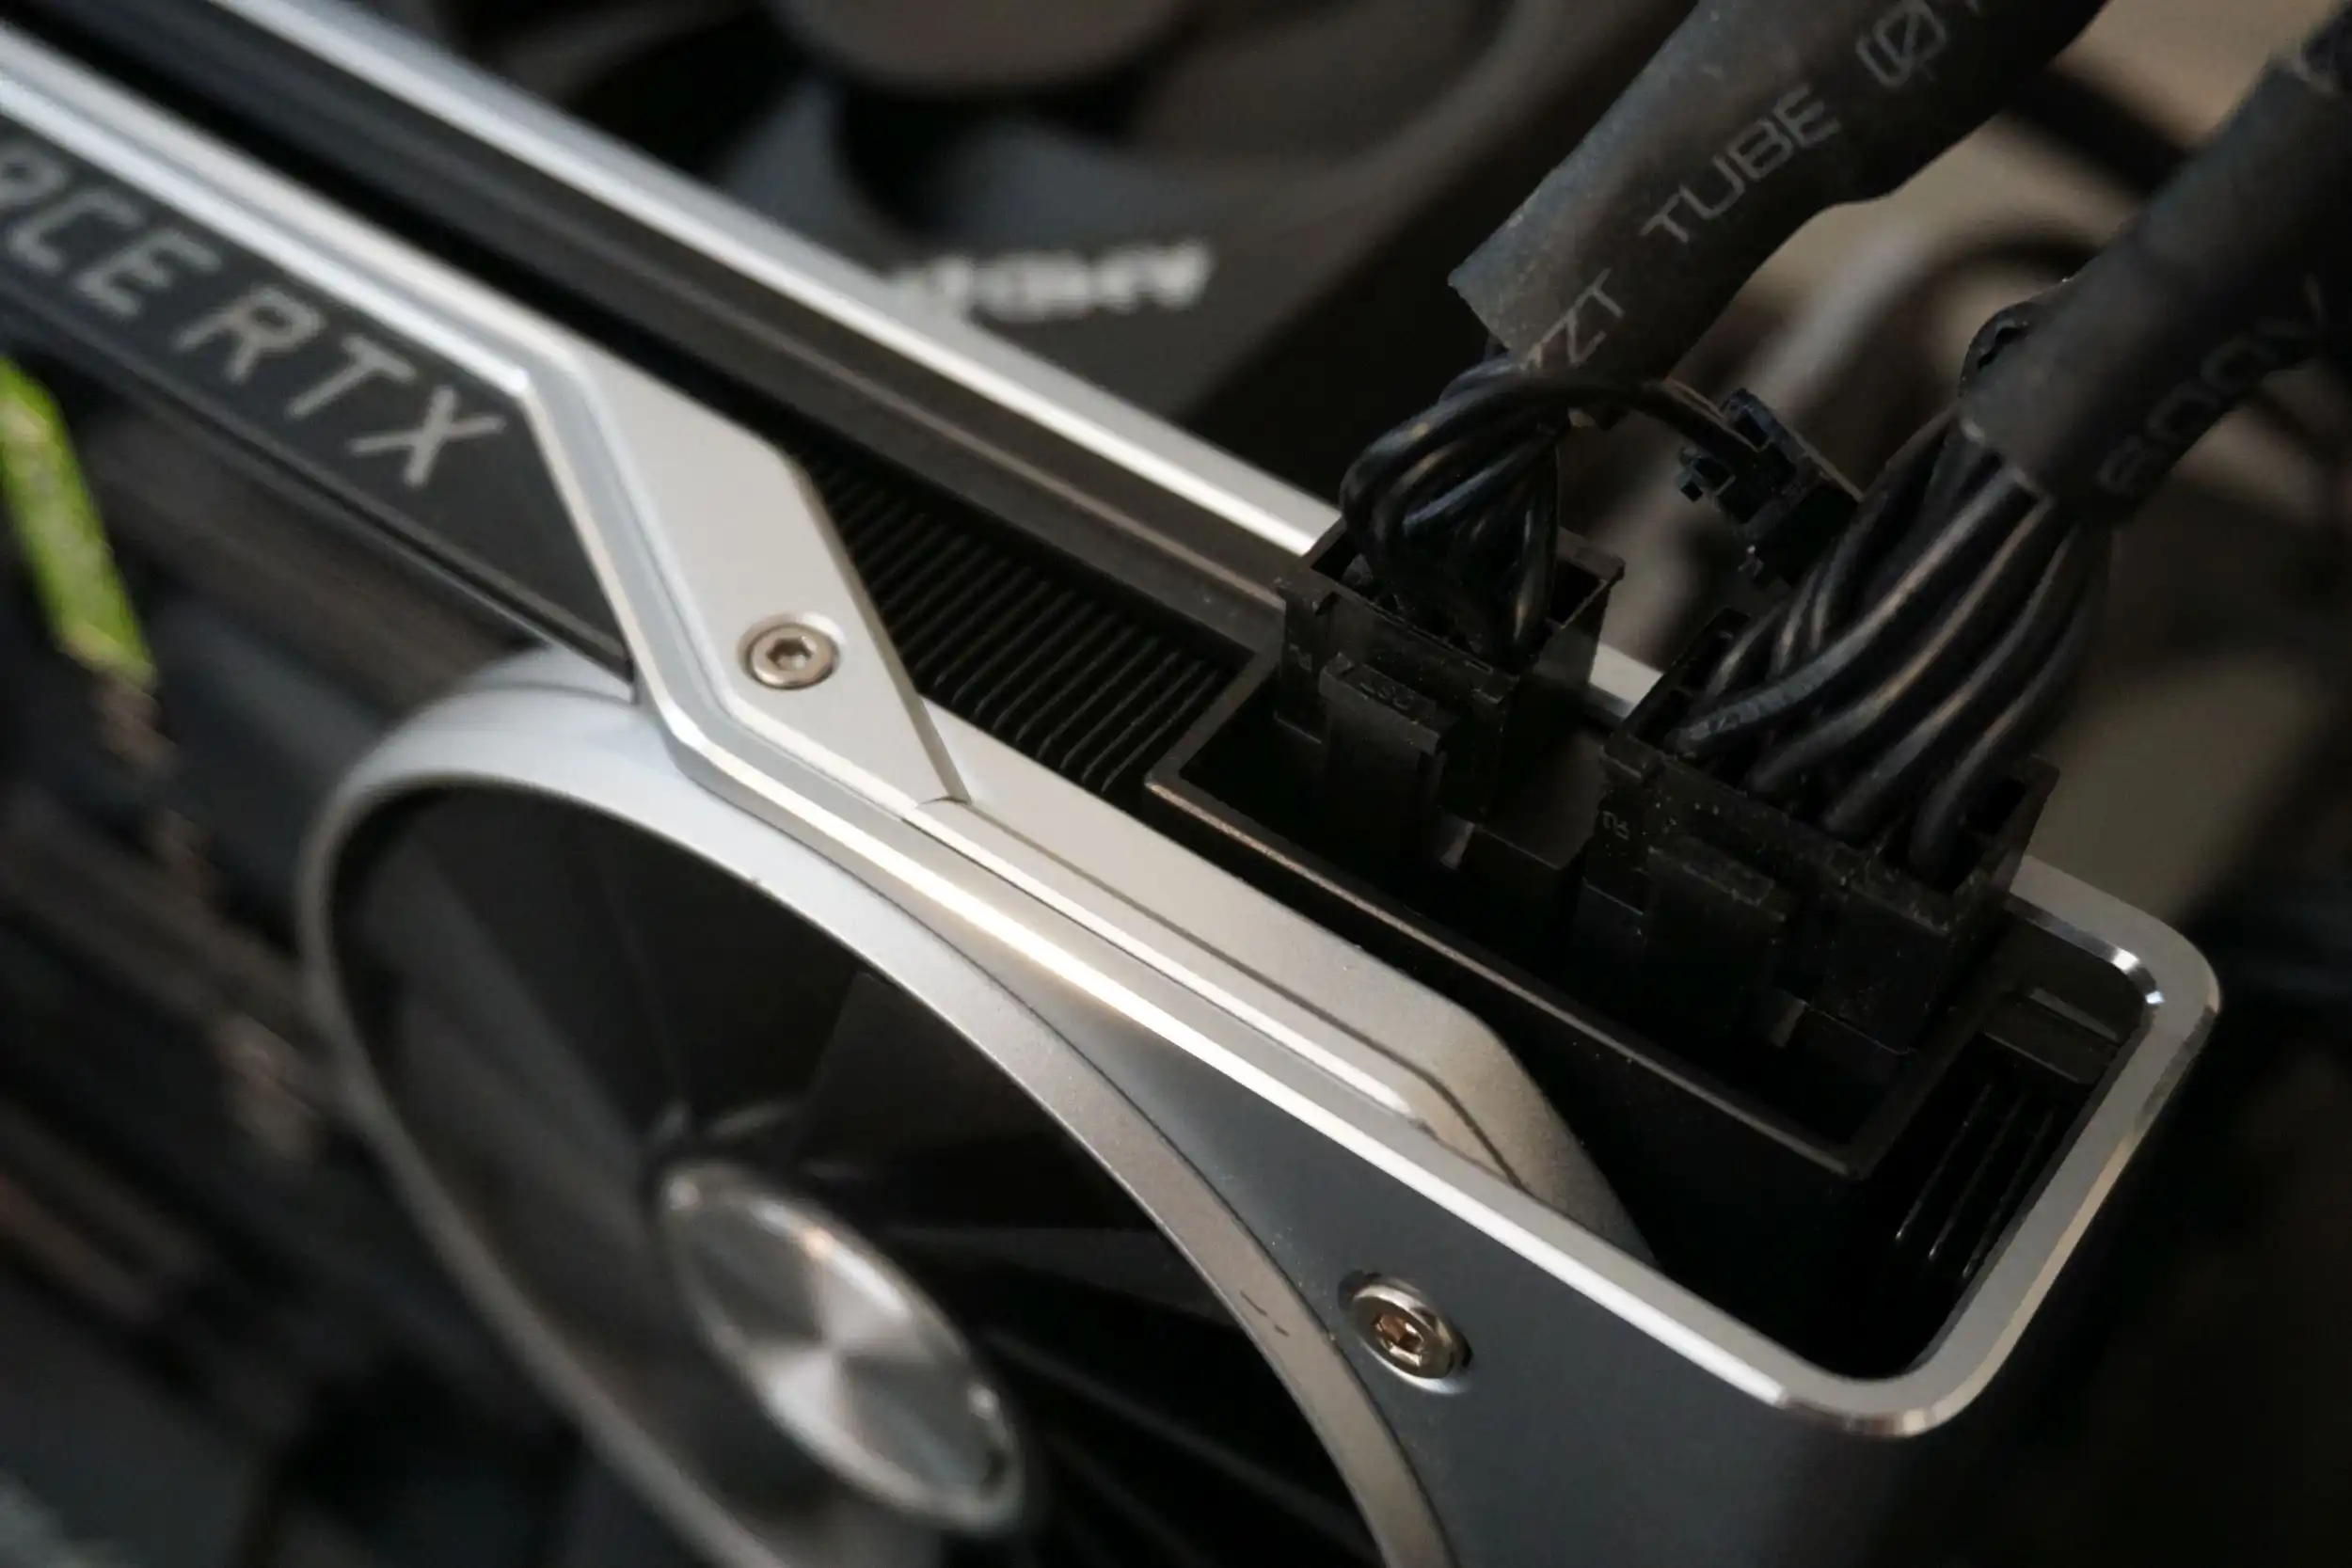
Start by locating the 8-pin connector on your graphics card. It will typically be labeled as “PCI-E” or “GPU” and have eight pin slots for the connectors to fit into.
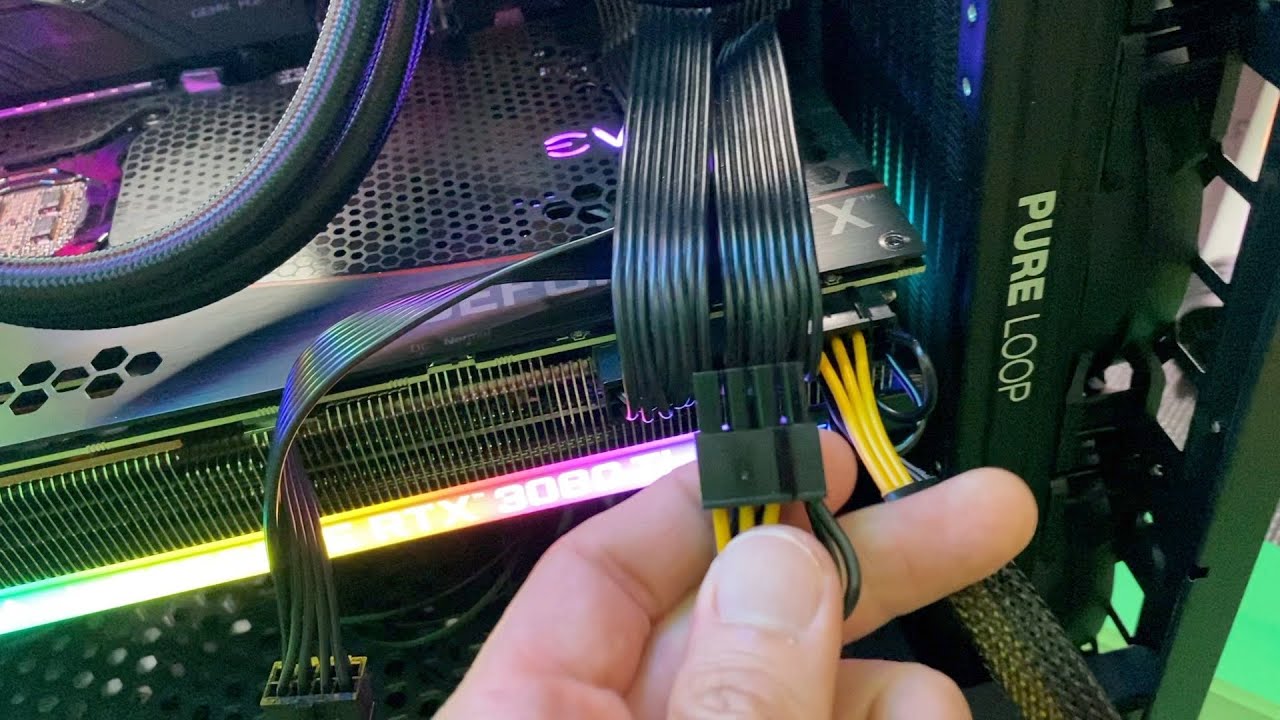
Take the modified 6-pin PCI-E power cable and align the connector with the 8-pin slot on the GPU. Ensure that the pins match up correctly, and gently insert the connector until it is fully seated in the slot.
While inserting the connector, it’s important to avoid using excessive force or twisting the cable. A smooth and secure connection is essential for optimal power delivery and stability.
Once the connector is inserted, give it a gentle tug to ensure that it is securely in place. This will help confirm that the connection is stable and will not come loose during use.
Next, locate the other end of the modified cable and connect it to the 6-pin connector on your power supply unit (PSU). Align the pins and insert the connector, making sure it is firmly seated in the slot.
Similar to the previous step, give the connector a gentle tug to ensure a secure connection. This will prevent any accidental disconnection and guarantee a reliable power supply to your GPU.
Double-check all the connections and ensure that they are properly seated and secured. Loose or improperly connected cables can cause power fluctuations and potential damage to your hardware.
By successfully connecting the 6-pin PSU to the 8-pin GPU, you have bridged the gap and provided the necessary power for your graphics card to function effectively.
Step 6: Testing the Connection
After connecting the modified cable from your 6-pin PSU to the 8-pin GPU, it’s crucial to test the connection to ensure that everything is functioning as expected.
Start by reconnecting the power cord to your computer and plugging it back into the electrical outlet. Ensure that all other cables and connections are properly secured and in their appropriate places.
Power on your computer and monitor its startup process. As the system boots up, pay attention to any error messages or warnings related to the GPU or power supply. If you encounter any issues, power down your computer immediately and revisit the connection to troubleshoot any potential problems.
Once your computer successfully boots up with no error messages, it’s time to test the performance of your GPU. You can run benchmarks or engage in graphics-intensive tasks to evaluate the stability and power delivery of the connection.
Monitor the temperature and performance of your GPU during these tests. If you notice any unusual behavior, such as excessive heat or decreased performance, it may indicate a problem with the connection. In such cases, power down your computer and double-check the cable connections to ensure they are secure and properly seated.
It’s also recommended to monitor the voltage levels of your PSU using software or hardware monitoring tools. This will help ensure that the GPU is receiving the appropriate power supply and that there are no fluctuations or inconsistencies.
If everything appears normal during testing and your GPU performs as expected, congratulations! You have successfully connected your 6-pin PSU to an 8-pin GPU, providing the necessary power for smooth and reliable graphics card performance.
If you encounter any issues or are unsure about the stability of the connection, it’s best to seek professional assistance. They can provide guidance and ensure that the modified connection is secure and compatible with your specific hardware components.
By thoroughly testing the connection, you can have peace of mind knowing that your computer is running optimally and the power supply to your GPU is reliable.
Conclusion
Connecting a 6-pin PSU to an 8-pin GPU can be a viable solution when faced with power supply compatibility issues. By following the steps outlined in this guide, you can safely modify the cable and establish a stable connection.
Throughout the process, it is important to prioritize safety precautions, such as disconnecting power, handling cables with care, and seeking professional assistance if needed. Taking these steps will minimize the risk of damage to your hardware and ensure a secure working environment.
Remember to carefully check the compatibility between your power supply unit and GPU before proceeding. Understanding the power connectors and their requirements is crucial in making informed decisions about the modification and its potential impact on performance.
By correctly identifying the appropriate cable and modifying it to accommodate the additional power requirements of the GPU, you can ensure a reliable power supply. Double-checking the connections and testing the connection’s stability further reinforces the successful integration.
It’s worth noting that while connecting a 6-pin PSU to an 8-pin GPU can provide the necessary power, it may restrict the GPU’s performance. Consider this limitation and evaluate if the modified connection is suitable for your specific needs.
If you encounter any difficulties during the process or have doubts about your abilities, it’s always wise to consult a professional technician. They can provide expert advice and assistance, ensuring a seamless and secure connection between your 6-pin PSU and 8-pin GPU.
With proper diligence, caution, and skill, you can overcome power supply compatibility challenges and enjoy the enhanced performance of your graphics card without the need for a complete PSU replacement.