Introduction
Dust buildup is a common issue that can affect the performance and lifespan of various computer components, including the power supply unit (PSU). Over time, dust particles can accumulate inside the PSU, obstructing airflow and causing overheating. This can lead to system instability, increased noise levels, and even hardware failure.
Understanding the importance of maintaining a clean PSU is essential for any computer user, whether you are a casual user or a dedicated gamer. Regularly cleaning the PSU not only improves its efficiency but also helps to ensure the overall health of your computer system.
In this article, we will provide you with a detailed step-by-step guide on how to clean dust out of your PSU, along with the necessary tools and materials needed for the task. Additionally, we will discuss the importance of taking safety precautions while performing PSU cleaning and share some tips and tricks to prevent dust buildup in the future.
By following these guidelines, you can extend the longevity of your PSU and maintain optimal performance for your computer system. So, let’s dive in and learn how to keep your power supply unit free from dust!
Understanding PSU Dust Buildup
Before we delve into the process of cleaning dust out of your PSU, it’s important to understand how dust buildup occurs in the first place. Dust is a common household allergen that is made up of a combination of dead skin cells, fabric fibers, pollen, and other particles present in the environment.
When it comes to computers, dust tends to accumulate due to the constant airflow generated by the system’s cooling fans. This airflow is necessary to keep the components, including the PSU, at an optimal operating temperature. However, this airflow can also carry dust particles into the system, leading to their deposition inside the PSU.
Once inside the PSU, the dust particles can settle on various components, such as the fan blades, heatsinks, and circuitry. Over time, this buildup of dust can impede proper airflow, leading to overheating issues. The accumulation of dust on the fan blades can also cause them to become unbalanced, resulting in increased noise levels and potential damage to the fan motor.
Furthermore, excessive dust buildup can form a layer of insulation, trapping the heat generated by the PSU’s components. This can significantly affect the PSU’s efficiency and may even lead to thermal shutdowns or system crashes.
It’s worth noting that PSU dust buildup is not solely dependent on the environment in which your computer is located. Factors such as the quality of airflow within the computer case, the age of the PSU, and the regularity of cleaning also contribute to the severity of dust accumulation.
Now that we have a better understanding of the causes and consequences of PSU dust buildup, let’s move on to the next section and discover how to clean the dust out effectively.
Tools and Materials Needed
Before you begin the process of cleaning the dust out of your PSU, it’s important to gather the necessary tools and materials to ensure a smooth and efficient cleaning process. Here are the items you will need:
- Screwdriver – A screwdriver is required to open the computer case and access the PSU. Make sure you have the right size and type of screwdriver for your specific case.
- Compressed Air Can – This is the primary tool for cleaning dust out of the PSU. It is available in aerosol form and can be found at most electronics or computer stores.
- Cotton Swabs – Cotton swabs are useful for reaching tight spaces and delicate areas inside the PSU. They help in removing stubborn dust particles that cannot be removed with compressed air alone.
- Isopropyl Alcohol – Isopropyl alcohol is optional but recommended for cleaning any lingering residue or sticky dust. It is commonly available at pharmacies or grocery stores. Use a high percentage of isopropyl alcohol, preferably 90% or above.
- Anti-static Wrist Strap (optional) – An anti-static wrist strap is recommended to prevent any electrostatic discharge that could potentially damage sensitive electronic components in your system. This is especially important if you are working in a dry environment or on carpeted floors.
Remember to read and follow the safety instructions provided on the compressed air can and isopropyl alcohol bottle. These products can be hazardous if not used properly.
Having the right tools and materials at hand ensures that you can perform the cleaning process efficiently and effectively without causing any damage to your PSU or other components.
Now that you have gathered all the necessary equipment, let’s move on to the step-by-step guide on how to clean the dust out of your PSU.
Step-by-Step Guide to Cleaning Dust Out of PSU
Now that you have all the necessary tools and materials, let’s walk through the step-by-step process of cleaning the dust out of your PSU:
- Turn off your computer and unplug the power cord from the wall outlet. This is crucial to ensure your safety and prevent any accidental damage to the system.
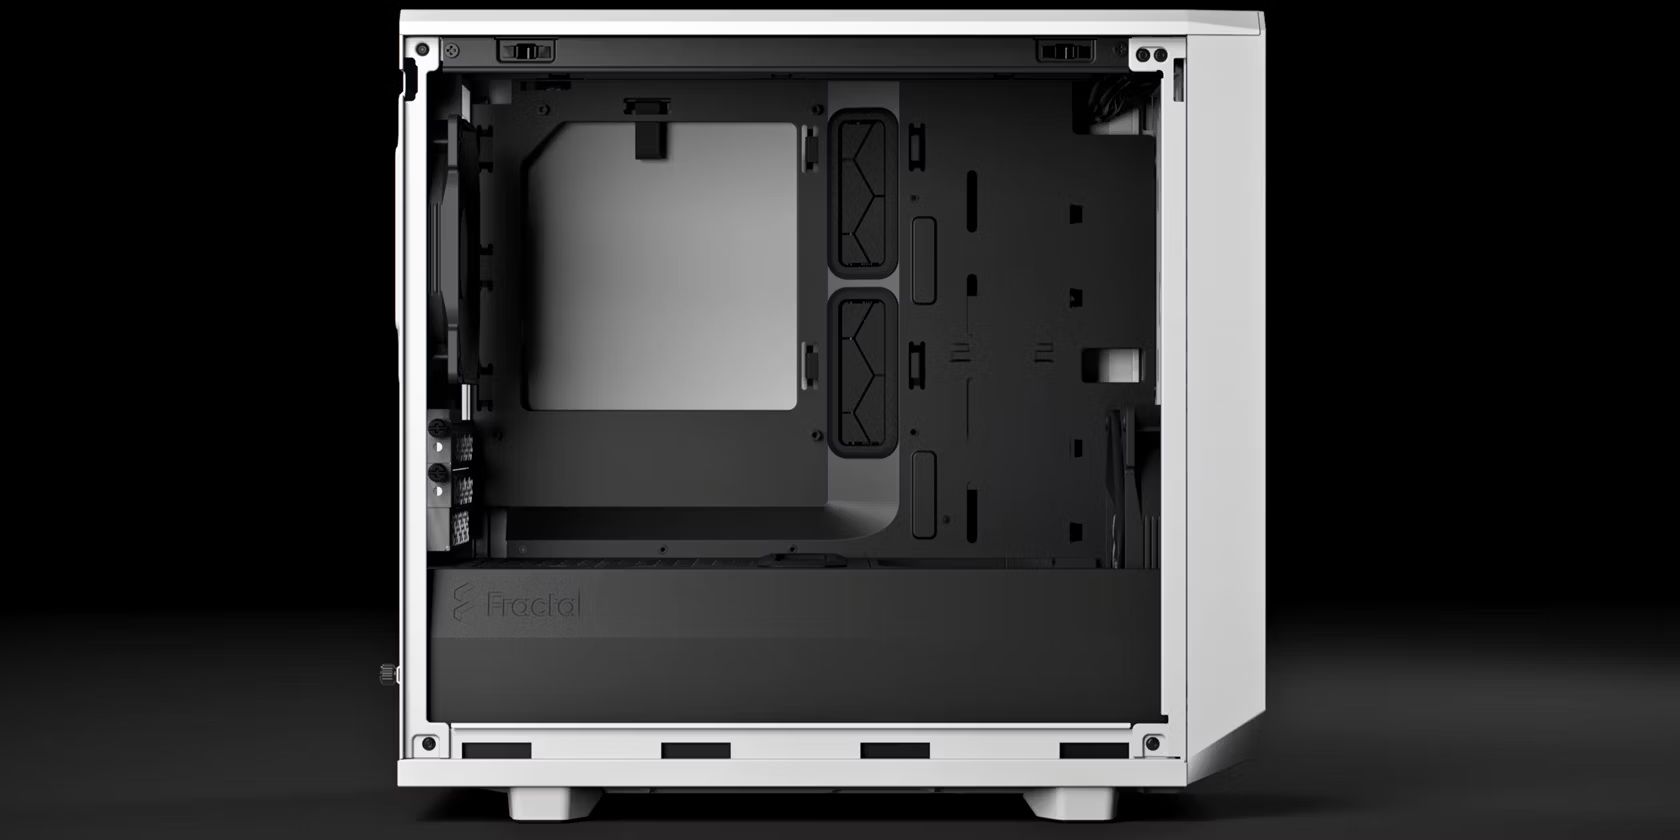
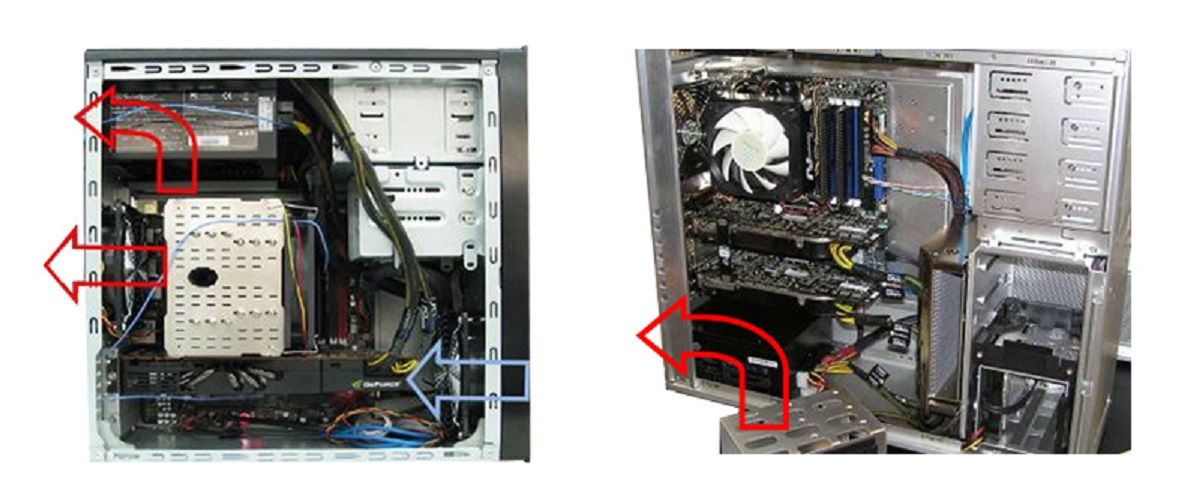
- Using the appropriate screwdriver, open the computer case to gain access to the PSU. Usually, the PSU is located at the top or bottom of the case, near the rear panel.
- Once you have exposed the PSU, use the compressed air can to blow away dust on the exterior of the unit. Hold the can upright and use short bursts of air to avoid condensation buildup. Pay close attention to the fan and any vented areas where dust tends to accumulate.
- To clean the dust inside the PSU, be cautious and avoid direct contact with the internal components. Hold the compressed air can approximately six inches away from the PSU and blow air into the openings and vents, ensuring proper airflow. Move the can in a slow and even motion to dislodge the dust particles effectively.
- For stubborn dust particles, use cotton swabs lightly moistened with isopropyl alcohol to gently clean the surfaces. Be extremely careful and avoid applying excessive pressure or leaving any residue behind.
- After cleaning the external and internal areas of the PSU, allow it to sit for a few minutes to ensure that any residual moisture from the isopropyl alcohol evaporates.
- Once the PSU is completely dry, carefully reassemble the computer case, making sure all screws are tightened securely.
- Plug in the power cord and turn on your computer. Monitor the PSU’s fan and airflow for any unusual noises or vibrations, which could indicate a problem that needs to be addressed.
Congratulations! You have successfully cleaned the dust out of your PSU. Regularly performing this cleaning process can significantly improve the lifespan and performance of your power supply unit.
However, it’s important to note that if you are uncomfortable or unsure about performing the cleaning process yourself, it’s always best to seek assistance from a professional technician.
In the next section, we will discuss important safety precautions that you should keep in mind while cleaning your PSU.
Safety Precautions
When cleaning the dust out of your PSU, it’s crucial to prioritize your safety and take necessary precautions to prevent any accidents or damage to your computer system. Here are some important safety measures to keep in mind:
- Ensure that your computer is powered off and unplugged from the wall outlet before you begin the cleaning process. This will eliminate the risk of electric shock or short-circuiting.
- Before touching any internal components, discharge any static electricity from your body by grounding yourself. You can do this by touching a grounded metal object or wearing an anti-static wrist strap.
- Avoid using excessive force or pressure when cleaning the PSU or its components. Delicate parts can easily get damaged if mishandled.
- When using compressed air, hold the can upright, and use short bursts. Tilting the can or using prolonged bursts can cause moisture buildup or damage the PSU.
- If you choose to use isopropyl alcohol, ensure that the PSU is completely dry before reconnecting it to the power source. Any residual moisture can cause a short circuit and damage the PSU or other components.
- If you encounter any unfamiliar or complicated components inside the PSU, it’s best to refrain from attempting to clean them yourself. Seek professional assistance to avoid any unintentional damage to the PSU or voiding the warranty.
- Always refer to the manufacturer’s guidelines and instructions specific to your PSU model for cleaning and maintenance. Different PSUs may have unique requirements or restrictions.
- If you are uncomfortable or unsure about any aspect of cleaning the PSU, don’t hesitate to consult a professional technician. They have the expertise and knowledge to perform the task safely and efficiently.
By following these safety precautions, you can minimize the risk of accidents and ensure the longevity of your PSU and overall computer system.
In the next section, we will share some helpful tips and tricks to prevent dust buildup in your PSU and keep it cleaner for longer.
Tips and Tricks for Preventing PSU Dust Buildup
Prevention is key when it comes to reducing dust buildup in your PSU and maintaining a clean computer system. Here are some helpful tips and tricks to keep your PSU dust-free for longer:
- Keep your computer in a clean and dust-free environment. Regularly dust your workspace and ensure proper airflow around the computer case.
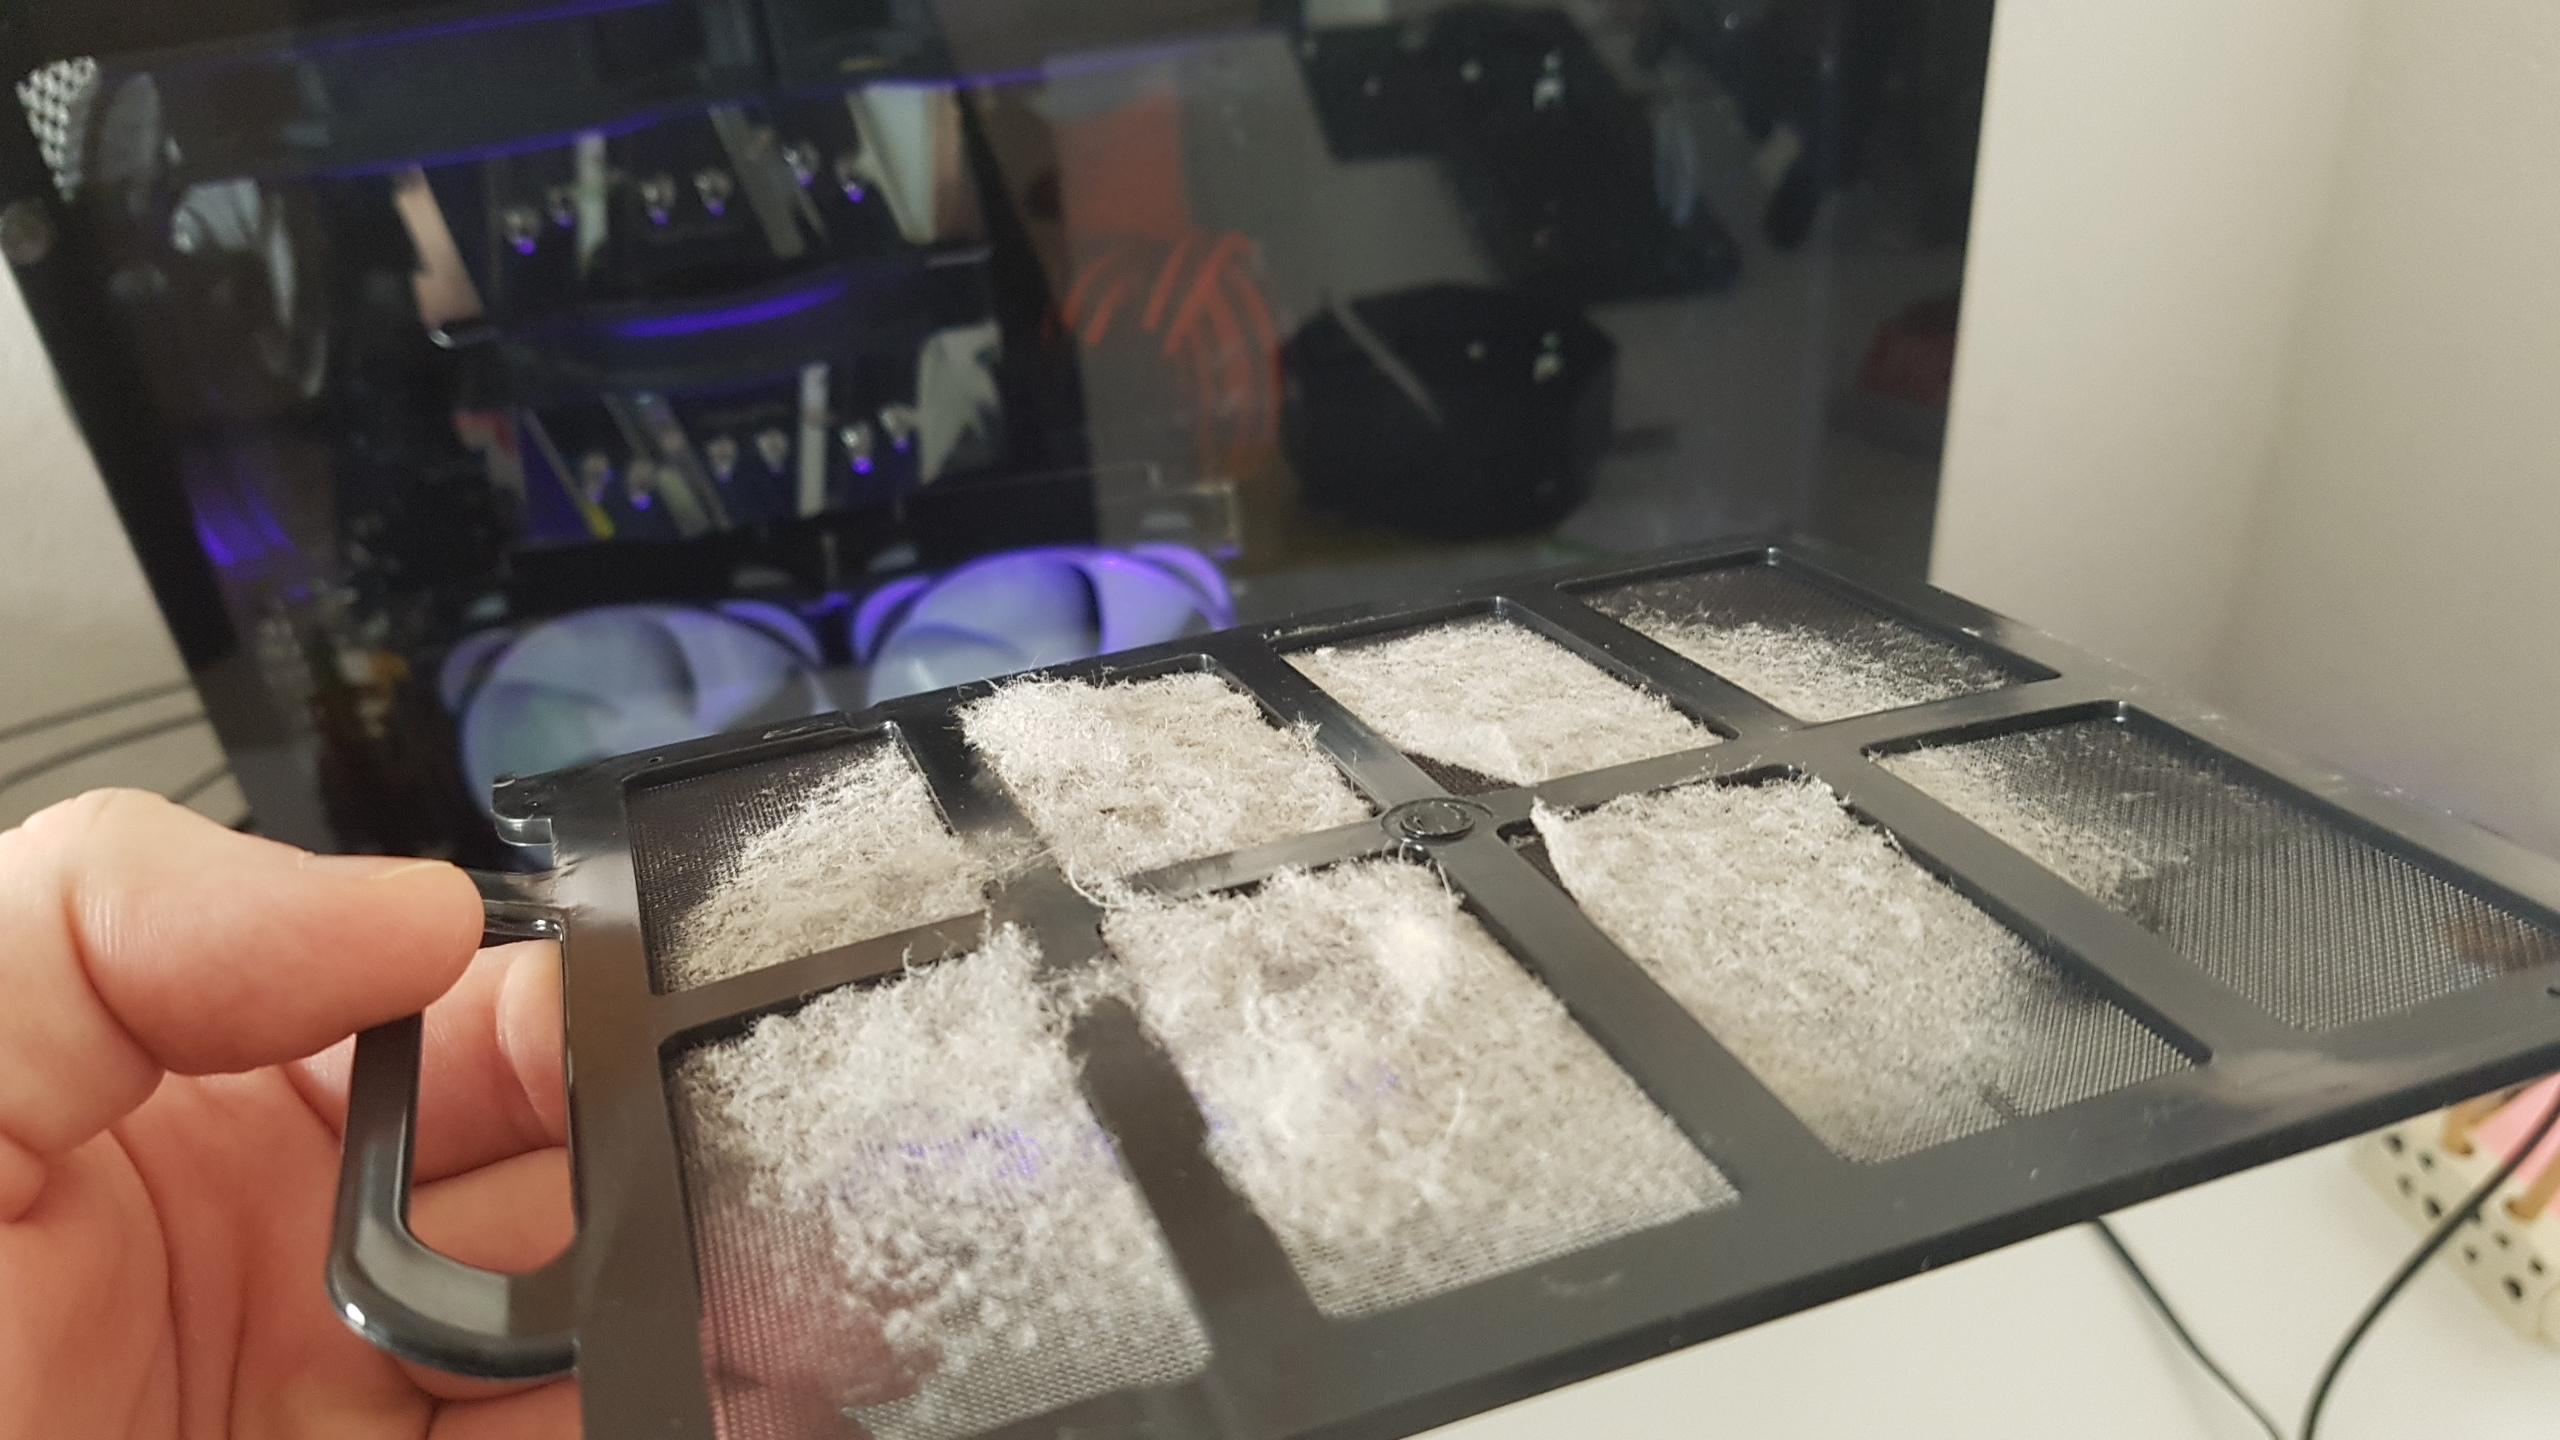
- Consider using dust filters or dust-proof computer cases. These accessories can significantly reduce the amount of dust that enters your system, including the PSU.
- Position your computer on a raised surface, such as a desk or shelf, to avoid dust accumulation from carpets or floors.
- Keep the surrounding area free from excessive moisture, as moisture can promote dust accumulation and lead to potential corrosion inside the PSU.
- Regularly clean and maintain your computer case, including fans, vents, and filters. A clean case allows for better airflow and reduces the chances of dust reaching the PSU.
- Consider using positive air pressure in your computer case. This means having more intake fans than exhaust fans. The positive pressure helps to push out dust through the exhaust vents rather than pulling it in through gaps or cracks.
- Avoid smoking or vaping near your computer. Smoke particles can quickly accumulate and cause sticky residue, which attracts more dust.
- Perform regular maintenance on your PSU, following the manufacturer’s guidelines. This may include cleaning the fan blades and vents, and checking for any signs of wear or damage.
- Consider using a fan controller or software to adjust the fan speed according to the system’s temperature. Operating the fans at lower speeds when not under heavy load can help reduce dust buildup.
- Invest in a quality power supply unit with good airflow design and built-in dust filters. These features can help minimize dust accumulation and improve the PSU’s overall performance.
By implementing these tips and tricks, you can significantly reduce the amount of dust that enters your PSU and prolong its lifespan. A cleaner PSU leads to better system performance and a more reliable computing experience.
Now that you are equipped with the knowledge of cleaning and preventing dust buildup in your PSU, you can enjoy a cleaner and more efficient computer system for years to come.
Conclusion
Maintaining a clean power supply unit (PSU) is essential for the optimal performance and longevity of your computer system. Dust buildup can obstruct airflow, lead to overheating, increase noise levels, and even cause hardware failure. By regularly cleaning the dust out of your PSU, you can prevent these issues and ensure a smooth and reliable computing experience.
In this article, we discussed the process of cleaning dust out of your PSU step-by-step. We also highlighted the importance of understanding PSU dust buildup, gathering the necessary tools and materials, taking safety precautions, and implementing preventive measures to minimize dust accumulation.
Remember to always power off and unplug your computer before cleaning the PSU, and exercise caution to avoid damaging any delicate components. Additionally, ensure that the PSU is completely dry before reconnecting it to the power source to prevent any potential short circuits.
By following the tips and tricks provided, such as keeping your computer and surrounding environment clean, using dust filters, and performing regular maintenance, you can minimize dust accumulation and extend the lifespan of your PSU.
Taking the time to clean your PSU and prevent dust buildup not only improves its efficiency but also contributes to the overall health and performance of your computer system. So, don’t neglect this important maintenance task; your PSU will thank you!
Now it’s time to put your knowledge into action and give your PSU the cleaning it deserves. Enjoy a cleaner and more reliable computing experience!