Introduction
Welcome to this guide on how to change to HDMI on a Samsung TV. HDMI (High-Definition Multimedia Interface) is a widely-used technology that allows you to connect your TV to various devices such as gaming consoles, DVD players, and streaming devices. By connecting your Samsung TV to an HDMI source, you can enjoy high-quality audio and video content.
Whether you are setting up your new Samsung TV or simply want to switch to HDMI from a different input, this article will provide you with a step-by-step guide to make the process quick and easy. With just a few simple steps, you will be able to unleash the full potential of your Samsung TV and enjoy a seamless viewing experience.
Before we delve into the steps, it’s important to ensure that your Samsung TV has an HDMI port. Most modern Samsung TVs come equipped with multiple HDMI ports, which are usually located on the back or the side of the TV. These ports are labeled as HDMI 1, HDMI 2, HDMI 3, and so on. If you’re unsure whether your TV has an HDMI port or where to find it, refer to the TV’s user manual or check the manufacturer’s website for further information.
Now that you’ve confirmed that your Samsung TV has an HDMI port, let’s move on to the next step, which is connecting the HDMI cable.
Step 1: Check for HDMI Port
The first step in changing to HDMI on your Samsung TV is to locate the HDMI port(s). As mentioned earlier, most modern Samsung TVs come equipped with multiple HDMI ports, which are typically located on the back or side of the TV. To locate the HDMI port, follow these steps:
- Examine the back or side panel of your Samsung TV, looking for a series of rectangular ports.
- Look for HDMI labels next to the ports, typically labeled as HDMI 1, HDMI 2, HDMI 3, and so on. These labels indicate the different HDMI inputs available on your TV.
- If you have trouble locating the HDMI ports, consult your TV’s user manual or check the manufacturer’s website for specific instructions.
Once you’ve identified the HDMI port(s), you’re ready to move on to the next step, which involves connecting the HDMI cable. Ensure that you have an HDMI cable available before proceeding.
Step 2: Connect HDMI Cable
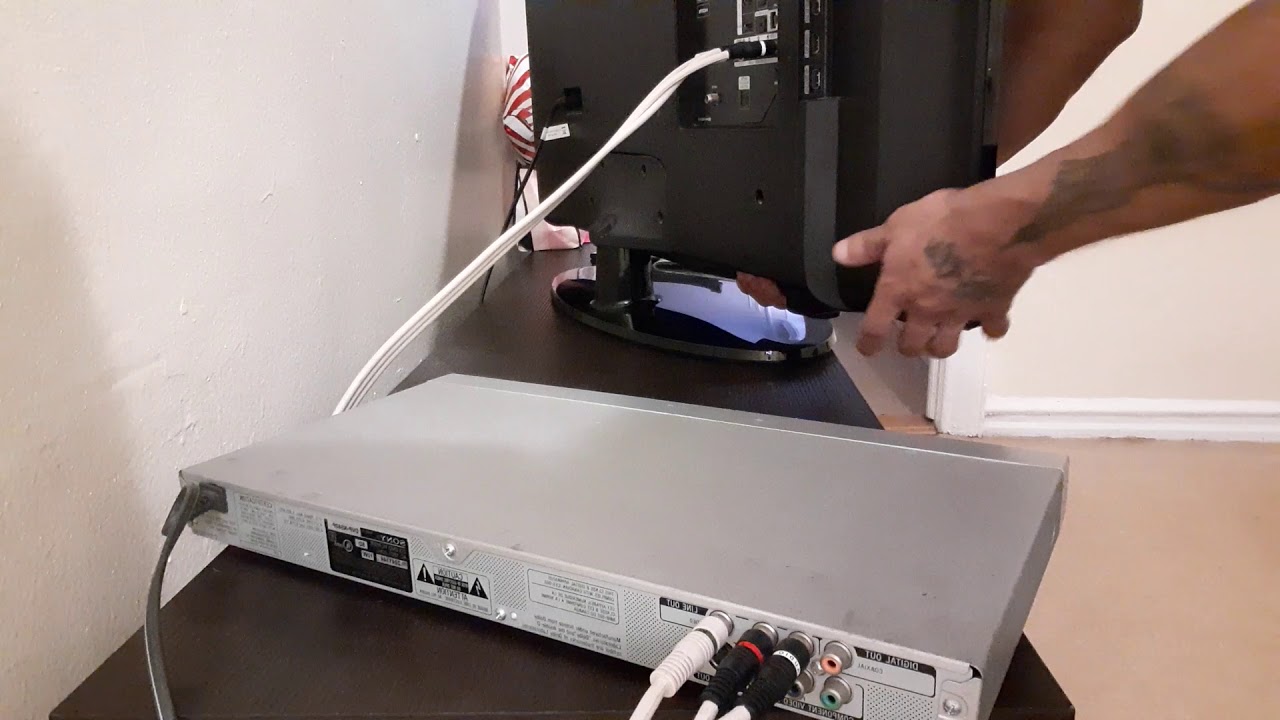
Now that you have located the HDMI port(s) on your Samsung TV, it’s time to connect the HDMI cable. Follow these simple steps:
- Take one end of the HDMI cable and insert it into the HDMI port on your TV. Make sure to align the shape of the HDMI connector with the port before pushing it in.
- Take the other end of the HDMI cable and connect it to the HDMI output port on your desired device, such as a gaming console, DVD player, or streaming device. Again, ensure that the connector is aligned properly before inserting it.
- Once both ends of the HDMI cable are securely connected, you’ll notice that the cable is now linking your Samsung TV and the external device.
- If you have multiple HDMI ports on your TV, remember which port you connected the HDMI cable to. This will be important in the next step when selecting the HDMI input source.
With the HDMI cable securely connected, you’re now ready to proceed to the next step: changing the source/input on your Samsung TV.
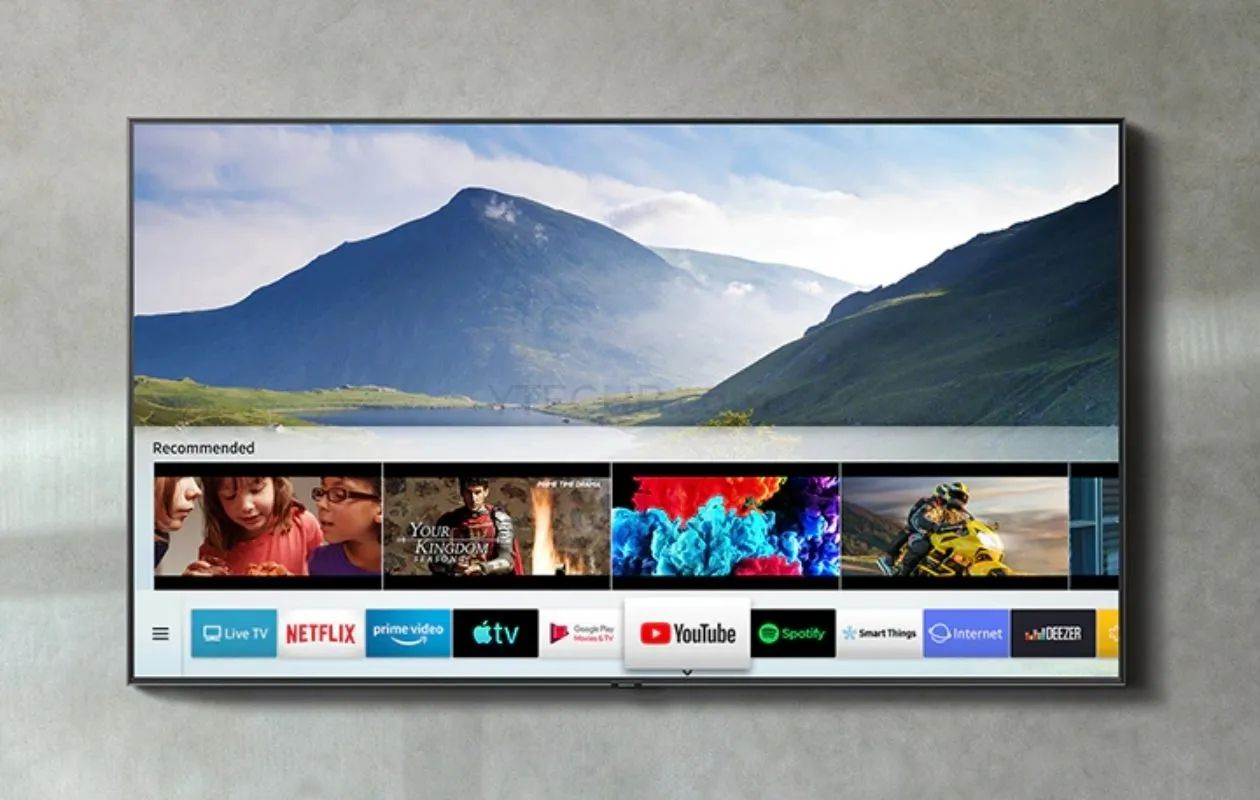
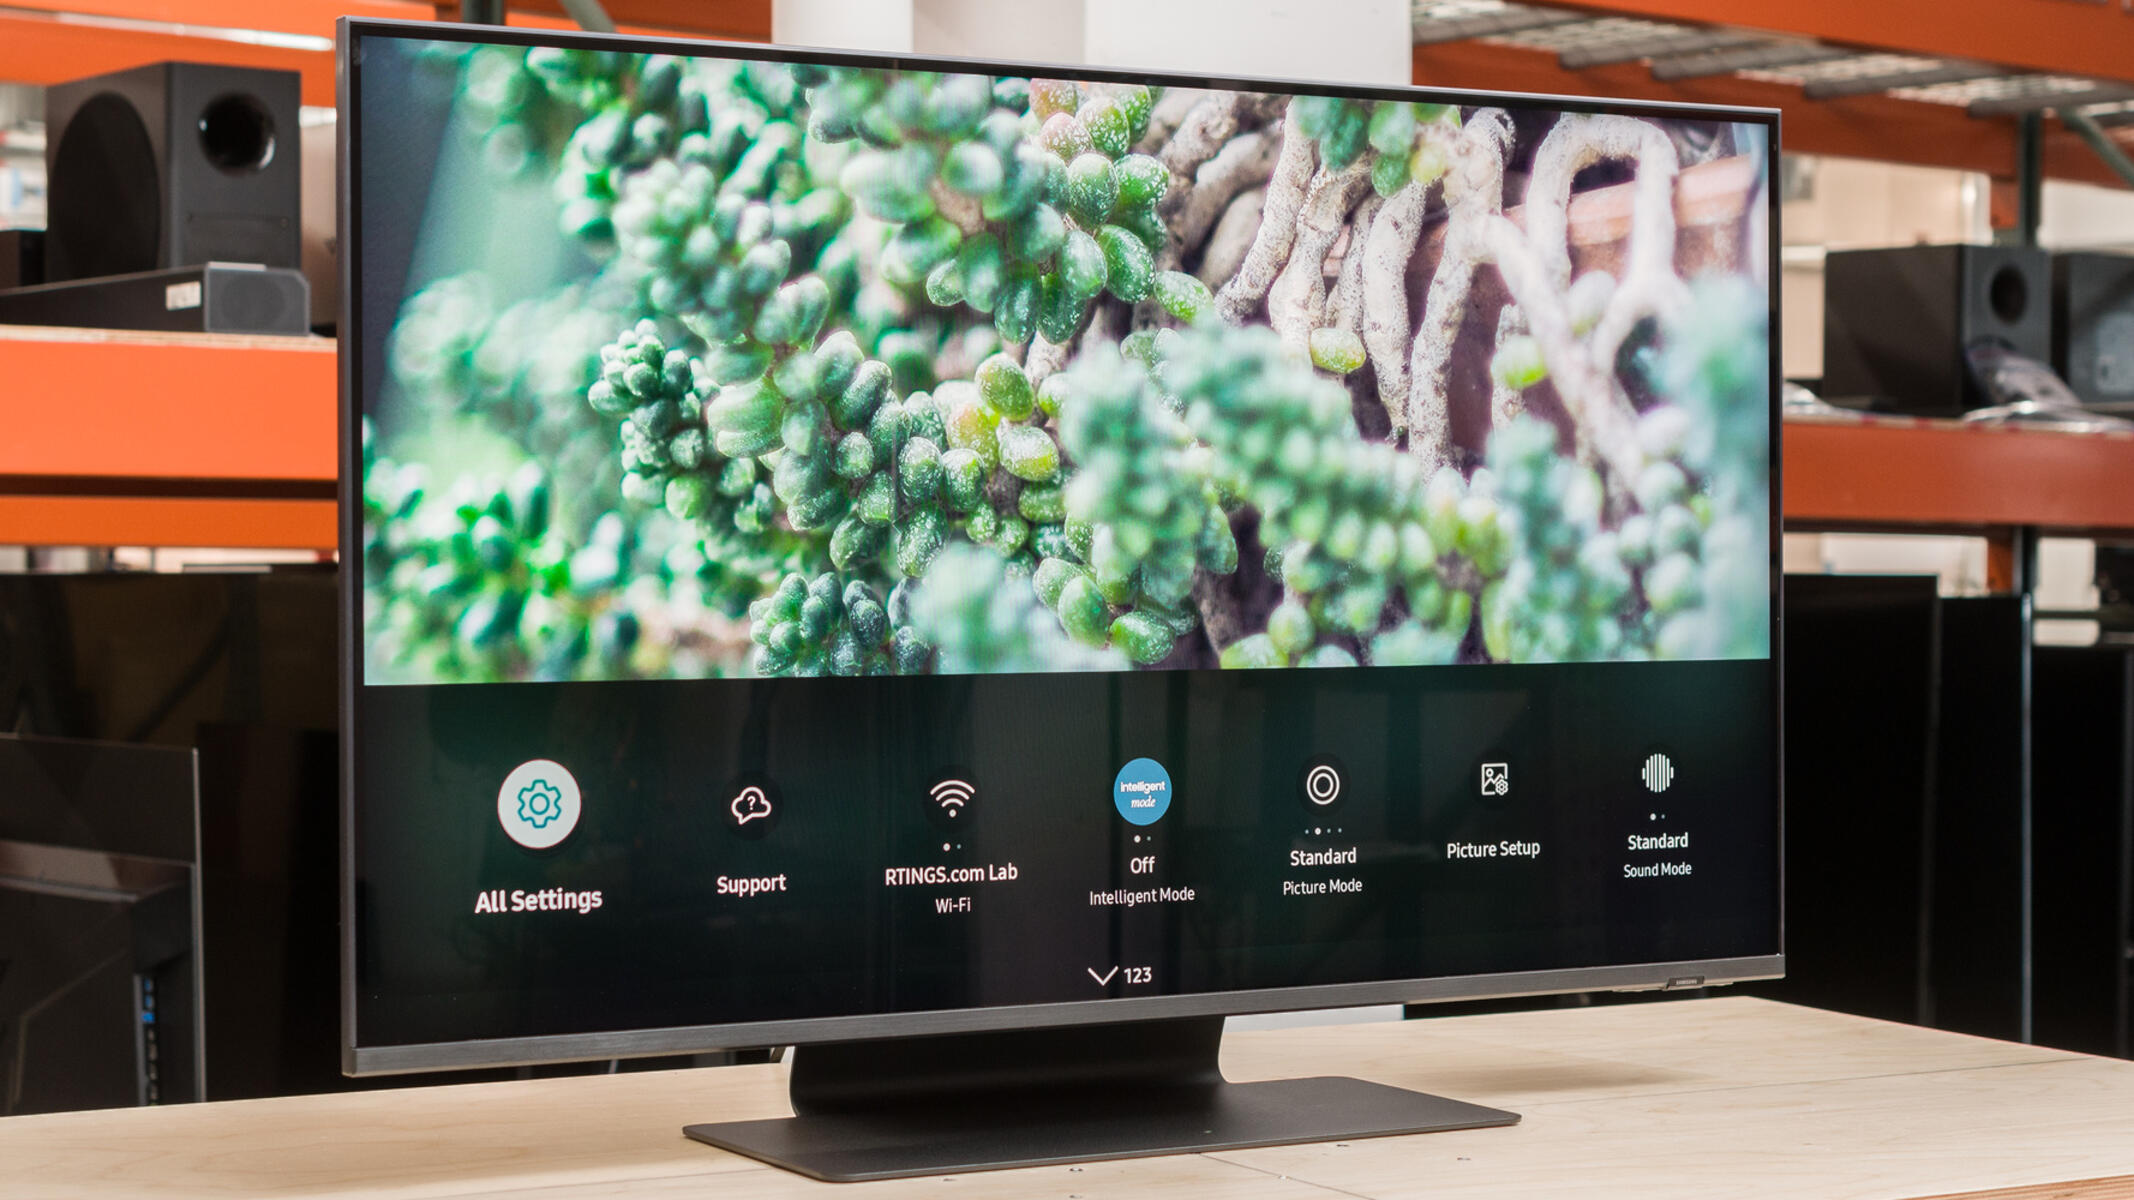
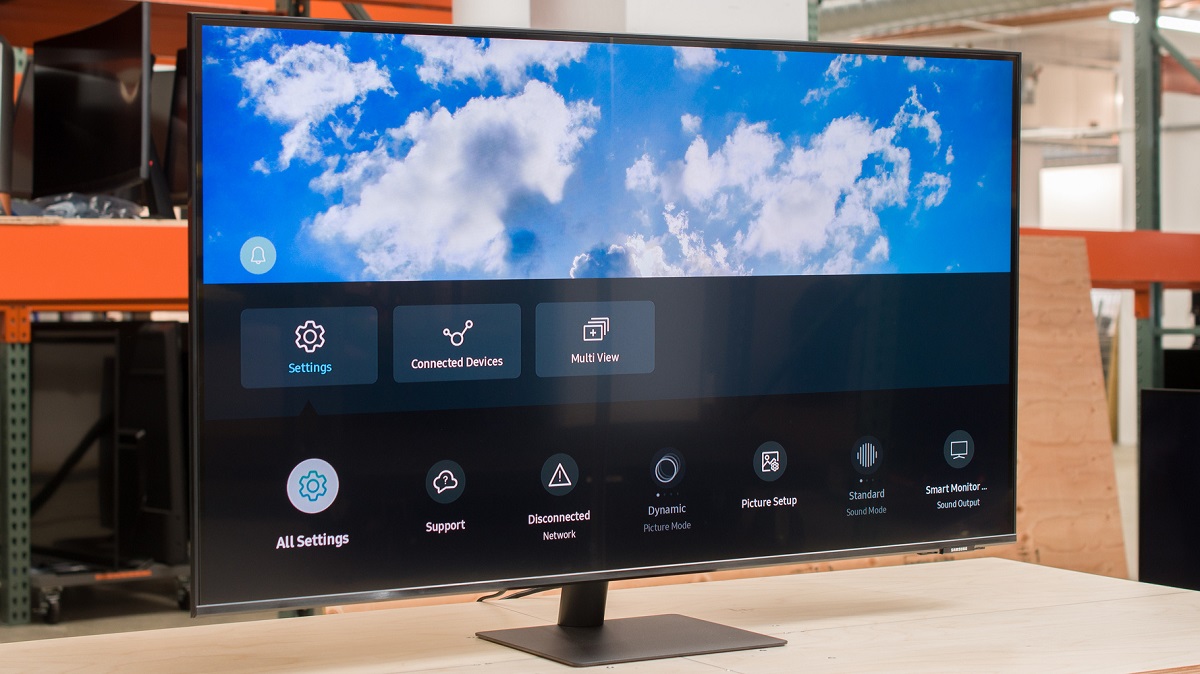
Step 3: Change Source/Input
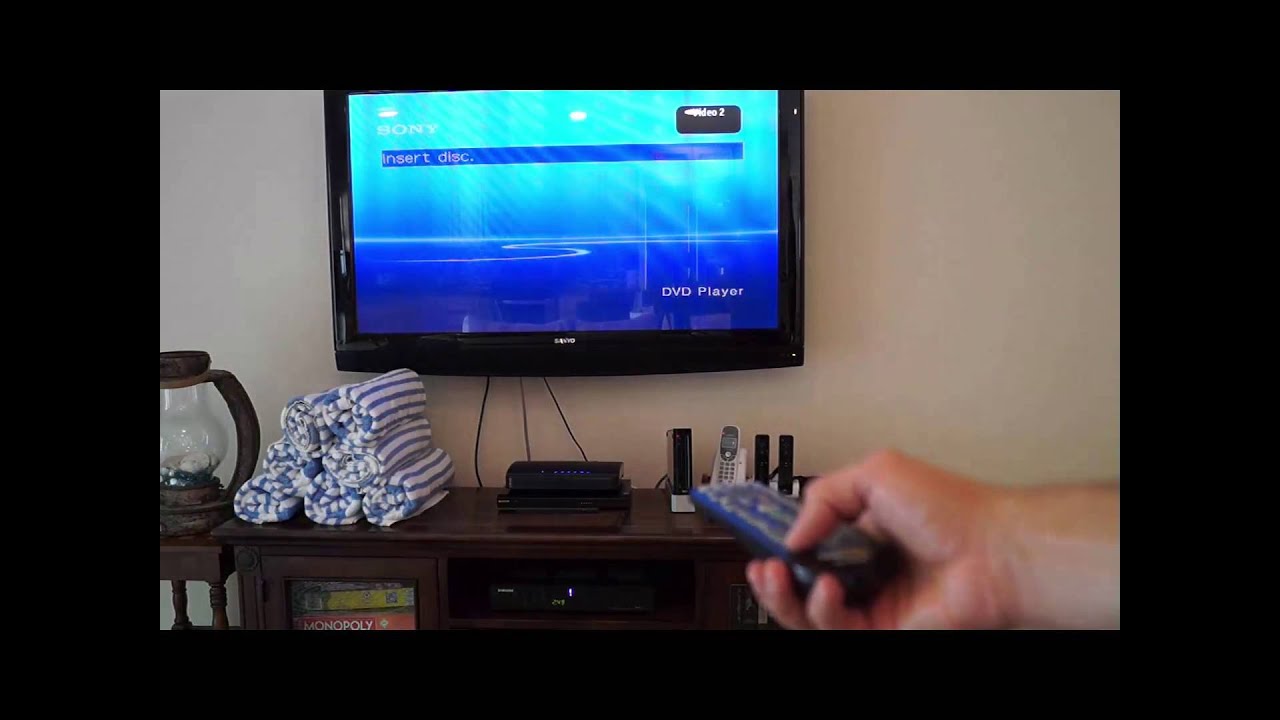
After connecting the HDMI cable, the next step is to change the source/input on your Samsung TV. This is necessary for the TV to recognize the HDMI connection and display the content from the connected device. To change the source/input, follow these steps:
- Locate the remote control that came with your Samsung TV. It typically has a button labeled “Source” or “Input”.
- Press the “Source” or “Input” button on the remote control. This will bring up a menu on the TV screen.
- Using the arrow buttons on the remote control, navigate through the menu to find the HDMI input you connected the cable to. It will be labeled as HDMI 1, HDMI 2, or the specific name of the connected device.
- Once you have highlighted the correct HDMI input, press the “Enter” or “OK” button on the remote control to select it.
After selecting the HDMI input, your Samsung TV will switch to displaying the content from the connected device. You should now see the screen of your gaming console, DVD player, or streaming device on your TV.
If you don’t see any content or the screen appears blank, make sure that the connected device is powered on and properly connected to the HDMI cable. Additionally, check that the HDMI cable is securely inserted into both the TV and the device.
Now that you’ve successfully changed the source/input to the HDMI input, it’s time to move on to the next step: adjusting the HDMI settings (if necessary).
Step 4: Select HDMI as Input Source
Once you have changed the source/input to the HDMI input on your Samsung TV, you may need to further specify the HDMI source in some cases. This step is particularly relevant if you have multiple HDMI devices connected to your TV. Here’s how you can select the HDMI as the input source:
- Ensure that the correct HDMI input is still selected on your TV.
- Using the remote control, look for a button or menu option that allows you to further specify or fine-tune the HDMI source.
- Some Samsung TVs have a dedicated button labeled “Source” or “Input” that you can press repeatedly to cycle through the available HDMI inputs.
- If there is no dedicated button, access the TV’s settings menu by pressing the “Menu” button on the remote control. Navigate to the input or source settings and select the appropriate HDMI input.
- Once you have selected the desired HDMI input source, press the “Enter” or “OK” button to confirm your selection.
By selecting the HDMI input source, you ensure that the Samsung TV is specifically tuned to display the content from the connected HDMI device. This step may not be required if you have only one HDMI device connected to your TV.
If you encounter any issues, such as no signal or audio/video problems, ensure that the HDMI input and device are properly connected and powered on. You may also want to check if there are any firmware updates available for your TV that could resolve compatibility issues.
Now that you have successfully selected the HDMI input source on your Samsung TV, you can proceed to the next step: adjusting the HDMI settings (if necessary).
Step 5: Adjust HDMI Settings (if necessary)
After selecting the HDMI input source on your Samsung TV, you may need to adjust the HDMI settings to optimize the audio and video output. While most HDMI devices automatically configure the settings, there are situations where manual adjustments may be necessary. Follow these steps to adjust the HDMI settings:
- Access the TV’s settings menu by pressing the “Menu” button on the remote control.
- Navigate to the “Settings” or “Options” section using the arrow buttons.
- Look for an option related to HDMI or audio/video settings. It could be labeled as “HDMI Settings,” “Picture Settings,” or something similar.
- Enter the HDMI settings menu and adjust the various options according to your preference. Some common settings include picture mode, aspect ratio, brightness, contrast, and audio output.
- Make changes to the settings using the arrow buttons on the remote control and refer to the TV’s user manual or on-screen instructions for specific guidance.
Keep in mind that the specific HDMI settings and options may vary depending on the model of your Samsung TV. Experiment with different settings to find the combination that provides the best audio and video quality for your connected HDMI device.
If you encounter any issues or are unsure about specific settings, you can refer to the TV’s user manual or seek assistance from the manufacturer’s customer support.
Congratulations! You have now successfully changed to HDMI on your Samsung TV and adjusted the necessary settings. Enjoy the enhanced audio and video experience that HDMI offers. Sit back, relax, and immerse yourself in your favorite movies, games, or other content.
Conclusion
Changing to HDMI on your Samsung TV is a simple and straightforward process that allows you to unlock the full potential of your TV and enjoy high-quality audio and video content. By following the steps outlined in this guide, you can connect your HDMI devices and seamlessly switch to the HDMI input source in just a few easy steps.
Remember to check for the HDMI port on your Samsung TV, connect the HDMI cable securely, change the source/input to the HDMI input, and adjust the HDMI settings if necessary. By doing so, you can ensure that your Samsung TV is optimized for the connected HDMI device and enjoy a superior audiovisual experience.
If you encounter any issues during the process, be sure to consult your TV’s user manual or seek assistance from the manufacturer’s customer support. They can provide specific guidance and help you troubleshoot any problems that may arise.
Now that you’re equipped with the knowledge and steps to change to HDMI on your Samsung TV, you can easily connect your favorite devices and enjoy a world of entertainment. Sit back, relax, and immerse yourself in the captivating world of movies, games, and more, all in stunning high definition!