Introduction
Welcome to this step-by-step guide on how to connect an external DVD player to a Series 55201 Samsung LED TV. If you’re a movie enthusiast or have a collection of DVDs that you’d like to enjoy on a bigger screen, connecting a DVD player to your TV is a great option.
While connecting a DVD player to a Samsung LED TV may seem overwhelming at first, rest assured that it’s a straightforward process that can be completed in just a few simple steps. In this guide, we’ll walk you through the process, ensuring that you have all the information you need to successfully connect your external DVD player to your TV.
Before we dive into the steps, it’s important to note that the Series 55201 Samsung LED TV supports HDMI connectivity, which is the standard for connecting external devices such as DVD players. HDMI provides high-quality audio and video transmission, making it an ideal choice for a seamless viewing experience.
So, if you’re ready to enhance your entertainment setup and start enjoying your favorite movies on the big screen, let’s get started with the requirements and step-by-step instructions for connecting an external DVD player to your Series 55201 Samsung LED TV.
Requirements
Before you begin the process of connecting your external DVD player to your Series 55201 Samsung LED TV, there are a few things you’ll need to ensure a successful setup. Here are the requirements:
1. DVD Player: You’ll need an external DVD player that supports HDMI output. Most modern DVD players come with HDMI connectivity options, but it’s important to double-check before making a purchase or using an existing DVD player.
2. HDMI Cable: To establish the connection between the DVD player and the TV, you’ll need an HDMI cable. Make sure you have a high-quality HDMI cable that is long enough to reach from the DVD player to the TV.
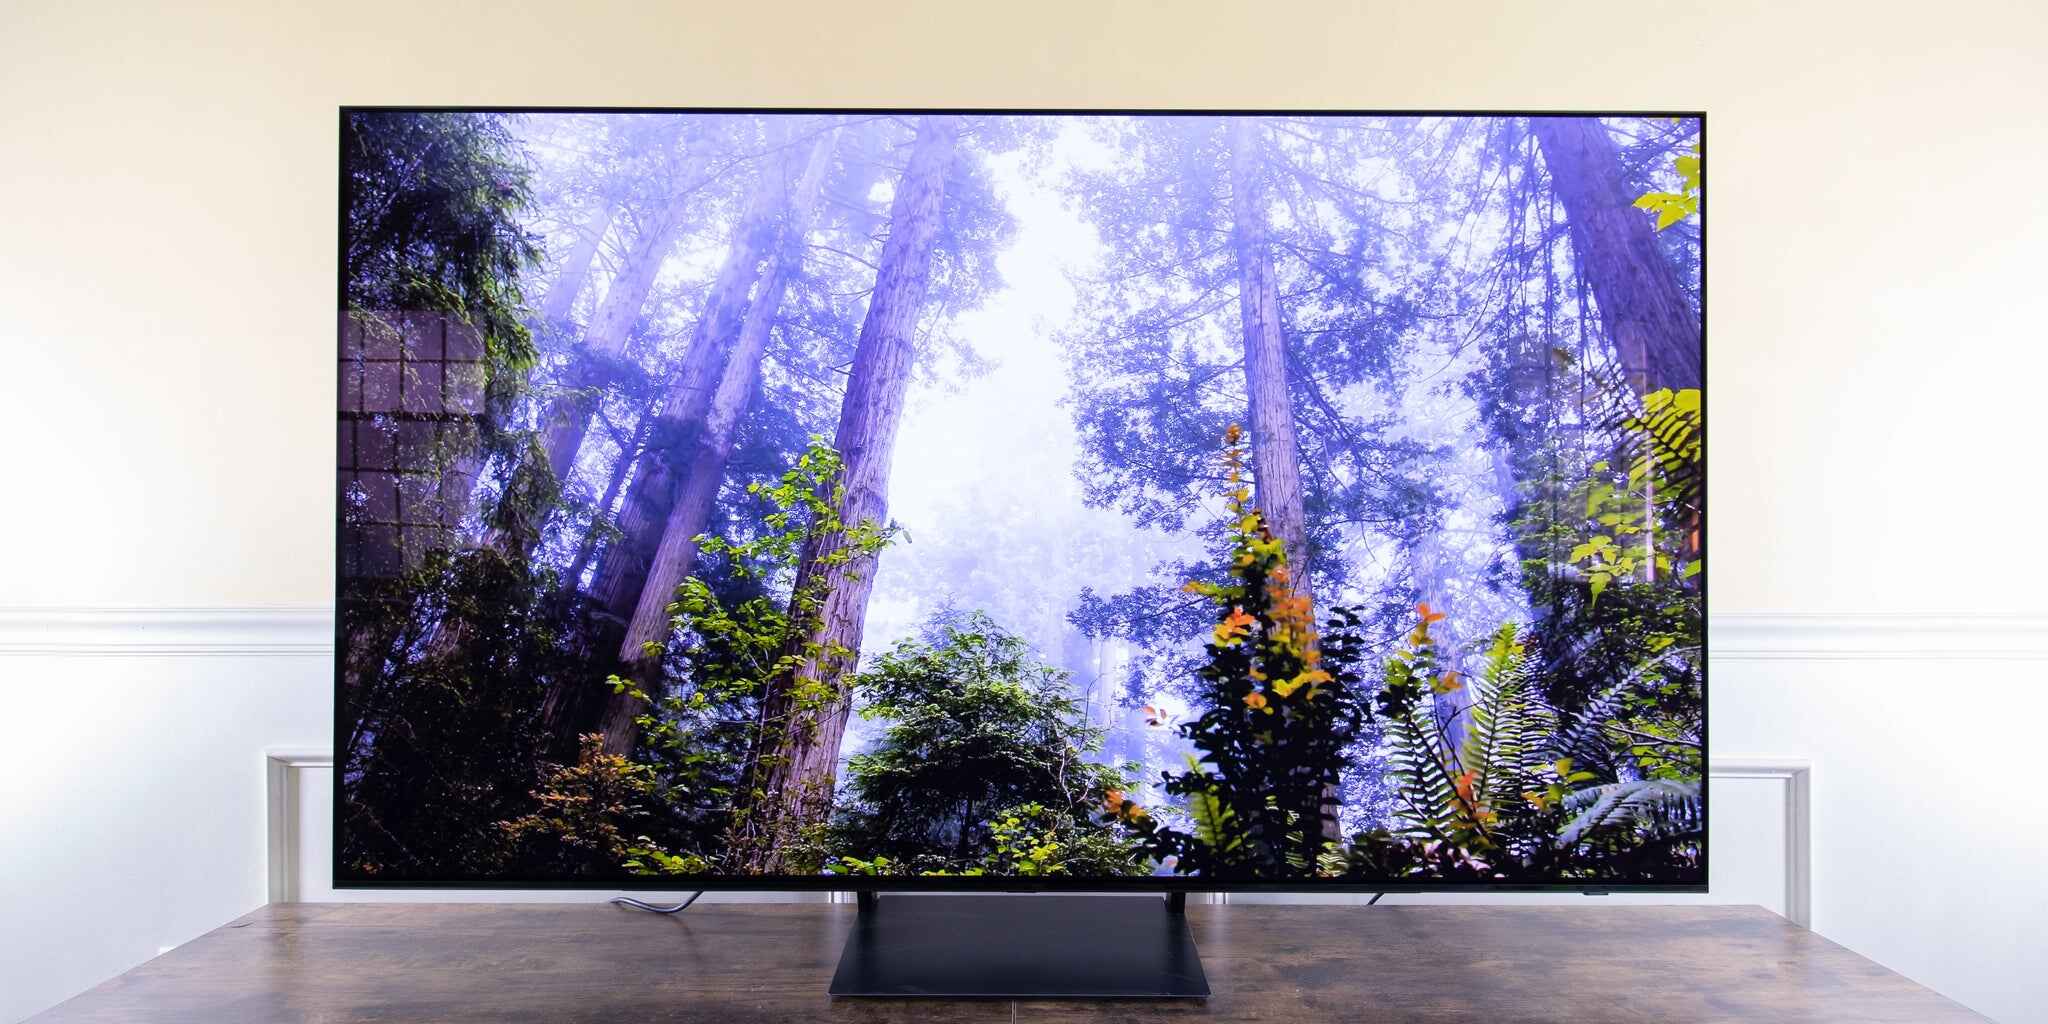
3. Series 55201 Samsung LED TV: Of course, you’ll need a Series 55201 Samsung LED TV or a compatible model. This guide specifically focuses on the Series 55201 model, but the steps may be similar for other Samsung LED TVs.
4. Power Source: Ensure that both the DVD player and the TV are connected to a power source. This is necessary for them to function properly during the setup process.
5. Remote Control: Keep the remote control for your Samsung LED TV handy, as you’ll need it to access certain settings and change the input source.
6. Patience and Attention: Connecting external devices to your TV can be a bit technical, so it’s important to be patient and pay attention to the instructions provided.
By having these requirements ready and available, you’ll be well-prepared to connect your external DVD player to your Series 55201 Samsung LED TV. Let’s move on to the step-by-step instructions to set up the connection in the next section.
Step 1: Check Compatibility
Before diving into the process of connecting your external DVD player to your Series 55201 Samsung LED TV, you need to verify the compatibility of both devices. Here’s what you need to consider:
1. DVD Player Compatibility: Ensure that your external DVD player has an HDMI output. Check the DVD player’s specifications or user manual to confirm that it supports HDMI connectivity. If it doesn’t, you might need to consider other connection options or purchase a different DVD player that supports HDMI.
2. TV Compatibility: Make sure that your Series 55201 Samsung LED TV has an HDMI input port. Most modern TVs have this feature, but it’s always a good idea to double-check. Locate the HDMI input ports on the back or side of your TV. The HDMI ports are usually labeled, so look for labels such as “HDMI 1”, “HDMI 2”, etc.
3. HDMI Version: Check the HDMI version supported by both your DVD player and your TV. HDMI versions can vary, with newer versions offering enhanced features and capabilities. While most HDMI versions are backward compatible, it’s ideal to have matching HDMI versions on both devices for optimal performance. If you’re unsure about the HDMI version of your devices, refer to the user manuals or consult the manufacturer’s website.
By ensuring the compatibility of your DVD player and TV, you can avoid any complications during the connection process. It’s important to note that HDMI connections provide the best audio and video quality, so it’s recommended to use an HDMI connection if your devices support it.
Once you’ve confirmed the compatibility of your DVD player and TV, you’re ready to proceed to the next steps of connecting your external DVD player to your Series 55201 Samsung LED TV.
Step 2: Locate the HDMI Port on the TV
Once you have confirmed the compatibility of your Series 55201 Samsung LED TV and DVD player, the next step is to locate the HDMI port on your TV. This is where you will connect the HDMI cable from your DVD player. Follow these steps to find the HDMI port:
1. Check the Back or Side of the TV: The HDMI ports on your Samsung LED TV are typically located on the back or side panel. Carefully examine the TV to find the HDMI ports. They are usually labeled as “HDMI 1”, “HDMI 2”, and so on.
2. Use the User Manual: If you’re having trouble locating the HDMI ports, consult the user manual that came with your TV. The manual should provide a diagram or description of the different ports and their locations.
3. Consider the TV’s Orientation: Depending on how your TV is set up, the HDMI ports may be oriented differently. If your TV is wall-mounted, the HDMI ports may be on the side for easier access. If your TV is on a stand, the HDMI ports may be at the back.
4. Count the HDMI Ports: Take note of the number of HDMI ports available on your TV. This information will come in handy when connecting multiple devices in the future.
Once you have located the HDMI port on your Series 55201 Samsung LED TV, you’re ready to move on to the next step of connecting the HDMI cable from your DVD player. Make sure to have your HDMI cable and DVD player ready as we proceed to the following step.
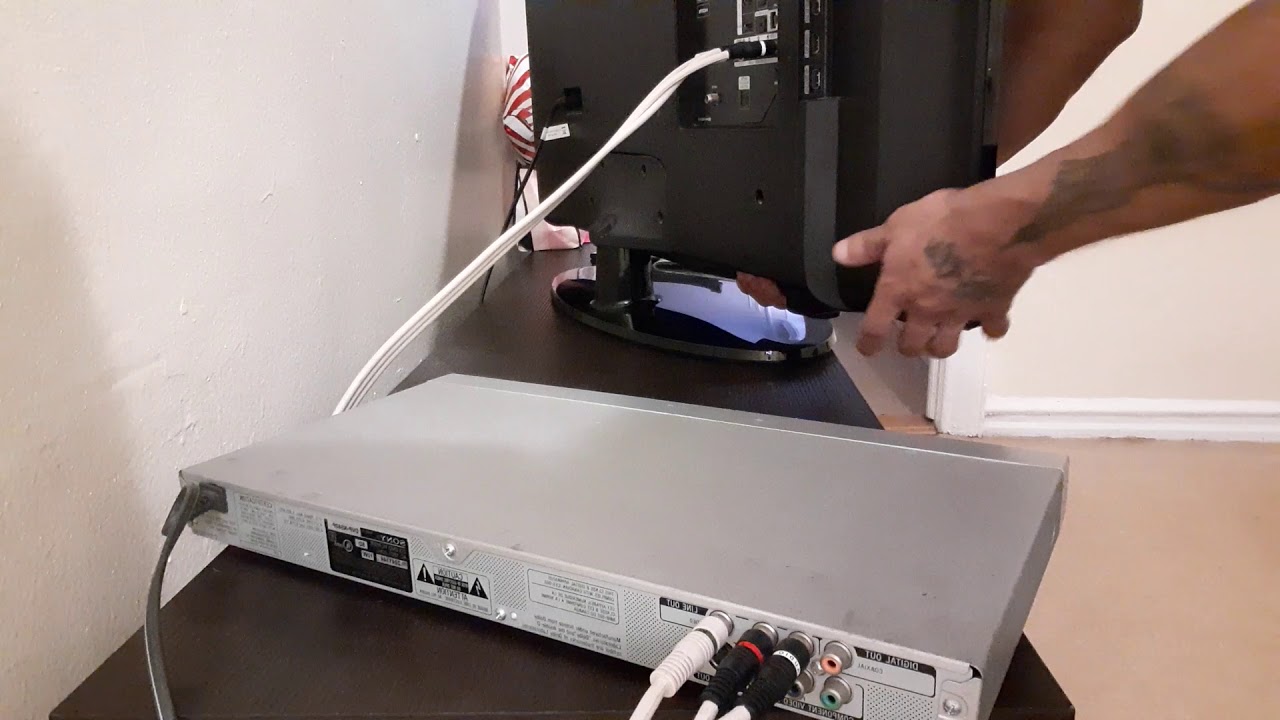
Step 3: Connect the HDMI Cable to the DVD Player
Now that you have located the HDMI port on your Series 55201 Samsung LED TV, it’s time to connect the HDMI cable to your DVD player. Follow these steps:
1. Turn off the DVD Player: Before making any connections, ensure that the DVD player is turned off and unplugged from the power source. This is important to prevent any accidental damage during the setup process.
2. Locate the HDMI Output: On the back of your DVD player, look for an HDMI output port. It is usually labeled as “HDMI OUT” or similar. If there are multiple HDMI output ports, note which one you will be using.
3. Insert one end of the HDMI cable: Take one end of the HDMI cable and firmly insert it into the HDMI output port on the back of the DVD player. Make sure it is securely connected to avoid any loose connections or interruptions in the signal transmission.
4. Secure the HDMI cable: Once the HDMI cable is inserted into the DVD player, ensure it is secure and snug. Avoid pulling or tugging on the cable excessively, as this can cause damage to the connectors or the cable itself.
5. Position the DVD player: Depending on the layout of your entertainment setup, position the DVD player close to the TV, making sure there is enough slack in the HDMI cable to comfortably reach the TV.
By following these steps, you have now successfully connected one end of the HDMI cable to your DVD player. In the next step, we will connect the other end of the HDMI cable to your Series 55201 Samsung LED TV. Keep the DVD player and HDMI cable ready as we proceed to the next step of the setup process.
Step 4: Connect the Other End of the HDMI Cable to the TV
After connecting one end of the HDMI cable to your DVD player, it’s time to connect the other end to your Series 55201 Samsung LED TV. Follow these steps:
1. Locate the HDMI Input: Refer back to the HDMI port on your TV that you identified in Step 2. It is usually labeled as “HDMI 1”, “HDMI 2”, or similar. Make sure you have identified the correct HDMI input port where you will be connecting your DVD player.
2. Insert the HDMI Cable: Take the other end of the HDMI cable and firmly insert it into the HDMI input port on your Series 55201 Samsung LED TV. Ensure a secure connection to avoid any signal disruptions.
3. Note the HDMI Input Label: Take note of which HDMI input port you used to connect the DVD player. This information will be necessary when changing the input source on your TV.
4. Secure the HDMI cable: Ensure that the HDMI cable is securely connected to the TV. Gently tug on the cable to make sure it is properly inserted and securely in place.
5. Arrange the Cable: Neatly arrange the HDMI cable along the back of the TV or in a cable management system. This will help avoid any unsightly cable clutter and keep your setup looking clean and organized.
By following these steps, you have now successfully connected both ends of the HDMI cable – one end to your DVD player and the other end to your Series 55201 Samsung LED TV. In the next step, we will turn on the DVD player and change the input source to view the content. Get ready to power on the DVD player as we move forward with the setup process.
Step 5: Power on the DVD Player
With the HDMI cable connected to both your DVD player and your Series 55201 Samsung LED TV, it’s time to power on the DVD player. Follow these steps to get it up and running:
1. Locate the Power Button: On your DVD player, locate the power button. It is usually located on the front or top panel of the device. If you can’t find it, refer to the user manual of your DVD player for specific instructions.
2. Connect the DVD Player to Power: Plug the power cable of your DVD player into a power outlet. Ensure that the power cable is securely connected at both ends.
3. Turn on the DVD Player: Press the power button on your DVD player to turn it on. You may see a power indicator light or display on the DVD player to indicate that it is now powered on.
4. Check the TV Screen: Switch your attention to your Series 55201 Samsung LED TV. You should see a blank screen or a default screen saver. If you see any content or a menu from the DVD player, it means the connection was successful.
By powering on your DVD player, you have now completed the setup process. In the next step, we will change the input source on your TV to view the content from the DVD player. Get ready to change the input source as we move forward with the final steps of the setup process.
Step 6: Change the Input Source on the TV
Now that your DVD player is powered on, the next step is to change the input source on your Series 55201 Samsung LED TV to view the content from the DVD player. Follow these steps to switch to the correct input source:
1. Grab the TV Remote Control: Take hold of the remote control that came with your Series 55201 Samsung LED TV. Make sure it is within your reach.
2. Look for the Input/Source Button: Locate the “Input” or “Source” button on your TV remote control. It is usually labeled and may have an icon that represents a box with an arrow pointing into it or a square with an arrow inside.
3. Press the Input/Source Button: Press the Input/Source button on your TV remote control. This will bring up the input source menu on your TV screen.
4. Select the HDMI Input: Use the arrow keys on your TV remote control to navigate through the input source menu. Look for the HDMI input that you connected your DVD player to (e.g., HDMI 1, HDMI 2). Once you have highlighted the correct HDMI input, press the “Enter” or “OK” button on your TV remote control to select it.
5. Check the TV Screen: After selecting the HDMI input, your TV screen should display the content from your DVD player. You should now see the DVD player’s menu or the movie playing on the screen.
Congratulations! You have successfully changed the input source on your TV to the HDMI input that is connected to your DVD player. You can now start enjoying your favorite movies and shows on the big screen.
In the next step, we will perform a quick test to ensure that the connection between the DVD player and the TV is working properly. Let’s move on to the final step of the setup process.
Step 7: Test the Connection
After changing the input source on your Series 55201 Samsung LED TV, it’s essential to perform a quick test to ensure that the connection between your DVD player and TV is working correctly. Follow these steps to test the connection:
1. Select a DVD or Content Source: Insert a DVD into your DVD player, or choose a content source to play on the DVD player. Ensure that the DVD player is set to the correct source or input mode for playback.
2. Check the TV Screen: Switch your attention back to your Series 55201 Samsung LED TV screen. You should see the content from the DVD player appearing on the TV screen. If the content is displayed correctly, it signifies that the connection between the DVD player and TV is successful.
3. Ensure Audio and Video Quality: Pay attention to both the audio and video quality. Ensure that you can hear the audio clearly and see the video without any disturbances or anomalies. If you notice any issues, double-check the connections and make sure that the HDMI cable is securely connected on both ends.
4. Test Different Functions: Play around with different functions on your DVD player, such as navigating menus, fast-forwarding, rewinding, and pausing. Check if these functions are working properly on your TV screen.
By following these steps and conducting the test, you can verify that the connection between your external DVD player and Series 55201 Samsung LED TV is successful. If everything is working correctly, you can now sit back, relax, and enjoy your favorite movies, shows, or content on the big screen.
If you encounter any issues during the testing phase, ensure that all connections are secure and refer to the user manuals for your DVD player and TV for troubleshooting tips.
Frequently Asked Questions (FAQs)
Here are some commonly asked questions about connecting an external DVD player to a Series 55201 Samsung LED TV:
- Can I use a DVD player that doesn’t have HDMI output?
- Do I need any additional cables to connect my DVD player to my TV?
- Can I connect multiple devices to my Series 55201 Samsung LED TV?
- What should I do if the audio or video quality is poor?
- Can I use a universal remote to control the DVD player?
If your DVD player doesn’t have an HDMI output, you may still be able to connect it to your Series 55201 Samsung LED TV using alternative methods. Check if your TV has other input options, such as composite or component inputs, and make sure your DVD player has the corresponding output. You can then use the appropriate cables to establish the connection.
In most cases, no. HDMI cables provide both audio and video signals, so you won’t need any additional cables. However, if your DVD player doesn’t have an HDMI output, you may need alternative cables, such as composite or component cables, to connect it to your TV.
Yes, you can connect multiple devices to your TV using different input sources. The Series 55201 Samsung LED TV typically has multiple HDMI ports, allowing you to connect devices like DVD players, gaming consoles, and streaming devices simultaneously.
If you experience poor audio or video quality, first ensure that the HDMI cable is securely connected on both ends. Check if your DVD player and TV support the same HDMI version and, if not, consider using a higher-quality HDMI cable. Additionally, make sure that the DVD player’s output settings are correctly configured for your TV.
Yes, you can use a universal remote to control your DVD player. Universal remotes often come with preset codes for various DVD player brands. Consult your universal remote’s user manual to find the specific code for your DVD player. Follow the instructions provided to program the remote to operate your DVD player.
These are just a few common questions related to connecting an external DVD player to a Series 55201 Samsung LED TV. If you have any additional queries or concerns, consult the user manuals for your devices or reach out to the respective manufacturers for further assistance.
Conclusion
Congratulations! You have successfully learned how to connect an external DVD player to your Series 55201 Samsung LED TV. By following the step-by-step instructions provided in this guide, you can now enjoy your favorite movies, shows, and content on the big screen with high-quality audio and video.
Remember to verify the compatibility of your DVD player and TV before starting the setup process. Ensure that both devices support HDMI connectivity and have the necessary ports. Having the required components, such as an HDMI cable, remote control, and power sources, is crucial for a seamless connection.
Throughout the setup process, you experienced how to locate the HDMI ports on your TV and DVD player, connect the HDMI cable, power on the DVD player, change the input source on the TV, and test the connection for optimal functioning.
If you encounter any issues during the setup or experience audio or video quality problems, refer to the user manuals for your devices. Troubleshooting tips and solutions may be provided to help you resolve any potential hiccups.
Now that you have successfully completed the setup process, you can sit back, relax, and enjoy an enhanced viewing experience. Invite friends and family over for movie nights, catch up on your favorite TV series, or explore your DVD collection on the big screen.
Remember, technology is constantly evolving, so it’s always a good idea to stay updated on the latest features and updates for your devices. As you continue to explore the capabilities of your Series 55201 Samsung LED TV and external DVD player, you may discover new ways to enhance your entertainment experience.
We hope this guide has been helpful in assisting you with connecting your external DVD player to your Series 55201 Samsung LED TV. Enjoy your newfound movie-watching experience and have fun exploring all the possibilities that your setup now offers!