Introduction
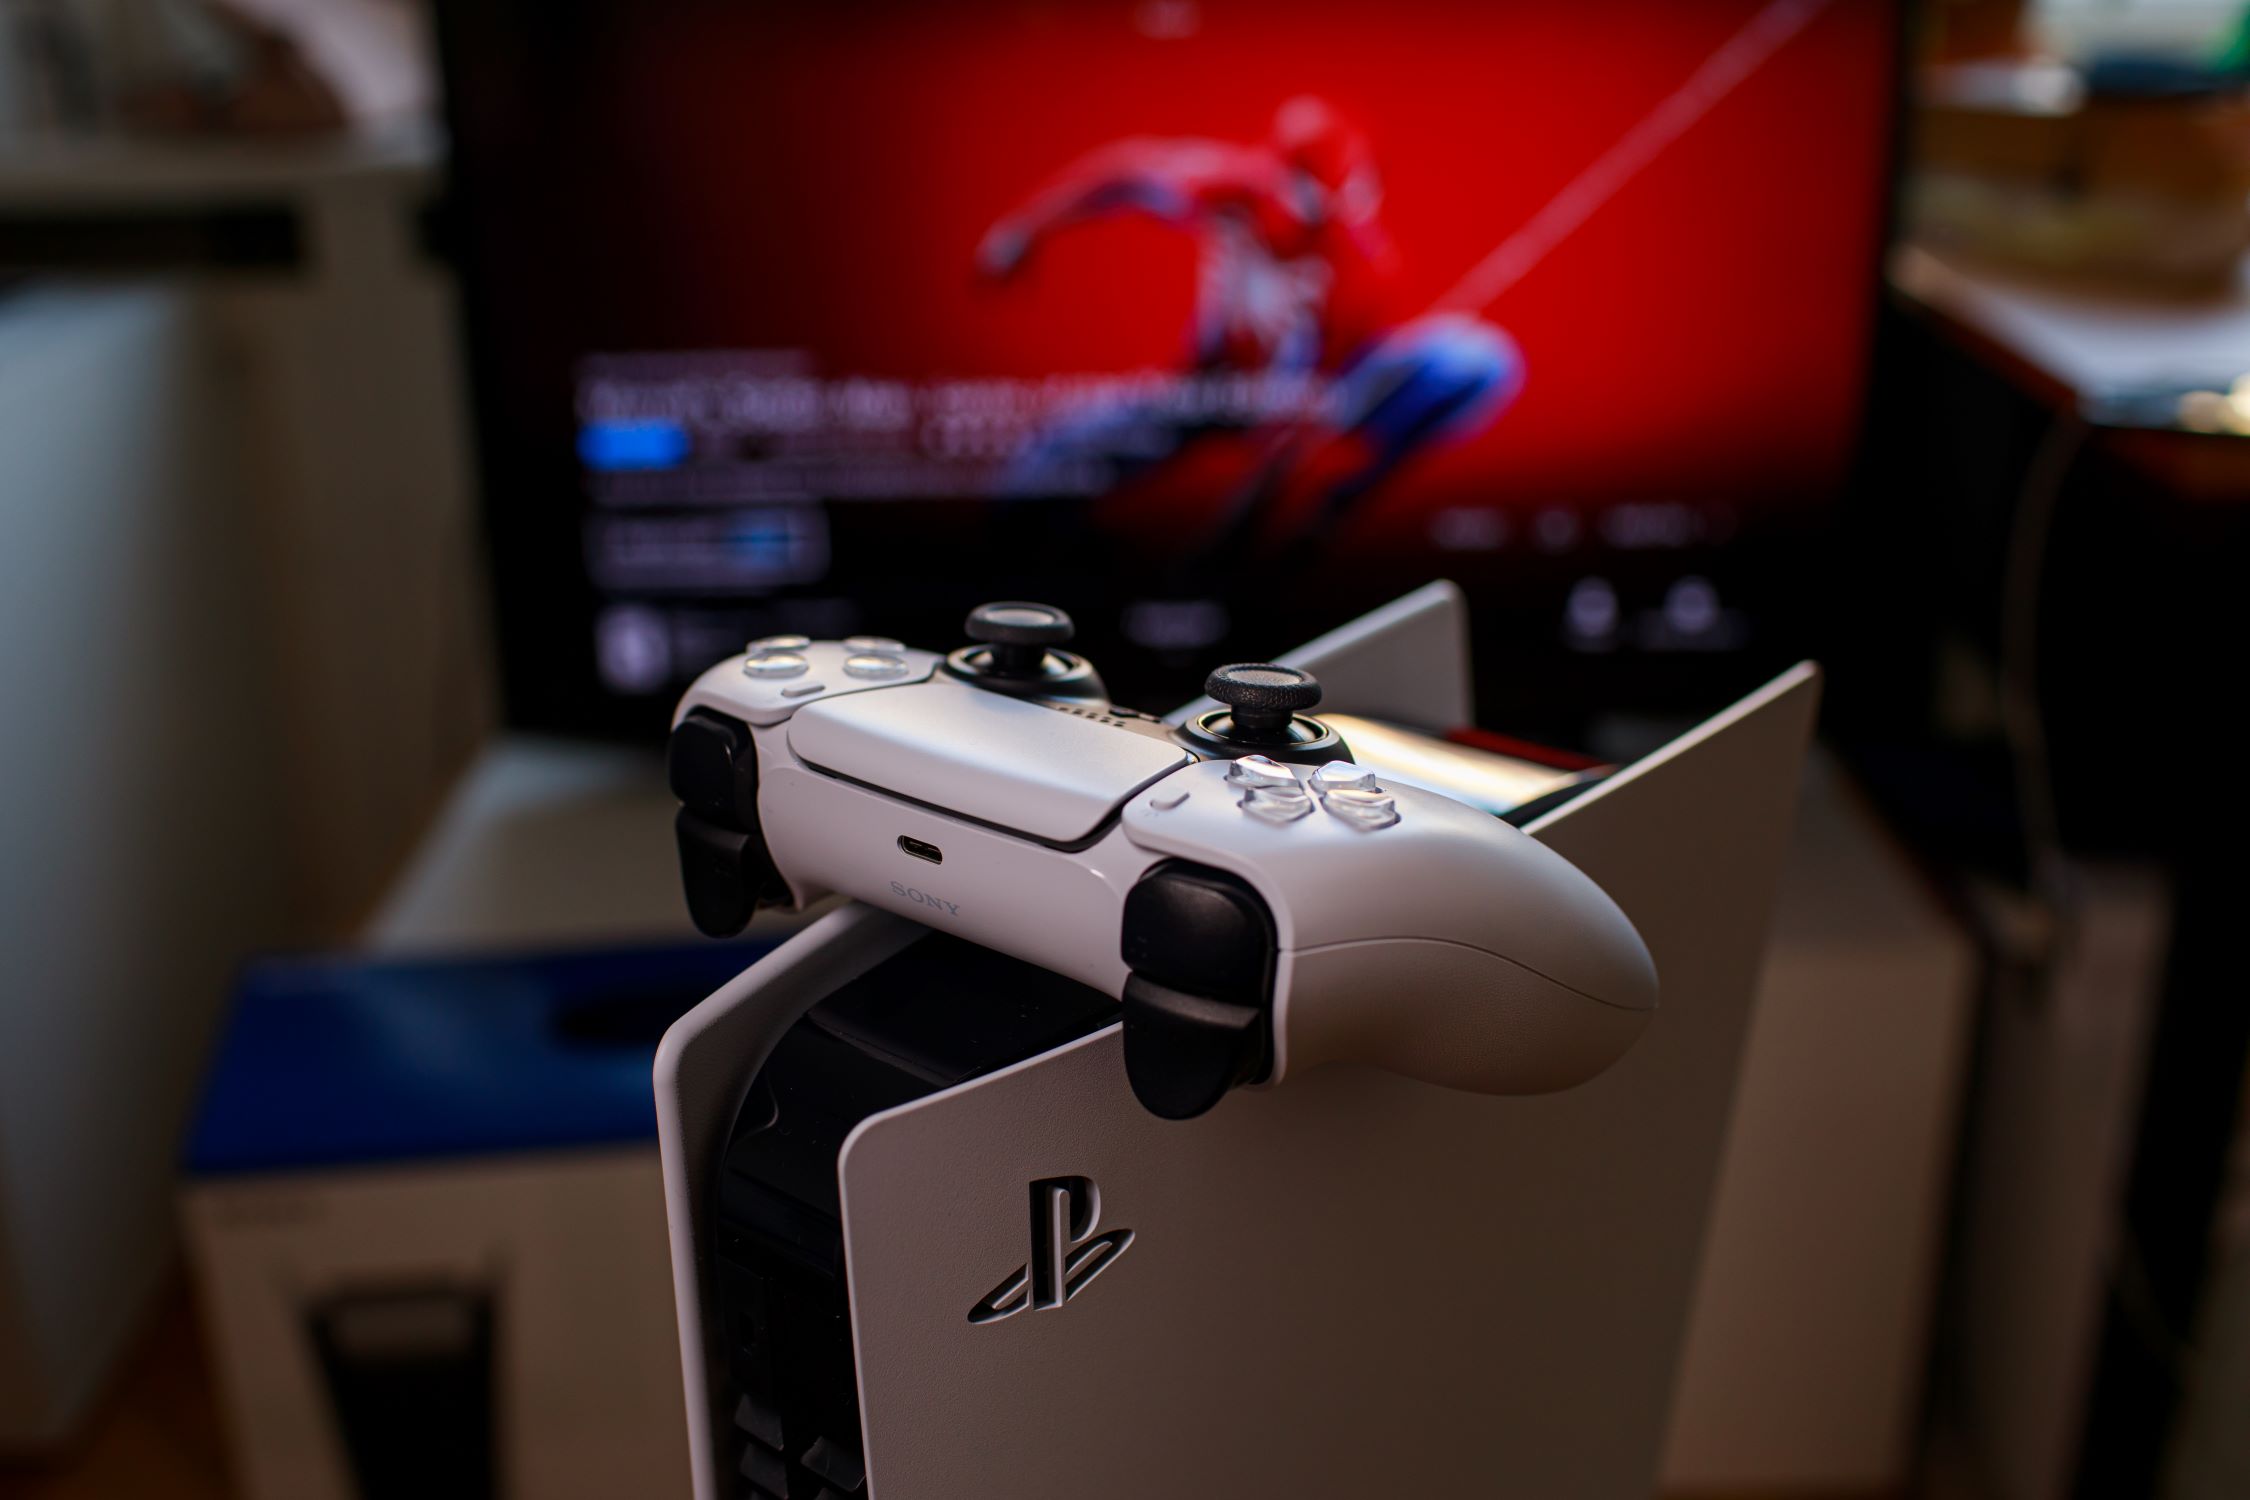
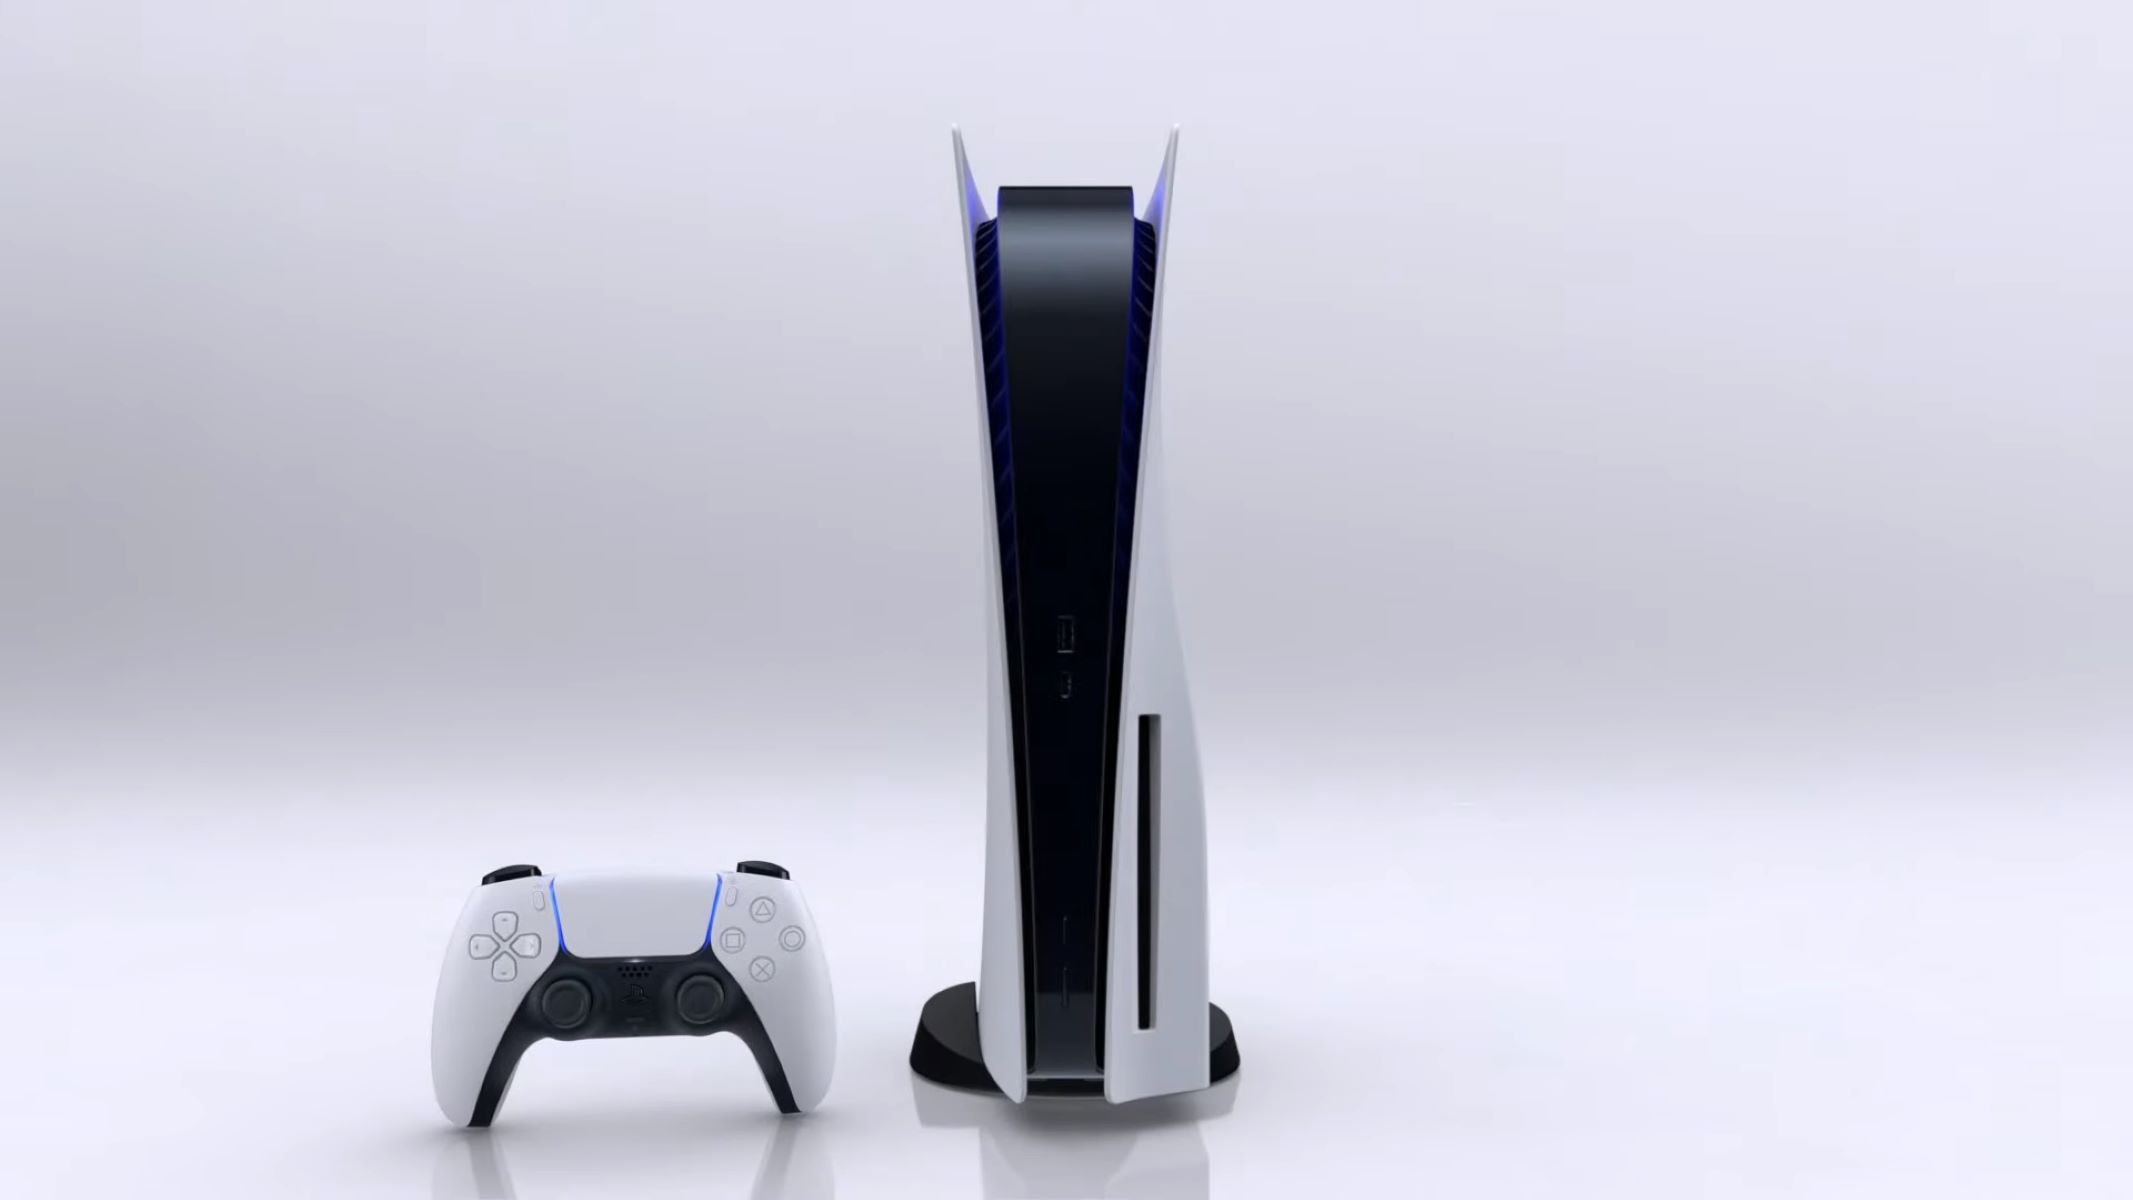
Welcome to the world of personalization and customization with your PS5 controller! If you’re tired of the standard white color and want to add a personal touch to your gaming experience, changing the color of your PS5 controller is a great way to do it. By following a few simple steps, you can transform your controller into a vibrant reflection of your style and personality.
Changing the color of your PS5 controller not only gives it a fresh new look but also allows you to stand out from the crowd. Whether you prefer bold and bright colors or more subtle and sophisticated tones, there are various color options available to suit your preferences. In just a few minutes, you can take your gaming setup to the next level with a customized controller that truly represents you.
To embark on this exciting journey, all you need are a few supplies and a willingness to explore your creative side. In this guide, we’ll walk you through the step-by-step process of changing the color of your PS5 controller. From removing the backplate to attaching the new front plate and D-pad, we’ll cover everything you need to know to achieve a stunning transformation.
Before we dive into the details, keep in mind that changing the color of your PS5 controller does not void the warranty. These modifications are easy to do and can be reversed, allowing you to switch back to the original color whenever you desire. So, without further ado, let’s get started on this colorful journey of personalization!
Supplies Needed
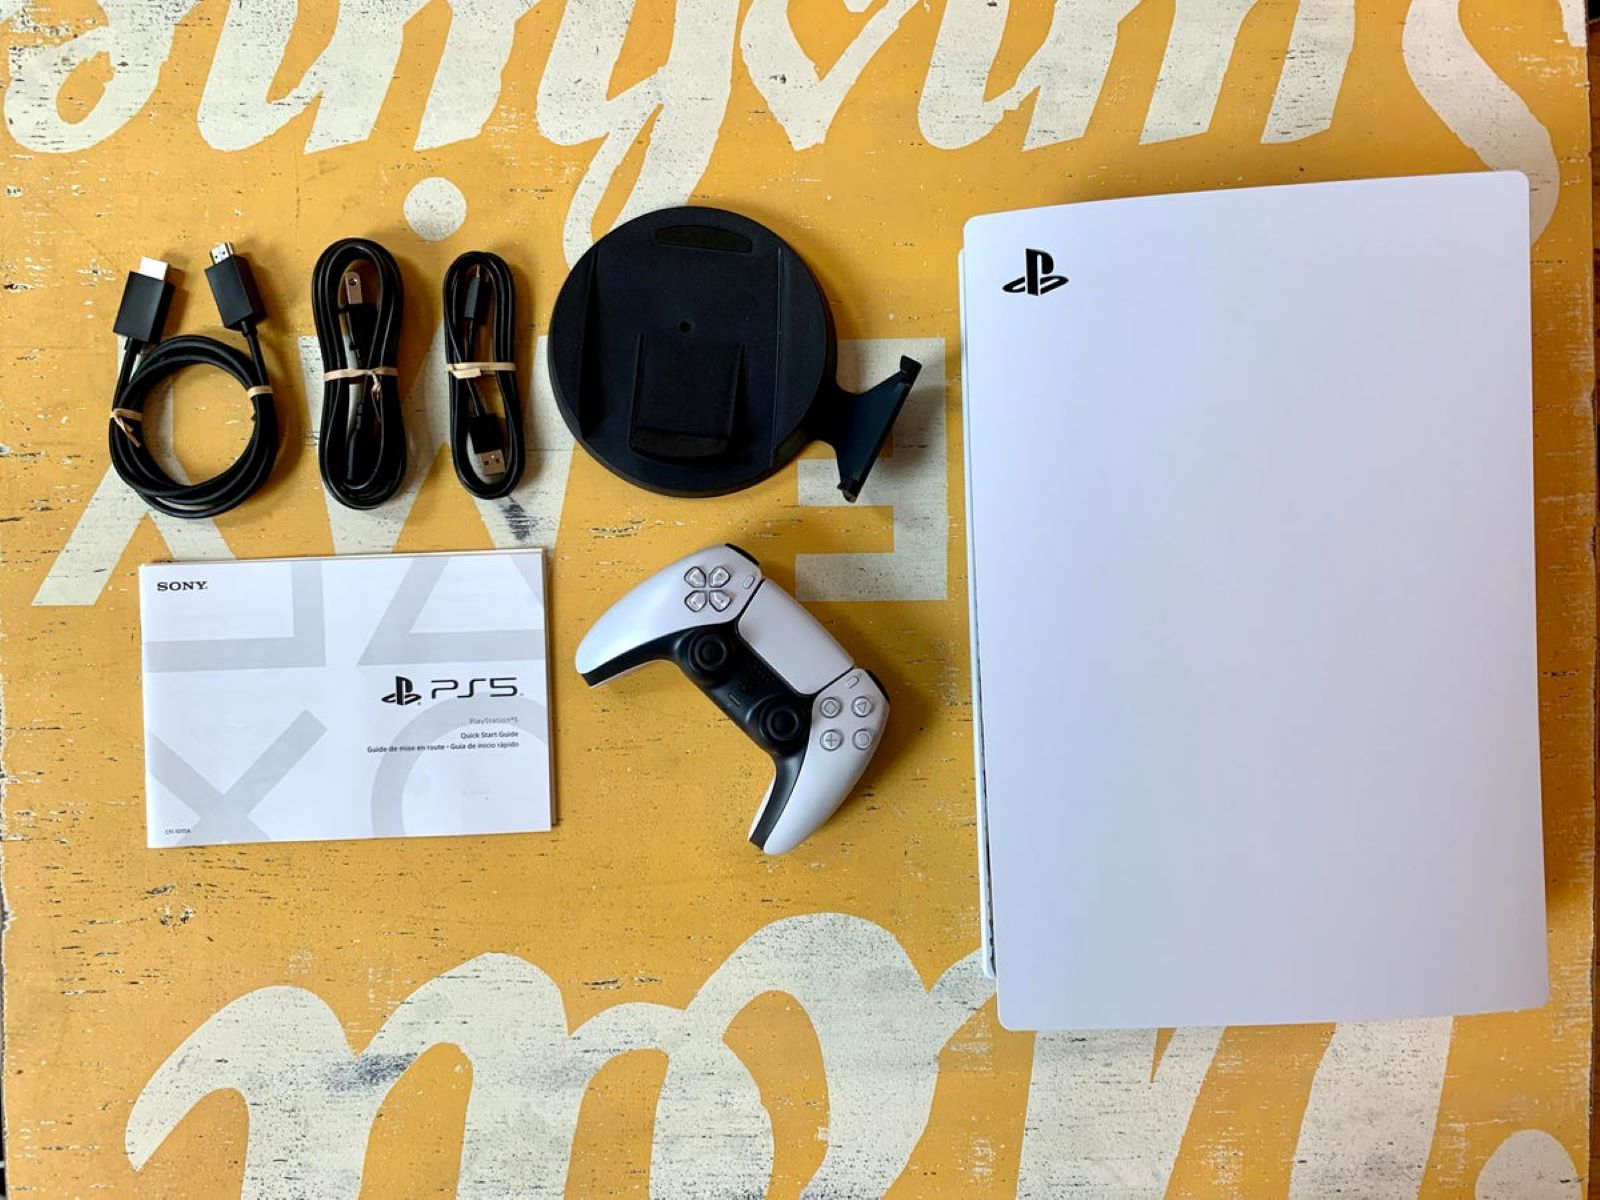
Before you begin changing the color of your PS5 controller, it’s important to gather all the necessary supplies. Having everything prepared in advance will make the process much smoother and more efficient. Here’s a list of the supplies you’ll need:
- A replacement front plate and D-pad in your desired color: There are numerous online retailers that offer replacement parts specifically designed for the PS5 controller. Choose a color that represents your personal style and gaming aesthetic.
- A small screwdriver set: You’ll need a screwdriver to dismantle and reassemble the controller. Make sure to have a set that includes various sizes, as different screws may require different tools.
- A clean, flat workspace: Find a well-lit and clutter-free area where you can comfortably work on your PS5 controller. A clean workspace will help prevent any damage or loss of small components.
- A soft cloth or microfiber cloth: This will be used to wipe down the controller and remove any dust or smudges. It’s important to have a clean surface to ensure the new front plate adheres properly.
- Optional: rubbing alcohol or cleaning solution: If your controller has stubborn stains or residue, you can use a cleaning solution or rubbing alcohol to remove them. Be sure to follow the instructions on the cleaning product and avoid getting any liquid inside the controller.
Gather these supplies and ensure you have everything within reach before you start the process of changing the color of your PS5 controller. Having all the necessary tools and items readily available will streamline the process and prevent any unnecessary delays or interruptions.
Step 1: Turn off the PS5 Controller
Before you begin dismantling your PS5 controller, it’s crucial to turn it off to avoid any accidental damage or interference. Follow these simple steps to ensure your controller is properly powered off:
- Hold the PS button: Locate the PS button in the center of the controller, between the analog sticks.
- Press and hold the PS button: Hold down the PS button for a few seconds until a menu appears on your screen.
- Select “Turn Off Controller”: Using the thumbstick or directional pad, navigate through the menu and select the option to turn off the controller.
- Confirm the selection: Once you’ve highlighted the option to turn off the controller, press the X button to confirm your selection.
After following these steps, your PS5 controller should be completely powered off. It’s important to ensure that the controller is not in use or connected to any devices before proceeding to the next steps.
Turning off the controller prevents any accidental button presses or interference while you’re handling it. This step also helps protect the controller from any potential damage during the disassembly and reassembly process. Safety is paramount, so make sure your controller is powered off before moving on to the next steps.
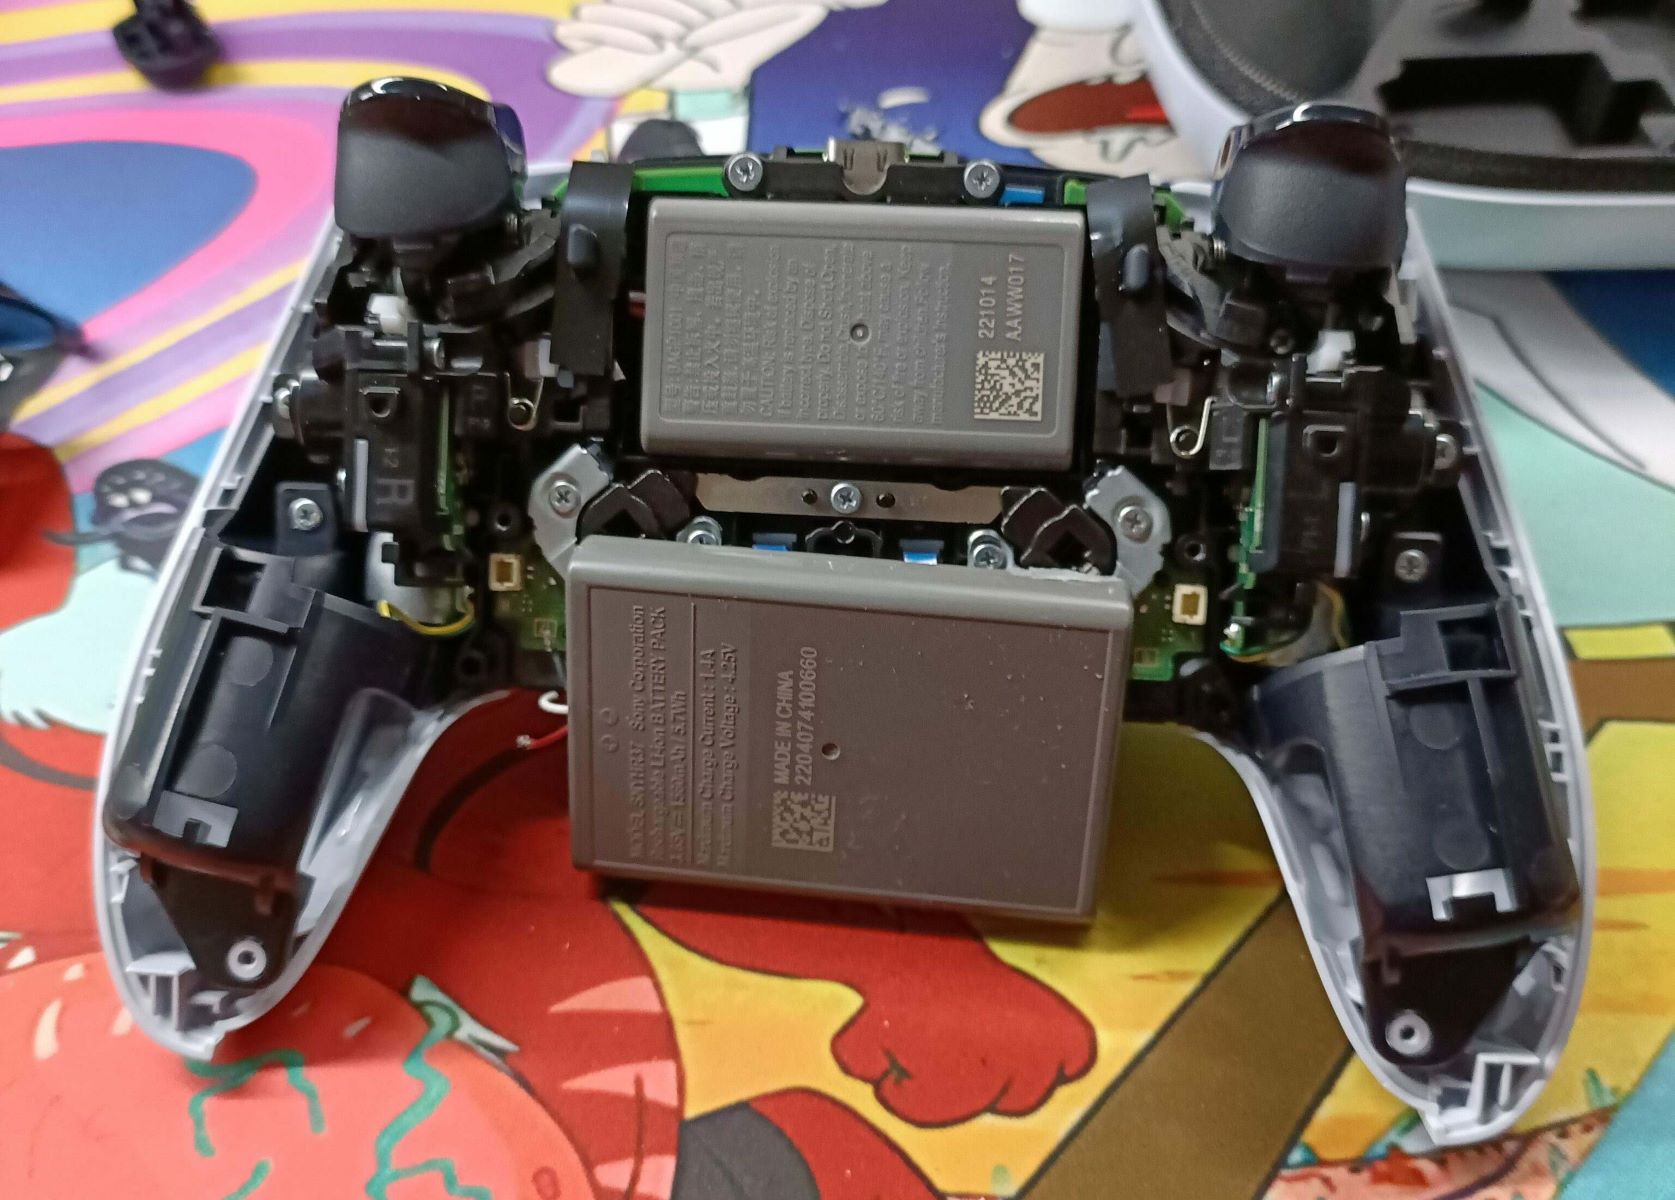
Step 2: Remove the Backplate
Now that your PS5 controller is turned off, it’s time to start removing the backplate. This is where the internal components of the controller are housed, and it’s a crucial step in accessing and changing the color of the front plate. Follow these steps to safely remove the backplate:
- Flip the controller upside down: Turn the controller over so that the backside is facing up.
- Locate the screws: There are typically five screws that secure the backplate in place. These screws are located near the corners and middle of the backplate.
- Use the appropriate screwdriver: Choose the correct size screwdriver from your set and carefully unscrew each of the five screws. Place the screws in a safe location, such as a small container or magnetized tray, to prevent them from rolling away.
- Gently pry open the backplate: Once the screws are removed, use your fingers or a plastic pry tool to gently lift and separate the backplate from the main body of the controller. Start at one corner and slowly work your way around the edges, releasing the clips that hold the backplate in place.
- Remove the backplate completely: Once all the clips are released, carefully lift the backplate away from the controller body and set it aside. Take note of any small rubber pads or components that may be attached to the backplate, as you’ll need to transfer them to the new front plate later.
Removing the backplate may require a bit of patience and gentle force. Take your time and be cautious not to apply too much pressure to avoid damaging the internal components. With the backplate removed, you’re one step closer to giving your PS5 controller a fresh new look!
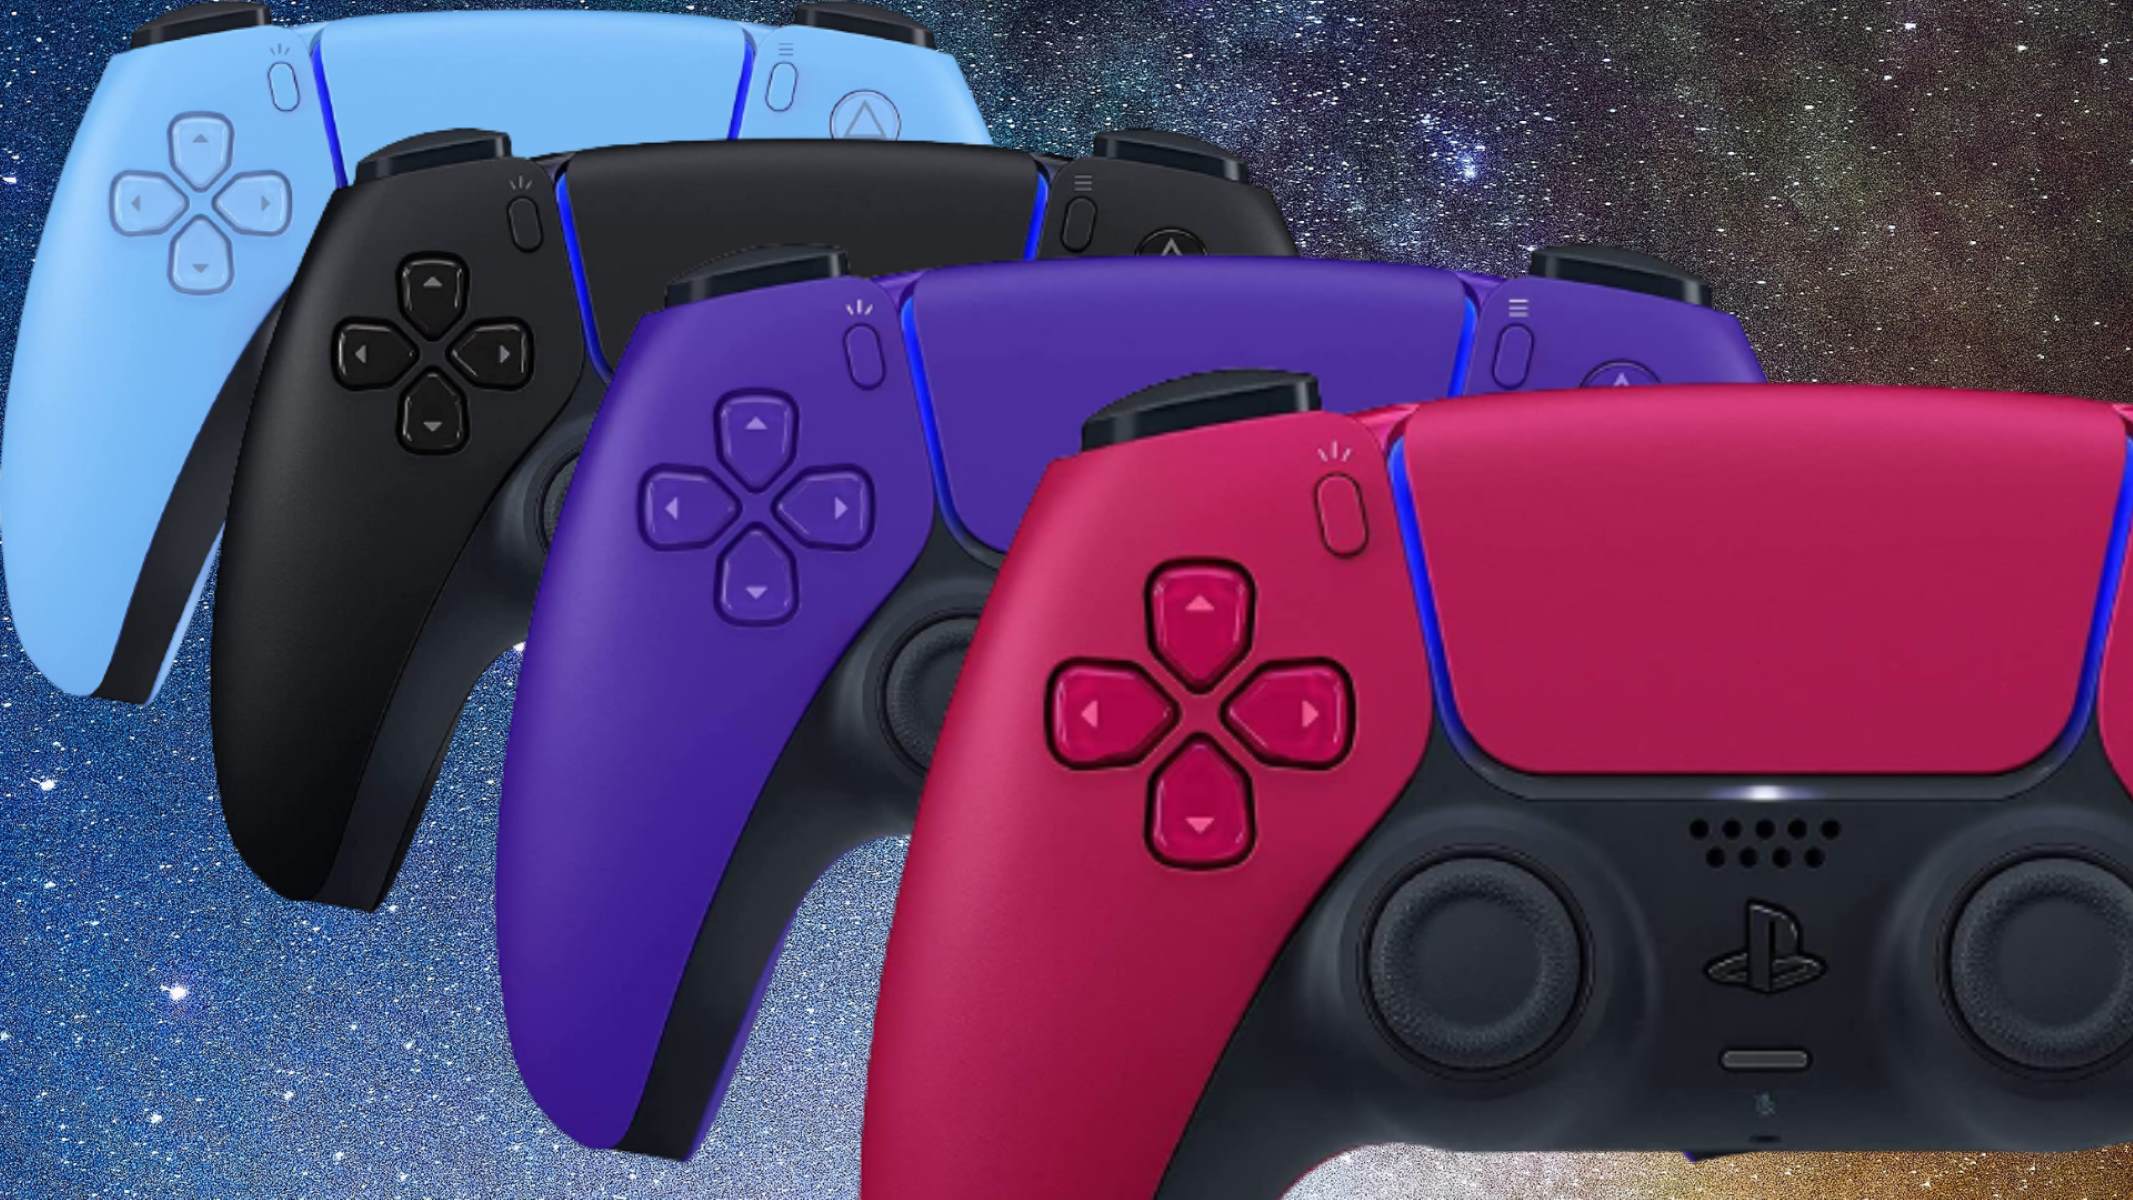
Step 3: Select a New Color Front Plate and D-pad
With the backplate successfully removed, it’s time to choose the color for your new front plate and D-pad. This is where you can let your creativity shine and select a color that suits your personal style and gaming setup. Follow these steps to select a new color front plate and D-pad:
- Research your options: Browse through reputable online retailers or local gaming stores that offer replacement parts for PS5 controllers. Look for a wide range of colors to choose from, ensuring that they are compatible with the PS5 controller model.
- Consider your preferences: Think about the overall aesthetic you want to achieve. Do you prefer a bold and vibrant color that makes a statement, or a more subtle and sophisticated tone that complements your gaming setup? Take your time to find the perfect color that reflects your personality.
- Check customer reviews: Before making a purchase, read customer reviews and ratings for the replacement front plate and D-pad. This will give you insights into the quality, durability, and color accuracy of the product. Choose a reputable supplier to ensure you receive a high-quality replacement part.
- Order your chosen color: Once you’ve made a decision, place your order for the new front plate and D-pad in your desired color. Double-check that you’ve selected the correct PS5 controller model to ensure compatibility.
By carefully selecting a new color front plate and D-pad, you can elevate the visual appeal of your PS5 controller and create a customized look that stands out from the crowd. Take the time to research and explore different options to find the perfect color combination that suits your gaming style.
Step 4: Attach the New Front Plate and D-pad
Now that you have selected the new color for your front plate and D-pad, it’s time to attach them to your PS5 controller. This step will give your controller a fresh and personalized look. Follow these steps to successfully attach the new front plate and D-pad:
- Prepare the new front plate and D-pad: Before attaching the new parts, ensure they are clean and free of any dust or fingerprints. Use a soft cloth or microfiber cloth to gently wipe them down.
- Align the front plate: Take the new front plate and align it with the front of the controller. Ensure that the cutouts for the buttons, thumbsticks, and touchpad line up correctly.
- Press the front plate into place: Once aligned, apply gentle pressure to the front plate, starting from the center and working your way outwards. Make sure it fits snugly and securely onto the controller body.
- Attach the new D-pad: Take the new D-pad and carefully line up the pegs on the back with the corresponding slots on the front plate. Press down firmly to snap the D-pad into place.
It’s important to be cautious and avoid using excessive force when attaching the new front plate and D-pad to prevent any damage to the components. Take your time to ensure proper alignment and a secure fit.
Once the new front plate and D-pad are securely attached, take a moment to appreciate the transformation of your PS5 controller. The new colors will add a fresh and vibrant look to your gaming setup, allowing you to truly make it your own.
Note: If you encounter any difficulties or issues while attaching the new front plate and D-pad, consult the instructions provided by the manufacturer or seek guidance from online tutorials specific to your PS5 controller model.
Step 5: Replace the Backplate
Now that you have successfully attached the new front plate and D-pad, it’s time to replace the backplate of your PS5 controller. This step will secure the new components in place and give your controller its final look. Follow these steps to replace the backplate:
- Retrieve the backplate: Pick up the backplate that you set aside earlier and inspect it for any dust or debris. Use a soft cloth or microfiber cloth to wipe it clean if necessary.
- Check for rubber pads or components: Look for any rubber pads or components that were attached to the original backplate. These are typically located near the triggers or the grips. Carefully peel them off from the old backplate and position them on the corresponding areas of the new backplate.
- Align the backplate: Hold the backplate so that the clips align with the corresponding slots on the controller body. Be sure to align the ports and buttons properly.
- Secure the backplate: Starting from one corner, apply gentle pressure and snap the backplate into place. Work your way around the edges, ensuring that all the clips properly lock into position.
- Tighten the screws: Retrieve the screws that you set aside earlier and use the appropriate screwdriver to tighten them back into place. Make sure not to overtighten, as this may damage the controller.
Take your time during this step to ensure that the backplate fits securely and all the components are properly aligned. Double-check that all the clips are securely fastened and the screws are tightened, but be careful not to overtighten and strip the screw threads.
Once the backplate is securely in place, you can admire your newly customized PS5 controller. The combination of the new front plate, D-pad, and backplate will give your controller a fresh look that reflects your unique gaming style.
Note: If you encounter any difficulties while replacing the backplate or aligning the components, consult the instructions provided by the manufacturer or seek guidance from online tutorials specific to your PS5 controller model.
Step 6: Test the New Controller Color
Now that you have successfully changed the color of your PS5 controller, it’s time to test it and ensure that everything is functioning properly. Follow these steps to test the new controller color:
- Turn on your PS5: Power on your PS5 console and make sure it is connected to a compatible display.
- Turn on the controller: Press and hold the PS button on your newly customized controller to turn it on.
- Check button functionality: Test each button on the controller to ensure they are responsive and functioning correctly. Pay special attention to the tactile feel and response of the buttons.
- Test the analog sticks: Move the analog sticks in all directions to make sure they register the movements accurately. Check for any stick drift or irregularities.
- Try out the touchpad: Test the touchpad to ensure it recognizes your swipes and gestures. Verify that it responds correctly in games or other PS5 applications.
- Check the D-pad: Use the new D-pad to navigate menus or games. Confirm that each direction (up, down, left, right) is registering accurately.
During the testing phase, pay close attention to any irregularities or issues that may have arisen during the customization process. If you encounter any problems, such as unresponsive buttons or inaccurate input, double-check the connections and make sure all components are properly aligned.
By thoroughly testing the new controller color, you can ensure that your gaming experience remains uninterrupted and enjoyable. If everything functions as expected, you’re ready to dive into your favorite games with a fresh look and renewed excitement.
Congratulations on successfully changing the color of your PS5 controller! Enjoy your newly customized controller and have fun gaming in style.
Conclusion
Changing the color of your PS5 controller is a fun and rewarding process that allows you to add a personal touch to your gaming experience. By following the step-by-step instructions outlined in this guide, you can transform your controller into a unique and customized accessory that reflects your individual style and personality.
Throughout the process, we discussed the supplies needed, including a replacement front plate and D-pad, a screwdriver set, a clean workspace, and optional cleaning solutions. We also guided you through each step, from turning off the PS5 controller to removing the backplate, selecting a new color front plate and D-pad, attaching the new components, replacing the backplate, and finally testing the new controller color.
Remember, the choices are endless when it comes to selecting a new color for your PS5 controller. Explore different options, consider your personal preferences, and ensure you choose a reputable supplier to obtain high-quality replacement parts.
Whether you desire a bold and vibrant look or a more subtle and refined aesthetic, customizing the color of your PS5 controller allows you to make a statement and stand out from the crowd. It’s a simple process that can give your gaming experience a fresh and exciting feel without voiding the controller’s warranty. Plus, if you ever want to switch back to the original color, you can easily reverse the customization process.
So, what are you waiting for? Unleash your creativity, express your style, and elevate your gaming setup by changing the color of your PS5 controller. Enjoy the personalized touch and enhanced visual appeal as you embark on countless gaming adventures!