Introduction
LinkedIn is a powerful platform for professionals to connect, network, and find new career opportunities. Your email address is an essential part of your LinkedIn profile and serves as your main point of contact with other users. However, there may be various reasons why you need to change your email address on LinkedIn, such as updating your contact information, switching to a different email provider, or even protecting your privacy.
In this article, we will guide you through the step-by-step process of changing your email address on LinkedIn. Whether you’re using the desktop version or the mobile app, we’ve got you covered. We’ll also provide troubleshooting tips for common issues that may arise during this process.
Changing your email address on LinkedIn allows you to ensure that your profile is kept up to date and that important notifications are delivered to the right inbox. It’s important to note that the email address linked to your LinkedIn account should be a valid and active email that you have access to.
So, if you’re ready to give your LinkedIn profile a refresh or need to update your email address for any other reason, let’s dive into the step-by-step guide to changing your LinkedIn email.
Reasons to Change Your LinkedIn Email
There are several reasons why you might need to change your email address on LinkedIn. Let’s explore some of the common scenarios:
- Update Contact Information: If you’ve recently changed your email provider or simply want to keep your LinkedIn profile up to date with your current email address, changing your email is a good idea. This ensures that you receive important messages and notifications from LinkedIn directly to your preferred inbox.
- Switching Jobs: When you switch jobs, your old work email may no longer be applicable or accessible. Updating your LinkedIn email to your new work email ensures that you stay connected with professional contacts and potential job opportunities using your current email information.
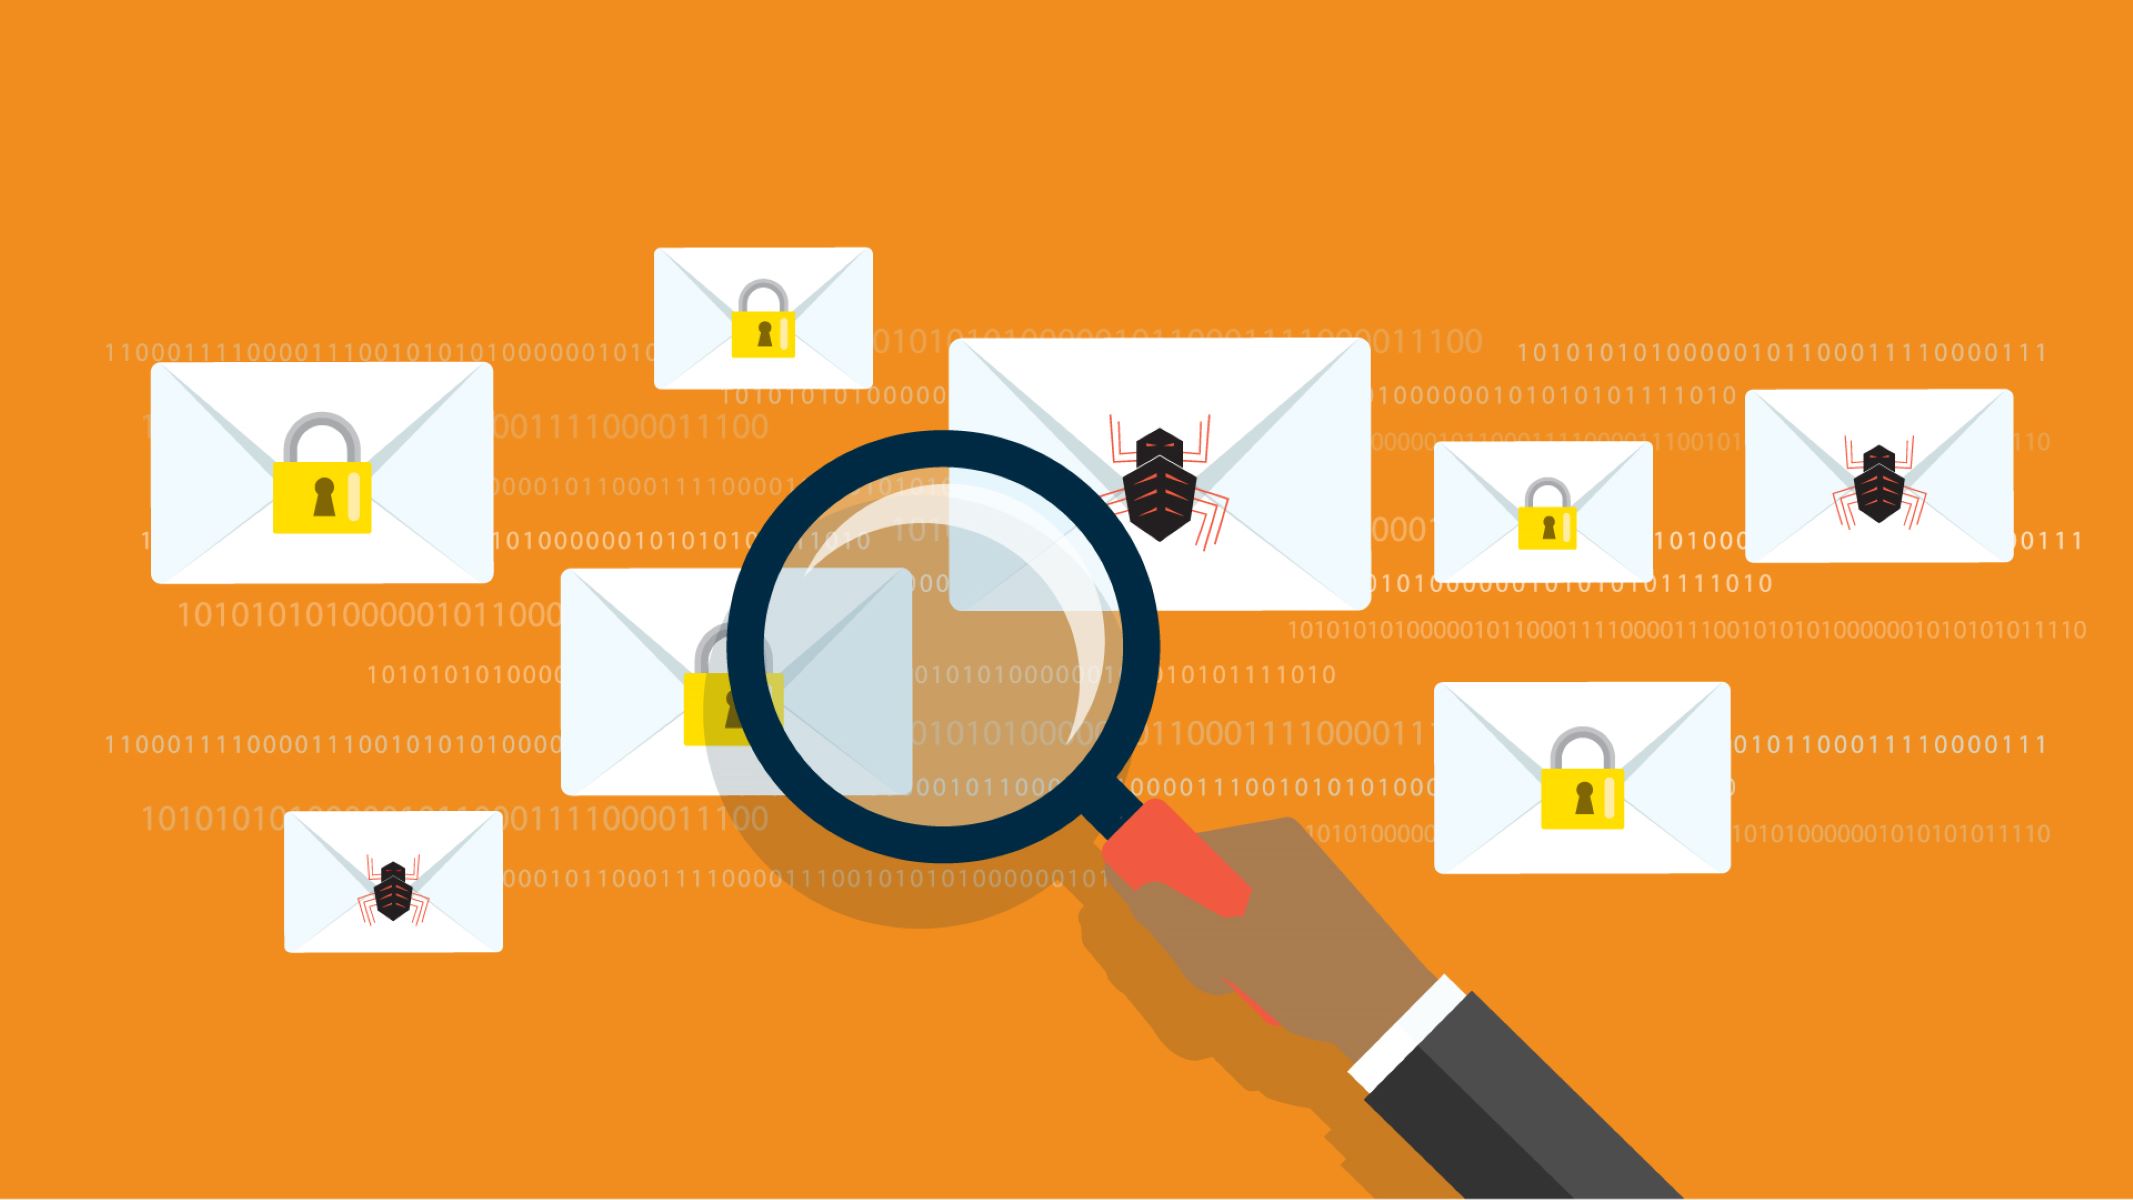
- Privacy and Security: If you’ve had privacy concerns or have received too much unsolicited email through your current LinkedIn email, changing to a new email address can help protect your personal and professional information. It allows you to regain control over your online presence and filter out unwanted communication.
- Consolidating Email Accounts: If you have multiple email accounts and prefer to manage your LinkedIn communications under a single inbox, changing your LinkedIn email to your primary or preferred email address can streamline your communication and make it easier to keep track of messages.
- Email Accessibility: Some users may find that their current email provider has limitations or accessibility issues. By changing your LinkedIn email to a different provider or a more user-friendly email service, you can ensure that you have seamless access to your LinkedIn account and receive essential updates without any difficulties.
Regardless of the reason, LinkedIn allows you to change your email address with ease. Next, we’ll walk you through the step-by-step process of changing your LinkedIn email.
Step-by-Step Guide to Changing Your LinkedIn Email
Changing your email address on LinkedIn is a straightforward process. Here’s a step-by-step guide to help you through it:
- Login to your LinkedIn account: Open the LinkedIn website or mobile app and log in using your credentials.
- Access your account settings: On the LinkedIn homepage, click on your profile picture in the top right corner and select “Settings & Privacy” from the dropdown menu.
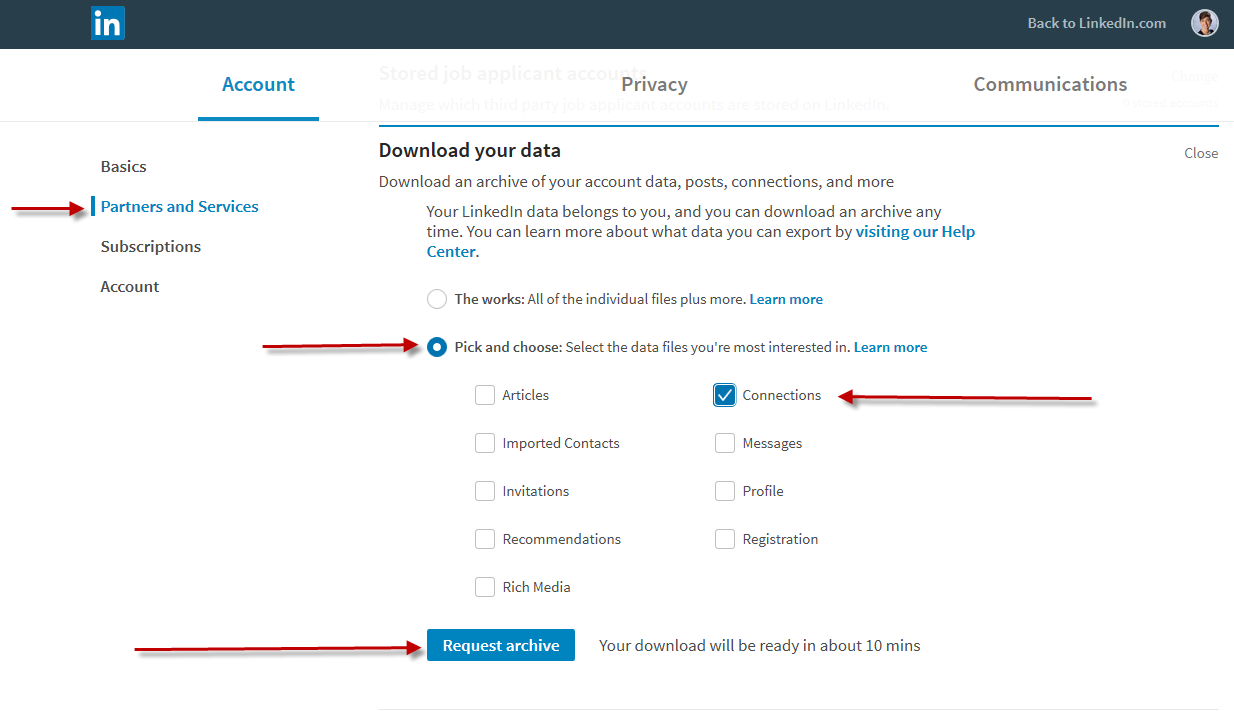
- Go to the “Email Addresses” section: In the “Settings & Privacy” menu, navigate to the “Account” tab and click on “Email Addresses.”
- Click on “Add email address” or “Change email address”: Depending on whether you want to add a new email or replace your existing one, choose the appropriate option.
- Enter your new email address: In the provided field, enter the new email address you want to associate with your LinkedIn account.
- Verify your new email address: LinkedIn will send a verification email to your new email address. Check your inbox and click on the verification link to confirm the email. If you don’t see the email, check your spam or junk folder.
- Make your new email primary: Once your new email address is verified, return to the “Email Addresses” section in your account settings. In the list of email addresses, click on the three dots next to your new email and select “Make primary” to set it as your primary email on LinkedIn.
- Remove the old email address (optional): If you want to remove your old email address from your LinkedIn account, click on the three dots next to the email and select “Remove.” Keep in mind that you must always have at least one email address associated with your account.
That’s it! You’ve successfully changed your email address on LinkedIn. Your LinkedIn communications and notifications will now be sent to your new email address.
It’s important to note that changing your email address on LinkedIn does not affect your login credentials. You will still use your existing LinkedIn username and password to access your account.
In the following sections, we’ll cover additional details such as changing your primary email address and adding or removing secondary email addresses on LinkedIn.
Changing Your Primary Email Address
Your primary email address is the main email associated with your LinkedIn account. It’s the email where you receive important notifications and messages from LinkedIn. If you want to change your primary email address on LinkedIn, follow these steps:
- Login to your LinkedIn account: Visit the LinkedIn website or open the mobile app and log in using your credentials.
- Access your account settings: Click on your profile picture in the top right corner of the LinkedIn homepage and select “Settings & Privacy” from the dropdown menu.
- Go to the “Email Addresses” section: In the “Settings & Privacy” menu, navigate to the “Account” tab and click on “Email Addresses.”
- Add a new email address: Click on the “Add email address” option and enter the new email address you want to set as your primary email on LinkedIn.
- Verify your new email address: LinkedIn will send a verification email to the new email address. Check your inbox, click on the verification link, and follow the instructions to confirm the new email.
- Set your new email as primary: Once your new email address is verified, go back to the “Email Addresses” section in your account settings. Click on the three dots next to your new email and select “Make primary.”
- Remove the old email address (optional): If you want to remove your old primary email address, click on the three dots next to it and select “Remove.” Remember, you must always have at least one email address associated with your LinkedIn account.
By following these steps, you can easily change your primary email address on LinkedIn. This ensures that your important LinkedIn communications and notifications are sent to the right email inbox.
It’s worth noting that you can add multiple secondary email addresses to your LinkedIn account. These secondary emails won’t receive LinkedIn notifications, but they can still be used for account recovery or as alternative contact methods.
Now that you know how to change your primary email address, let’s explore how to add or remove secondary email addresses on LinkedIn.
Adding or Removing Secondary Email Addresses
In addition to your primary email address, LinkedIn allows you to add secondary email addresses to your account. These secondary email addresses can serve as alternative contact methods or for account recovery purposes. Here’s how you can add or remove secondary email addresses on LinkedIn:
- Login to your LinkedIn account: Access the LinkedIn website or open the mobile app and log in with your credentials.
- Go to your account settings: Click on your profile picture in the top right corner of the LinkedIn homepage, and choose “Settings & Privacy” from the dropdown menu.
- Navigate to the “Email Addresses” section: Under the “Settings & Privacy” menu, select the “Account” tab, and click on “Email Addresses.”
- Add a secondary email address: To add a secondary email address, click on “Add email address” and enter the email you want to add. Click “Save” to confirm.
- Verify the secondary email address: LinkedIn will send a verification email to the secondary email address you added. Check your inbox, click on the verification link, and follow the instructions to complete the verification process.
- Removing a secondary email address: If you no longer want a secondary email on your LinkedIn account, go to the “Email Addresses” section. Click on the three dots next to the email you want to remove and select “Remove.”
By adding secondary email addresses, you can have additional contact options associated with your LinkedIn account. However, it’s important to note that LinkedIn notifications will only be sent to your primary email address. Secondary email addresses are primarily used for account recovery or as an alternative contact method.
Keep in mind that you must always have at least one verified email address associated with your LinkedIn account. Therefore, if you remove a secondary email address, make sure you have another email address listed as your primary or as another secondary email.
Now that you know how to add or remove secondary email addresses on LinkedIn, let’s move on to the next section, which covers the process of verifying your new email address.
Verifying Your New Email Address
Verifying your new email address on LinkedIn is an important step to ensure that your account settings are up to date and that you receive important notifications. The verification process confirms the ownership of the email address you want to associate with your LinkedIn account. Here’s how you can verify your new email address:
- Login to your LinkedIn account: Access the LinkedIn website or open the mobile app and log in using your credentials.
- Access your account settings: Click on your profile picture in the top right corner of the LinkedIn homepage, and choose “Settings & Privacy” from the dropdown menu.
- Go to the “Email Addresses” section: Under the “Settings & Privacy” menu, select the “Account” tab, and click on “Email Addresses.”
- Input the new email address: If you haven’t already added your new email address, click on “Add email address” and enter the new email you want to verify.
- Check your email inbox: LinkedIn will send a verification email to the new email address you provided. Open your email inbox and look for the verification email from LinkedIn. If you can’t find it, check your spam or junk folder.
- Click on the verification link: Open the verification email and click on the link provided. This will redirect you to LinkedIn, confirming that the email address belongs to you and is valid.
- Confirmation on LinkedIn: After clicking the verification link, you will be redirected to LinkedIn, where you will see a confirmation message indicating that your new email address has been verified.
Once your new email address is verified, you can proceed to set it as your primary email address or keep it as a secondary email, depending on your preference.
Verifying your email address is crucial because it ensures the security and accuracy of your LinkedIn account. It helps LinkedIn prevent unauthorized access and ensures that future communications are delivered to the correct email address.
In the next section, we’ll address common issues that you may encounter when changing your email address on LinkedIn and provide troubleshooting tips.
Troubleshooting Common Issues
While changing your email address on LinkedIn is typically a smooth process, you may encounter some common issues along the way. Here are a few troubleshooting tips to help you overcome these challenges:
- Verification email not received: If you don’t receive the verification email from LinkedIn, first check your spam or junk folder. If you still can’t find it, ensure that you provided the correct email address during the process. If necessary, click on “Resend verification email” in the LinkedIn settings to receive a new verification email.
- Verification link not working: If you click on the verification link and it doesn’t work, try copying the entire link and pasting it into your web browser’s address bar. Ensure that you haven’t accidentally truncated or altered the link during the copying process.
- Error message during verification: If you receive an error message during the verification process, double-check the email address you entered. Make sure it is correctly spelled and does not contain any extra spaces or special characters. If the issue persists, try using a different web browser or device.
- Can’t add a new email address: If you’re unable to add a new email address on LinkedIn, ensure that you haven’t reached the maximum limit of secondary email addresses allowed. LinkedIn allows up to three secondary email addresses. If you have already reached the limit, you will need to remove one before adding a new one.
- Cannot remove an email address: If you’re having trouble removing an email address, make sure it is not set as your primary email address. You must have at least one verified email address associated with your LinkedIn account.
- Error message when setting a new email as primary: If you encounter an error when trying to set a new email as your primary, try logging out of your LinkedIn account and logging back in. If the issue persists, wait for a while and try again later. LinkedIn’s servers may experience temporary glitches or delays.
If you continue to face difficulties changing your email address on LinkedIn or resolving any related issues, consider reaching out to LinkedIn’s customer support for further assistance.
Now that you’re equipped with troubleshooting tips, you should be able to navigate through common challenges that may arise during the process of changing your LinkedIn email address.
In the final section, we’ll provide some concluding thoughts and additional tips to ensure a successful email address change on LinkedIn.
Final Thoughts and Additional Tips
Changing your email address on LinkedIn is a simple yet crucial task to ensure your account is up to date and that you receive important notifications from the platform. Here are some final thoughts and additional tips to keep in mind:
1. Regularly update your contact information: Your email address is not the only contact information you can update on LinkedIn. Take the time to review and update your phone number, website, and other relevant details to keep your profile accurate and accessible to others.
2. Maintain email security: When adding or changing an email address, ensure that you choose a secure and private email provider. Use strong passwords and enable two-factor authentication to protect your account from unauthorized access.
3. Monitor your LinkedIn inbox: With your new email address set up, regularly check your LinkedIn inbox for messages, connection requests, and notifications. Engaging with others and responding in a timely manner helps you maximize the networking opportunities LinkedIn offers.
4. Update email across other platforms: Remember to update your email address on other platforms or websites where you have used your old email. This ensures that important communications are not missed and that your online presence remains consistent.
5. Keep backup copies: Before making any changes to your LinkedIn email address, consider backing up any important messages or contacts you have stored in your old email account. It’s better to be safe and preserve any valuable information before switching to a new email.
6. Stay connected: After changing your email address, make sure to reestablish connections with your existing LinkedIn contacts and notify them of your new email. This ensures that your professional network remains connected and up to date.
By following the steps outlined in this guide and keeping these additional tips in mind, you can successfully change your email address on LinkedIn and enhance your networking and career opportunities on the platform.
Remember, your email address is an essential element of your LinkedIn profile, and keeping it current is vital for maintaining strong professional connections and staying updated on industry news and job opportunities.