Introduction
In today’s world of high-performance computing, customizing the aesthetics of your PC is becoming increasingly popular. Case fans are an essential component of any computer system, not only for cooling purposes but also for adding a touch of style. If you’re looking to elevate the visual appeal of your rig, changing the lights on your case fan is a simple and effective way to do so.
By replacing the standard LEDs that come pre-installed with your case fan, you can give your computer a unique and personalized look. Whether you want to match the lighting to your build’s color scheme or create eye-catching lighting effects, this guide will walk you through the step-by-step process of changing the lights on your case fan.
In this article, we will discuss the tools and materials you will need for the task. We will then guide you through each step, from removing the case fan to installing and testing the new lights. By following these instructions, you can easily transform the appearance of your computer and elevate your setup to the next level.
So, if you’re ready to take your system’s aesthetics to new heights, let’s dive into the world of case fan light customization!
Tools and Materials Needed
Before you begin the process of changing the lights on your case fan, you will need to gather a few tools and materials. Having these ready beforehand will ensure a smooth and hassle-free experience. Here are the essential items you will need:
- Screwdriver – Depending on your case, you may need a Phillips or a flathead screwdriver to remove the case fan.
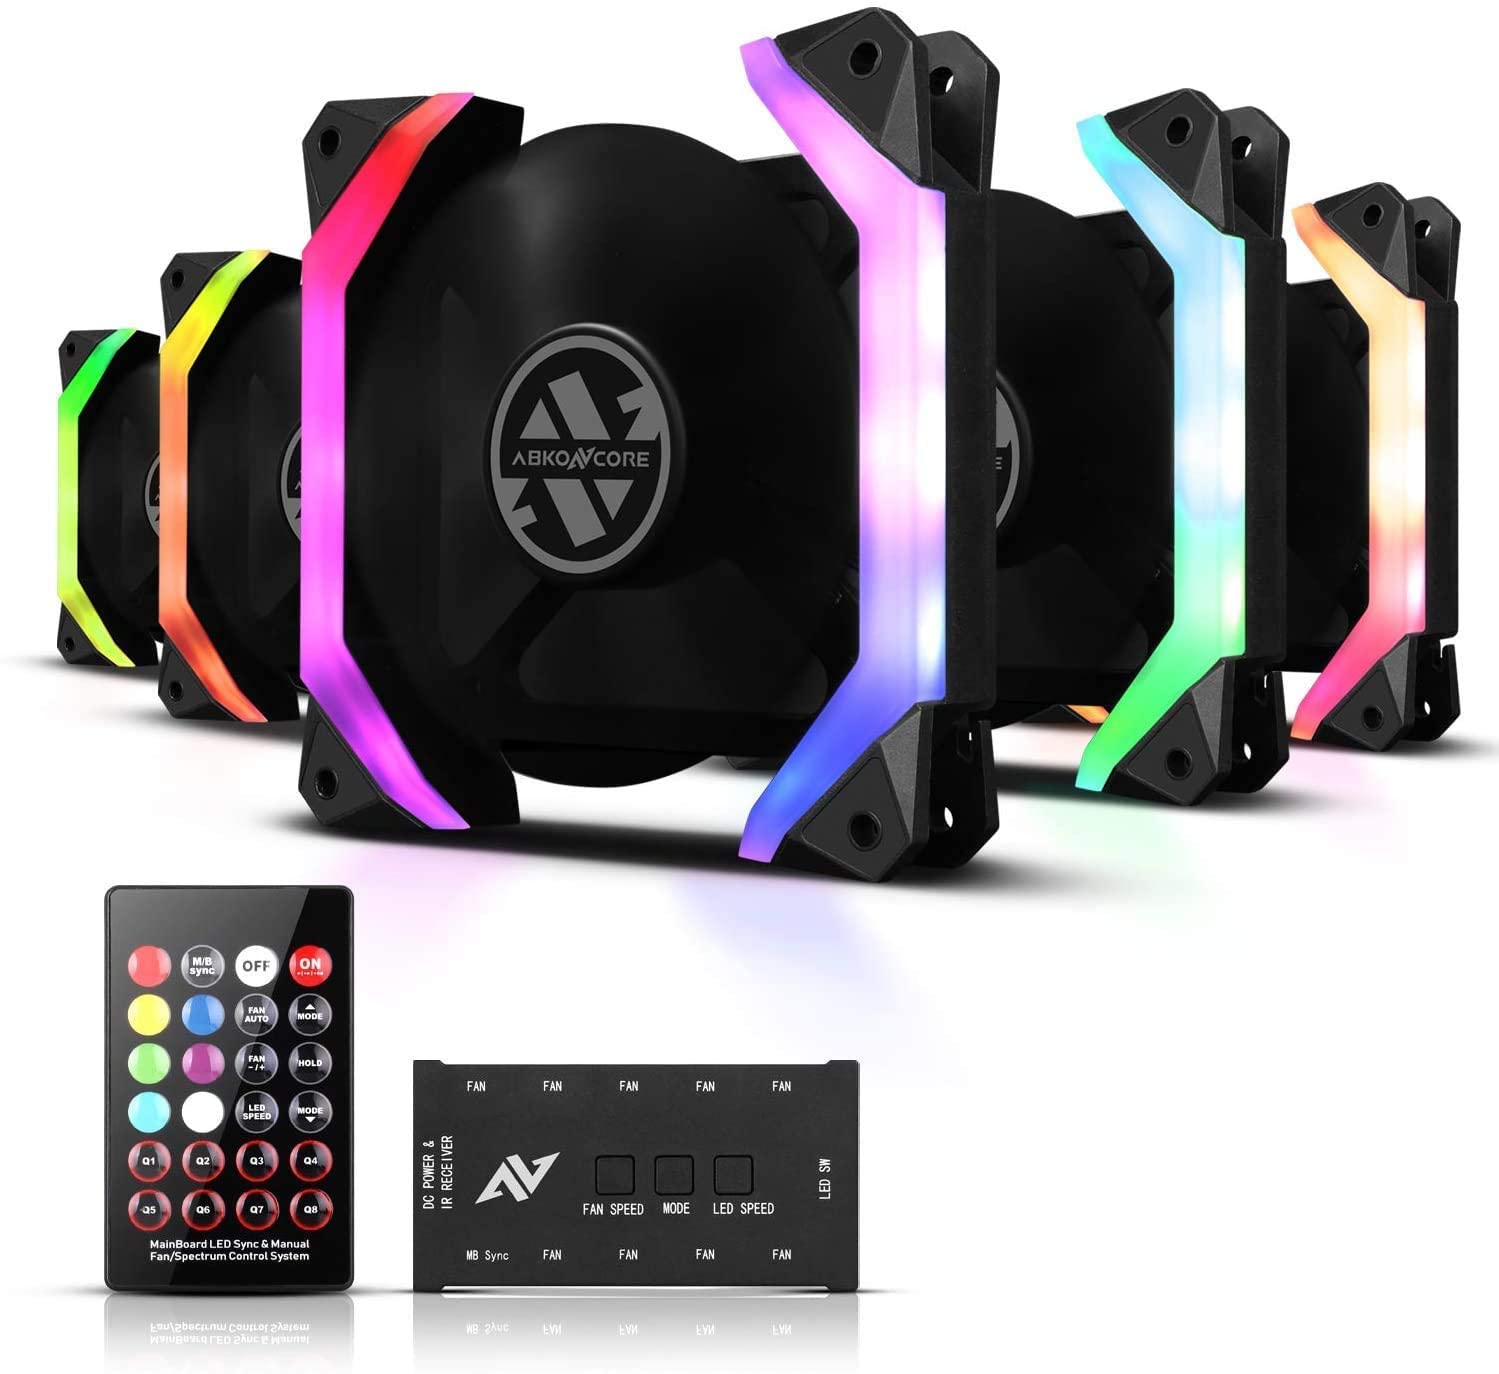
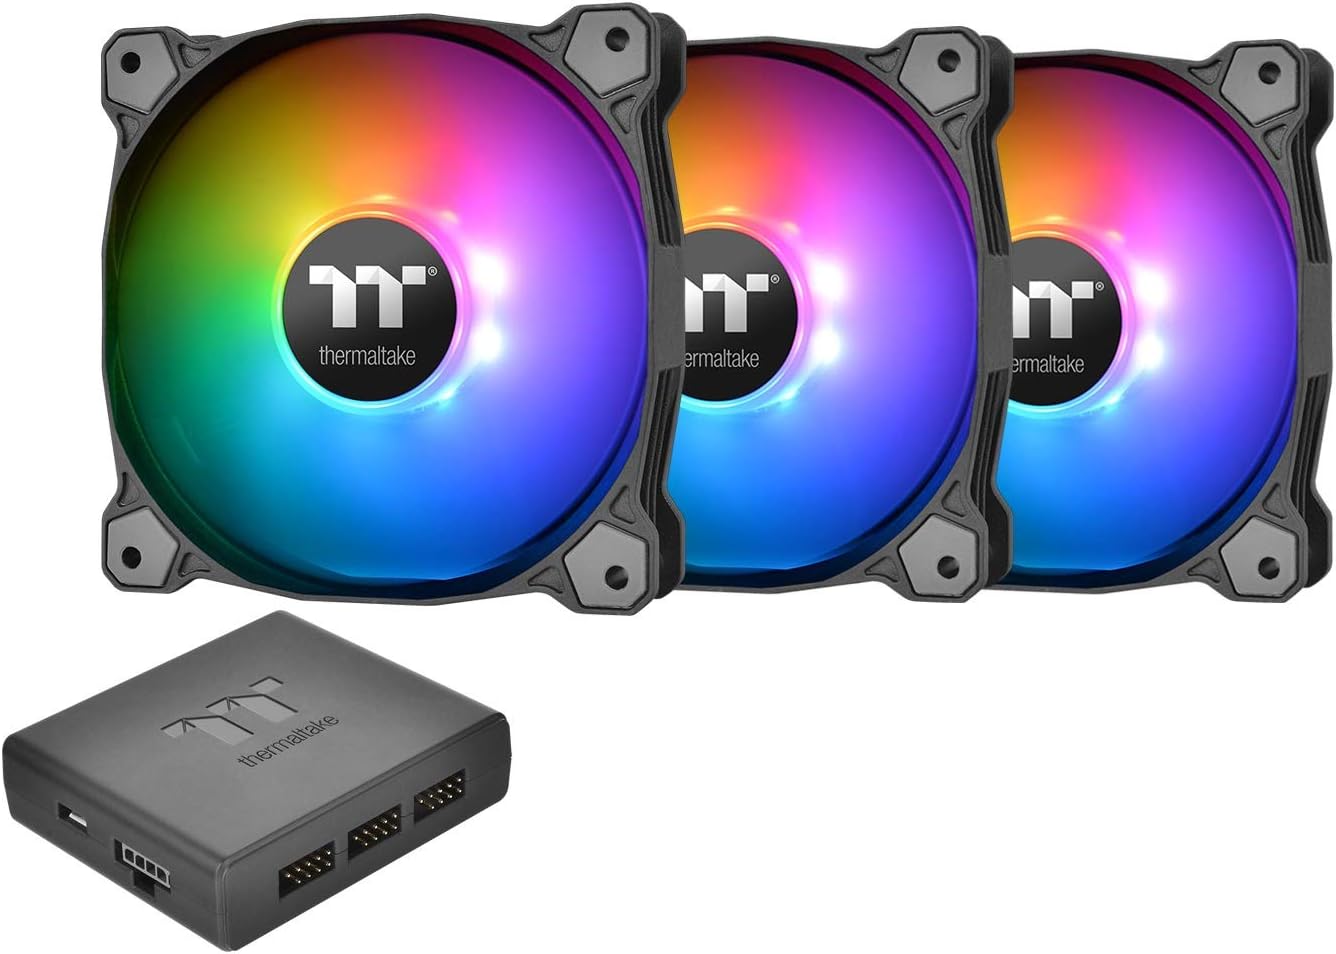
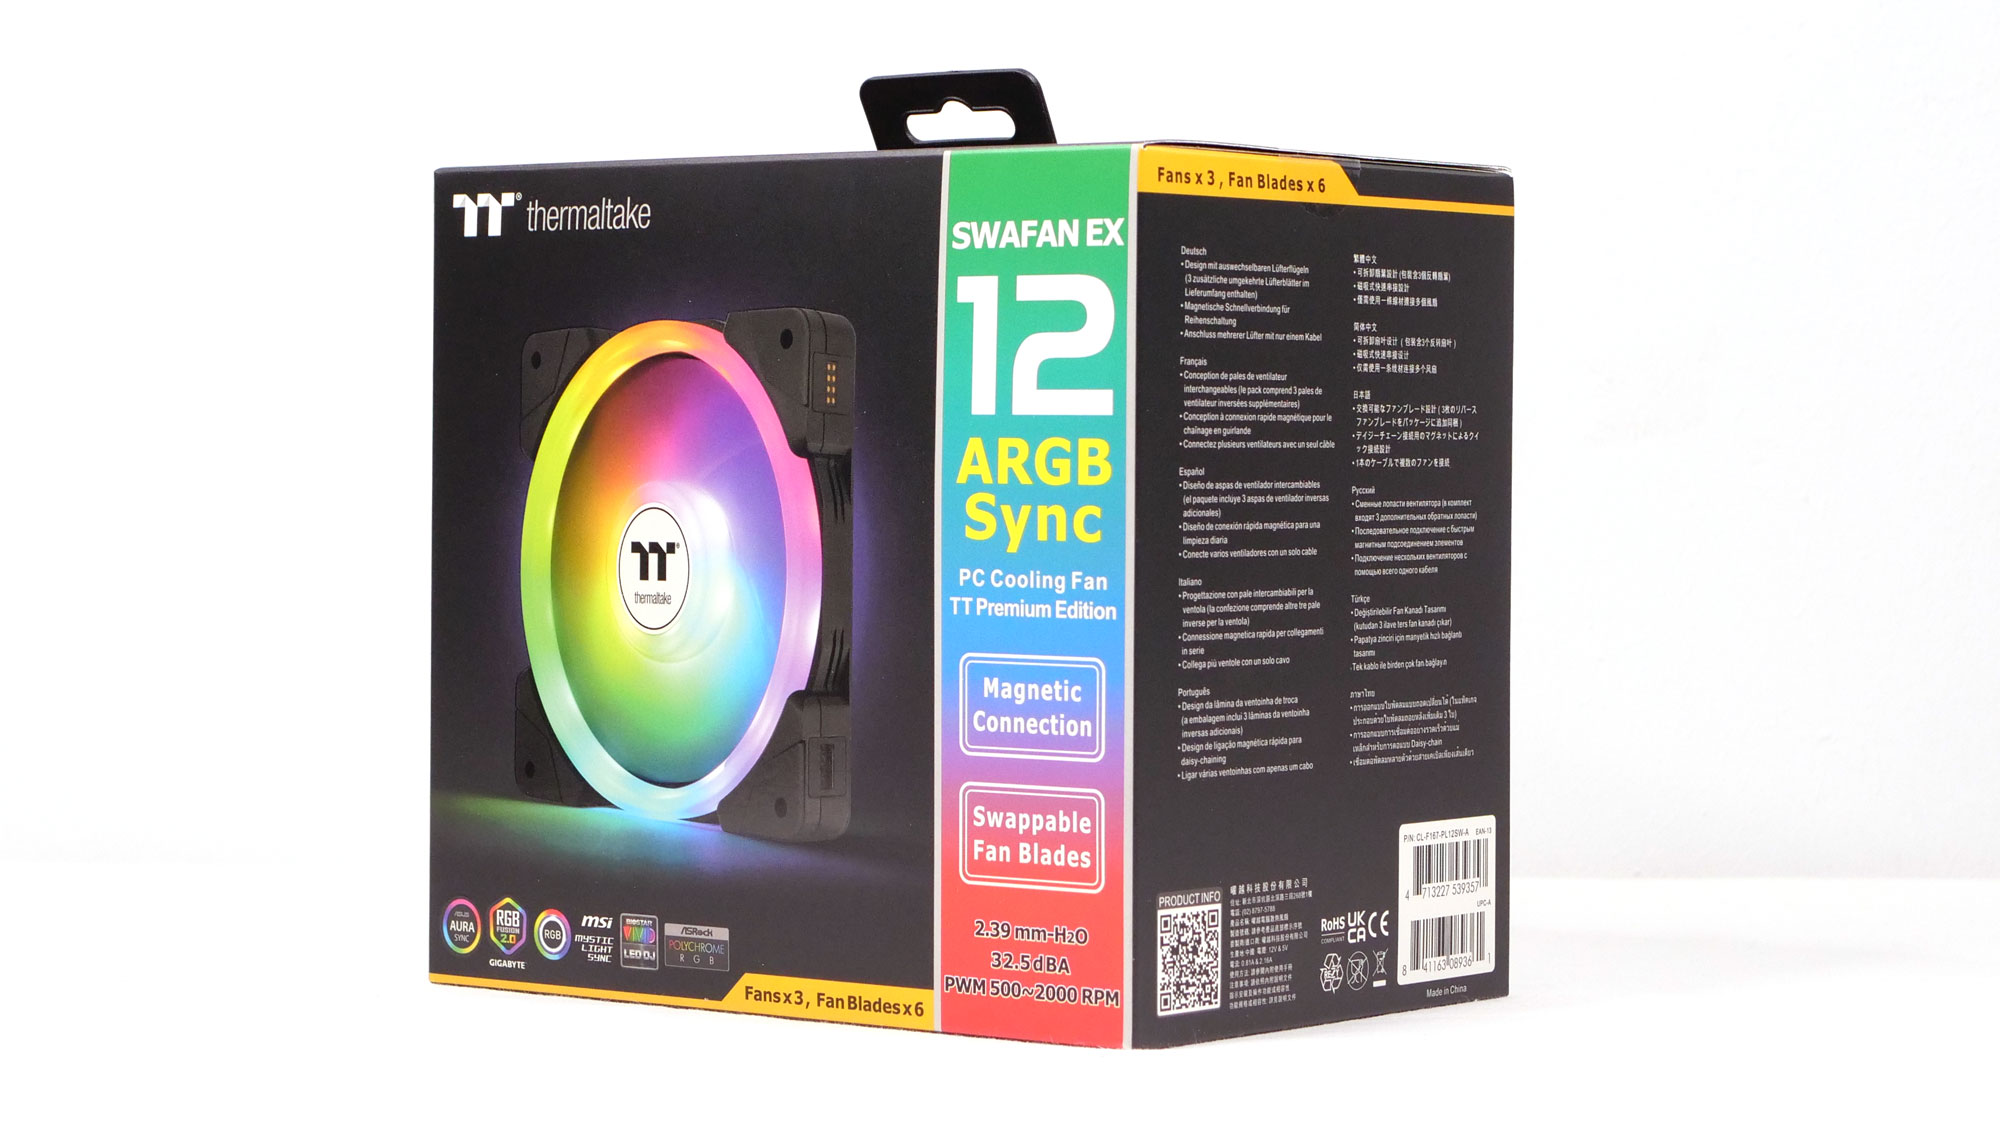
- Replacement LED Lights – You can find a variety of LED lights specifically designed for case fans. Make sure to choose ones that are compatible with your fan’s size and connector type.
- Anti-static Wrist Strap – This is optional but highly recommended to prevent electrostatic discharge during the process.
- Clean Cloth – A soft, lint-free cloth will come in handy for wiping away any dust or debris from the case fan.
- Optional: Cable Ties or Zip Ties – These can be useful for managing the cables and keeping them neatly organized.
Once you have gathered all the necessary tools and materials, you’re ready to move on to the next steps. It’s always a good idea to double-check that you have everything before starting the process, as it will save you time and frustration along the way.
Step 1: Remove the Case Fan
The first step in changing the lights on your case fan is to remove the fan from your computer case. Follow these steps to safely remove the case fan:
- Turn off your computer and unplug the power cable. This is important to prevent any electrical accidents while working on your PC.
- Open up your computer case by removing the side panel. The method of opening the case may vary depending on the model, so refer to your case’s manual if needed.
- Locate the case fan that you want to change the lights on. It is typically located at the front, back, or top of the case.
- Use a screwdriver (Phillips or flathead, depending on the screws used) to carefully remove the screws holding the fan in place. Keep the screws in a safe place, as you will need them later.
- Gently disconnect any power cables connected to the fan by pulling them straight out. Take note of how they are connected for easier reinstallation later.
- Once the screws and cables are detached, carefully lift the fan out of the case.
- If there are any additional fans you want to change the lights on, repeat the above steps for each fan.
With the case fan successfully removed from your computer case, you’re now ready to move on to the next step of the process. Ensure that you handle the fan with care to avoid any damage to its components.
Step 2: Disconnect the Power Cables
Once you have removed the case fan from the computer case, the next step is to disconnect the power cables. Follow these steps to safely disconnect the power cables:
- Inspect the power cables that are connected to the fan. Depending on the fan model, there may be one or more cables connected.
- Gently grasp each power cable by its connector and carefully pull it straight out from the fan. Avoid pulling on the cables themselves, as this may damage the wires or the connector.
- Take note of how the cables were connected to the fan. It helps to take a picture or make a diagram to ensure you remember the correct configuration later on.
- Set the power cables aside in a safe place. You will need to reconnect them once the new lights are installed.
By disconnecting the power cables, you ensure that there is no electrical current flowing to the fan, making it safe to proceed to the next steps of the process. Keeping track of how the cables were originally connected will make it easier to reinstall them correctly later on. With the power cables disconnected, you can now move on to locating the LED lights on the case fan.
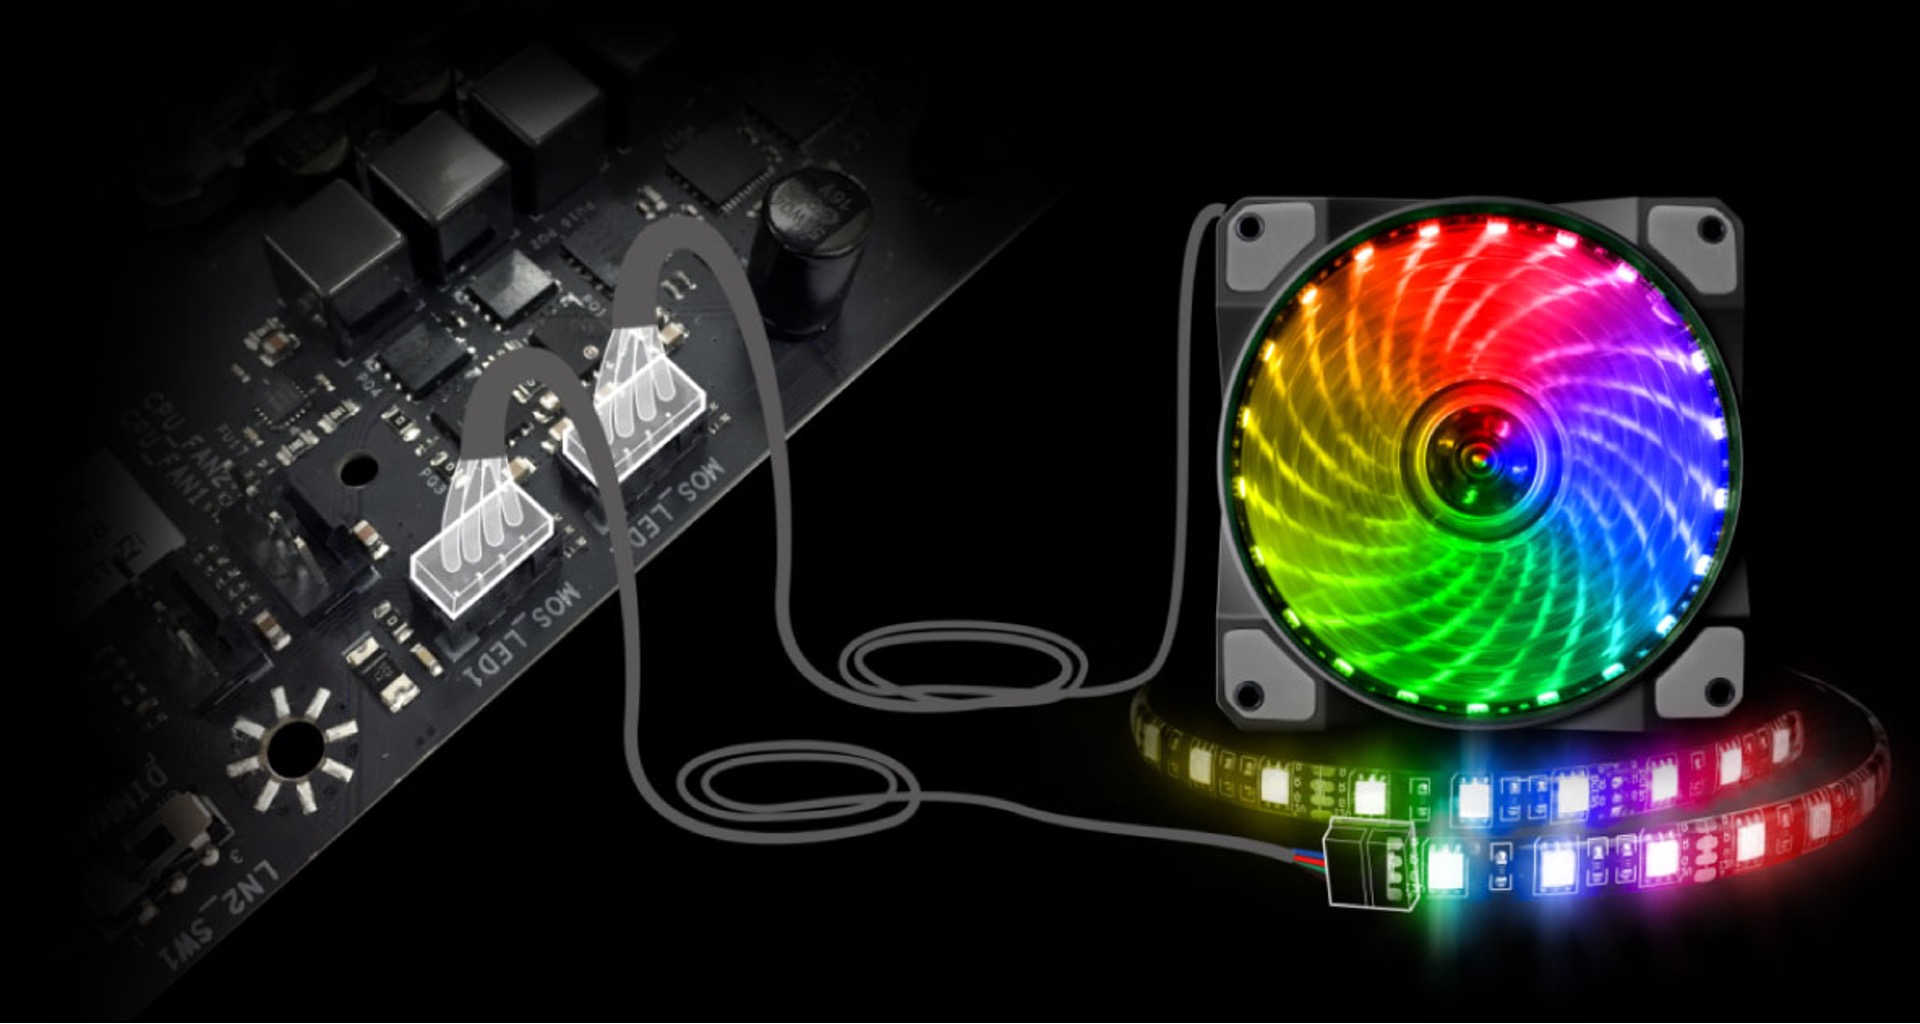
Step 3: Locate the LED Lights
In order to change the lights on your case fan, it’s important to first locate where the LED lights are located on the fan. Follow these steps to find the LED lights:
- Take a close look at the case fan and examine its structure. LED lights are usually positioned around the perimeter of the fan, illuminating the fan blades.
- Inspect the fan blades and the area around them. Look for small plastic caps or covers that enclose the LEDs.
- Identify any connectors or cables that are attached to the LED lights. These cables are what provide power to the lights.
It’s worth noting that the location and design of the LED lights may vary depending on the brand and model of the case fan. Some fans may have a single LED light while others may have multiple individual lights. Taking a moment to familiarize yourself with the specific layout of the fan will make it easier to proceed with the next steps of the process.
Once you have located the LED lights, you can move on to removing the old lights from the case fan. This step is essential in order to replace them with the new lights of your choice. Keep reading to learn how to remove the old lights and install the new ones.
Step 4: Remove the Old Lights
With the LED lights located on the case fan, it’s time to remove the old lights to make way for the new ones. Follow these steps to safely remove the old lights:
- Inspect the plastic caps or covers that enclose the old LED lights. Depending on the design, these may be secured with screws or clips.
- Use a screwdriver or your fingers to remove any screws or gently unclip the covers, exposing the old lights.
- Take note of the orientation of the old lights and how they were connected to the fan. This will help when installing the new lights later on.
- Gently disconnect any cables or connectors attached to the old lights. Ensure that you do not pull on the cables too forcefully to avoid damaging them.
- Once the cables are disconnected, carefully remove the old lights from the case fan. Handle them with care to prevent any damage.
- If there are multiple LED lights on the fan, repeat the above steps for each individual light.
By removing the old lights, you’re creating a clean slate for installing the new lights and personalizing the look of your case fan. Remember to take note of the orientation and connections of the old lights to ensure a seamless installation of the new lights. With the old lights removed, you’re ready to move on to the exciting step of installing the new lights onto the case fan!
Step 5: Install the New Lights
Now that you have removed the old lights from the case fan, it’s time to install the new lights. This step will allow you to customize the appearance of your fan to your liking. Follow these steps to safely install the new lights:
- Take the new LED lights that you have chosen for your case fan. Ensure that they are the correct size and connector type for your fan.
- Inspect the new lights and identify any cables or connectors attached to them. These cables will be used to provide power to the lights.
- If necessary, refer to any installation instructions provided with the new lights to familiarize yourself with their specific requirements.
- Align the new lights with the open slots or holes where the old lights were previously installed. Ensure that the orientation of the lights matches the markings or indicators on the fan.
- Gently insert the new lights into the fan, taking care not to exert excessive force or damage the connectors or cables.
- If there are multiple new lights to be installed, repeat the above steps for each light, ensuring that they are evenly spaced and well-positioned on the fan.
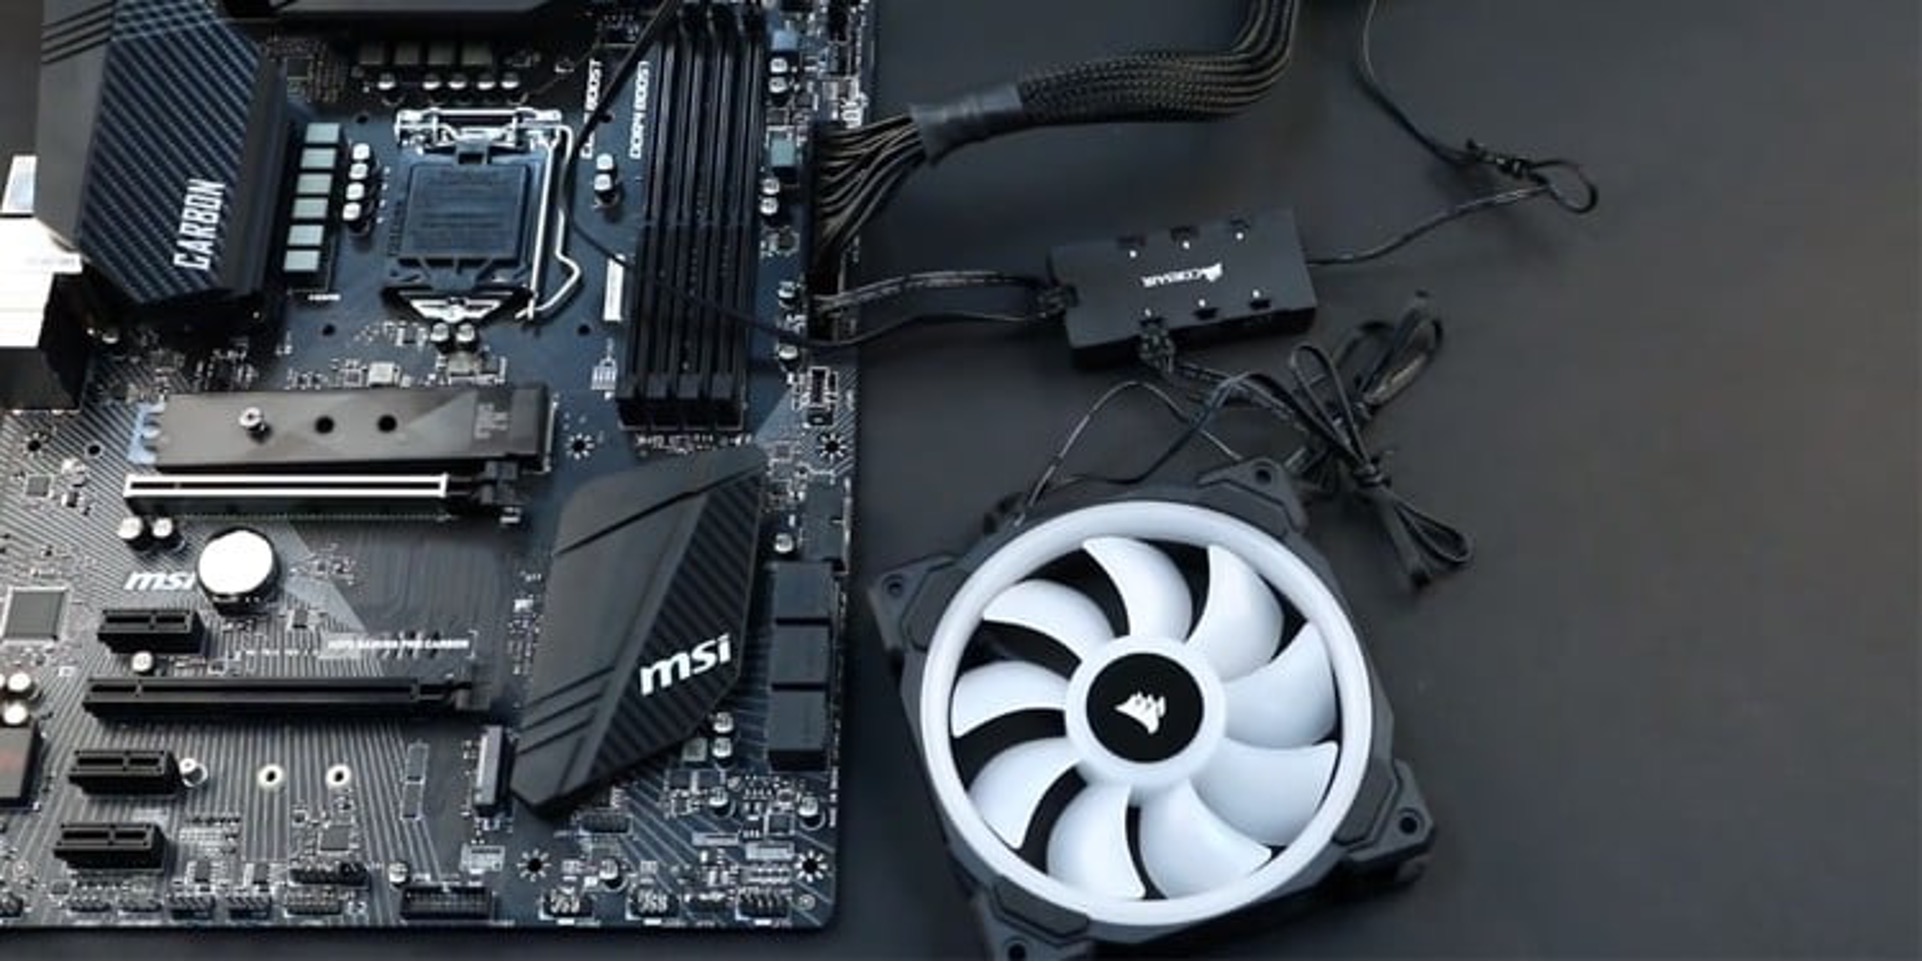
- Once all the new lights are in place, connect the cables or connectors to provide power to the lights. Ensure that the connections are secure and aligned correctly.
By installing the new lights onto the case fan, you can now enjoy a customized and visually appealing look for your computer setup. Take your time during this step to ensure proper alignment and connection of the new lights. With the new lights installed, you can move on to reconnecting the power cables in the next step of the process.
Step 6: Reconnect the Power Cables
After successfully installing the new lights on your case fan, it’s important to reconnect the power cables to ensure that the lights receive the necessary power. Follow these steps to safely reconnect the power cables:
- Refer to the notes or documentation you made during the disconnection of the power cables. This will help you remember how the cables were originally connected to the fan.
- Gently grasp each power cable connector and align it with the corresponding port on the case fan.
- Insert the power cable connector into the port, ensuring that it is fully seated and aligned correctly.
- Repeat the above steps for each power cable that was previously disconnected.
- Once all the power cables are connected, double-check that each connection is secure and tight.
Reconnecting the power cables is essential in order for the new lights to receive power and illuminate. Taking note of the original connections helps prevent any mix-ups or incorrect configurations during reinstallation. With the power cables reconnected, you’re almost ready to enjoy the dazzling new lights on your case fan.
Before wrapping up the process, it’s important to test the new lights to ensure they are functioning properly. Keep reading to learn how to perform this final step and bring your case fan to life!
Step 7: Reinstall the Case Fan
With the new lights installed and the power cables reconnected, it’s time to put the case fan back into your computer. Follow these steps to safely reinstall the case fan:
- Position the case fan in the appropriate slot or mounting area within your computer case.
- Align the screw holes on the fan with the corresponding holes or mounts in the case.
- Using the screws that were previously removed, secure the fan in place by tightening the screws.
- Double-check that the fan is securely fastened and does not wobble or move excessively.
- If there are any other fans you have removed or replaced, repeat the above steps for each fan.
When reinstalling the case fan, make sure it is positioned correctly and aligned with the designated mount. This ensures proper airflow and functionality. Securely fastening the fan with the screws prevents any unwanted movement or vibration that could impact performance or cause noise. With the case fan back in place, you’re almost ready to admire the new lights in action.
Before closing up your computer case, it’s important to perform a final test to ensure that the new lights are working properly. Let’s proceed to the next step to verify the functionality of your newly installed lights.
Step 8: Test the New Lights
Testing the new lights on your case fan is an essential step to ensure everything is in working order before concluding the process. Follow these steps to test the new lights:
- Reconnect the power cable to your computer and power it on.
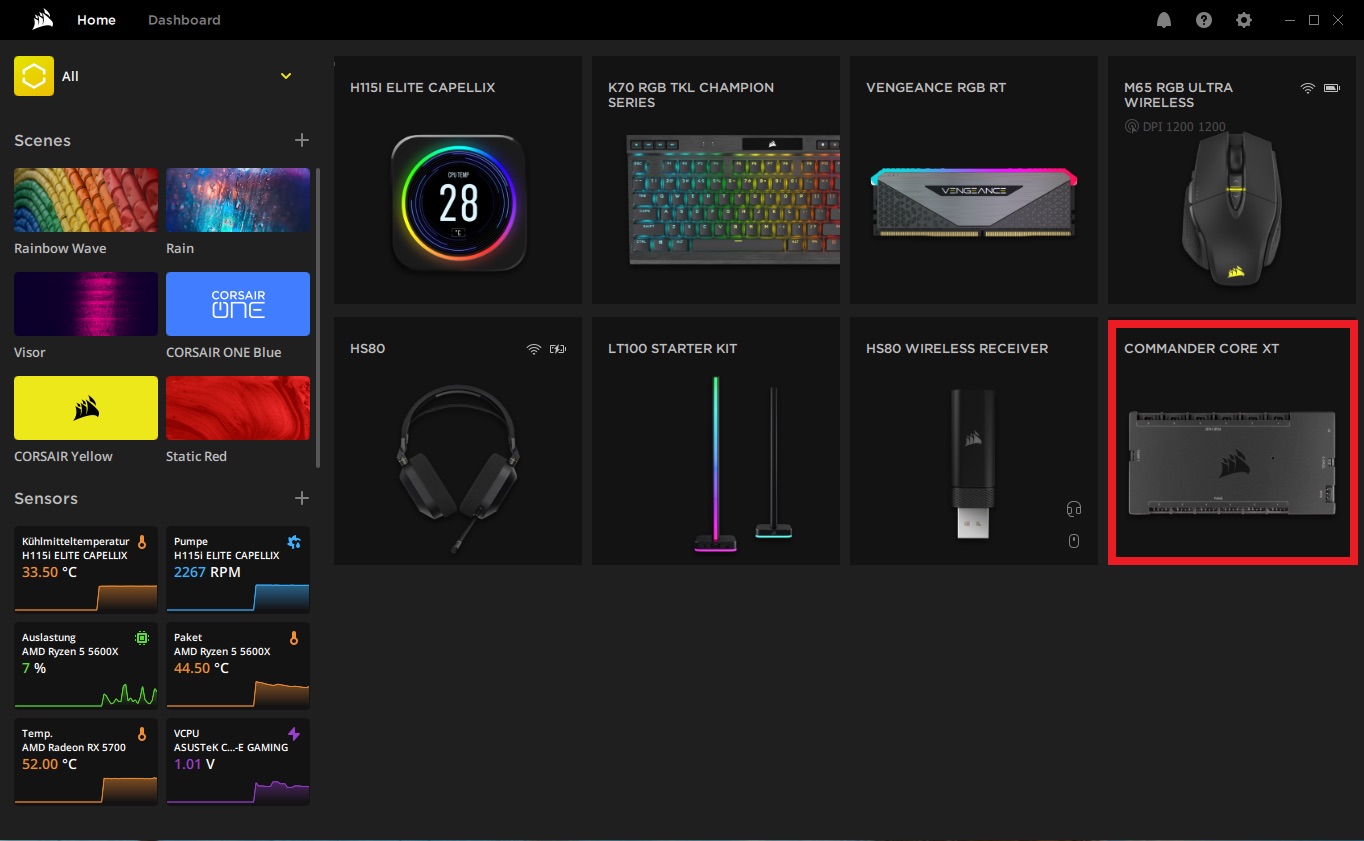
- Open any software or control panel that allows you to manage the LED lighting on your computer, if available.
- Look for the option to control the lighting of your case fan or individual LEDs. Adjust the settings to enable the lights and choose your desired color or lighting effect.
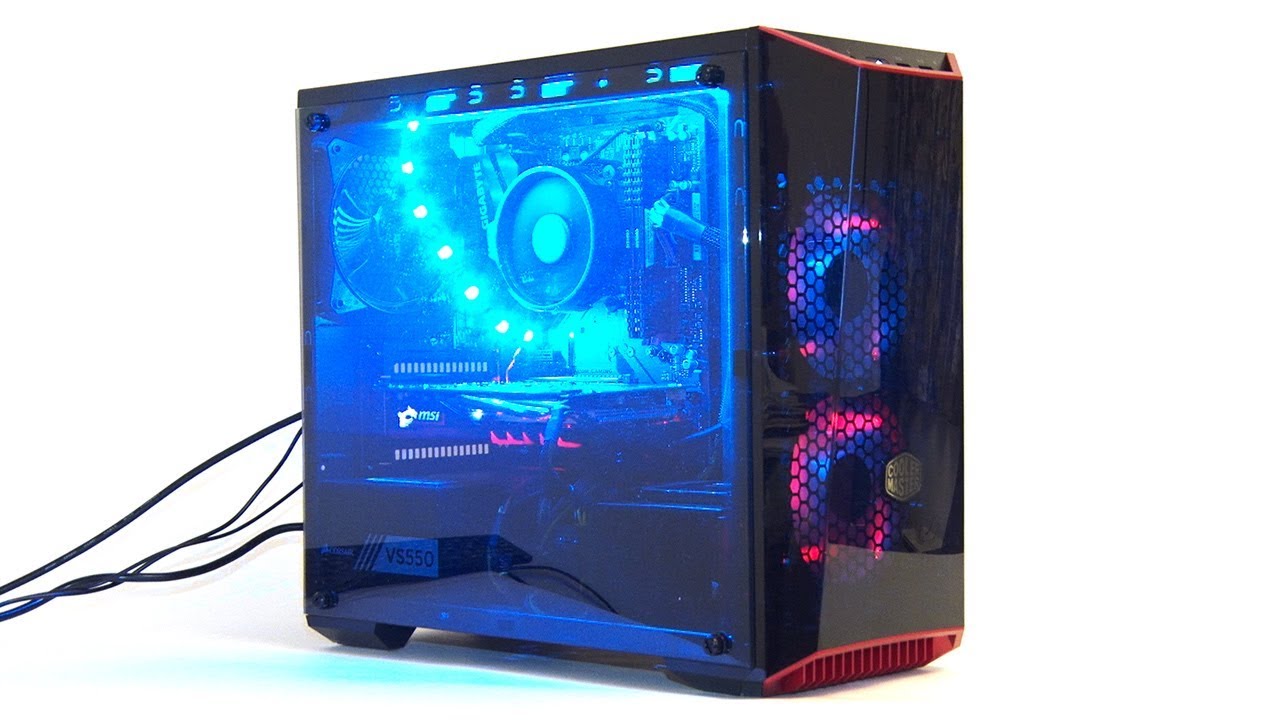
- Observe the case fan closely to ensure that the new lights are illuminating correctly and as intended.
- If the lights are not working or are displaying any issues, double-check the connections, cables, and settings. Make any necessary adjustments or reconnections as needed.
By testing the new lights, you can confirm that the installation was successful and that the lights are functioning as desired. It also allows you to make any necessary tweaks or adjustments to achieve the desired lighting effect. If everything is working properly, you can now proudly enjoy your personalized case fan with its brand-new lights.
With the testing phase complete, you have successfully changed the lights on your case fan. It’s time to wrap up the process and admire the enhanced aesthetics of your computer setup.
Conclusion
Changing the lights on your case fan is a simple and rewarding way to add a touch of personalization to your computer setup. By following the step-by-step process outlined in this guide, you can easily transform the appearance of your case fan and create a visually appealing atmosphere.
We began by gathering the necessary tools and materials, ensuring that we had everything we needed to successfully complete the task. Then, we proceeded to remove the case fan from the computer case and disconnect the power cables. Locating the LED lights on the fan was the next step, allowing us to understand how they were positioned and connected.
After that, we removed the old lights and installed the new ones, making sure to align them correctly and secure them in place. Reconnecting the power cables was crucial to provide the necessary power for the new lights to illuminate. Finally, we reinstalled the case fan and tested the new lights to ensure they were working properly.
With the process complete, you now have a customized case fan with new lights that perfectly complement your computer setup. Whether you chose a specific color scheme, created eye-catching lighting effects, or matched the lighting to your overall aesthetic, your computer is now a visually stunning centerpiece.
Remember to take your time, be cautious during each step, and refer to the instructions provided by the fan manufacturer if needed. By considering safety measures and being attentive to details, you can successfully change the lights on your case fan and enjoy the visual enhancements it brings to your computer.
Now, sit back, power on your computer, and bask in the vibrant glow of your newly customized case fan!