Introduction
Welcome to the world of Bixby, Samsung’s intelligent virtual assistant. Designed to simplify your life, Bixby offers a wide range of features and functionalities to enhance your smartphone experience. One of the key aspects of Bixby’s versatility is its ability to communicate with you in multiple languages. Whether you speak English, Spanish, French, or any other supported language, Bixby can adapt to your preferences.
Changing the language on Bixby allows you to interact with it seamlessly, ensuring that you receive accurate information, personalized recommendations, and effective assistance in your preferred language. In this guide, we will walk you through the steps to change the language settings on various Bixby features and components.
Before we delve into the specifics, it’s important to note that Bixby language settings may vary depending on your device model and software version. The instructions provided here are general guidelines that should apply to most Samsung devices running the Bixby interface. Let’s get started and explore how you can change the language on Bixby to better suit your needs.
Accessing Bixby Settings
Before you can change the language settings on Bixby, you need to access the Bixby settings menu. Here’s how you can do it:
- On your Samsung device, swipe down from the top of the screen to access the notification panel.
- Tap on the gear icon in the top right corner to open the Settings app.
- Scroll down and find the “Apps” or “Applications” option and tap on it.
- Look for “Bixby” in the list of apps and tap on it.
- In the Bixby settings, you will find various options related to Bixby’s functionality and appearance.
Once you have accessed the Bixby settings, you can proceed to change the language settings according to your preference. It’s worth mentioning that changing the language settings on Bixby will affect all Bixby features, including Bixby Voice, Bixby Vision, Bixby Routines, and more.
If you are unable to find the Bixby settings in the Apps menu, it’s possible that your device does not have Bixby pre-installed. In this case, you may need to download and install the Bixby app from the Samsung Galaxy Store before proceeding with the language change.
Now that you know how to access the Bixby settings, let’s move on to the next section to learn how to change the language on Bixby Home.
Changing the Language on Bixby Home
Bixby Home is the main hub where you can access personalized information, news updates, and recommended apps based on your interests and usage patterns. To change the language settings on Bixby Home, follow these steps:
- Open the Bixby app by tapping on its icon in the app drawer or by swiping right on your home screen.
- Tap on the three horizontal lines in the top left corner to open the Bixby menu.
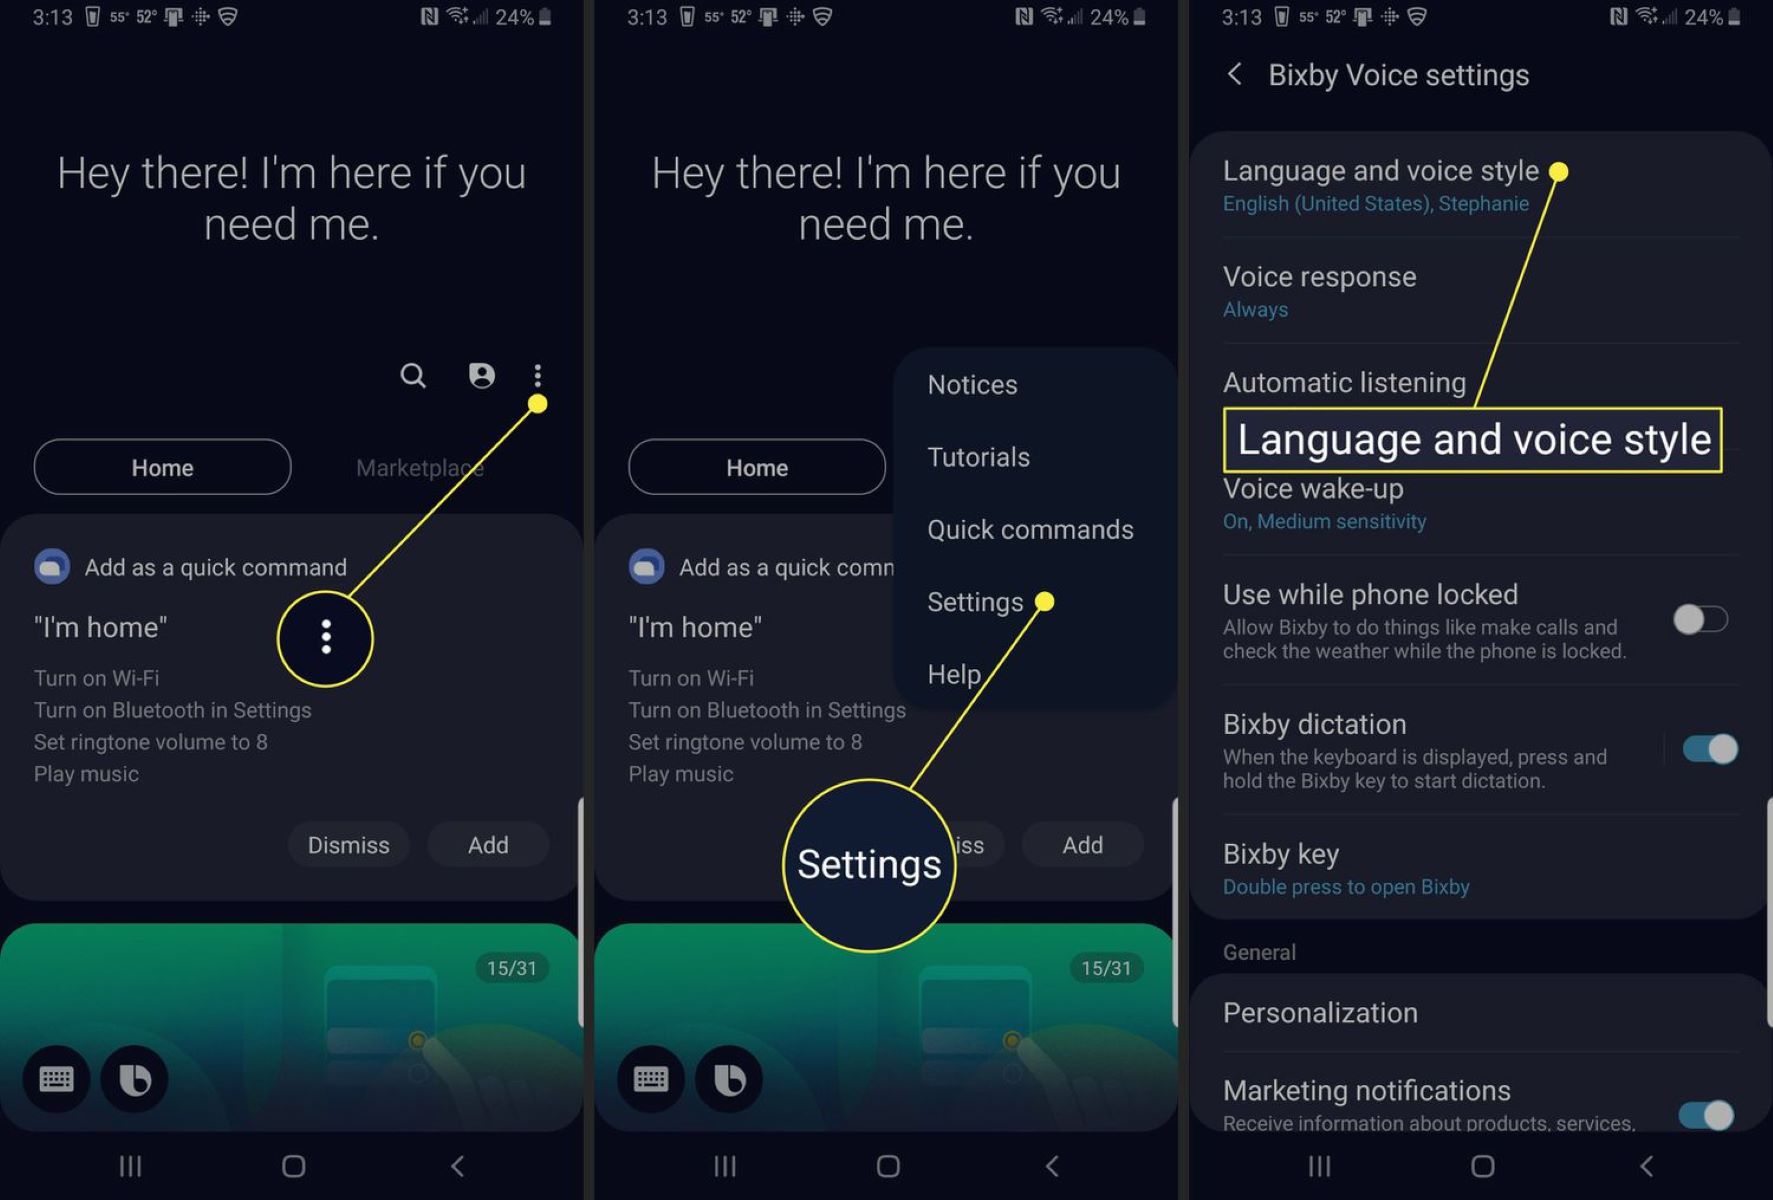
- Scroll down and select “Settings” from the menu.
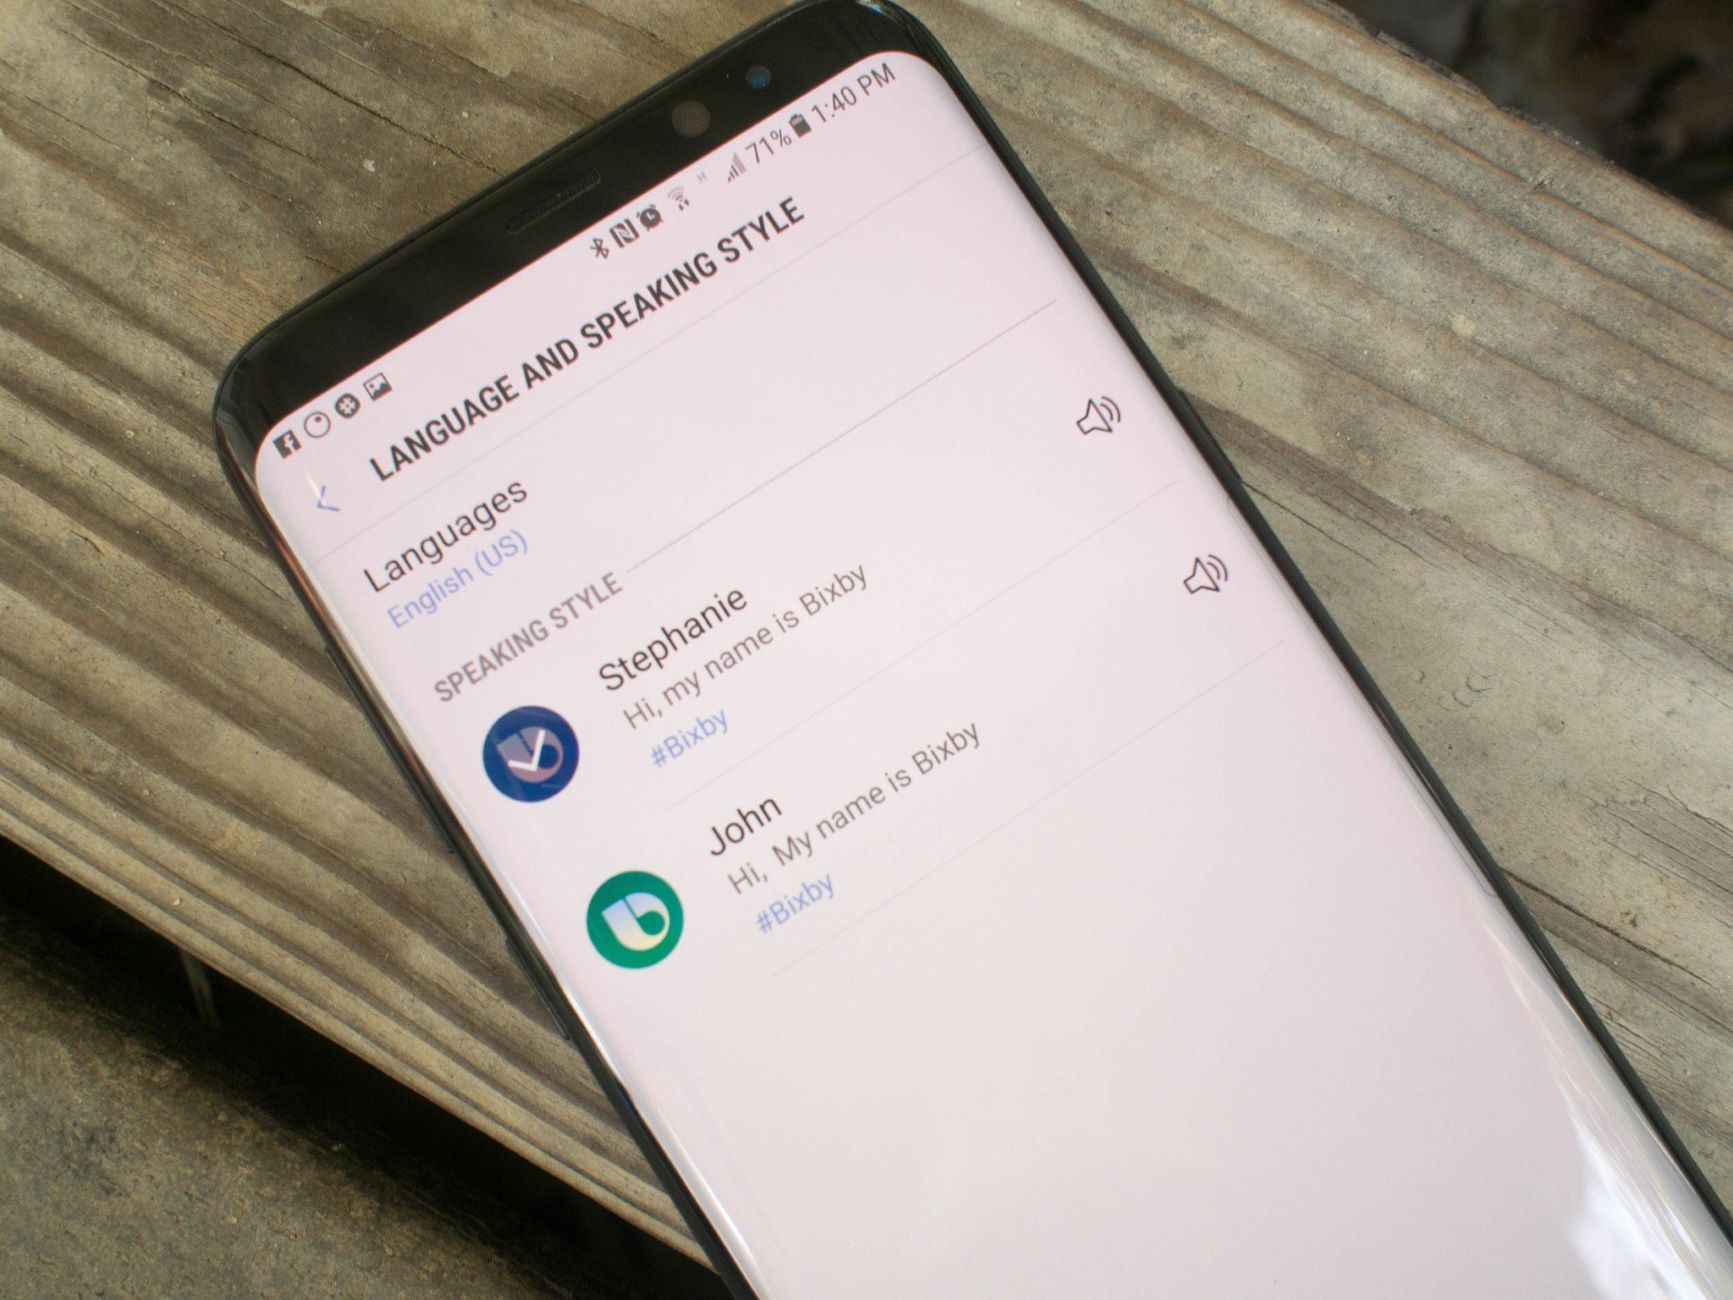
- In the Settings menu, tap on “Language” to access the language options.
- Select your preferred language from the list of available options.
- Confirm your selection and wait for Bixby to update the language settings.
Once you have changed the language settings on Bixby Home, you will start seeing content and recommendations in your desired language. Bixby’s intelligent algorithms will analyze your preferences and adapt the information it presents to align with your language selection.
It’s important to note that Bixby Home may require an internet connection to load personalized content and update language settings. If you encounter any issues or if the language change doesn’t take effect immediately, try restarting the Bixby app or your device to ensure that the changes are properly applied.
Now that you know how to change the language settings on Bixby Home, let’s move on to the next section to discover how to change the language on Bixby Voice.
Changing the Language on Bixby Voice
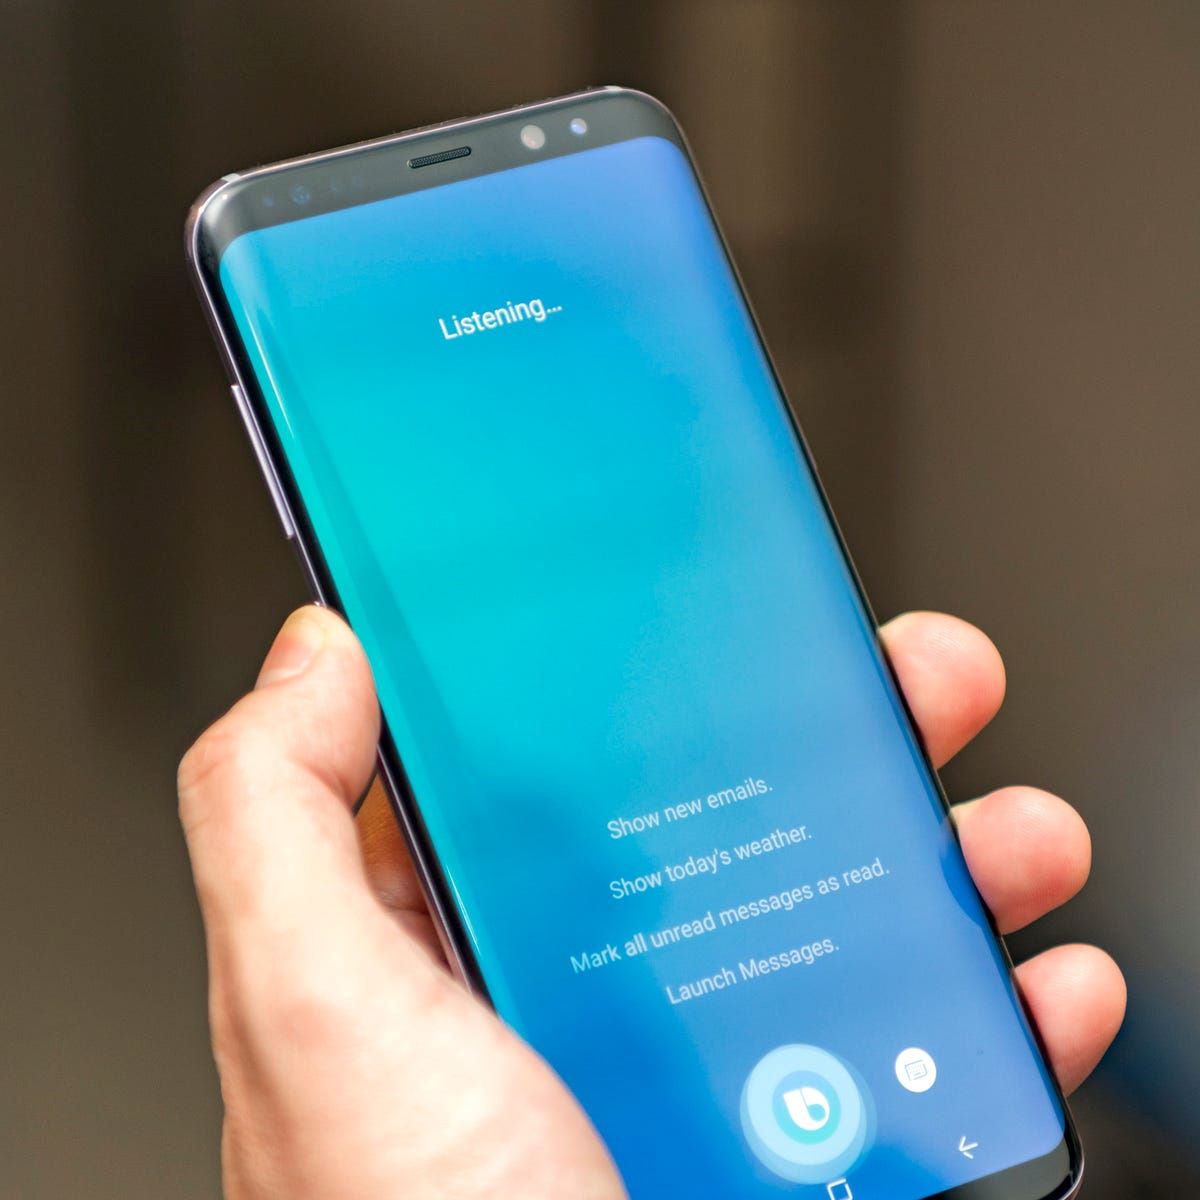
Bixby Voice allows you to interact with your device through voice commands and perform various tasks using natural language. To change the language settings on Bixby Voice, follow these steps:
- Launch the Bixby app on your Samsung device.
- Tap on the gear icon in the top right corner to access the Bixby settings.
- Scroll down and select “Language” from the settings menu.
- You will see a list of available languages. Choose your desired language from the list.
- Confirm your selection and wait for Bixby to update the language settings.
Once you have changed the language settings on Bixby Voice, you will be able to use voice commands and receive responses in your preferred language. This feature is particularly useful for tasks like setting reminders, sending messages, making phone calls, and controlling various aspects of your device using voice interactions.
It’s important to note that Bixby Voice relies on an internet connection to process voice commands and provide accurate responses. If you experience any difficulties or if the new language settings are not applied immediately, try restarting the Bixby app or your device to ensure that the changes take effect.
Now that you know how to change the language settings on Bixby Voice, let’s move on to the next section to explore how to change the language on Bixby Vision.
Changing the Language on Bixby Vision
Bixby Vision is a powerful feature that utilizes the camera on your smartphone to provide information and assistance based on the objects it detects. To change the language settings on Bixby Vision, follow these steps:
- Open the Bixby app on your device.
- Tap on the three horizontal lines in the top left corner to open the Bixby menu.
- Scroll down and select “Settings” from the menu.
- In the Settings menu, choose “Language” to access the language options.
- Select your desired language from the list of available options.
- Confirm your selection and wait for Bixby to update the language settings.
Once you have changed the language settings on Bixby Vision, it will recognize objects and provide information in the language you have chosen. Whether you are exploring landmarks, scanning QR codes, or translating text, Bixby Vision will deliver results in your preferred language.
It’s important to note that Bixby Vision relies on an internet connection for some of its functionalities, such as translation and product identification. Ensure that you have a stable internet connection to experience the full capabilities of Bixby Vision in your chosen language.
Now that you know how to change the language settings on Bixby Vision, let’s move on to the next section to discover how to change the language on Bixby Reminders.
Changing the Language on Bixby Reminders
Bixby Reminders is a convenient tool that helps you stay organized by setting reminders for important tasks, events, and deadlines. To change the language settings on Bixby Reminders, follow these steps:
- Open the Bixby app on your Samsung device.
- Tap on the three horizontal lines in the top left corner to access the Bixby menu.
- Scroll down and select “Settings” from the menu.
- In the Settings menu, tap on “Language” to access the language options.
- Choose your preferred language from the list of available options.
- Confirm your selection and wait for Bixby to update the language settings.
Once you have changed the language settings on Bixby Reminders, your reminder notifications and alerts will be displayed in your chosen language. This will ensure that you can conveniently keep track of your tasks and deadlines.
If you are experiencing any issues with Bixby Reminders or if the language change is not applied immediately, try restarting the Bixby app or your device. This will help to ensure that the language settings are properly updated and reflected in your reminder notifications.
Now that you know how to change the language settings on Bixby Reminders, let’s move on to the next section to explore how to change the language on Bixby Routines.
Changing the Language on Bixby Routines
Bixby Routines is a feature that allows you to automate tasks and create personalized routines based on your daily habits and preferences. To change the language settings on Bixby Routines, follow these steps:
- Open the Bixby app on your Samsung device.
- Tap on the three horizontal lines in the top left corner to open the Bixby menu.
- Scroll down and select “Settings” from the menu.
- In the Settings menu, tap on “Language” to access the language options.
- Select your desired language from the list of available options.
- Confirm your selection and wait for Bixby to update the language settings.
Once you have changed the language settings on Bixby Routines, the actions and conditions within your existing routines will be displayed in your chosen language. This will allow you to easily manage and customize your automated tasks based on your preferences.
If you encounter any difficulties or if the language change is not applied immediately, try restarting the Bixby app or your device. This will help to ensure that the language settings are properly updated and reflected in your Bixby Routines.
Now that you know how to change the language settings on Bixby Routines, let’s move on to the next section to discover how to change the language on Bixby Dictation.
Changing the Language on Bixby Dictation
Bixby Dictation allows you to convert your speech into text, making it convenient for composing messages, notes, and other written content. To change the language settings on Bixby Dictation, follow these steps:
- Open the Bixby app on your Samsung device.
- Tap on the three horizontal lines in the top left corner to access the Bixby menu.
- Scroll down and select “Settings” from the menu.
- In the Settings menu, tap on “Language” to access the language options.
- Choose your preferred language from the list of available options.
- Confirm your selection and wait for Bixby to update the language settings.
Once you have changed the language settings on Bixby Dictation, it will accurately transcribe your spoken words into text in your chosen language. This feature is particularly useful for those who prefer to dictate instead of manually typing text on their devices.
It’s important to note that Bixby Dictation requires an internet connection to transcribe your speech and provide accurate results. Ensure that you have a stable internet connection to experience the full capabilities of Bixby Dictation in your selected language.
If you encounter any issues or if the language change is not applied immediately, try restarting the Bixby app or your device. This will help to ensure that the language settings are properly updated and reflected in Bixby Dictation.
Now that you know how to change the language settings on Bixby Dictation, let’s move on to the next section for some troubleshooting tips.
Troubleshooting Tips
If you encounter any issues while changing the language settings on Bixby or if the changes are not applied as expected, here are a few troubleshooting tips to help you resolve them:
- Check for software updates: Ensure that your device is running the latest software version. Software updates often include bug fixes and improvements that can resolve issues with Bixby.
- Restart your device: Sometimes a simple device restart can resolve minor glitches and refresh the system, allowing the language settings to take effect properly.
- Clear Bixby app cache: If you are experiencing persistent issues with Bixby, try clearing the app cache. This can be done by going to the Settings app, selecting “Apps” or “Applications,” finding Bixby in the list, and tapping on “Storage” or “Storage & Cache.” Then, choose the option to clear the cache.
- Reinstall Bixby: If the above steps do not solve the problem, you can try uninstalling and reinstalling the Bixby app. This can help to eliminate any underlying issues with the app and provide a fresh start for setting up the language settings.
- Check internet connectivity: Bixby features like Bixby Voice, Bixby Vision, and Bixby Dictation rely on an internet connection. Ensure that you have a stable internet connection to utilize these features and experience accurate results.
- Reset Bixby settings: If all else fails, you can reset Bixby settings to their default state. This can be done in the Bixby settings menu by selecting “Reset Settings” or a similar option. Keep in mind that resetting Bixby will delete any personalized data and preferences.
By following these troubleshooting tips, you should be able to address any issues you encounter while changing the language settings on Bixby. Remember to consult your device’s user manual or reach out to Samsung support for further assistance if needed.
Conclusion
Changing the language settings on Bixby can greatly enhance your user experience by allowing you to interact with this intelligent virtual assistant in your preferred language. Whether you want to navigate Bixby Home, use Bixby Voice commands, explore Bixby Vision, create personalized Bixby Routines, set reminders with Bixby, or dictate text using Bixby Dictation, customizing the language settings ensures that Bixby understands and responds to you accurately.
In this guide, we have walked you through the steps to change the language settings on various Bixby features. From accessing the Bixby settings to modifying the language on Bixby Home, Bixby Voice, Bixby Vision, Bixby Reminders, Bixby Routines, and Bixby Dictation, we have provided a comprehensive overview of the language customization options available.
Remember that Bixby language settings may vary depending on your device model and software version, so the steps provided here are general guidelines. It’s always advisable to refer to your device’s user manual or consult Samsung support for specific instructions based on your device.
By personalizing Bixby’s language settings, you can navigate through its features effortlessly and receive information, recommendations, and assistance in a language that feels most comfortable to you. Enjoy the convenience and versatility of Bixby as it adapts to your language preferences and helps simplify your life.