Introduction
Windows 10 offers a variety of customization options, allowing users to personalize their desktop experience. One such customization option is changing the icon size. Whether you want to make the icons larger for better visibility or smaller to fit more icons on your screen, Windows 10 provides multiple methods to adjust the icon size to your preference.
In this article, we will explore several methods to change the icon size in Windows 10. You can choose the method that suits you best based on your familiarity with the different Windows settings and features.
Before we begin, please note that the steps may vary slightly depending on the version of Windows 10 you are using. However, the overall process remains relatively similar across different versions.
Now, let’s dive into the various methods you can use to change the icon size in Windows 10. Whether you prefer adjusting settings through the Settings app, the desktop context menu, the control panel, or the registry editor, we’ve got you covered.
Method 1: Change Icon Size using the Settings App
The Settings app in Windows 10 provides a user-friendly interface to customize various aspects of your operating system, including the icon size. Follow these steps to change the icon size using the Settings app:
- Click on the “Start” button located at the bottom left corner of your screen. The Start menu will open.
- Click on the “Settings” gear icon, represented by a small cogwheel. The Settings app will open.
- In the Settings app, click on the “System” option. This will open the System settings menu.
- On the left-hand side of the System settings menu, click on “Display” to access the display settings.
- Scroll down to the “Scale and layout” section. Here, you will find the “Change the size of text, apps, and other items” slider.
- Adjust the slider to increase or decrease the size of the icons. As you move the slider, you will see a preview of the changes on your screen.
- Once you are satisfied with the new icon size, close the Settings app. The changes will be applied immediately.
Changing the icon size through the Settings app is a quick and straightforward method. However, keep in mind that adjusting the slider will also affect the size of other elements, such as text and apps on your screen.
Now that you know how to change the icon size using the Settings app, let’s move on to the next method: changing the icon size using the Desktop Context Menu.
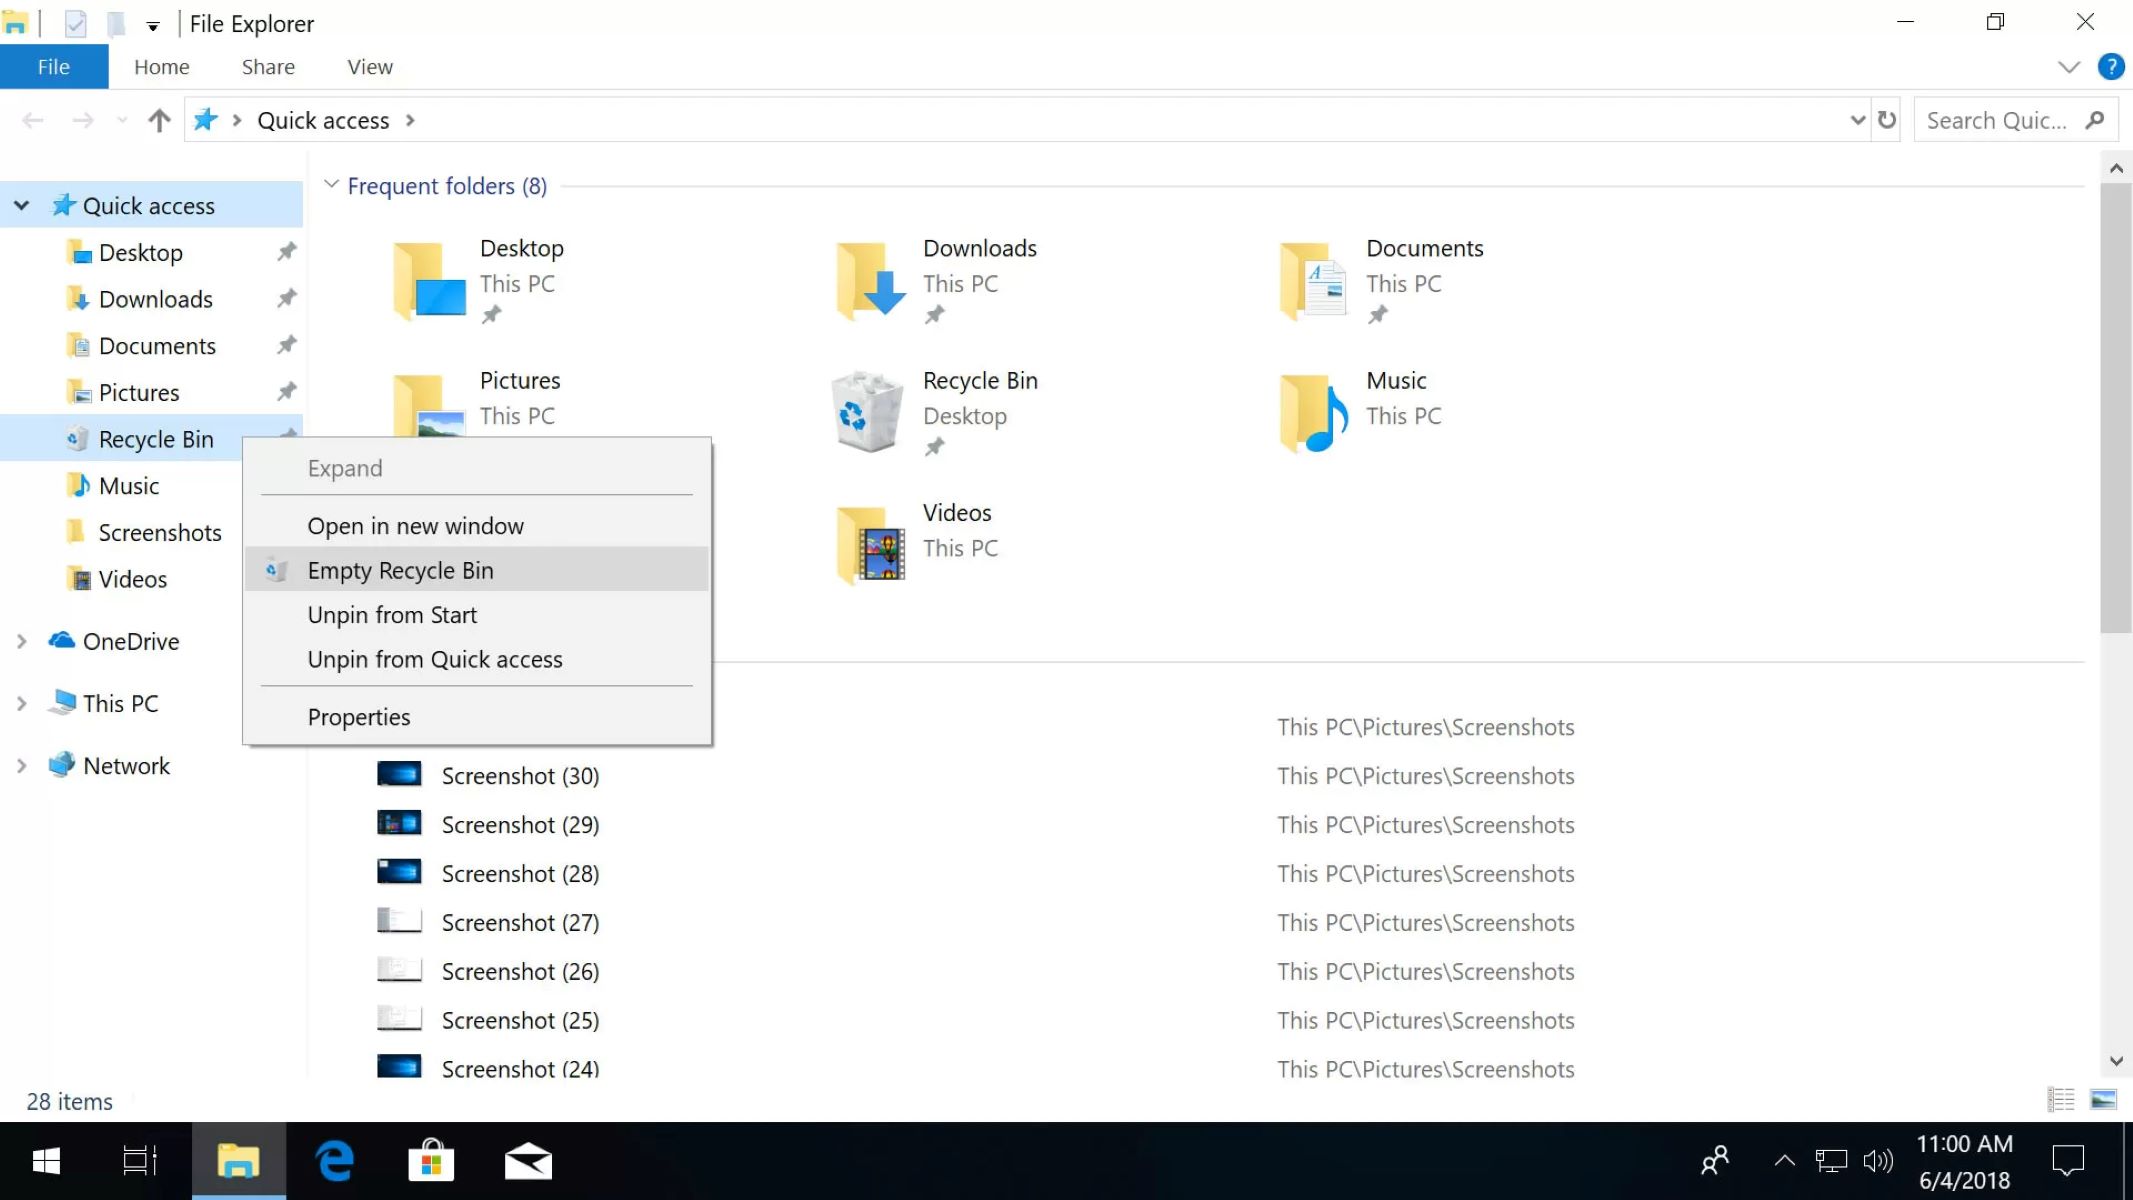
Method 2: Change Icon Size using the Desktop Context Menu
The desktop context menu provides a convenient way to access various options and settings related to your desktop, including the ability to change the icon size. Follow these steps to change the icon size using the desktop context menu:
- Right-click on an empty area of your desktop. This will open the desktop context menu.
- Hover your mouse over the “View” option in the context menu. A submenu will appear.
- In the “View” submenu, you will see different icon size options, such as “Large icons,” “Medium icons,” and “Small icons.”
- Click on the desired icon size option to change the icon size on your desktop. The icons will instantly resize according to your selection.
Changing the icon size using the desktop context menu is a quick and convenient method, especially if you prefer using right-click options. However, please note that this method only changes the icon size on your desktop and does not affect the icon size in other areas of your operating system.
Now that you know how to change the icon size using the desktop context menu, let’s move on to the next method: changing the icon size using the Control Panel.
Method 3: Change Icon Size using the Control Panel
The Control Panel is a classic Windows feature that allows you to access a wide range of system settings and customization options. If you prefer using the Control Panel, you can easily change the icon size using the following steps:
- Open the Control Panel by typing “Control Panel” in the Windows search bar and selecting the corresponding result.
- In the Control Panel, change the view to “Large icons” or “Small icons” if it is currently set to a different view.
- Locate and click on the “Display” option. This will open the display settings menu.
- In the display settings menu, click on the “Change icon size” link located in the left-hand sidebar.
- A window titled “Change the appearance of your display” will open. Here, you can choose the desired icon size by selecting one of the available options.
- After selecting the preferred icon size, click on the “Apply” button to save the changes.
- Windows will prompt you to log off and log back in to apply the changes. Click on “Sign out now” to continue.
- Once you log back in, the icon size will be updated according to your selection.
Changing the icon size using the Control Panel provides more control over the customization options. However, keep in mind that this method may require logging off and logging back in to apply the changes.
Now that you know how to change the icon size using the Control Panel, let’s move on to the final method: changing the icon size using the Registry Editor.
Method 4: Change Icon Size using the Registry Editor
If you are comfortable editing the Windows Registry, you can use the Registry Editor to change the icon size with more advanced customization options. Follow these steps to change the icon size using the Registry Editor:
-
- Open the Run dialog box by simultaneously pressing the Windows key and the R key on your keyboard.
- Type “regedit” in the Run dialog box and press Enter. This will open the Registry Editor.
- In the Registry Editor, navigate to the following path:
HKEY_CURRENT_USER\Control Panel\Desktop\WindowMetrics
- In the right-hand pane, you will find a list of values. Look for the value named “Shell Icon Size.”
- Double-click on “Shell Icon Size” to open the Edit String dialog box.
- In the “Value data” field, enter a numeric value between 32 and 96. The default value is usually set to 40.
- Click OK to save the changes.
After making these changes in the Registry Editor, you can sign out and sign back in or restart your computer for the new icon size to take effect.
Please note that editing the Windows Registry can have serious consequences if not done properly. Make sure to follow the instructions carefully and create a backup of your registry before making any changes. If you are not comfortable with registry editing, it is recommended to use one of the previous methods mentioned.
With this, we have covered all the methods to change the icon size in Windows 10. Now you can choose the method that suits your preferences and customize your desktop experience according to your needs.
Conclusion
Customizing the icon size in Windows 10 allows you to personalize your desktop and improve your overall user experience. In this article, we explored four different methods to change the icon size: using the Settings app, the desktop context menu, the Control Panel, and the Registry Editor.
The Settings app provides a user-friendly interface and is suitable for those who prefer a simpler approach to customization. The desktop context menu offers a quick and convenient way to change the icon size directly from the desktop. The Control Panel allows for more precise customization options, while the Registry Editor offers advanced control for users comfortable with editing the Windows Registry.
It’s essential to note that while changing the icon size can enhance visibility or maximize icon density on your desktop, some methods may also affect the size of other elements, such as text or app interface. Therefore, it’s crucial to find the right balance that suits your preferences and device usage.
Before making any changes, make sure to familiarize yourself with the process and potential implications. If you choose to use the Registry Editor, exercise caution and create a backup. If you are unsure or uncomfortable with making direct changes, it is recommended to use one of the other methods mentioned in this article.
With the ability to change the icon size in Windows 10, you can create a visually appealing and personalized desktop environment that suits your needs and preferences. Take advantage of these methods to tailor your desktop experience and enjoy a more comfortable and efficient Windows 10 interface.