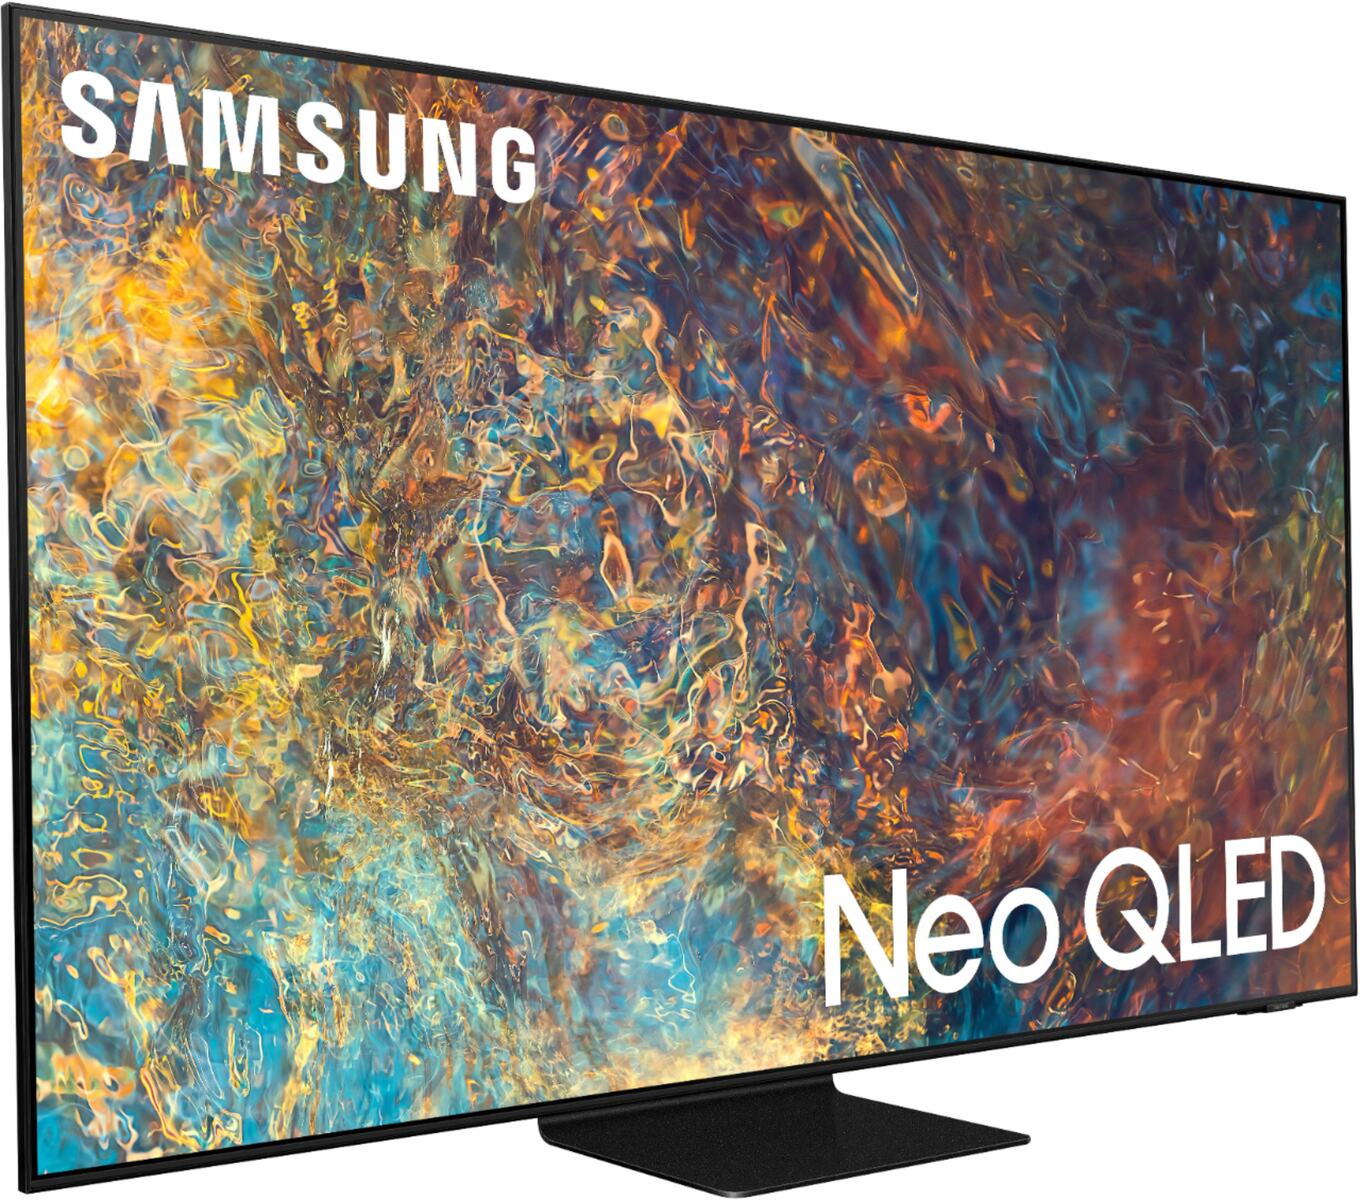
To calibrate a Samsung QLED TV, you have two primary options: use the automated Smart Calibration feature in the SmartThings app for a guided, software-driven adjustment, or manually fine-tune the picture settings through the TV's Expert Settings menu for complete control. The method you choose depends on whether you prefer a quick, automated process or hands-on adjustments to achieve the most accurate color and contrast for your viewing environment.
How to calibrate a Samsung QLED TV with Smart Calibration
If you want a hassle-free way to improve your TV's picture quality, the Smart Calibration feature is your best bet. This automated tool, available on 2022 models and later, uses your smartphone's camera to analyze and adjust the display in real time. To begin, ensure your Samsung QLED TV and a compatible smartphone (Samsung Galaxy S/Note/Fold/Z Flip from January 2019 or later, or iPhones with Face ID from January 2019 or later) are connected to the same Wi-Fi network. Then, open the SmartThings app on your phone, tap on your registered TV, and select "Smart Calibration." Alternatively, you can start the process from the TV itself by pressing the Home button, navigating to Settings > All Settings > Picture > Expert Settings, and selecting "Smart Calibration."
Once initiated, choose between "Basic Mode" for a quick picture quality adjustment within 15-30 seconds, or "Professional Mode" for a more detailed optimization that takes about 5-8 minutes. For accurate results, place your smartphone's rear camera 1-3cm from the white rectangle area displayed on the TV screen and tap "Start" on your phone. A tripod is highly recommended for "Professional Mode" in a dark room to ensure stability and precision.
How to manually calibrate a Samsung QLED TV in Expert Settings
For those who prefer manual control, you can calibrate your Samsung QLED TV by navigating to the Expert Settings menu. Press the Home button on your remote, then go to Settings > Picture > Expert Settings. Start by selecting "Movie" or "Filmmaker Mode" as your Picture Mode, as these presets offer the most accurate color and contrast without artificial boosts. Avoid "Dynamic" or "Standard" modes, which often oversaturate colors and inflate brightness. Next, adjust the "Backlight" setting to match your room's ambient lighting, higher in bright rooms, lower in dark rooms. Set "Sharpness" to a low value between 0 and 5 to prevent edge enhancement artifacts, and choose "Warm2" for the Color Tone, as it closely approximates the industry standard of 6500K for accurate color temperature.
These foundational adjustments will immediately improve the image, but you can refine further by tweaking contrast and brightness to preserve detail in both shadows and highlights. Remember, the goal is to achieve a natural, balanced picture that doesn't strain your eyes or distort the content. Take your time and revisit settings after watching different types of content to ensure consistency.
Fine-tuning white balance and color for accuracy
If you want to go beyond the basic presets, fine-tuning white balance and color space settings is essential for achieving professional-grade accuracy. In the Expert Settings menu, locate the white balance controls, which allow you to adjust the red, green, and blue channels. Start by adjusting the gain controls for each color to eliminate any color tints in the grayscale, then move to the bias controls to fine-tune the darker end of the spectrum. Use a reference image or a calibration disc to verify that whites appear neutral and grays are free of color casts. This process requires patience and careful observation, but it ensures that your TV reproduces colors exactly as the content creator intended.
Additionally, experiment with the color gamut settings, selecting "Auto" or "Native" to enable the TV to switch to the appropriate color space for the content. If your model offers individual color adjustments, use them to fine-tune saturation and hue for each primary color. Take breaks during this process to avoid eye fatigue, which can skew your perception of color accuracy. Once completed, you'll notice a significant improvement in the realism and depth of the image.
Optimizing HDR settings on your Samsung QLED TV
To fully enjoy HDR content, you need to ensure your TV's HDR settings are optimized. First, confirm that HDR is enabled on both your TV and the content source, as most modern TVs automatically detect and switch to HDR mode when compatible content is played. Then, select the appropriate HDR picture mode, such as "HDR Standard" or "HDR Cinema," which are designed to enhance highlights, contrast, and color vibrancy. Adjust the brightness and contrast settings to preserve detail in both dark and bright areas, avoiding overblown highlights or crushed shadows. Set the color space to "Auto" or "Native" to allow the TV to automatically use the wider color gamut required for HDR content.
If your QLED TV has dynamic tone mapping capabilities, enable this feature to adjust the HDR image on a scene-by-scene basis, maintaining optimal brightness and contrast. Use well-mastered HDR content as a reference to evaluate the accuracy of the image, and make incremental adjustments until the picture looks natural and immersive. By fine-tuning these settings, you'll ensure that HDR content delivers the stunning visual impact it was designed to provide.
How to reset your Samsung QLED TV picture settings
If you're unhappy with the results of your calibration or simply want to start over, resetting the picture settings is straightforward. Navigate to Menu > Settings > All Settings > Picture > Expert Settings and select "Reset Picture." This will revert all picture adjustments to their factory defaults, giving you a clean slate to try again. This feature is particularly useful if you've made extensive changes and want to eliminate any errors or if you're selling your TV and need to restore the original settings. After resetting, you can either stick with the default presets or begin a new calibration process with fresh eyes.
Remember, calibration is a personal journey, what looks best to one viewer may not suit another. Use the reset function as a safety net, but don't be afraid to experiment with different settings until you find the perfect balance for your viewing preferences and room conditions.
\nRelated reading: How To Remove Stand From Samsung Monitor, How To Unlock A Samsung Tablet When You Forgot The Pattern, and Where Is The Menu Button On My Samsung Smart TV Remote.