Introduction
Welcome to the world of PC case desk building, where form meets function in a unique and stylish way. Building your own PC case desk offers the perfect opportunity to create a customized workspace that not only suits your needs but also showcases your personal style.
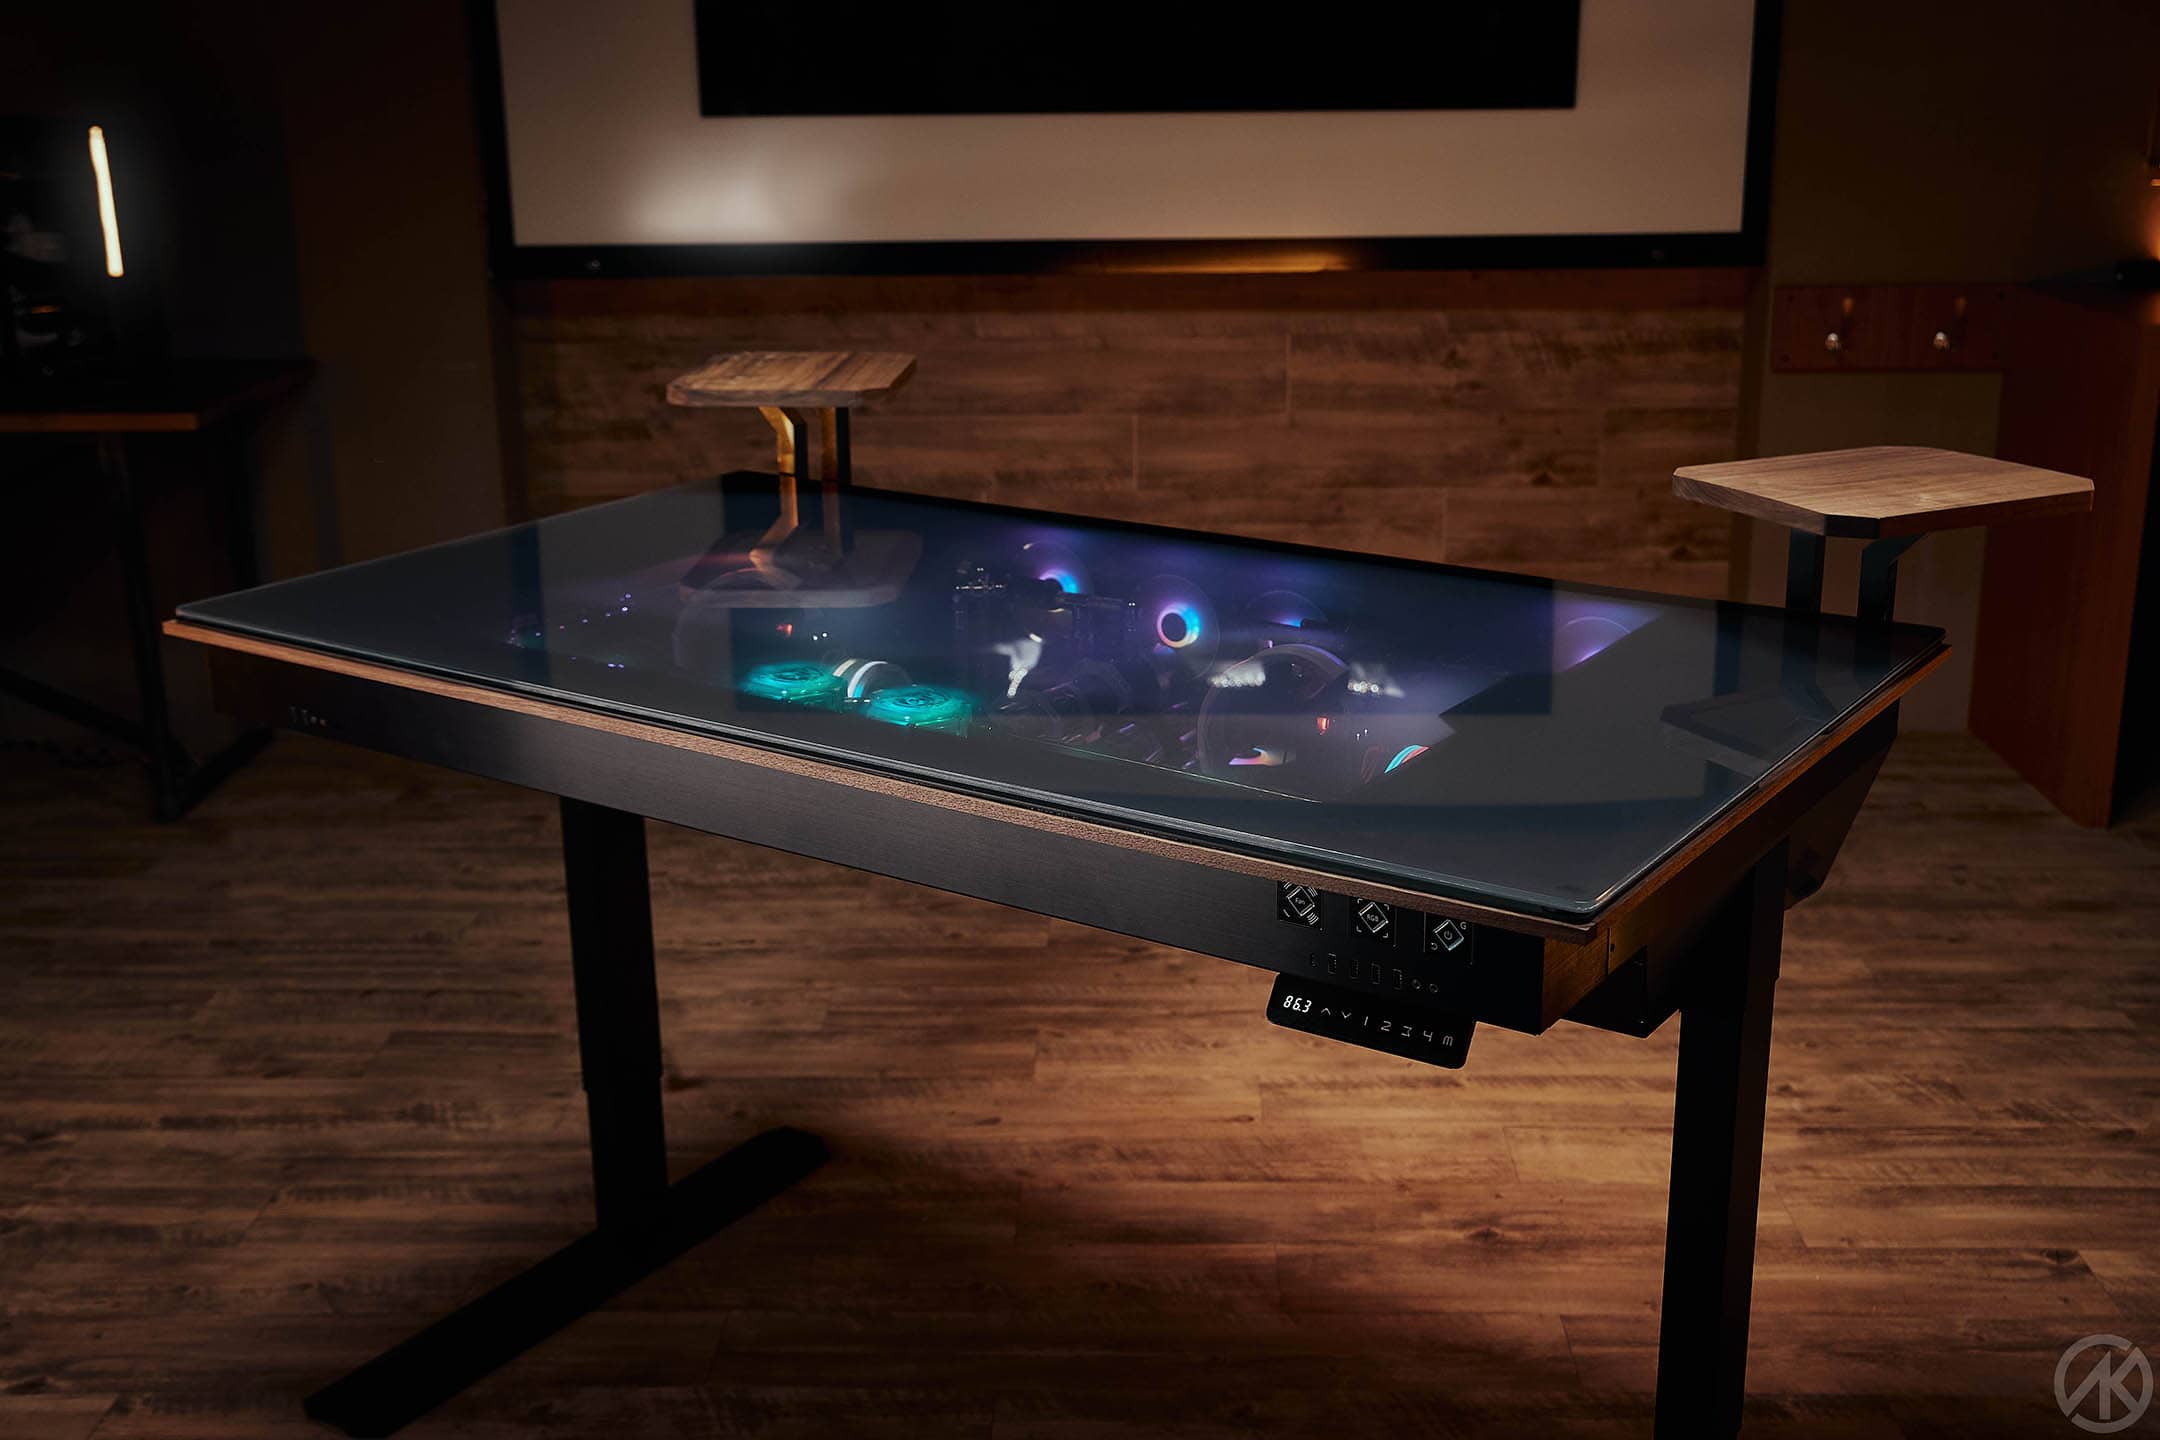
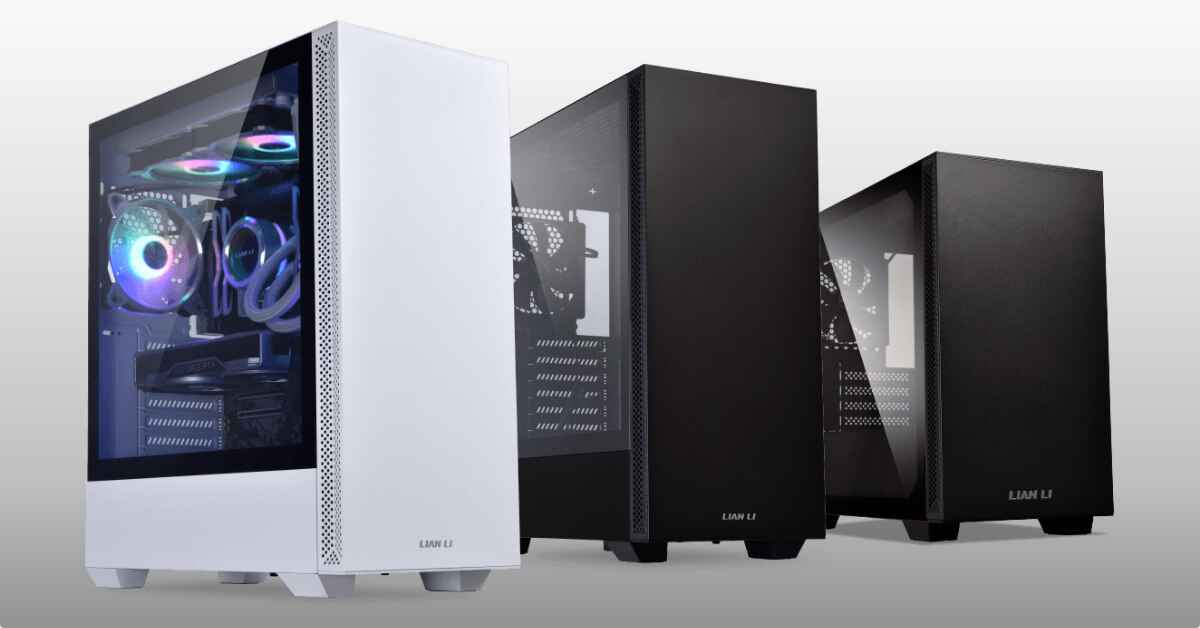
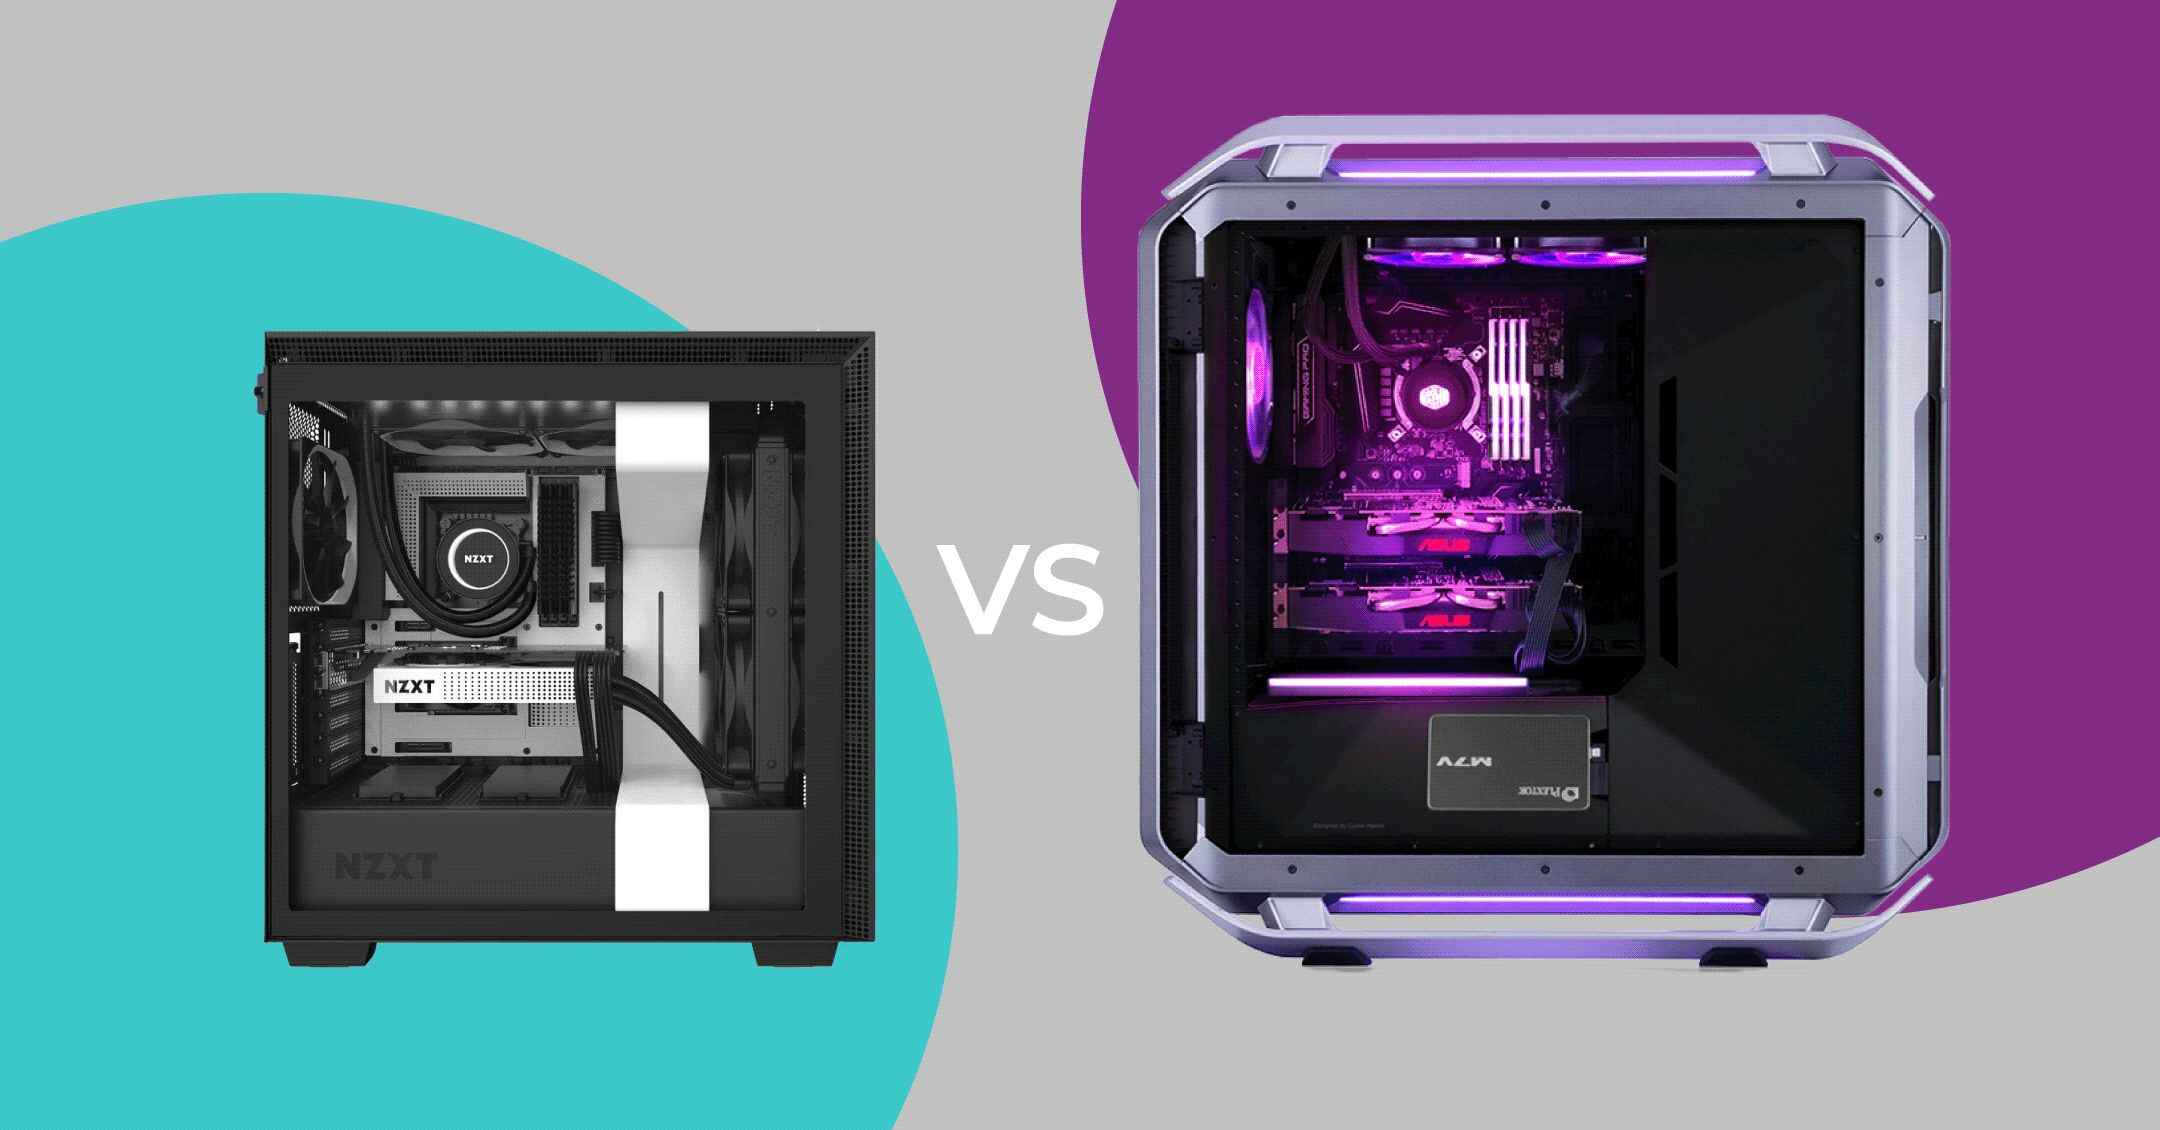
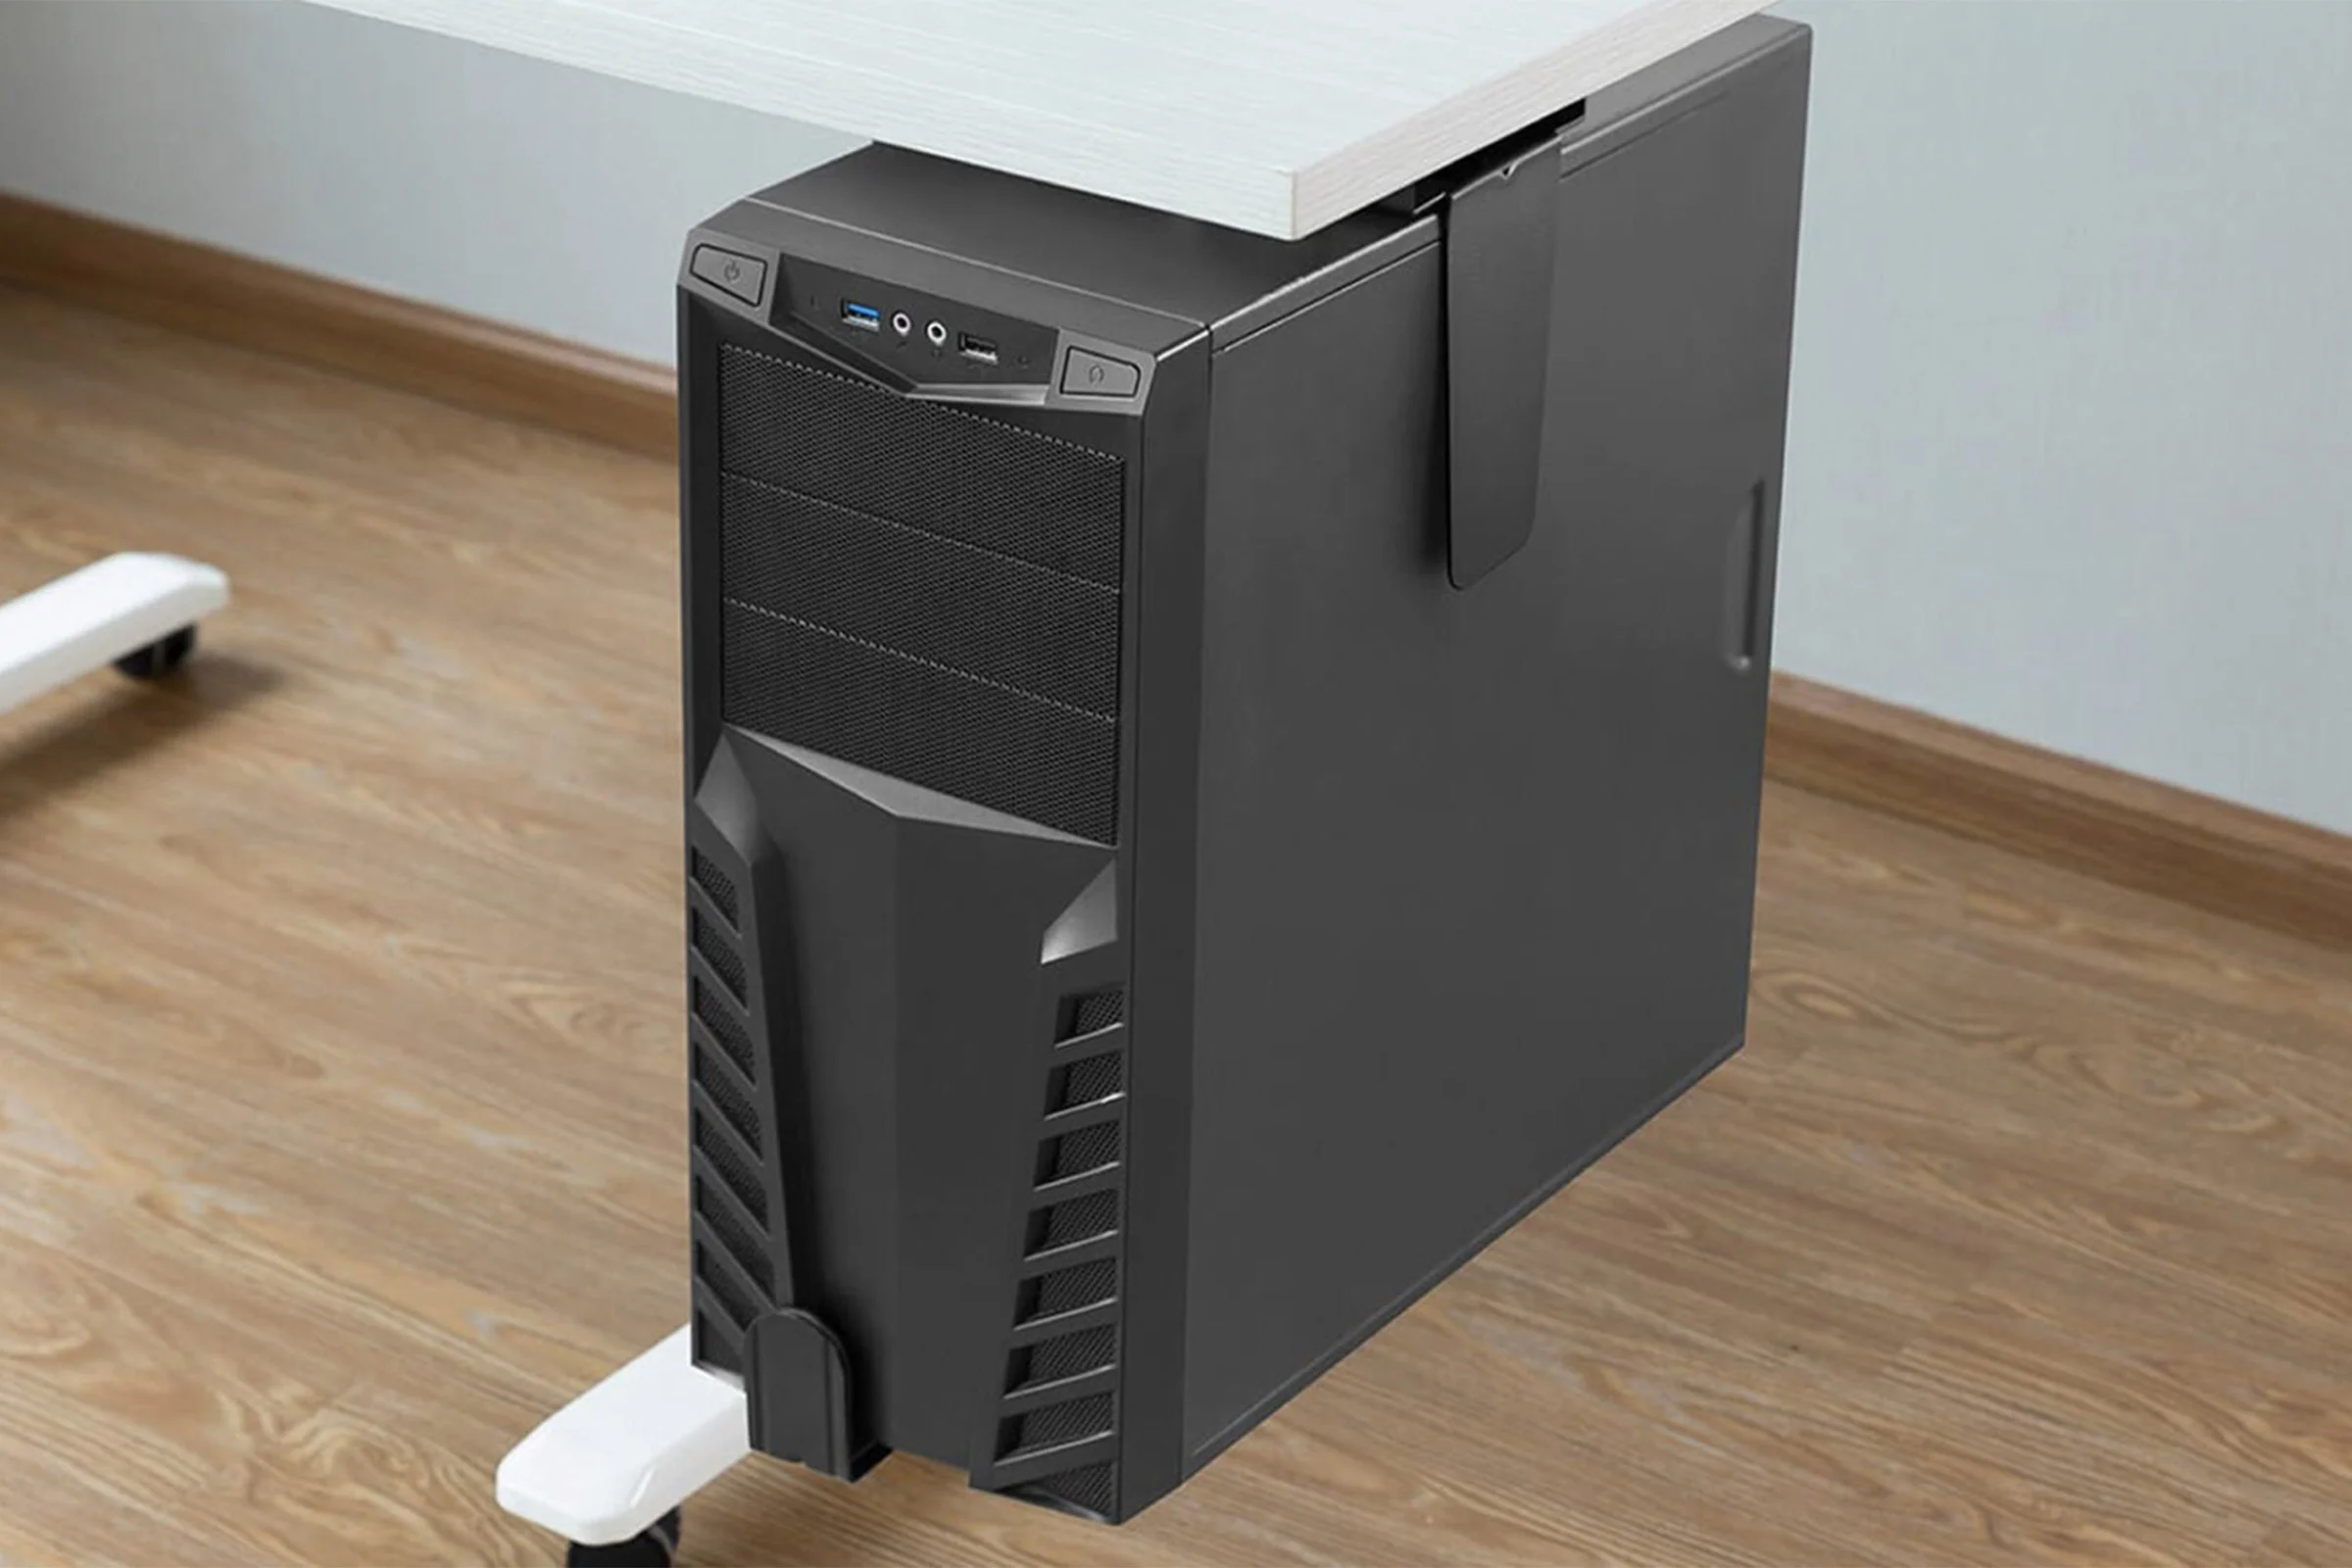
A PC case desk is a multi-functional piece of furniture that combines a computer case with a desk surface. It provides ample space for your computer components, peripherals, and other work essentials while keeping them organized and easily accessible. Whether you’re a gamer, a creative professional, or simply someone who wants a sleek and efficient workspace, building a PC case desk is a rewarding DIY project that allows you to unleash your inner creativity.
In this guide, we will take you through the step-by-step process of building your own PC case desk, from planning and designing to adding the finishing touches. We will cover everything you need to know, from selecting the right materials and tools to installing PC components and managing cables.
Creating a PC case desk requires a basic understanding of carpentry and electronics, but don’t worry if you’re new to these areas. With a little patience and some guidance, you’ll be able to successfully complete this project and have a one-of-a-kind desk that will impress everyone who sees it.
Building a PC case desk offers several advantages over purchasing a pre-made desk. Firstly, it allows you to tailor the design to your specific needs and preferences. You can choose the dimensions, layout, and materials that best fit your space and style. Secondly, a DIY PC case desk often costs less than a ready-made option, as you can save money on the markup and labor costs. Lastly, building your own desk gives you a sense of satisfaction and accomplishment, knowing that you created a functional and aesthetically pleasing workspace with your own hands.
So, if you’re ready to embark on a DIY journey that combines creativity, functionality, and technology, let’s dive into the exciting world of building your very own PC case desk!
Step 1: Planning and Designing Your PC Case Desk
The first and most crucial step in building a PC case desk is the planning and designing phase. Taking the time to carefully plan and design your desk will ensure that the final product meets your needs and expectations. Here’s how to get started:
1. Determine Your Requirements: Begin by assessing your needs and requirements. Consider factors such as the size of your room, the amount of workspace you need, and any specific features or functionalities you desire. Determine if you require additional storage for peripherals or if you need built-in cable management solutions.
2. Sketch the Layout: Grab a piece of paper or use computer-aided design (CAD) software to sketch out the layout of your PC case desk. Take into account the dimensions of your room and the placement of windows, doors, and other furniture. This will help you visualize the desk and ensure it fits harmoniously into your space.
3. Research and Inspiration: Browse online platforms, such as Pinterest and DIY forums, to gather inspiration and ideas for your PC case desk. Look at different styles, materials, and designs to get a sense of what resonates with you. Take notes and save images that reflect your preferred aesthetic and functional elements.
4. Consider Ergonomics: Ergonomics is crucial for a comfortable and efficient workspace. Take into account the height of your desk, the placement of your monitor, keyboard, and mouse, and ensure that the desk promotes good posture and reduces strain on your body.
5. Material Selection: Choose the materials you’ll use for your desk. Popular options include wood, metal, and acrylic. Consider the durability, aesthetics, and cost of different materials. Keep in mind that certain materials may require additional tools or expertise for working with them.
6. Set a Budget: Determine your budget for the project early on. This will help you make decisions regarding materials, tools, and any additional features you might want to incorporate into your PC case desk.
7. Seek Expert Guidance: If you’re new to DIY projects or need help with the design process, seek guidance from experienced professionals or consult online tutorials. They can provide valuable insights and tips to ensure your desk turns out just the way you envision it.
By investing time into the planning and designing phase, you’ll lay a solid foundation for the success of your PC case desk project. Once you have a clear plan in place, you can proceed to the next step of gathering materials and tools.
Step 2: Gathering Materials and Tools
Now that you have a well-thought-out plan for your PC case desk, it’s time to gather the necessary materials and tools to bring your vision to life. Here’s what you’ll need:
Materials:
- Desk surface material (such as plywood, MDF, or solid wood)
- Lumber for the frame and legs
- Hardware (screws, nails, brackets, etc.)
- PC case or components
- Cable management solutions
- Power tools (such as a drill, circular saw, and sander)
- Measuring tape and level
- Clamps
- Safety equipment (goggles, gloves, etc.)
- Finishing materials (paint, stain, varnish, etc.)
Tools:
- Power drill with various drill bits
- Saw (circular, miter, or table saw)
- Sander or sandpaper
- Measuring tools (tape measure, ruler, square)
- Clamps for holding pieces together during assembly
- Screwdriver set
- Paintbrushes or rollers
- Safety equipment (goggles, gloves, etc.)
When gathering your materials, make sure to choose quality options that will withstand the weight of your PC components and provide sufficient stability. Consider the dimensions of your desk and calculate the amount of lumber and desk surface material needed to build the frame and top surface.
Additionally, research and select a PC case or components that fit your build requirements and style preferences. Take into account factors such as ventilation, storage capacity, and compatibility with your chosen desk design.
Take inventory of your tools and ensure you have everything necessary to complete the project. If you don’t own certain tools, consider borrowing or renting them, or explore the possibility of outsourcing specific tasks that require specialized equipment.
Remember to prioritize safety by wearing appropriate protective gear, such as goggles and gloves. This will help prevent accidents and ensure a smooth and enjoyable construction process.
Once you have gathered all the necessary materials and tools, you’re ready to move on to the next step: building the frame of your PC case desk.
Step 3: Building the Frame
With the materials and tools gathered, it’s time to start building the frame of your PC case desk. The frame provides the structure and support for your desk surface and PC components. Follow these steps to construct a sturdy and stable frame:
1. Measure and Cut the Lumber: Begin by measuring and cutting the lumber according to your design specifications. Use a saw (such as a circular or miter saw) to make precise cuts. Double-check your measurements to ensure accuracy.
2. Assemble the Frame: Lay out the cut pieces and begin assembling the frame. Use clamps to hold the pieces together during assembly. Use a power drill and appropriate screws or nails to secure the joints. Ensure that the frame is square and level by using a level and measuring tools.
3. Reinforce Weak Points: Identify any areas of the frame that might require additional support or reinforcement. Add extra braces or brackets where needed to strengthen the frame and prevent any sagging or instability.
4. Attach Desk Surface: Once the frame is complete, place the desk surface material (such as plywood or MDF) on top of the frame. Use screws or brackets to secure the surface to the frame. Ensure that it is well-aligned and centered on the frame.
5. Sand and Finish: Use a sander or sandpaper to smooth out any rough edges or imperfections on the frame and desk surface. Once sanded, apply a finish of your choice, such as paint, stain, or varnish. This will not only enhance the aesthetic appeal but also protect the wood from wear and tear.
6. Allow for Ventilation: If you are incorporating a PC case into your desk, ensure that the frame has proper ventilation holes or openings. This will help prevent overheating of the components and ensure optimal performance.
7. Test Stability: Once the frame is fully assembled and finished, test its stability by applying gentle pressure and ensuring that it doesn’t wobble or give. Make any necessary adjustments or reinforcements to improve stability.
By following these steps, you’ll have a solid and durable frame for your PC case desk. Now it’s time to move on to the next step: adding the shelves and storage to your desk to maximize organization and functionality.
Step 4: Adding the Shelves and Storage
Adding shelves and storage to your PC case desk is a crucial step in maximizing organization and functionality. This allows you to keep your work area tidy and have easy access to your peripherals and other essential items. Follow these steps to incorporate shelves and storage into your desk:
1. Determine Placement: Assess your needs and decide where you want to position the shelves and storage compartments. Consider factors such as the size of your peripherals and the accessibility you require while working.
2. Measure and Mark: Use a measuring tape and pencil to mark the desired locations for the shelves and storage compartments on the frame of your desk. Make sure to measure and mark accurately to ensure a precise fit and alignment.
3. Cut and Attach Shelf Supports: Cut pieces of lumber or use pre-made shelf supports to act as the base for your shelves. Attach them to the marked locations on the desk frame using screws or brackets. Ensure that they are level and securely fastened.
4. Construct the Shelves: Measure the dimensions for your desired shelves and cut the appropriate material (such as plywood or MDF) to size. Attach the shelves to the supports using screws or brackets. Ensure that they are level and sturdy.
5. Create Storage Compartments: If you want additional storage, consider incorporating drawers, cabinets, or cubbyholes into your desk design. Use appropriate materials and hardware to construct and attach these storage compartments according to your measurements and desired functionality.
6. Test and Adjust: Once the shelves and storage compartments are in place, test their stability and functionality. Make any necessary adjustments to ensure that they are secure and meet your requirements.
7. Cable Management: Incorporate cable management solutions into your desk design to keep your cables organized and hidden. Use cable clips, zip ties, or cable management sleeves to route and secure your cables out of sight.
8. Finishing Touches: Sand any rough edges or imperfections on the shelves and storage compartments. Apply a finish that matches the overall aesthetic of your desk (e.g. paint, stain, or varnish) to protect the surfaces and enhance their appearance.
By adding shelves and storage to your PC case desk, you’ll have a functional and organized workspace that allows you to keep all your essentials within easy reach. Now that you’ve completed this step, move on to the next one: installing the PC components into your desk.
Step 5: Installing the PC Components
Now that your PC case desk is taking shape, it’s time to install the PC components that will power your workstation. Follow these steps to seamlessly integrate your PC into the desk:
1. Preparing the PC Case: If you’re using a standalone PC case, ensure that it is cleaned and ready for installation. Remove any dust or debris and check for any specific instructions provided by the manufacturer.
2. Positioning the PC Case: Decide on the placement of the PC case in your desk. Consider factors such as ventilation, accessibility for cable connections, and ease of maintenance.
3. Securing the PC Case: Securely fasten the PC case to your desk frame using appropriate mounting brackets or screws. Ensure it is firmly attached to prevent any unwanted movement or vibrations.
4. Installing the Motherboard: Follow the manufacturer’s instructions to properly install the motherboard inside the PC case. Align the screw holes on the motherboard with the corresponding standoffs in the case and secure it in place using screws.
5. Connecting the Components: Connect the power supply, memory modules, storage devices, and other components to the motherboard according to their respective slots or connectors. Refer to the component manuals or online resources for assistance, if needed.
6. Routing the Cables: Arrange and route the cables neatly to ensure optimal airflow and aesthetics. Use cable ties or clips to secure the cables and prevent them from obstructing any components or fans.
7. Installing Cooling Components: Install any additional cooling components, such as fans or liquid cooling systems, as per your requirements. Ensure proper airflow within the PC case to prevent overheating.
8. Testing the PC: Power up the PC and make sure all components are functioning properly. Check for any error messages or abnormal behavior during the boot-up process. Run stress tests to ensure stability and optimal performance.
9. Fine-tuning and Cable Management: Make any necessary adjustments to optimize cable management and ensure a clean and organized interior. Use cable management solutions, such as cable sleeves or Velcro straps, to keep the cables tidy and minimize clutter.
By following these steps, you will successfully integrate your PC components into your custom PC case desk. Once you have completed this step, move on to the next one: cable management to eliminate clutter and ensure a clean and efficient workspace.
Step 6: Cable Management
Cable management is an essential step in creating a tidy and organized workspace. Poor cable management can lead to a cluttered and inefficient desk, making it difficult to access and maintain your PC components. Follow these steps to effectively manage and hide your cables:
1. Identify Cable Routes: Carefully plan and identify the routes your cables will take from your PC components to their respective destinations. Consider the shortest and most direct paths to minimize cable length and reduce tangling.
2. Use Cable Clips or Ties: Use cable clips or ties to secure the cables to the back of the desk, the desk frame, or cable management trays. This helps prevent cables from hanging loose and keeps them organized.
3. Group Cables: Group cables that serve a similar purpose or come from the same area. Use zip ties or Velcro straps to bundle them together. This not only improves cable management but also facilitates troubleshooting or future upgrades.
4. Employ Cable Management Sleeves or Tubes: Hide cables by using cable management sleeves or tubes. These products can encase a group of cables, providing a clean and professional look. Choose a size that fits the number of cables you need to manage.
5. Utilize Cable Management Holes or Grommets: If your desk has built-in cable management holes or grommets, use them to guide cables from the back of the desk to the front or vice versa. This keeps cables out of sight and prevents them from tangling.
6. Separate Power and Data Cables: To minimize interference and maintain optimal performance, separate power cables from data cables. Keep power cables away from audio, video, or Ethernet cables to avoid signal interference and ensure a clean and uninterrupted power supply.
7. Label Cables: Attach labels to your cables to easily identify them during maintenance or troubleshooting. Use color-coded labels or cable tags to differentiate between power cables, audio cables, and data cables.
8. Regular Maintenance: Periodically check and reorganize your cables to maintain an organized and functional workspace. As you add or remove components, make necessary adjustments to your cable management setup.
By implementing proper cable management techniques, you’ll create a clean and clutter-free workspace that not only looks professional but also improves functionality and ease of use. Now that your cables are neatly managed, move on to the next step: testing and troubleshooting your PC case desk.
Step 7: Testing and Troubleshooting
Once you have completed building your PC case desk and have everything properly set up, it’s important to thoroughly test and troubleshoot your system to ensure it functions optimally. Follow these steps to test and troubleshoot your PC case desk:
1. Power On and Check Startup: Power on your PC and make sure it boots up properly. Check for any error messages or unusual behavior during the startup process. Ensure all fans, lights, and components are functioning as expected.
2. Test Hardware Components: Run diagnostic tests or stress tests on your hardware components to verify their functionality and stability. Use software programs or utilities designed for testing purposes to assess the performance of your CPU, GPU, RAM, and storage devices.
3. Monitor Temperature and Cooling: Use monitoring software to keep track of the temperature of your CPU and GPU. Ensure that they are running within acceptable temperature ranges. If necessary, adjust fan speeds or consider additional cooling solutions to maintain optimal temperatures.
4. Test Input and Output: Verify that all input and output devices, such as keyboard, mouse, monitor, and audio peripherals, are functioning properly. Test each device individually to ensure they are detected and responding as expected.
5. Check Connectivity: Test all connectivity options, such as USB ports, Ethernet ports, and audio jacks. Connect devices and verify that they are recognized and working correctly. Troubleshoot any connectivity issues by reinstalling drivers or checking cable connections.
6. Software Configuration: Install and configure the necessary software, including operating system, device drivers, and any additional software required for your specific task or usage. Ensure that all software is up-to-date and functioning as intended.
7. Perform Cable Check: Double-check all cable connections to ensure they are secure and properly attached. Verify that each cable is connected to the correct port and that there are no loose or damaged cables that could interfere with the functionality of your PC components.
8. Troubleshoot and Seek Assistance: If you encounter any issues during the testing process, consult the user manuals, online guides, or support forums related to your hardware and software components. Troubleshoot the issues systematically, and if needed, seek guidance from knowledgeable individuals or professional support.
By thoroughly testing and troubleshooting your PC case desk, you can identify and resolve any performance issues or hardware/software conflicts that may arise. Taking the time to ensure your system is running smoothly will result in a more efficient and enjoyable user experience.
Once you’re satisfied with the performance and stability of your PC case desk, it’s time for the final step: adding the finishing touches to complete your project.
Step 8: Finishing Touches
Congratulations on reaching the final step of building your PC case desk! It’s time to add those finishing touches that will elevate the aesthetic appeal and functionality of your workspace. Here’s what you can do:
1. Paint or Stain: Consider painting or staining the desk surface and frame to match your desired color scheme or to highlight the natural beauty of the wood. Choose a finish that complements the overall style of your workspace and ensures durability.
2. Apply Sealant: Protect the desk surface from scratches or spills by applying a clear sealant. This will provide an extra layer of protection and ensure the longevity of your desk.
3. Add Lighting: Install LED lighting strips under the desk or behind the monitor to create a visually appealing ambiance. This not only enhances the aesthetic appeal but also provides functional lighting for your workspace.
4. Personalize the Space: Make your PC case desk truly your own by adding personal touches. Display artwork, photos, or plants to personalize your workspace and make it feel more inviting.
5. Cable Management Solutions: Use cable management solutions, such as cable sleeves or adhesive cable clips, to further refine your cable management system. This will help keep cables organized and create a cleaner and more professional look.
6. Ergonomic Accessories: Enhance comfort and ergonomics by incorporating ergonomic accessories such as an adjustable chair, monitor stand, and keyboard tray. This will promote proper posture and reduce strain during long hours of work.
7. Organizational Tools: Consider adding additional organizational tools such as desk organizers, drawer dividers, or magnetic whiteboards. These tools will help keep your workspace clutter-free and increase productivity.
8. Decorative Elements: Add decorative elements, such as desk accessories or wall art, that resonate with your personal style and inspire creativity. These elements can add personality and character to your workspace.
9. Regular Maintenance: Finally, establish a regular maintenance routine to keep your PC case desk in optimal condition. Clean and dust the surfaces, check cable connections periodically, and make any necessary adjustments to ensure the longevity of your desk.
By adding these finishing touches, your PC case desk will become a functional and visually appealing centerpiece in your workspace. It will not only meet your technical needs but also reflect your personal style and create an inspiring environment to work or play. Enjoy your newly built PC case desk!
Conclusion
Congratulations on successfully building your very own PC case desk! Throughout this guide, we’ve covered the step-by-step process of planning, designing, gathering materials, building the frame, adding shelves and storage, installing PC components, managing cables, testing and troubleshooting, and adding the finishing touches. By following these steps, you’ve created a customized workspace that perfectly suits your needs and showcases your personal style.
A PC case desk offers numerous benefits, including functionality, organization, and a unique aesthetic appeal. By combining a computer case with a desk surface, you’ve created a space where you can work, game, or create, all while keeping your PC components neatly integrated and easily accessible.
Remember, the planning and design phase is crucial to ensure that your desk meets your specific requirements. Gathering the right materials and tools, building a sturdy frame, and incorporating shelves and storage compartments are essential for a functional and organized workspace.
Installing PC components and properly managing cables are key to achieving optimal performance and minimizing clutter. Take the time to test and troubleshoot your system to ensure everything is in proper working order.
With the addition of finishing touches such as paint or stain, lighting, and personalization, your PC case desk will truly become a reflection of your style and enhance the overall aesthetics of your workspace.
We hope this guide has provided you with the knowledge and inspiration needed to embark on your PC case desk building journey. Remember to enjoy the process and embrace your creativity. Building your own PC case desk is a rewarding experience that results in a functional and personalized workspace.
Now, it’s time to sit back, relax, and enjoy your newly built PC case desk! Harness its full potential and let it become the hub of productivity, creativity, and enjoyment in your daily life.


