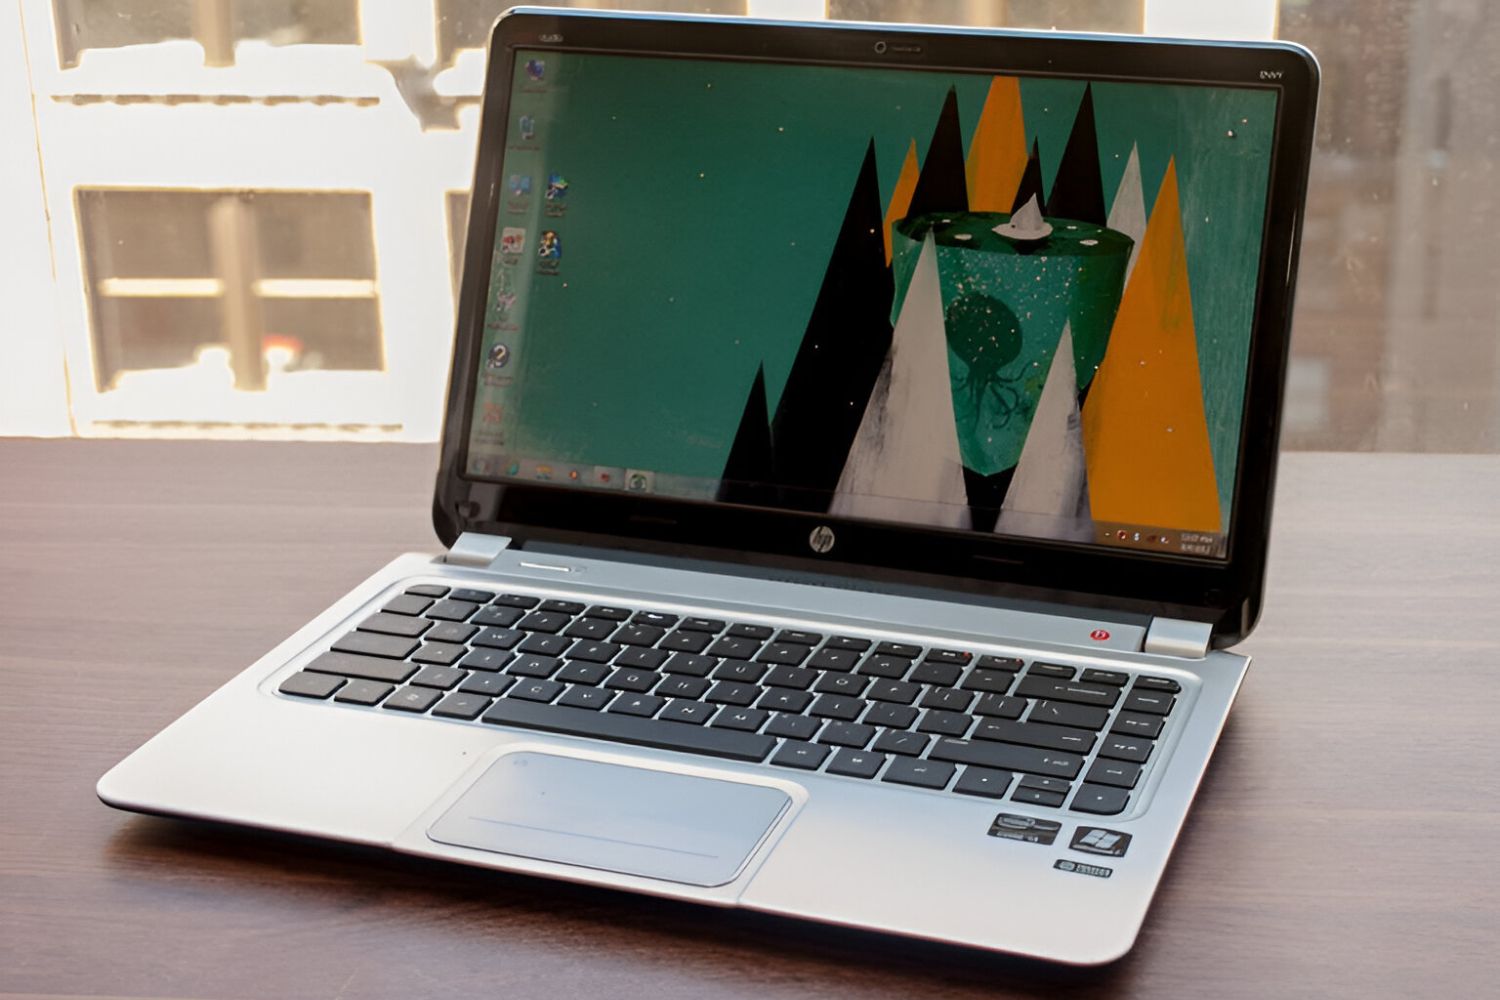
Introduction
Are you looking to boot from a USB drive on your HP Ultrabook? Whether you need to install a new operating system, run diagnostic tools, or recover data, booting from a USB can be a convenient and efficient way to get the job done. But how exactly do you do it?
In this guide, we will walk you through the step-by-step process of booting from a USB on your HP Ultrabook. By following these simple instructions, you will be able to easily change the boot order in your BIOS settings and start your Ultrabook from a USB drive.
Before we get started, it’s important to note that the exact steps may vary slightly depending on the model of your HP Ultrabook. However, the general concepts and procedures we will discuss apply to most HP Ultrabooks.
So, whether you are a tech-savvy individual or a beginner in the world of computers, don’t worry. Our easy-to-follow instructions will guide you through the process, allowing you to take full advantage of the flexibility and capabilities of booting from a USB drive on your HP Ultrabook.
Now, let’s dive into the step-by-step process of how to boot from a USB on your HP Ultrabook.
Step 1: Prepare the USB drive
Before you can boot from a USB drive on your HP Ultrabook, you need to ensure that the USB drive is properly prepared. Here’s what you need to do:
1. First, you need to have a bootable USB drive. This means that the USB drive should be formatted and contain the necessary files to start up the desired operating system or utility. If you don’t have a bootable USB drive, you can create one using tools like Rufus or Unetbootin.
2. Connect the USB drive to an available USB port on your HP Ultrabook. Make sure it is securely plugged in, as a loose connection can cause issues during the booting process.
3. If your Ultrabook is currently turned on, it is recommended to shut it down before proceeding with the following steps. This will ensure that the changes you make in the BIOS settings take effect correctly.
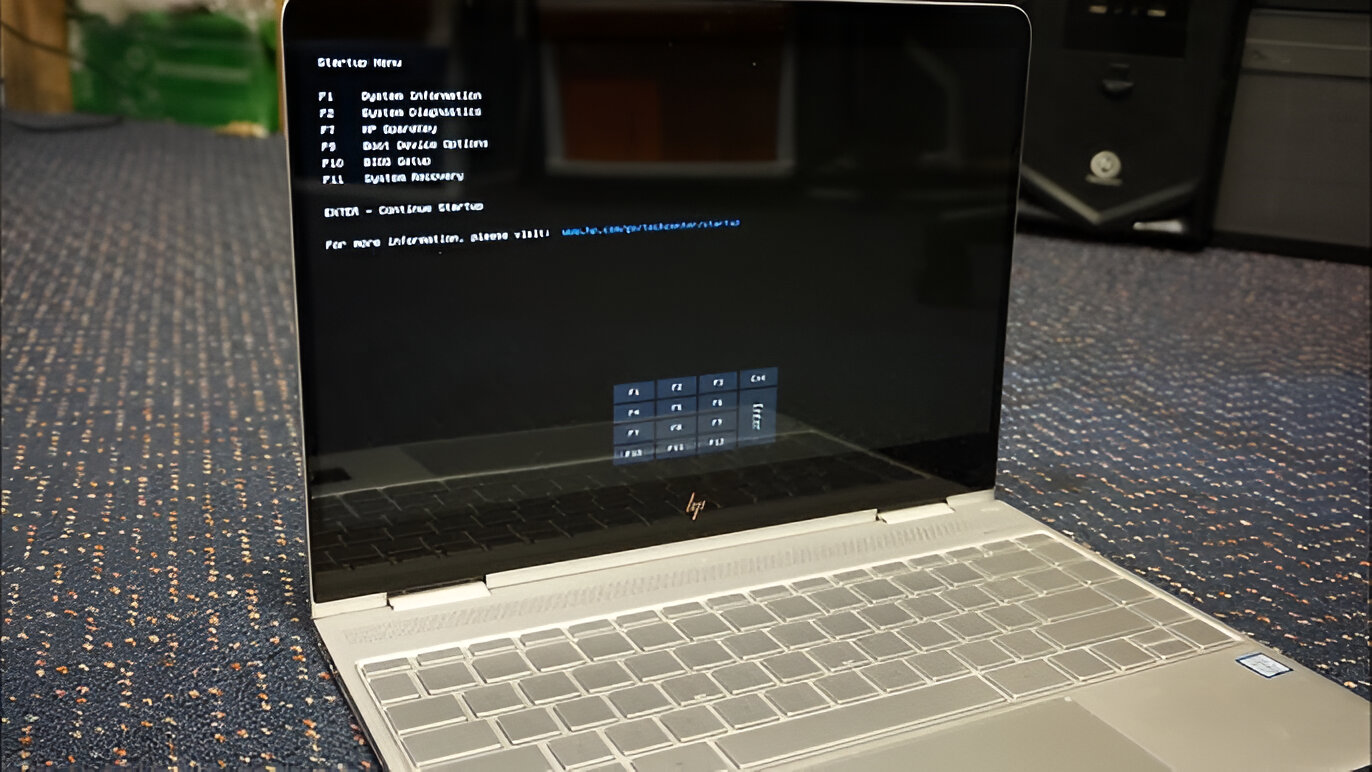
4. Once your Ultrabook is turned off, you can proceed to power it on. As soon as you see the manufacturer’s logo or the initial boot screen, start pressing the designated key to access the BIOS settings. The specific key may vary depending on your model, but it is often F2, F10, or Del. Consult your Ultrabook’s documentation or look for on-screen prompts for the correct key to press.
5. After pressing the designated key, you will enter the BIOS setup utility. Here, you will find various menus and options for configuring your system’s hardware settings. Use the arrow keys on your keyboard to navigate through the menus and locate the “Boot” or “Startup” section.
6. In the “Boot” or “Startup” section, you should see the boot order or boot sequence settings. This determines the order in which your system looks for a bootable device. You need to ensure that the USB drive is listed as a higher priority than the internal hard drive or any other bootable devices.
7. To change the boot order, select the USB drive and move it up using the designated keys (usually +/- or Page Up/Page Down). Make sure the USB drive is at the top of the boot order.
8. After adjusting the boot order, save the changes by selecting the “Save and Exit” option from the BIOS menu. This will ensure that the new settings are applied when you restart your Ultrabook.
Once you have prepared the USB drive and adjusted the boot order, you are ready to proceed to the next step: accessing the BIOS settings. This will allow you to change the boot order and start your HP Ultrabook from the USB drive.
Step 2: Access the BIOS settings
To boot from a USB drive on your HP Ultrabook, you need to access the BIOS settings. Here’s how you can do it:
1. Start by powering on your HP Ultrabook or restarting it if it’s already turned on.
2. As your Ultrabook boots up, you will need to press a specific key to access the BIOS settings. The key may vary depending on your model, but it is often F2, F10, or Del. Keep an eye out for on-screen prompts or refer to your Ultrabook’s documentation to determine the correct key to press.
3. Once you identify the correct key, start pressing it repeatedly as soon as you see the manufacturer’s logo or the initial boot screen. This will ensure that you enter the BIOS setup utility.
4. After pressing the designated key, you will be taken to the BIOS setup utility. This is a system-level software interface that allows you to configure various hardware settings of your Ultrabook. It provides a menu-based interface that you can navigate using the arrow keys on your keyboard.
5. Familiarize yourself with the BIOS setup utility. You will notice that it has several sections or tabs, each containing different options and settings. Look for the “Boot” or “Startup” section, as this is where you will find the boot order settings.
6. Use the arrow keys on your keyboard to navigate to the “Boot” or “Startup” section. Once you are in the appropriate section, you will see a list of devices or drives that your Ultrabook can boot from.
7. Take note of the order in which the devices are listed. The device at the top of the list is the one that your Ultrabook will attempt to boot from first. You need to ensure that the USB drive is set to a higher priority than the internal hard drive or any other bootable devices.
8. If necessary, make the necessary adjustments to the boot order. Select the USB drive and move it up using the designated keys (usually +/- or Page Up/Page Down) until it is at the top of the list. This will ensure that your Ultrabook prioritizes booting from the USB drive.
9. Once you have made the necessary changes, save the settings by selecting the “Save and Exit” option from the BIOS menu. This will allow the changes to take effect when you restart your HP Ultrabook.
By accessing the BIOS settings and configuring the boot order, you have completed the second step towards booting from a USB drive on your HP Ultrabook. Now, let’s proceed to the next step: changing the boot order.
Step 3: Change the boot order
In order to successfully boot from a USB drive on your HP Ultrabook, you will need to change the boot order. Here’s what you need to do:
1. Once you have accessed the BIOS settings, navigate to the “Boot” or “Startup” section using the arrow keys on your keyboard.
2. In the “Boot” or “Startup” section, you will see a list of devices or drives that your Ultrabook can boot from. This list is typically referred to as the boot order or boot sequence.
3. Take a moment to review the boot order. The device or drive that is listed first is the one that your Ultrabook will attempt to boot from initially. You need to ensure that the USB drive is listed as a higher priority than the internal hard drive or any other bootable devices.
4. If the USB drive is not listed as the first boot option, select it and use the designated keys (usually +/- or Page Up/Page Down) to move it up to the top of the list. This will prioritize booting from the USB drive.
5. Some BIOS settings may also allow you to modify the boot order by using numerical values. In this case, assign a lower numerical value to the USB drive to give it a higher priority.
6. Make sure to save the changes you’ve made to the boot order before exiting the BIOS settings. Look for the “Save and Exit” or a similar option in the BIOS menu, then select it and confirm the changes.
7. It’s worth noting that different models of HP Ultrabooks may have slightly different BIOS layouts and terminology. However, the general concept of changing the boot order remains the same across most devices.
By changing the boot order in the BIOS settings, you have completed the third step towards booting from a USB drive on your HP Ultrabook. Now, let’s move on to the next step: saving and exiting the BIOS.
Step 4: Save and exit the BIOS
After you have made the necessary changes to the boot order in the BIOS settings of your HP Ultrabook, it is important to save the settings and exit the BIOS. Here’s how you can do it:
1. In the BIOS settings, locate the option to save the changes you have made. This is typically labeled as “Save and Exit” or a similar variation. Use the arrow keys on your keyboard to navigate to this option.
2. Once you have selected the “Save and Exit” option, a confirmation prompt may appear. Verify that you want to save the changes and proceed with exiting the BIOS.
3. Select “Yes” or “Save” to save the changes to the boot order and exit the BIOS settings. The BIOS will then save the new settings and your HP Ultrabook will restart.
4. During the restart process, your Ultrabook will now prioritize booting from the USB drive, thanks to the changes you made in the BIOS settings.
5. It’s important to note that saving and exiting the BIOS may take a few moments. Do not interrupt the process or turn off your Ultrabook while it is saving the changes, as this can cause system errors.
6. Once the BIOS settings have been saved and your Ultrabook restarts, it will attempt to boot from the USB drive. If the USB drive contains a bootable operating system or utility, it should load and begin the booting process.
7. If for any reason the Ultrabook does not boot from the USB drive, restart the computer and try accessing the BIOS settings again. Double-check that the boot order is correctly set to prioritize the USB drive.
By saving and exiting the BIOS settings, you have completed the fourth step towards booting from a USB drive on your HP Ultrabook. Now, let’s move on to the final step: actually booting from the USB drive.
Step 5: Boot from the USB drive
Now that you have properly configured the boot order and saved the changes in the BIOS settings of your HP Ultrabook, it’s time to boot your Ultrabook from the USB drive. Follow these steps:
1. Ensure that the bootable USB drive is still connected to an available USB port on your Ultrabook.
2. Power on or restart your Ultrabook.
3. As your Ultrabook boots up, pay attention to the screen for any prompts or messages related to boot options or key combinations to access the boot menu. Common keys for accessing the boot menu on HP Ultrabooks are F9, F10, or F12. Press the designated key to enter the boot menu.
4. Once you’re in the boot menu, you will see a list of available bootable devices or drives, including your connected USB drive.
5. Use the arrow keys on your keyboard to select the USB drive from the list. It might be listed as “USB”, “Removable Device”, or something similar. Press the Enter key to confirm your selection.
6. Your HP Ultrabook will now start booting from the USB drive. Depending on the bootable software or operating system on the USB drive, it may take some time to load. Be patient as the booting process initiates.
7. Follow the on-screen instructions of the bootable software or operating system to proceed with the desired task, such as installing a new operating system, running diagnostic tools, or recovering data.
8. If, for any reason, the Ultrabook doesn’t boot from the USB drive, restart the computer and try accessing the boot menu again. Verify that the USB drive is still properly connected and select it from the boot menu.
By successfully booting from the USB drive, you can now take advantage of the capabilities and flexibility it offers on your HP Ultrabook. You have completed the final step in the process. Congratulations!
Keep in mind that once you’re done using the USB drive, you may want to change the boot order back to its original configuration, with the internal hard drive as the primary boot device, for normal use of your Ultrabook.
Conclusion
Congratulations! You have successfully learned how to boot from a USB drive on your HP Ultrabook. By following the step-by-step instructions in this guide, you can now take full advantage of the flexibility and capabilities that booting from a USB drive offers.
Starting from preparing the USB drive, accessing the BIOS settings, changing the boot order, and saving the changes, you have gained the knowledge needed to effectively configure your HP Ultrabook to prioritize booting from a USB drive.
Remember, the process may vary slightly depending on your specific HP Ultrabook model, but the general concepts remain the same. Always consult your Ultrabook’s documentation or look for on-screen prompts to ensure you are pressing the correct key or accessing the appropriate settings.
Whether you need to install a new operating system, run diagnostic tools, or recover data, the ability to boot from a USB drive can be a valuable tool in your technological arsenal. It allows you to easily and conveniently execute various tasks and overcome software or hardware-related challenges on your HP Ultrabook.
So, the next time you encounter a situation where booting from a USB drive is necessary, you can refer back to this guide for a quick refresher on the steps involved.
Thank you for following along with this guide. We hope it has been helpful and that you feel more confident in navigating the booting process on your HP Ultrabook. Happy computing!