Introduction
Booting from an external SSD (Solid State Drive) can be a game-changer in terms of performance and convenience. Whether you want to upgrade your operating system or have a portable solution for working on multiple machines, booting from an external SSD offers flexibility and speed.
Traditionally, computers boot from the internal hard drive, but with the advancement in SSD technology, it has become possible to boot from an external SSD as well. This allows you to harness the benefits of faster read and write speeds, reduced boot times, and a seamless computing experience.
In this guide, we will walk you through the steps to boot from an external SSD. We will cover the necessary preparations, connection process, and configuring your computer’s settings to prioritize booting from the external SSD. Whether you are a beginner or an experienced computer user, you will find this guide helpful in utilizing the full potential of your external SSD.
Before we dive into the steps, it is important to note that booting from an external SSD may not be supported by all computers. It is crucial to check the compatibility of your computer and ensure that your system can support booting from an external device. Additionally, it is advisable to back up your data before making any changes to your computer’s settings.
Now, let’s get started with the step-by-step process of booting from an external SSD.
Step 1: Check Compatibility
The first step in booting from an external SSD is to check the compatibility of your computer. Not all systems support booting from an external device, so it’s important to verify this before proceeding.
To check compatibility, you can refer to your computer’s user manual or visit the manufacturer’s website for specific information. Look for details about boot options and external device support. Some systems may have limitations in terms of the type of external device (e.g., USB or Thunderbolt) or the file system format (e.g., FAT32 or NTFS) that is supported for booting.
Alternatively, you can try booting from a different external device, such as a USB flash drive, to see if your computer recognizes it as a bootable device. If it does, there is a higher chance that your system will support booting from an external SSD.
If your computer is not compatible with booting from an external SSD, you might consider upgrading your system’s firmware or BIOS/UEFI. Sometimes, newer firmware versions may enable this functionality. However, be cautious when updating firmware, as it can carry certain risks. Make sure to follow the manufacturer’s instructions carefully and back up your data before proceeding with any firmware updates.
It’s also important to consider the hardware requirements of your external SSD. Ensure that your computer has the necessary ports to connect the SSD, whether it’s USB, Thunderbolt, or another connection type. Additionally, make sure your computer has enough power to support the external SSD, especially if it requires higher power delivery for optimal performance.
Checking compatibility is a crucial step in successfully booting from an external SSD. By understanding your computer’s capabilities and limitations, you can determine if this method is feasible for your system. Once you have confirmed compatibility, you can proceed to the next steps of preparing your external SSD for booting.
Step 2: Prepare your External SSD
Before you can boot from your external SSD, it’s important to properly prepare it for use. Here are the necessary steps to get your SSD ready:
- Format the SSD: The first step is to format your external SSD to ensure compatibility with your computer. Formatting will erase all existing data on the drive, so make sure to backup any important files before proceeding. Depending on your operating system, you can format the SSD to a suitable file system such as NTFS or exFAT.
- Partition the SSD: After formatting, you may choose to partition your SSD if required. Partitions allow you to divide the SSD into separate sections, which can be useful for organizing your data or creating multiple bootable partitions. You can use built-in disk management tools in your operating system or third-party software to create partitions on the SSD.
- Install necessary software: Depending on your intended use for the external SSD, you may need to install specific software or drivers. For example, if you plan on installing a different operating system on the SSD, you will need to acquire the installation files and follow the respective installation procedures. Make sure to download and install any required software before proceeding to the next steps.
- Ensure sufficient storage: Consider the storage capacity of your external SSD and how much space you will need for the operating system and other files. Make sure the SSD has enough free space to accommodate the operating system, applications, and any additional data you plan to store. It’s always better to have more storage space than less to avoid running out of space in the future.
- Keep the SSD clean and organized: Once your external SSD is prepared, it’s important to maintain its cleanliness and organization. Regularly delete unnecessary files, update software and firmware, and keep the drive free from dust and debris. This will ensure optimal performance and longevity of your external SSD.
By following these steps and properly preparing your external SSD, you ensure that it is ready for booting and can provide a smooth and efficient computing experience. Once you have completed the necessary preparations, you can proceed to the next steps of connecting the SSD to your computer and entering the BIOS/UEFI settings.
Step 3: Connect the SSD to your Computer
Now that you have prepared your external SSD, it’s time to connect it to your computer. Follow these steps to establish a connection:
- Power off your computer: Before connecting the external SSD, it’s important to ensure that your computer is powered off. This will eliminate the risk of any potential damage to the SSD or your computer’s ports.
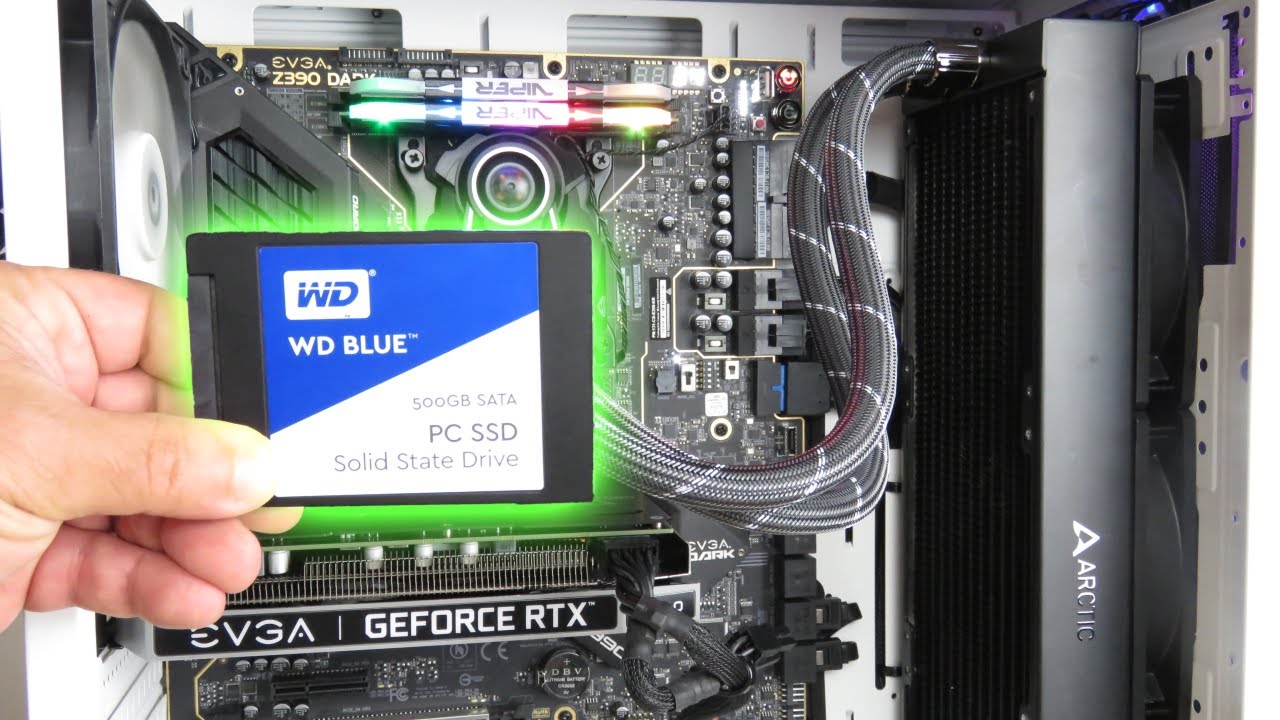
- Identify the appropriate port: Identify the port on your computer that is compatible with your external SSD’s connection type. Most commonly, this will be a USB or Thunderbolt port. Refer to your computer’s user manual or manufacturer’s specifications to locate the appropriate port.
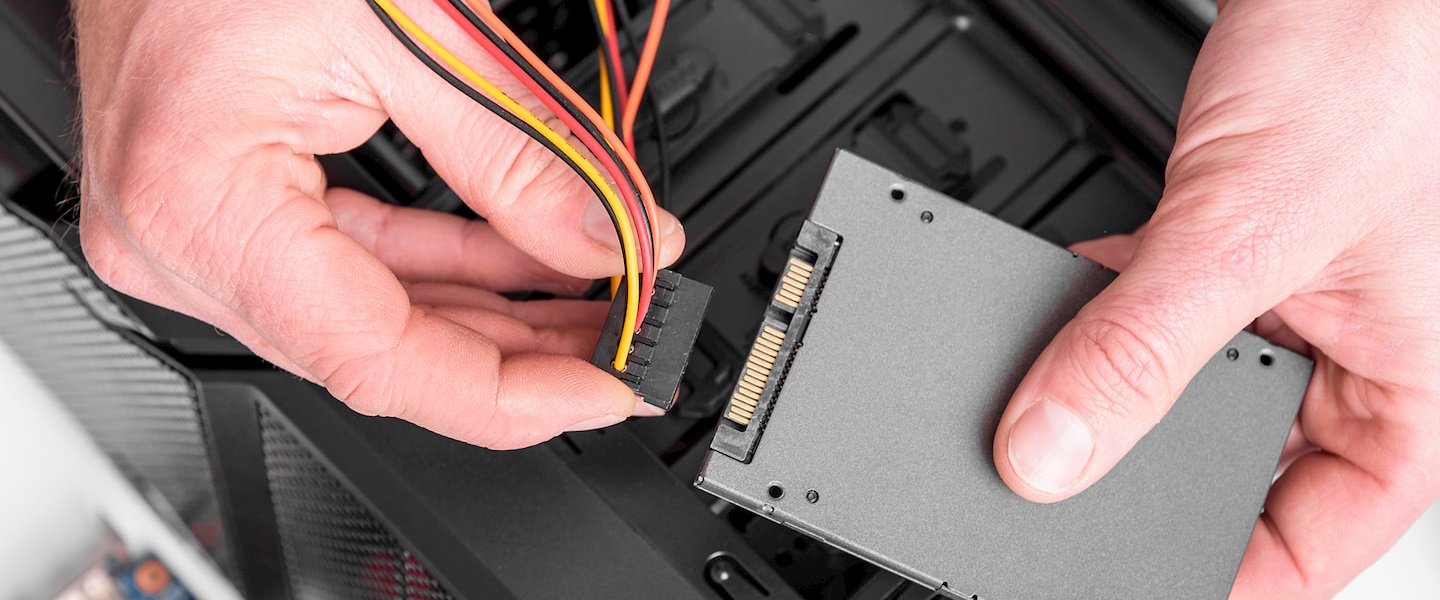
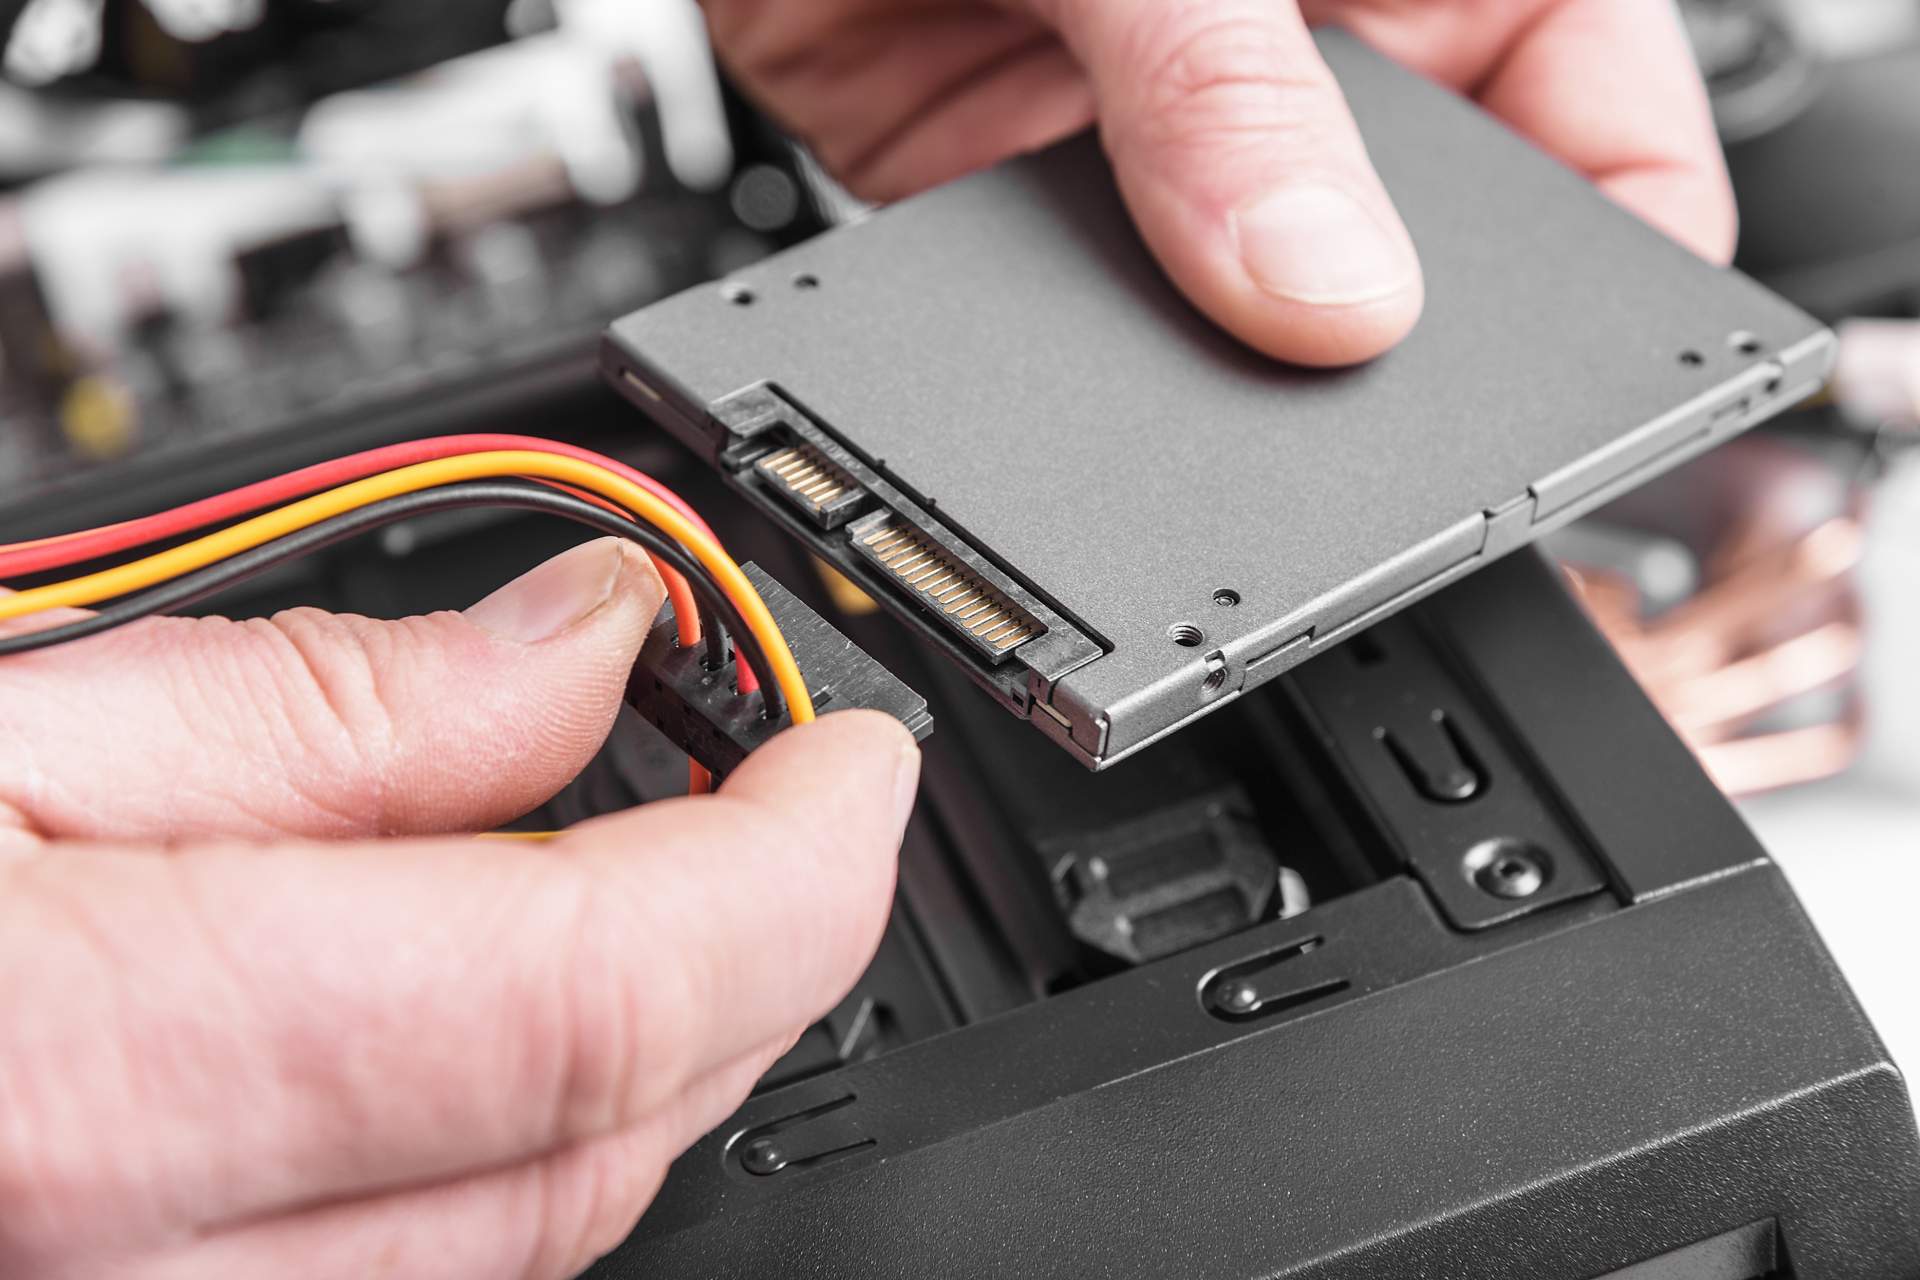
- Connect the SSD: Once you have identified the correct port, connect one end of the cable to the SSD and the other end to the corresponding port on your computer. Ensure a secure and snug connection.
- Power on your computer: After connecting the SSD, power on your computer. The operating system should detect the external SSD and list it as a connected device.
- Check for SSD recognition: Open the operating system’s file explorer or disk management utility to verify if the SSD is recognized. It should appear as a separate drive, distinct from your internal hard drive or any other connected devices.
- Ensure proper power supply: Some external SSDs may require external power sources, especially if they are high-performance or have additional features. If your SSD requires external power, make sure it is properly connected and receiving sufficient power to function.
Once you have successfully connected the external SSD to your computer, you are ready to move on to the next step of entering the BIOS/UEFI settings.
Step 4: Enter the BIOS/UEFI Settings
To boot from your external SSD, you need to access the BIOS (Basic Input/Output System) or UEFI (Unified Extensible Firmware Interface) settings of your computer. These settings allow you to configure the boot order and prioritize booting from the external SSD. Follow these steps to enter the BIOS/UEFI settings:
- Restart your computer: If your computer is currently powered on, restart it to begin the process of accessing the BIOS/UEFI settings. You can do this through the Start menu or by pressing the appropriate key combination (e.g., Ctrl + Alt + Del) and selecting Restart.
- Access the BIOS/UEFI: As the computer restarts, pay close attention to the screen for any prompts or messages indicating the key or keys that need to be pressed to enter the BIOS/UEFI. Common keys include Del, F2, F12, or Esc. Refer to your computer’s manual or manufacturer’s website for the exact key(s) for your specific model.
- Press the designated key(s): Once you identify the key(s), press it repeatedly as soon as you see the prompt or message on the screen. This will allow you to access the BIOS/UEFI settings interface.
- Navigate the BIOS/UEFI: Once inside the BIOS/UEFI settings, you will see a menu-based interface with various options. Use the arrow keys on your keyboard to navigate through the menus and locate the option related to boot order or boot priority.
- Change the boot order: Select the boot order or boot priority option and rearrange the list of devices to give priority to the external SSD. Move the SSD to the top of the list or place it before the internal hard drive. This configuration ensures that the computer attempts to boot from the external SSD first.
- Save changes and exit: Once you have adjusted the boot order, save the changes you made in the BIOS/UEFI settings. Typically, there will be a dedicated key (e.g., F10) or an option within the settings interface to save and exit. Confirm your selection to save the changes, and the computer will restart.
Upon restarting, your computer will attempt to boot from the external SSD as per the configured boot order. If successful, you will see the operating system loading from the SSD. However, if the SSD is not detected or the boot process fails, you may need to revisit the BIOS/UEFI settings and ensure that the proper changes were made.
Entering the BIOS/UEFI settings and configuring the boot order correctly is crucial in enabling your computer to boot from the external SSD. Once the settings are saved, you are ready to move on to the next step of saving changes and restarting your computer.
Step 5: Change the Boot Order
After entering the BIOS/UEFI settings, the next step is to change the boot order to prioritize booting from your external SSD. Here’s how you can do it:
- Navigate to the boot order settings: In the BIOS/UEFI settings, look for the section that contains the boot order or boot priority settings. It may be labeled as “Boot Options,” “Boot Sequence,” or something similar. Use the arrow keys to move through the menus and locate this section.
- Identify the external SSD: Once you are in the boot order settings, you should see a list of devices in the order in which they are currently set to boot. Look for the entry that represents your external SSD. It may be listed as its brand name or a generic term like “USB Device” or “External Storage.”
- Move the external SSD to the top: Using the designated key or combination of keys (such as + or -), adjust the boot order to move the external SSD to the top of the list. This ensures that the computer will attempt to boot from the SSD first before trying other devices.
- Reorder other boot devices: If necessary, rearrange the order of other boot devices in the list. You can move them below the external SSD or remove them from the boot menu entirely if you do not need them as boot options.
- Save changes: Once you have adjusted the boot order to your preference, save the changes in the BIOS/UEFI settings. Look for an option like “Save and Exit,” “Apply Changes,” or similar wording. Follow the prompt to save your modifications.
After saving the changes, the computer will attempt to boot from the external SSD as it now holds higher priority in the boot order. Make sure to save any other settings you may have changed before exiting the BIOS/UEFI settings to ensure your modifications are applied.
It’s important to note that the BIOS/UEFI settings interface may vary depending on your computer’s make and model. The precise steps and options might be slightly different, but the general concept remains the same. If you encounter any difficulties or have any specific questions, referring to your computer’s user manual or contacting the manufacturer’s support can provide additional guidance tailored to your system.
With the boot order adjusted to prioritize the external SSD, you are one step closer to successfully booting your computer from the SSD. The next step is to save your changes and restart your computer.
Step 6: Save Changes and Restart Your Computer
After configuring the boot order in the BIOS/UEFI settings, the next step is to save your changes and restart your computer. This will apply the modified settings and allow your computer to boot from the external SSD. Follow these steps to complete this process:
- Save your changes: In the BIOS/UEFI settings interface, locate the option to save your modified settings. This is typically found under a menu titled “Save and Exit,” “Exit and Save Changes,” or similar wording. Press the designated key or follow the on-screen instructions to save your changes.
- Exit the BIOS/UEFI settings: Once you have saved your changes, you will be prompted to exit the BIOS/UEFI settings. Select the option to exit and return to the main boot process.
- Restart your computer: To fully apply the changes, you must restart your computer. You can do this manually by selecting the restart option in the operating system’s Start menu or by pressing the designated key combination (e.g., Ctrl + Alt + Del) and choosing Restart.
- Observe the boot process: As your computer restarts, pay attention to the screen for any messages or prompts that indicate the booting process. You should see the external SSD being recognized as the primary boot device.
- Operating system loading: If everything is configured correctly, your computer will start booting from the external SSD. You will see the operating system loading screen or logo, indicating that the boot process is underway.
- Successful boot: Once the boot process is complete, your computer should successfully load the operating system from the external SSD. You can verify this by checking if your desktop or home screen appears.
If your computer fails to boot from the external SSD or encounters any errors during the boot process, you may need to revisit the BIOS/UEFI settings and ensure that the boot order is correctly configured. Additionally, troubleshooting guides specific to your computer model or contacting technical support can provide further assistance in resolving any booting issues.
With the changes saved and the computer restarted, you have successfully set up your computer to boot from the external SSD. You can enjoy the improved performance and convenience that comes with running your operating system from the SSD.
Step 7: Install or Clone Your Operating System
With your computer now set up to boot from the external SSD, the next step is to install or clone your operating system onto the SSD. This can be done in one of two ways:
- Installing a fresh operating system: If you want a clean start, you can perform a fresh installation of the operating system on the external SSD. This involves formatting the SSD and installing the operating system from scratch using the installation media or setup files.
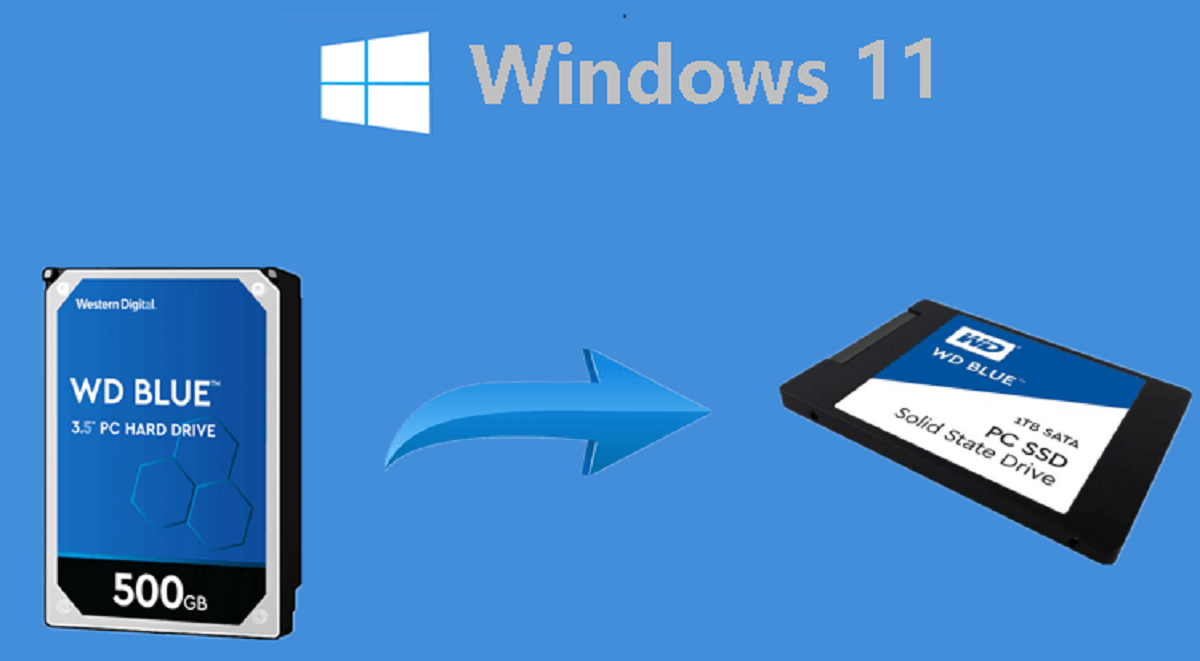
- Cloning an existing operating system: Alternatively, if you already have an operating system installed on your internal hard drive and wish to transfer it to the external SSD, you can use cloning software to create an exact copy of your existing system on the SSD.
Installing a fresh operating system:
- Prepare the installation media: Obtain the installation media or setup files for your operating system. This could be a bootable USB drive, an installation DVD, or downloadable files from the manufacturer’s website.
- Connect the installation media: Connect the installation media to your computer, either by inserting the USB drive or DVD into the appropriate ports or by mounting the downloaded setup files.
- Boot from the installation media: Restart your computer and enter the BIOS/UEFI settings if necessary to ensure that the external SSD is still set as the primary boot device. Then, select the option to boot from the installation media. The computer will load the installation process.
- Follow the installation wizard: Once the installation process begins, follow the on-screen instructions provided by the installation wizard. This typically includes selecting the installation language, agreeing to the terms and conditions, choosing the installation location (which should be the external SSD), and customizing any specific settings as needed.
- Wait for the installation to complete: The installation process may take some time to complete, depending on the speed of your computer and the size of the operating system. Be patient and do not interrupt the process until it finishes.
- Set up the operating system: After the installation is complete, you may be required to go through the initial setup process, such as creating a user account, setting up preferences, and installing necessary drivers or updates. Follow the prompts to finalize the installation.
Cloning an existing operating system:
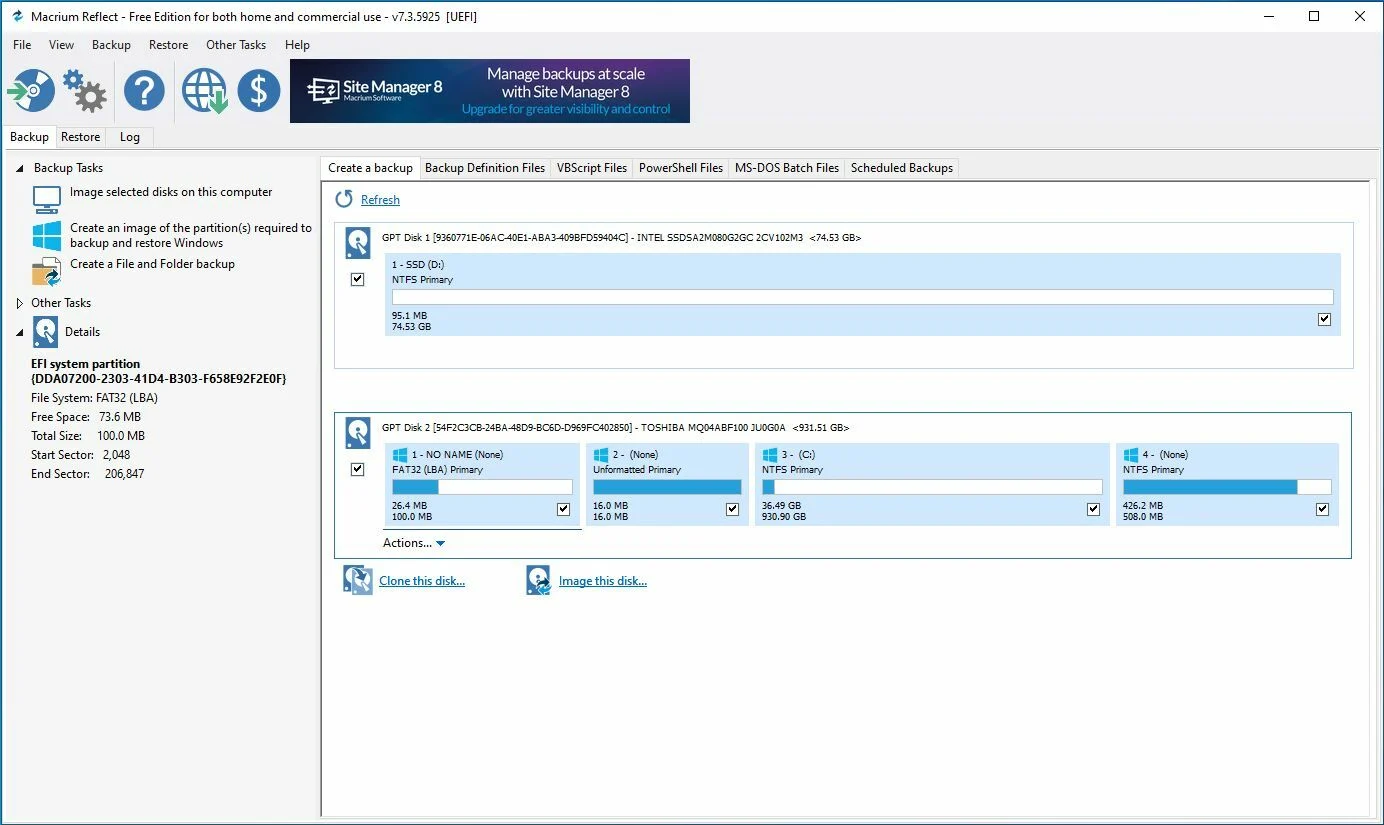
- Choose a cloning software: Select a reliable cloning software that is compatible with your operating system. There are various options available, both free and paid, such as Clonezilla, EaseUS Todo Backup, or Macrium Reflect.
- Connect the external SSD: Ensure that your external SSD is properly connected to your computer, following the steps outlined in previous sections.
- Launch the cloning software: Open the cloning software and follow the provided instructions to initiate the cloning process.
- Select the source and destination drives: In the cloning software, select your internal hard drive (the source drive) and the external SSD (the destination drive) for the cloning process.
- Start the cloning process: Once the source and destination drives are selected, start the cloning process. The software will begin copying all files and data from the source drive to the destination SSD. This process may take some time, depending on the amount of data being cloned.
- Verify the successful cloning: Once the cloning process is complete, verify that the operating system and all data have been successfully cloned onto the external SSD. You can check file directories and system settings to ensure everything transferred correctly.
Whether you choose to install a fresh operating system or clone your existing one, make sure to follow the instructions provided by the installation or cloning software and complete any additional setup steps required to configure your system on the external SSD.
By installing or cloning your operating system onto the external SSD, you are now ready to fully utilize your system’s improved performance and enjoy the benefits of booting from the SSD.
Step 8: Boot from the External SSD
With the operating system installed or cloned onto your external SSD, you can now boot your computer directly from the SSD. Here’s how:
- Restart your computer: If your computer is currently powered on, restart it to initiate the booting process. Make sure the external SSD is connected and properly configured as the primary boot device in the BIOS/UEFI settings.
- Observe the boot process: As your computer restarts, pay attention to the screen for any messages or prompts indicating that it is booting from the external SSD. You may see the SSD’s name or other relevant information displayed during this process.
- Loading the operating system: If everything is configured correctly, you should see the operating system loading from the external SSD. This may be accompanied by a startup logo or loading screen, indicating that the boot process is underway.
- Enter the desktop or home screen: Once the boot process is complete, you should be greeted with your operating system’s desktop or home screen. This confirms that your computer has successfully booted from the external SSD.
Now that your computer is booting from the external SSD, you can start using your system as usual. Enjoy the improved performance, faster loading times, and seamless computing experience that the SSD provides.
It’s worth noting that you may still have access to the files and applications on your internal hard drive, even if you are booting from the external SSD. However, keep in mind that any changes you make will be saved to the external SSD by default. If you no longer want to use the internal hard drive, you can reformat it or repurpose it for other storage needs.
By successfully booting from the external SSD, you have fully harnessed the benefits of this portable storage solution. Whether you’re using it for work, gaming, or any other computing tasks, your system will now be powered by the speed and efficiency of the external SSD.
Conclusion
Boot from an external SSD can significantly enhance your computing experience by improving performance, reducing boot times, and providing portability. The step-by-step process outlined in this guide has equipped you with the knowledge to successfully boot from an external SSD.
Beginning with checking compatibility, you ensured that your computer supports booting from an external device. Then, you prepared the external SSD by formatting it, partitioning it if necessary, and installing any required software.
After properly connecting the SSD to your computer, you entered the BIOS/UEFI settings to set the boot order and prioritize the external SSD. Following that, you saved the changes and restarted your computer, allowing it to initiate the booting process.
Once you successfully booted from the external SSD, you had the option to install a fresh operating system or clone your existing one onto the SSD, depending on your needs and preferences.
Finally, as you booted your computer from the external SSD, you witnessed the operating system loading and gained access to your desktop or home screen, signifying a successful boot process.
By following these steps, you can enjoy the benefits of faster read and write speeds, reduced boot times, and a more seamless computing experience. Whether you are using your computer for work, gaming, or other tasks, booting from an external SSD can significantly boost performance.
Remember to regularly back up your data and keep your external SSD clean and organized to maintain optimal performance. With the flexibility and convenience of booting from an external SSD, you can take your computing experience to new heights.