Introduction
Backing up data is a crucial task to ensure the safety and security of important files and documents. With the increasing reliance on portable hard disk drives, it is essential to know how to backup data from these devices in a Windows 10 environment. Whether you have important work files, cherished personal photos, or essential documents, having a backup provides peace of mind in case of data loss, accidental deletion, or hardware failure.
In this article, we will guide you through the process of backing up data from a portable hard disk drive in a Windows 10 environment. We will explain each step in detail, providing you with a clear understanding of how to safeguard your valuable data.
It is important to note that while this guide focuses on Windows 10, the process is also applicable to other Windows operating systems with minor variations. Now, let’s delve into the steps required to successfully back up your data from a portable hard disk drive.
Step 1: Connect the Portable Hard Disk Drive to Your Windows 10 Computer
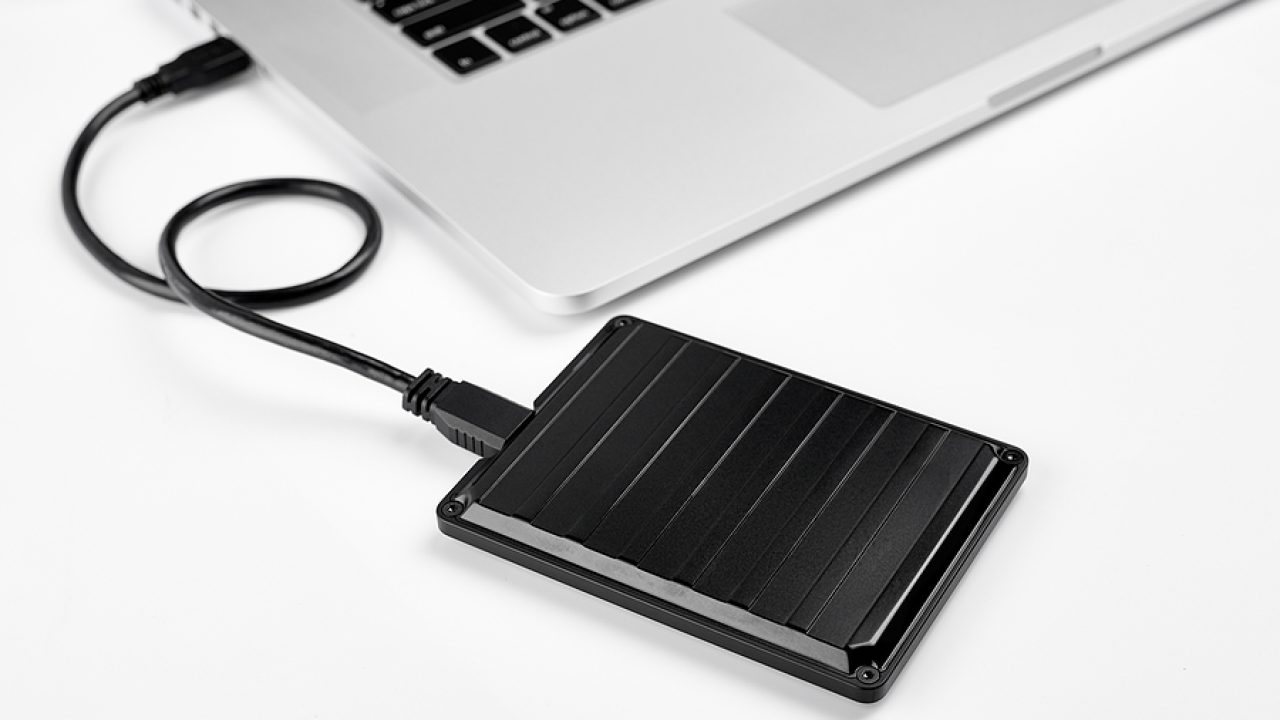
The first step in backing up your data from a portable hard disk drive is to properly connect it to your Windows 10 computer. Follow these simple instructions to ensure a successful connection:
- Locate an available USB port on your computer. Note that if you are using a desktop, you may have USB ports on both the front and back of the tower.
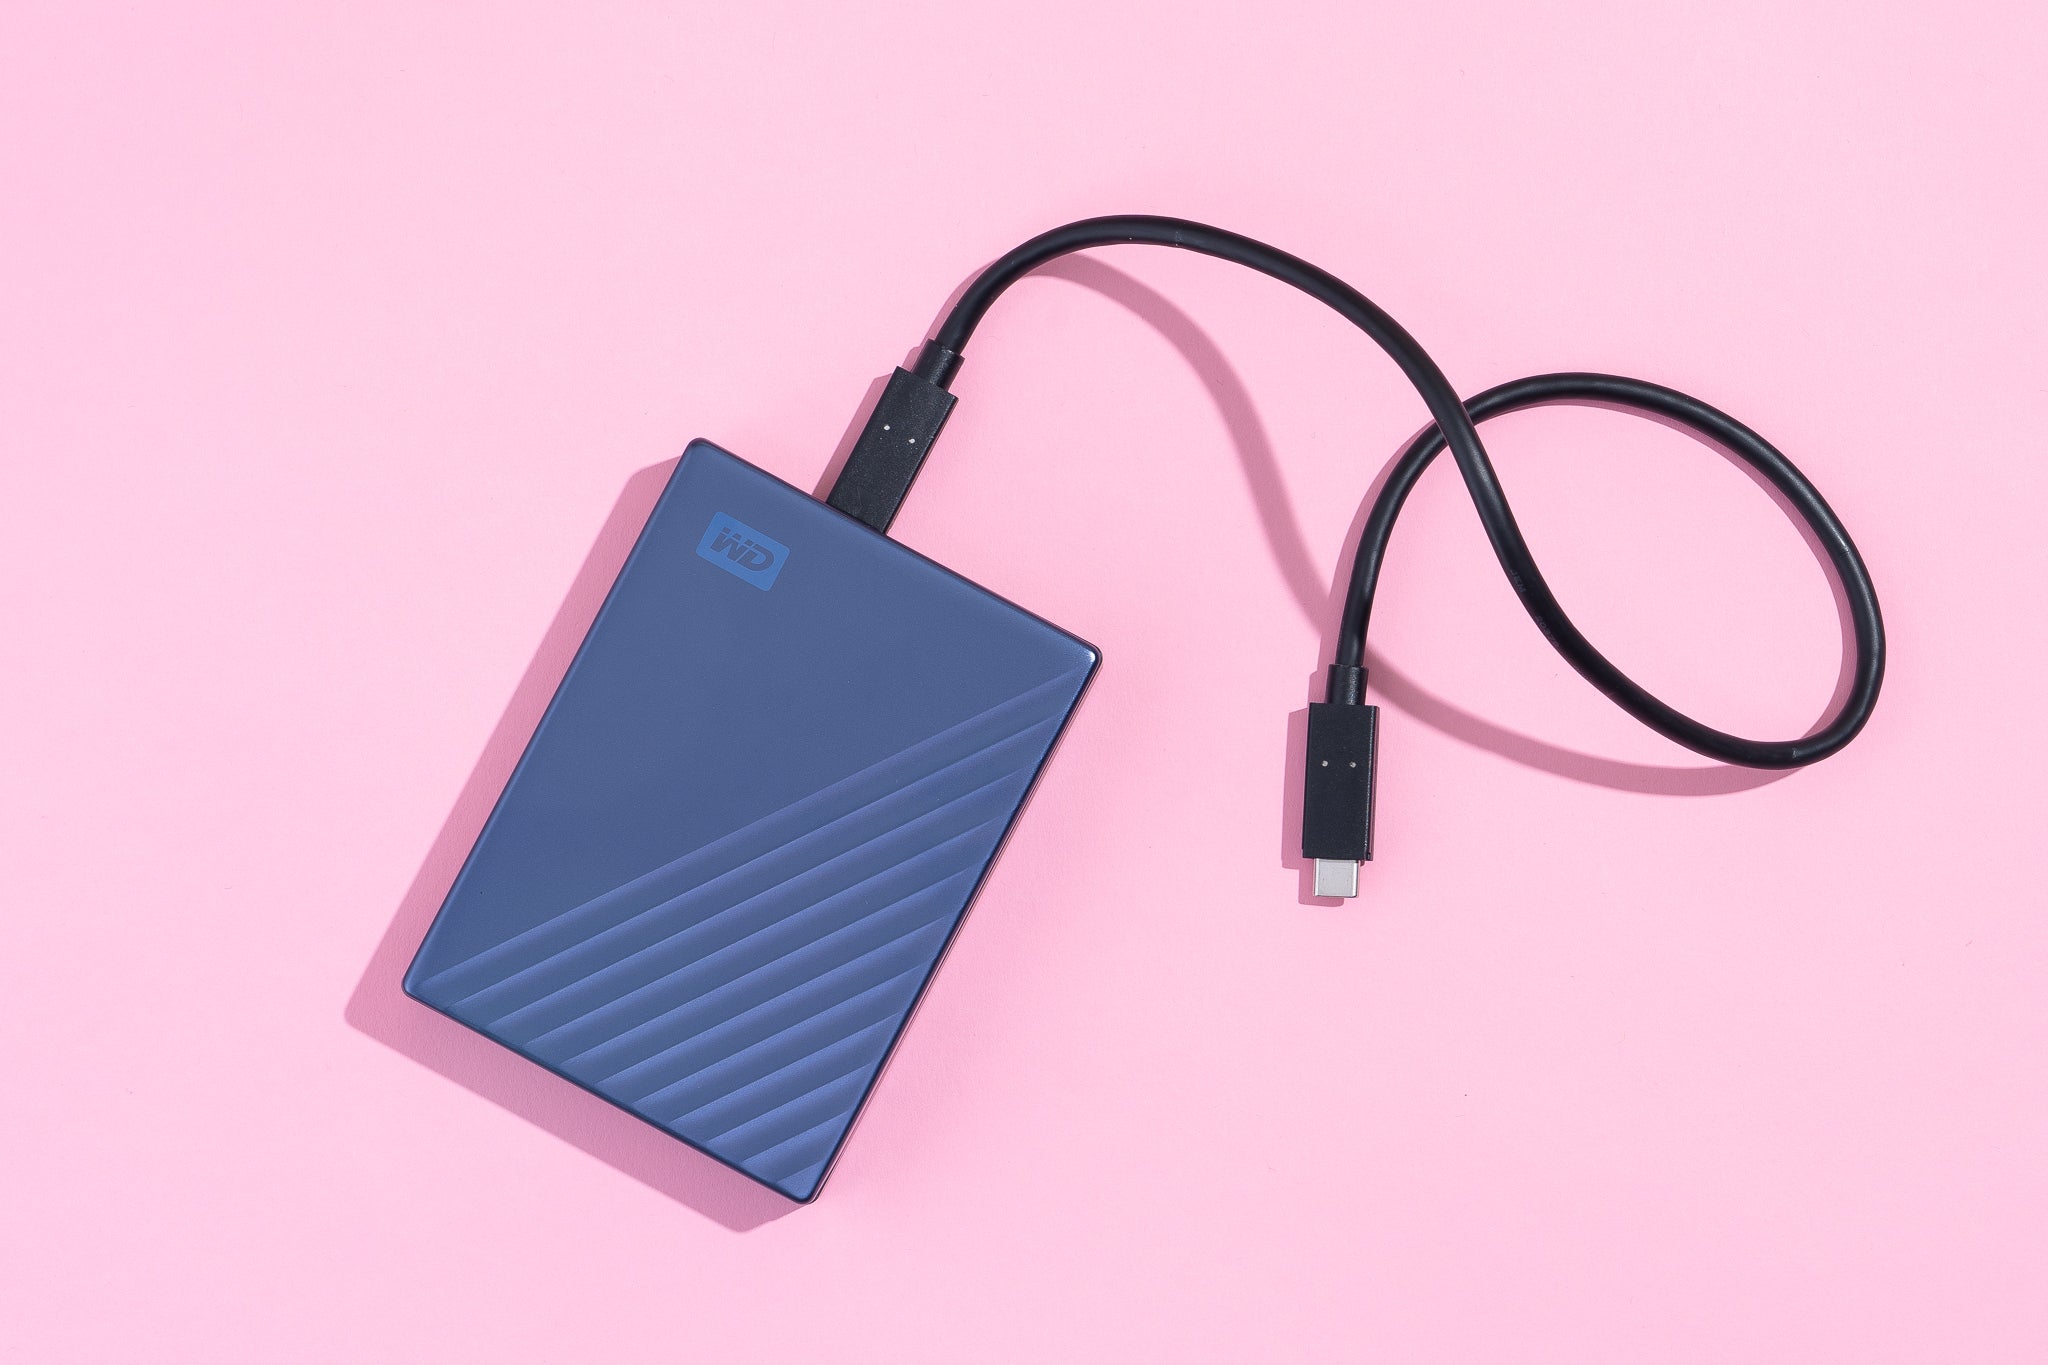
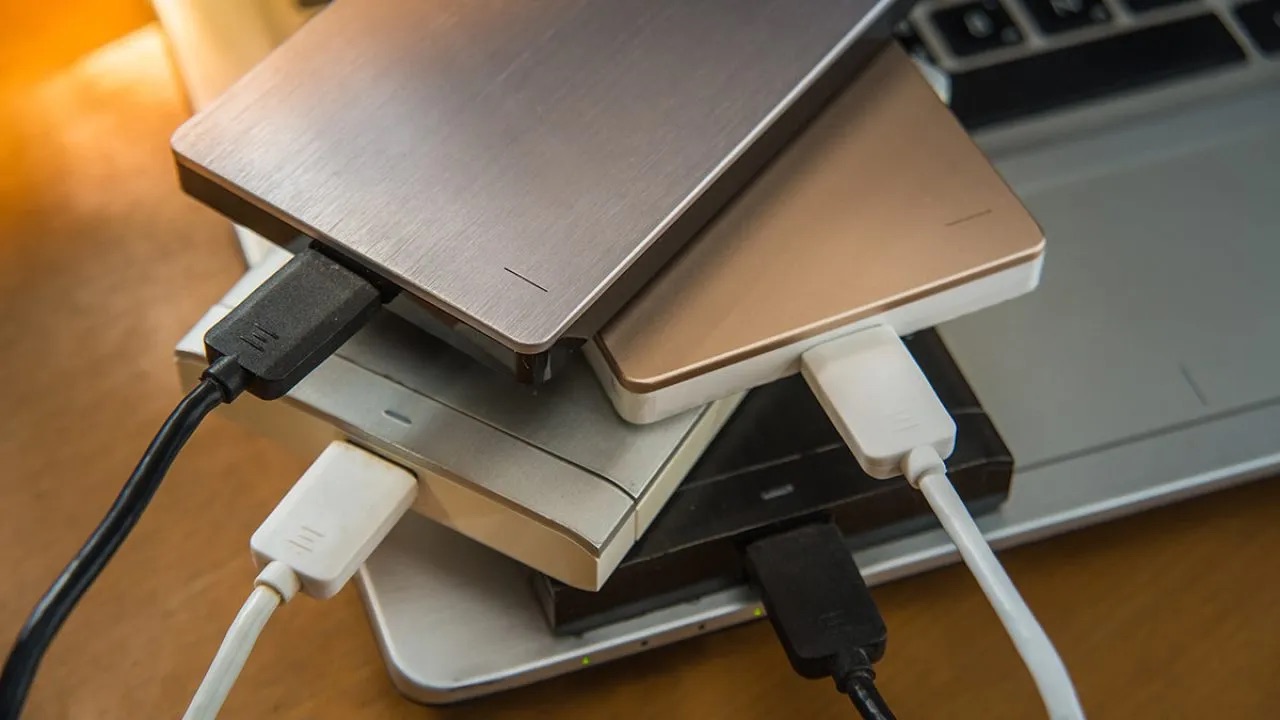
- Take the USB cable that came with your portable hard disk drive and connect one end to the drive itself.
- Insert the other end of the cable into the USB port on your computer. Make sure it fits securely.
- Once the cable is connected, you will hear a sound notification from your computer, indicating that it has recognized the portable hard disk drive.
- Wait for a few moments to allow your computer to install any necessary drivers for the portable hard disk drive. This process is usually automatic.
- When the installation is complete, you can proceed to the next step.
It is important to note that some portable hard disk drives may require external power sources. In such cases, make sure to connect the power cable to an electrical outlet before proceeding with the USB connection. Refer to the manufacturer’s instructions for specific details about your device.
Once you have successfully connected your portable hard disk drive to your Windows 10 computer, you are ready to move on to the next step: opening File Explorer and locating the drive.
Step 2: Open File Explorer and Locate the Portable Hard Disk Drive
After connecting the portable hard disk drive to your Windows 10 computer, the next step is to open File Explorer and locate the drive. Follow these instructions to easily find your portable hard disk drive:
- On your Windows 10 computer, locate the taskbar at the bottom of the screen. This is the horizontal bar that displays the Start menu, search bar, and other icons.
- Locate the File Explorer icon, which looks like a folder. It is usually located towards the left side of the taskbar. You can click on the File Explorer icon to open it, or you can press the Windows key + E on your keyboard as a shortcut.
- After opening File Explorer, you will see a pane on the left side of the window. Scroll down this pane until you find the “This PC” or “Computer” option, and click on it. This will display all the drives connected to your computer.
- In the main window of File Explorer, you will see a list of available drives, including your portable hard disk drive. Look for a drive labeled with the manufacturer’s name or a specific model number that indicates it is your portable hard disk drive.
- You can also look for a drive with a specific letter assigned to it, such as “E:”, “F:”, or “G:”. This letter may vary depending on your computer’s configuration.
- Once you have located your portable hard disk drive, you can proceed to the next step of selecting the files and folders you want to backup.
It is important to mention that the drive letter assigned to your portable hard disk drive may change if you disconnect and reconnect the drive at a later time. Therefore, it is recommended to double-check the drive label or manufacturer’s name to ensure you are selecting the correct drive for backup purposes.
With the portable hard disk drive successfully located in File Explorer, you are now ready to proceed to the next step of selecting the files and folders you want to backup.
Step 3: Select the Files and Folders You Want to Backup
Once you have located your portable hard disk drive in File Explorer, the next step is to select the specific files and folders that you want to backup. Follow these instructions to easily choose the data you wish to safeguard:
- Double-click on the portable hard disk drive icon in File Explorer to open it. This will display the contents of the drive in the main window.
- Browse through the files and folders on your computer to locate the data you want to backup.
- To select individual files, simply click on them. You can hold down the Ctrl key while clicking to select multiple files at once.
- If you want to select an entire folder, single-click on it to highlight it. Alternatively, you can hold down the Shift key and click on multiple folders to select them in a consecutive order.
- If you want to select all the files and folders within a specific location, such as your Documents or Pictures folder, you can right-click on the folder and choose “Select All” from the context menu.
- Continue selecting files and folders until you have chosen all the data you want to include in the backup.
It is important to be selective when choosing the files and folders for backup. Consider prioritizing important documents, photos, videos, and any other irreplaceable data. Avoid including unnecessary files or large-sized files that may consume excessive storage space on your portable hard disk drive.
Once you have selected all the files and folders you want to backup, you are ready to proceed to the next step: copying the selected data to your computer.
Step 4: Copy the Selected Files and Folders to Your Computer
After selecting the files and folders you want to backup, the next step is to copy them from your portable hard disk drive to your computer. Follow these instructions to successfully complete this step:
- With the files and folders selected in File Explorer, right-click on any of the selected items to open the context menu.
- From the context menu, choose the “Copy” option. Alternatively, you can use the keyboard shortcut Ctrl+C to copy the selected data.
- Navigate to the location on your computer where you want to store the backup files. This can be your desktop, a specific folder, or any other preferred location.
- Once you have reached the desired destination, right-click on an empty space in the location to open the context menu.
- From the context menu, choose the “Paste” option. Alternatively, you can use the keyboard shortcut Ctrl+V to paste the copied files and folders.
- Wait for the copying process to complete. The time required will depend on the size and number of files being copied.
It is important to ensure that you have enough storage space available on your computer to accommodate the selected files and folders. If needed, you can consider cleaning up unnecessary files or freeing up disk space to make room for the backup.
By copying the selected files and folders from your portable hard disk drive to your computer, you have successfully created a backup of your important data. Now, it is time to move on to the next step to verify the backup.
Step 5: Verify the Backup Was Successful
After copying the selected files and folders to your computer, it is crucial to verify that the backup was successful and all your data has been properly transferred. Follow these steps to ensure the integrity of your backup:
- Navigate to the location where you pasted the backup files on your computer.
- Double-check that all the selected files and folders are present in the destination location.
- Open a few files from different folders to ensure they open without any issues. This will confirm that the files were copied successfully and are accessible.
- Compare the file sizes and properties of the original files on your portable hard disk drive with the copied files on your computer. Confirm that they match to ensure no data loss occurred during the backup process.
- If your portable hard disk drive contains any sensitive or crucial data, consider performing a random spot-check on a few files to ensure they are fully functional and intact.
Verifying the backup is an essential step to ensure the integrity and completeness of your data. By taking the time to compare and check the backup files, you can have peace of mind knowing that your important information is safely preserved.
In case you encounter any issues during the verification process, such as missing files or corrupt data, it is recommended to repeat the backup process from the beginning to ensure a successful backup.
Once you have verified the backup and are confident that all your data is securely stored on your computer, you can proceed to the final step of safely ejecting the portable hard disk drive.
Step 6: Safely Eject the Portable Hard Disk Drive from Your Computer
After successfully completing the backup process, it is important to properly eject the portable hard disk drive from your computer to ensure its longevity and prevent data loss. Follow these steps to safely remove the drive:
- Locate the system tray at the bottom-right corner of your Windows 10 desktop. This area typically displays various icons, including the volume and network icons.
- Find the “Safely Remove Hardware and Eject Media” icon, which looks like a USB plug with a green checkmark or a white arrow. Click on it to open the Safely Remove Hardware window.
- In the Safely Remove Hardware window, you will see a list of connected devices. Locate your portable hard disk drive from the list.
- Click on the device name to select it, and then click on the “Stop” or “Eject” button. This will initiate the process of safely ejecting the portable hard disk drive from your computer.
- Wait for a notification indicating that it is safe to remove the device. This may take a few seconds.
- Once you receive the notification, you can physically disconnect the portable hard disk drive from the USB port on your computer.
It is crucial to follow these steps and safely eject the portable hard disk drive to prevent any potential data corruption or damage to the device. Abruptly removing the drive without properly ejecting it can lead to data loss and even physical damage to the drive itself.
By safely ejecting the portable hard disk drive, you have completed the entire process of backing up your data in a Windows 10 environment. Now, you can store your portable hard disk drive in a safe location or use it for other purposes knowing that your important files have been securely backed up.
Conclusion
Backing up data from a portable hard disk drive in a Windows 10 environment is a critical task to protect your valuable files and documents. By following the steps outlined in this guide, you can ensure that your data is safeguarded and easily recoverable in case of unforeseen events or accidents.
In this article, we covered the step-by-step process of backing up data from a portable hard disk drive in Windows 10. From connecting the drive to your computer to safely ejecting it, we provided detailed instructions to help you successfully complete each stage of the backup process.
Remember to be selective when choosing the files and folders for backup, prioritizing important data and avoiding unnecessary files that may consume excessive storage space. Additionally, it is crucial to verify the backup by checking the integrity and completeness of the copied files on your computer.
By following these guidelines, you can have peace of mind knowing that your important data is securely stored and easily accessible whenever you need it. Regularly performing backups is highly recommended to ensure the continuous protection of your files and documents.
Now that you have mastered the process of backing up data from a portable hard disk drive in a Windows 10 environment, you can confidently handle future backup tasks and ensure the safety of your valuable information.


