Introduction
Welcome to our guide on how to adjust fan speed in a Thermaltake PC case. If you’re experiencing loud and excessive fan noise or want to optimize your cooling performance, adjusting the fan speed can make a noticeable difference. By controlling the fan speed, you can strike a balance between keeping your system cool and maintaining a quiet operation.
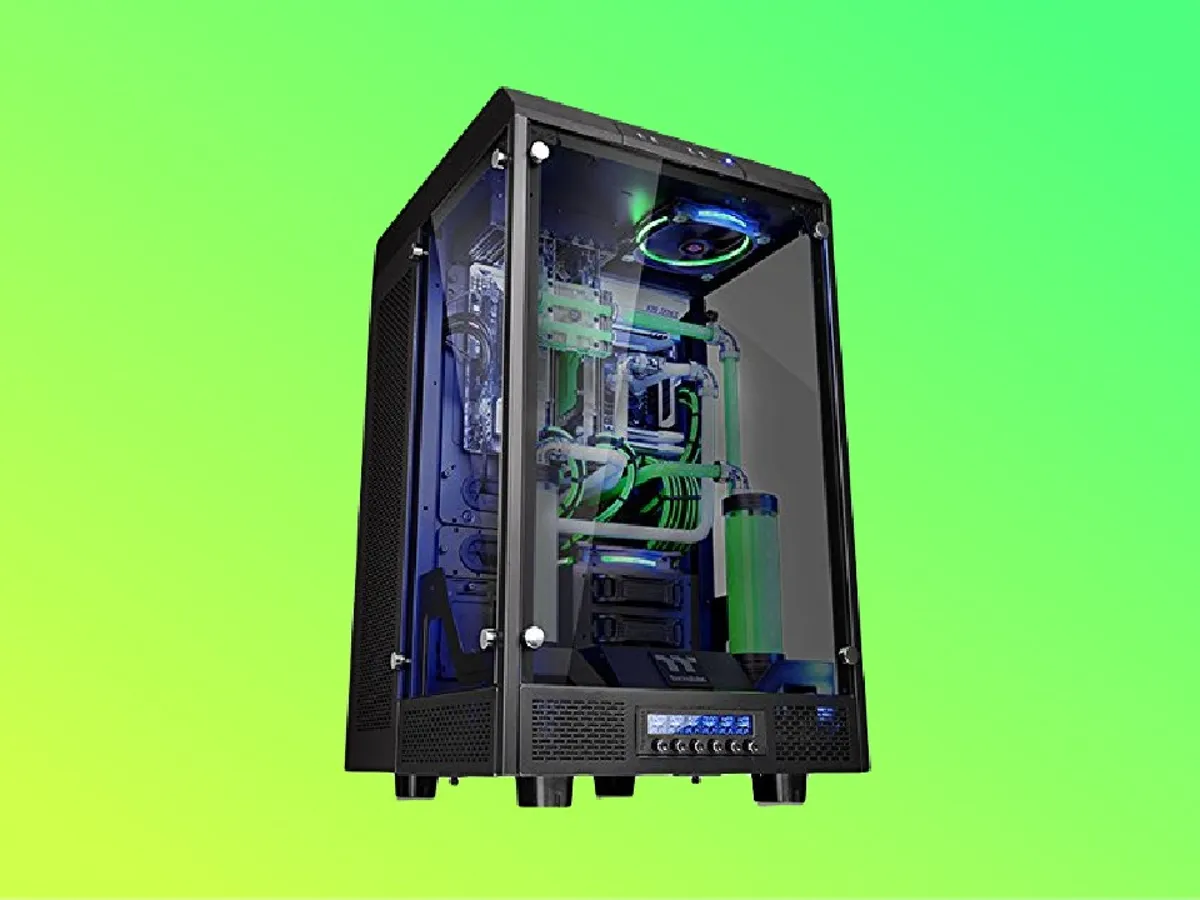
Thermaltake PC cases are known for their excellent cooling solutions and innovative features. Many Thermaltake cases come equipped with built-in fan controllers, while others allow you to adjust the fan speed through software or the BIOS. In this guide, we will explore various methods to adjust fan speed, so you can find the one that works best for your specific Thermaltake PC case.
Before we dive into the different methods, it’s essential to understand the importance of fan speed control. The fan speed refers to the rotation speed of the cooling fans in your PC case. Higher speeds result in increased airflow, leading to better cooling performance. However, higher fan speeds also generate more noise.
By adjusting the fan speed, you can strike a balance between cooling efficiency and noise level. If your PC is running hot or you’re engaged in resource-intensive tasks such as gaming or video editing, increasing the fan speed can help dissipate heat more effectively. On the other hand, if noise reduction is your priority, lowering the fan speed can provide a quieter computing experience.
Do note that the availability of fan speed control options can vary depending on the specific Thermaltake PC case model you have. Some cases may have built-in fan controllers with dedicated knobs or buttons, while others may require software or BIOS adjustments. Regardless of your case model, this guide will provide you with various methods to adjust the fan speed and make the most out of your Thermaltake PC case’s cooling capabilities.
Step 1: Check the Fan Speed Options
Before you begin adjusting the fan speed in your Thermaltake PC case, it’s essential to determine what fan speed options are available to you. Different Thermaltake cases offer various fan control solutions, so let’s explore some common options:
- Built-in Fan Controller: Many Thermaltake PC cases come with a built-in fan controller. This feature allows you to manually adjust the fan speed using dedicated knobs or buttons on the front or top panel of the case. Check your case’s documentation or manufacturer’s website to locate and understand how to use the built-in fan controller, if available.
- Software Control: Some Thermaltake cases offer software-based fan control options. To utilize this feature, you will need to download and install the corresponding software provided by Thermaltake. The software allows you to monitor and control the fan speed through a user-friendly interface. Visit the Thermaltake website and search for software specific to your case model.
- BIOS Settings: Another way to adjust fan speed is through the computer’s Basic Input/Output System (BIOS) settings. Restart your computer and access the BIOS by pressing the designated key during the boot-up process (commonly Del, F2, or Esc). Inside the BIOS settings, navigate to the fan control options. The terminology may vary depending on your motherboard manufacturer, but you should find options to adjust fan speed or fan curves.
It’s important to note that the availability of these fan speed options can depend on your specific Thermaltake PC case model. Refer to your case’s documentation or manufacturer’s website for detailed instructions on accessing and using the available fan control solutions.
By exploring the fan speed options in your Thermaltake PC case, you can determine which method suits your needs and preferences. In the following steps, we will further delve into the specific procedures for adjusting fan speed using different control methods. Let’s move on to the next step and learn how to install fan speed control software.
Step 2: Install Fan Speed Control Software
If your Thermaltake PC case supports software-based fan control, the next step is to install the necessary software. Here’s how you can do it:
- Identify the Software: Visit the Thermaltake website or refer to your case’s documentation to identify the specific software required for fan speed control. Thermaltake provides software tailored to different case models, so ensure you download the correct software for your case.
- Download the Software: Once you have identified the software, navigate to the Thermaltake official website and search for the software download section. Locate the appropriate software for your Thermaltake case model, and click on the download link to start the download process.
- Install the Software: After the download is complete, locate the downloaded file and run the installer. Follow the on-screen instructions to install the fan speed control software on your computer. Make sure to read any prompts or agreements carefully before proceeding.
- Launch the Software: Once the installation is complete, locate the installed software on your computer and launch it. Depending on the software, you may find it listed in the Start menu, system tray, or desktop. Double-click the software icon to open it.
- Explore the Interface: Familiarize yourself with the software’s user interface. The software should provide options to monitor fan speed, adjust fan curves, and customize cooling performance according to your preferences. Take some time to understand the different features and functionalities offered by the software.
Now that you have installed the fan speed control software for your Thermaltake PC case, you can proceed to adjust the fan speed based on your cooling needs. The software interface should provide you with intuitive controls to modify fan speeds and optimize cooling performance.
In the following steps, we will explore alternative methods for adjusting the fan speed in your Thermaltake PC case. If software control is not available or you prefer a different approach, continue reading to discover additional options.
Step 3: Adjust Fan Speed through BIOS
If your Thermaltake PC case does not have built-in fan controls or software support, you can adjust the fan speed through the computer’s BIOS (Basic Input/Output System) settings. Follow these steps to make the necessary adjustments:
- Restart your computer: Start by restarting your computer. As it boots up, look for the specific key prompt to enter the BIOS. Commonly used keys include Del, F2, or Esc. Press the designated key multiple times until the BIOS settings screen appears.
- Navigate to the fan control settings: Once you’re in the BIOS settings, navigate to the section related to fan control. The exact location and terminology may vary depending on your motherboard manufacturer.
- Adjust fan speed settings: Within the fan control settings, you should find options to adjust the fan speed. The available options might include percentage values or predefined fan speed profiles. Choose the appropriate option based on your requirements.
- Saving the changes: After adjusting the fan speed settings, ensure to save the changes made in the BIOS. Look for the “Save and Exit” or a similar option, and follow the prompts to save and exit the BIOS settings. Your computer will then continue the boot-up process.
- Monitor fan speed: Once your computer has fully booted into the operating system, you can use various monitoring software or utilities to check the fan speed. These tools, often provided by your motherboard manufacturer, allow you to verify the adjustments made in the BIOS.
Adjusting the fan speed through the BIOS gives you greater control over the cooling performance of your Thermaltake PC case. By fine-tuning the fan speed settings, you can strike the optimal balance between cooling efficiency and noise level.
If your Thermaltake case supports other fan control options, such as built-in fan controllers or software control, you may find those methods more convenient. In the next steps, we’ll explore these alternative methods to adjust the fan speed.
Step 4: Adjust Fan Speed Using Hardware Fan Controller
If your Thermaltake PC case has a built-in fan controller or if you have installed a separate hardware fan controller, you can adjust the fan speed directly through this hardware. Here’s how:
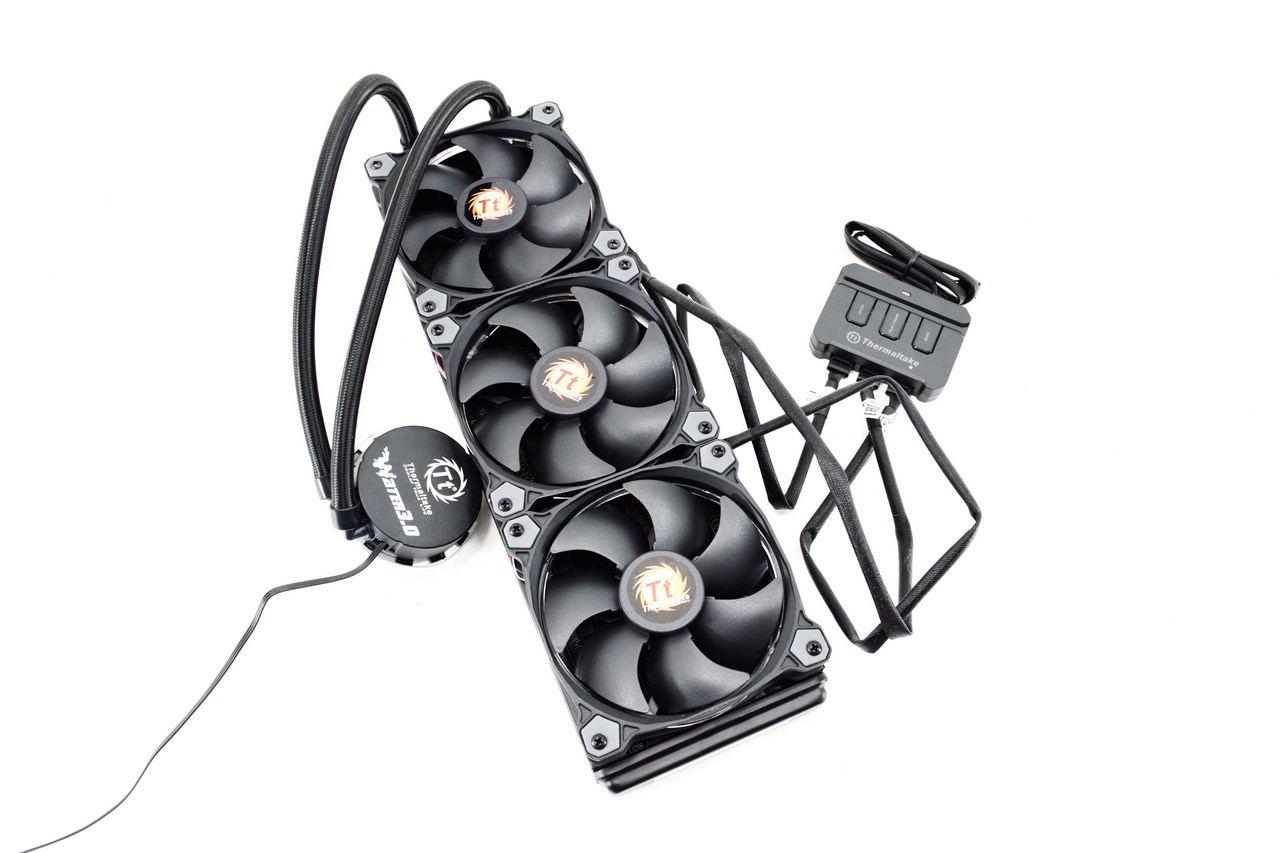
- Locate the hardware fan controller: Depending on your case model, the hardware fan controller may be located on the front or top panel of your Thermaltake PC case. It is usually equipped with knobs or buttons for adjusting the fan speed.
- Identify the fan control options: Take a look at the fan controller and identify the knobs or buttons dedicated to fan speed control. Some controllers may have separate controls for individual fans, while others may have a single control that adjusts the speed for all fans simultaneously.
- Adjust the fan speed: Use the knobs or buttons to increase or decrease the fan speed as desired. Turn the knobs clockwise to increase the speed for better cooling performance or counterclockwise to reduce the speed for a quieter operation. Alternatively, press the buttons designated for fan speed adjustment.
- Monitor the fan speed: As you adjust the fan speed using the hardware fan controller, monitor the fan speed using monitoring software or utilities. These tools allow you to verify the changes made and ensure that the fans are running at the desired speed.
Using a hardware fan controller gives you real-time control over the fan speed without the need for software or BIOS adjustments. It provides a convenient and straightforward way to optimize cooling performance based on your specific needs.
However, if your Thermaltake case does not have a built-in fan controller, and you don’t have a separate hardware fan controller installed, don’t worry. There is still one more method to adjust the fan speed, which we will explore in the next step.
Step 5: Use Fan Speed Control Built into the Case
If your Thermaltake PC case is equipped with built-in fan speed control, you can conveniently adjust the fan speed using the control options integrated into the case itself. Follow these steps to make use of this feature:
- Locate the built-in fan speed control: Take a close look at your Thermaltake PC case and locate the built-in fan speed control. It is typically located on the front or top panel of the case and may consist of knobs, buttons, or switches specifically designed for adjusting the fan speed.
- Familiarize yourself with the control options: Spend some time familiarizing yourself with the control options provided by the built-in fan speed control. Understand the functions of the knobs, buttons, or switches and how they correspond to different fan speeds.
- Adjust the fan speed: Use the control options to increase or decrease the fan speed according to your preferences. Increase the speed for improved cooling during high-performance tasks or decrease the speed to achieve a quieter operating environment.
- Monitor the fan speed: As you adjust the fan speed using the built-in controls, it’s important to monitor the fan speed to ensure that the changes made are effective. Utilize monitoring software or utilities to verify the fan speed and adjust further if necessary.
By utilizing the fan speed control built into your Thermaltake PC case, you can effortlessly optimize your cooling performance without the need for additional software, BIOS adjustments, or hardware controllers. This convenient feature allows you to fine-tune the fan speed based on your specific needs and preferences.
With the completion of this step, you have explored different methods to adjust the fan speed in your Thermaltake PC case. Whether through built-in fan controllers, software control, BIOS settings, or separate hardware controls, you now have the knowledge to optimize your cooling performance and strike a balance between efficient cooling and a quiet operation.
Conclusion
Adjusting the fan speed in your Thermaltake PC case is essential for maintaining optimal cooling performance and minimizing excessive noise. In this guide, we have explored various methods to adjust fan speed based on the features available in your case. Let’s recap what we’ve covered:
– In the first step, we checked the fan speed options available, which included built-in fan controllers, software control, and BIOS settings.
– The second step focused on installing fan speed control software specific to your Thermaltake case model.
– Step three demonstrated how to adjust fan speed through the BIOS settings, granting you greater control over cooling efficiency.
– In step four, we discussed adjusting fan speed using a hardware fan controller, providing real-time control without the need for software or BIOS adjustments.
– Finally, step five highlighted the convenience of using the built-in fan speed control options provided by your Thermaltake PC case.
By following these steps, you can customize the fan speed in your Thermaltake PC case to strike the perfect balance between efficient cooling and quiet operation. Optimizing your fan speed can lead to improved system performance, longevity, and a more comfortable computing experience.
Remember to be mindful of your specific Thermaltake PC case model and its available features. Consult the case’s documentation or refer to the manufacturer’s website for detailed instructions on adjusting fan speed and utilizing the provided control solutions.
We hope this guide has empowered you with the knowledge and techniques needed to adjust the fan speed in your Thermaltake PC case. Enjoy a cooler and quieter computing experience!


