Introduction
Welcome to the world of PC gaming, where the adrenaline rush of epic battles, immersive worlds, and exhilarating gameplay awaits. As a Steam gamer, you understand the importance of having a powerful gaming rig to fully enjoy your favorite games. While many factors contribute to a smooth gaming experience, one crucial component that can greatly impact performance is RAM.
RAM, which stands for Random Access Memory, is an essential component in your computer that stores data temporarily for quick access by the CPU. It acts as a bridge between your computer’s processor and the data it needs to process. When it comes to Steam games, having sufficient RAM is vital to ensure smooth gameplay, seamless loading times, and the ability to handle graphically demanding titles.
In this guide, we will explore the reasons why adding RAM is important for Steam games and provide you with practical tips on how to do it. Whether you’re a seasoned PC gamer or just getting started, increasing your RAM capacity can significantly enhance your gaming experience.
Buckle up as we delve into the world of RAM and discover how you can optimize your system for maximum gaming performance with Steam games.
What is RAM?
Before we dive into the importance of RAM for Steam games, let’s take a moment to understand what RAM actually is. RAM, or Random Access Memory, is a type of computer memory that is responsible for temporarily storing data that the computer’s processor needs to access quickly. It is different from the computer’s primary storage, such as the hard drive or solid-state drive (SSD), which stores data even when the computer is turned off.
RAM acts as a bridge between the computer’s processor and the data it needs to process. When you launch a Steam game, various game files and data are loaded into the RAM for quick access. This allows the processor to retrieve the necessary information rapidly and perform calculations efficiently, resulting in smoother gameplay and reduced loading times.
Think of RAM as a desk space where you can organize and access your work materials. The larger the desk, the more items you can have readily available to work on without having to constantly search for them. Similarly, having more RAM allows your computer to store a larger amount of game data, reducing the need to constantly retrieve information from slower storage devices like hard drives.
It’s important to note that RAM is volatile, meaning it requires a constant power supply to retain the stored data. When you turn off your computer, the data stored in RAM is lost. This is why it’s essential to save your progress in games or any other important work before shutting down your system.
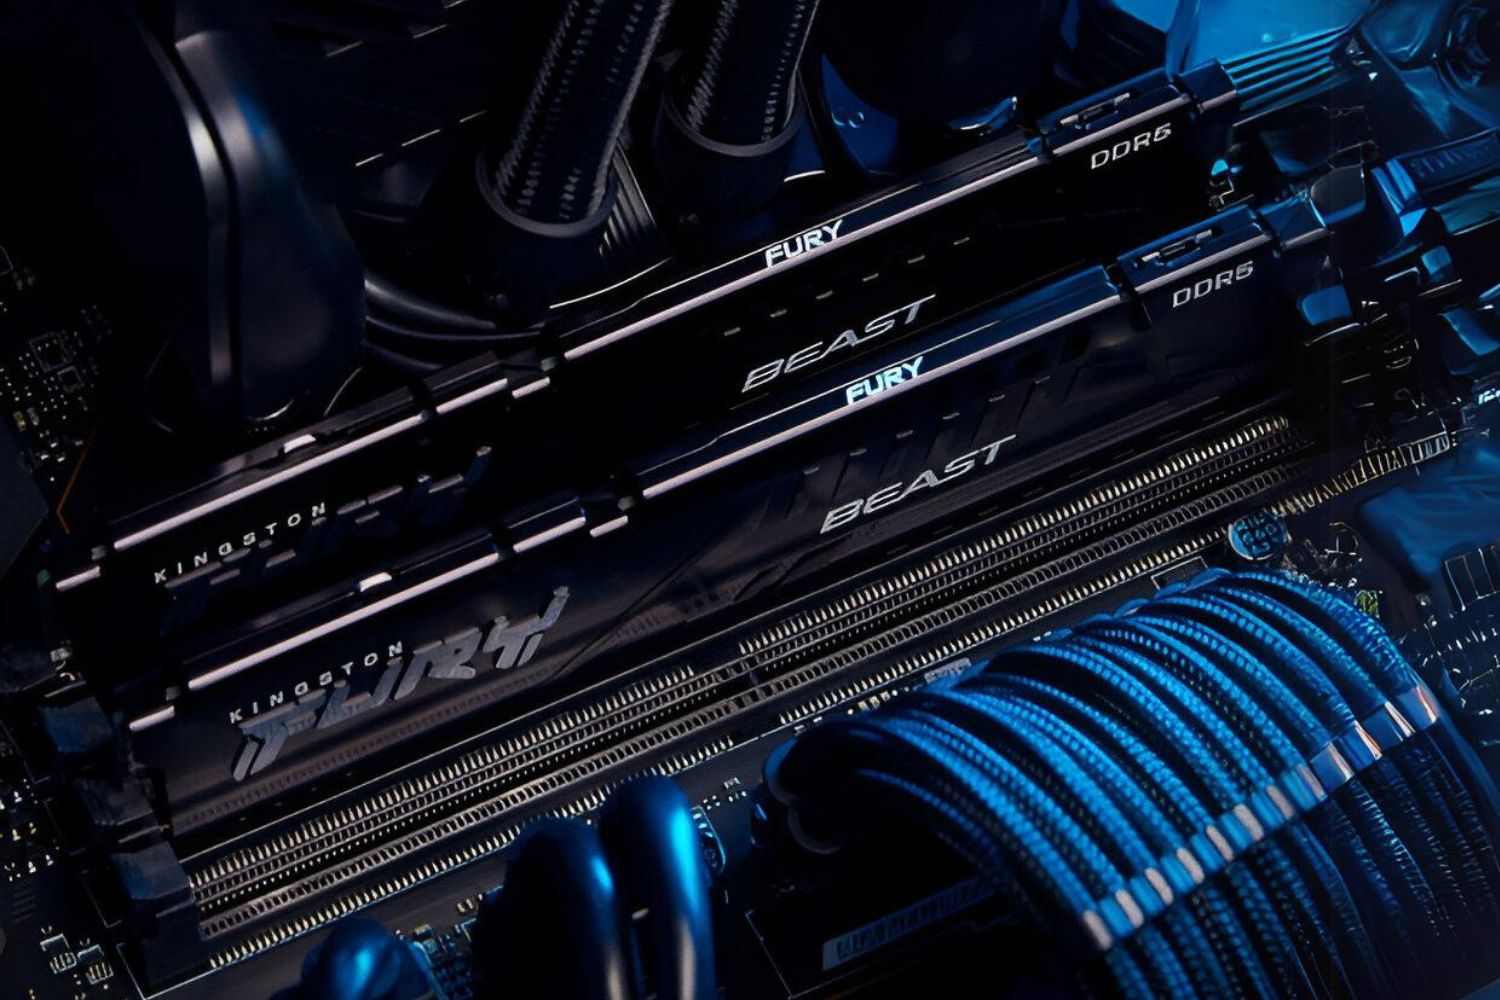
RAM comes in various types and capacities. The most common type is DDR4 (Double Data Rate 4), which offers faster data transfer rates compared to its predecessors. Its speed and capacity are essential factors to consider when upgrading your RAM for gaming.
Now that we have a basic understanding of what RAM is, let’s explore why adding more RAM can significantly enhance your experience with Steam games.
Why Adding RAM is Important for Steam Games
When it comes to playing Steam games, having sufficient RAM is crucial for several reasons. Let’s explore why adding RAM can significantly enhance your gaming experience:
1. Improved Performance: Steam games, especially modern titles, often require a significant amount of system resources to run smoothly. Insufficient RAM can lead to lag, stuttering, and long loading times, detracting from the immersive gaming experience. By adding more RAM, you provide your computer with the extra horsepower it needs to handle the demanding requirements of the latest games, resulting in improved performance and smoother gameplay.
2. Faster Loading Times: One of the most frustrating aspects of gaming is waiting for games to load. Insufficient RAM can contribute to lengthy loading times, as the game data needs to be retrieved from slower storage devices. By increasing your RAM capacity, you can store more game data in memory, reducing the time it takes to load levels, textures, and other assets. This means you spend less time waiting and more time immersed in the action.
3. Increased Multitasking Capability: Steam gamers often have multiple applications running in the background while playing. These may include voice chat programs, web browsers, streaming software, and more. Inadequate RAM can strain your system and lead to decreased performance when multitasking. By adding more RAM, you increase your computer’s ability to handle simultaneous tasks, ensuring a smooth gaming experience without sacrificing performance in other applications.
4. Enhanced Graphics and Visuals: Many modern Steam games boast stunning graphics and detailed visuals. These require a significant amount of VRAM (Video RAM) to render the high-quality textures and effects. However, VRAM is separate from system RAM. By adding more regular RAM, you free up resources for the graphics card to utilize, resulting in improved graphical performance and better visual fidelity.
5. Future-Proofing Your System: Gaming technology is constantly evolving, with each new release demanding more resources. Adding more RAM to your system not only improves your experience with current games but also prepares your system for future titles that may require even greater memory capacity. It’s a worthwhile investment to ensure your PC remains capable of handling the latest gaming experiences without constantly needing to upgrade.
By recognizing the importance of RAM for Steam games, you can take the necessary steps to optimize your system and elevate your gaming experience to new heights. Now, let’s move on to how you can check your current RAM configuration to determine if an upgrade is needed.
Checking Your Current RAM
Before you can determine if you need to add more RAM to your system, it’s essential to check your current RAM configuration. Here’s how you can do it:
1. Windows: If you’re using a Windows operating system, you can quickly check your RAM by following these steps:
- Press the Windows key + R to open the Run dialog box.
- Type “dxdiag” and press Enter to open the DirectX Diagnostic Tool.
- In the System tab, you can see the amount of RAM installed under the “Memory” section.
2. macOS: If you’re on a Mac system, you can check your RAM configuration by following these steps:
- Click on the Apple logo in the top-left corner of the screen.
- Select “About This Mac” from the drop-down menu.
- In the Overview tab, you can see the amount of RAM installed under the “Memory” section.
Additionally, you can use third-party software such as CPU-Z or Speccy to get more detailed information about your RAM, including its speed, type, and available slots for expansion.
Once you know your current RAM capacity, you can assess if it meets the requirements of the games you play. Keep in mind that different games have different minimum and recommended RAM specifications. It’s best to aim for a higher RAM capacity to ensure optimal performance and future-proofing.
Now that you have an understanding of your current RAM configuration, let’s move on to the next step: determining RAM compatibility and selecting the right RAM for your Steam games.
Understanding RAM Compatibility
When it comes to upgrading your RAM, it’s crucial to understand the concept of RAM compatibility. Not all RAM modules are compatible with every system, so it’s important to ensure that the new RAM you select is compatible with your computer. Here are the key factors to consider:
1. Type of RAM: RAM comes in different types, such as DDR4, DDR3, and DDR2. It’s essential to identify the specific type supported by your motherboard. You can usually find this information in your motherboard’s documentation or by checking the manufacturer’s website.
2. RAM Speed: RAM modules have different speed ratings, measured in MHz (Megahertz). It’s important to choose RAM with a speed that is supported by your motherboard. If the new RAM has a higher speed rating than the existing RAM, it will likely be downclocked to match the slower speed.
3. Capacity and Number of Slots: Consider the number of RAM slots available on your motherboard and the maximum capacity it supports. Some motherboards support dual-channel or quad-channel memory configurations, which require specific slot combinations. Check your motherboard’s documentation to determine how to optimize memory performance based on the available slots.
4. Voltage: RAM modules require a specific voltage to operate. The most common voltage for DDR4 RAM is 1.2V, but some high-performance modules may require higher voltages. Ensure that the RAM you choose is compatible with the voltage requirements of your motherboard.
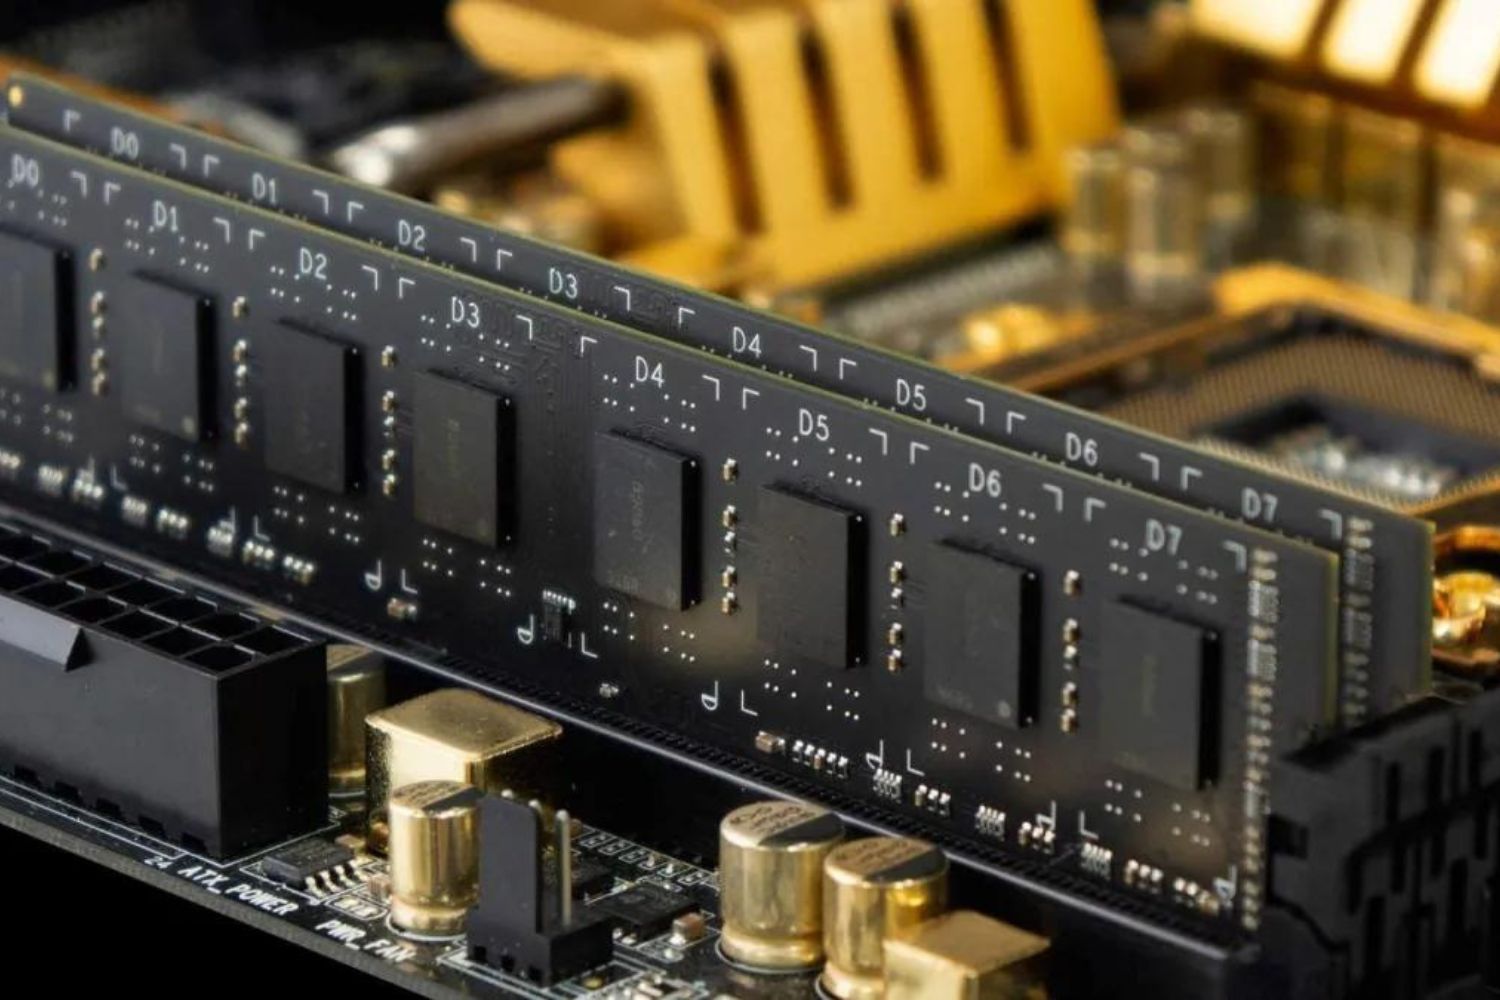
5. Physical Size and Form Factor: RAM modules come in different physical sizes and form factors, such as DIMM (Dual In-Line Memory Module) and SO-DIMM (Small Outline Dual In-Line Memory Module). Ensure that the RAM you select matches the form factor supported by your motherboard or laptop.
By understanding the compatibility factors mentioned above, you can confidently select the right RAM for your system. Additionally, checking the motherboard manual or the manufacturer’s website for compatibility information is highly recommended to ensure a seamless and successful RAM upgrade.
Now that we have covered RAM compatibility, let’s move on to the next section, where we’ll guide you through the process of selecting the right RAM for your Steam games.
Selecting the Right RAM for Your Steam Games
Now that you understand RAM compatibility, it’s time to select the right RAM for your Steam games. Here are some key considerations to help you make an informed decision:
1. RAM Capacity: Assess your current RAM configuration and determine if it meets the requirements of the games you play. Many modern games recommend at least 8GB of RAM, while some AAA titles may require 16GB or more for optimal performance. Aim for a higher capacity if you plan to run multiple applications or tasks simultaneously.
2. RAM Speed: RAM speed, measured in MHz, affects the data transfer rate between the RAM module and the processor. Higher speed RAM can provide a performance boost, but check the speed supported by your motherboard to ensure compatibility. It’s generally recommended to choose RAM with a speed that matches or is slightly higher than the speed supported by your motherboard.
3. Dual-Channel or Quad-Channel Configuration: If your motherboard supports dual-channel or quad-channel memory configurations, consider installing RAM modules in matching pairs or quartets, respectively. This can enhance memory bandwidth and improve overall performance. Refer to your motherboard’s documentation for the optimal configuration.
4. Brand and Quality: Choose reputable brands known for producing reliable RAM modules. Quality RAM modules often come with extended warranties and better compatibility with various systems. It’s worth investing in reliable RAM to ensure stability and longevity.
5. Budget: Consider your budget when selecting RAM. RAM prices can vary based on capacity, speed, and brand. It’s important to strike a balance between your requirements and budget. Keep in mind that while more RAM can improve gaming performance, it might not be the only solution if other components of your system are outdated or insufficient.
Once you have a clear understanding of your requirements and budget, consider researching and comparing different RAM options. Read reviews, check compatibility lists, and consult with knowledgeable resources. This will help you make an informed decision and select the right RAM for your Steam games.
After selecting the appropriate RAM, it’s time to move on to the next section, where we’ll guide you through the process of installing the new RAM modules in your system.
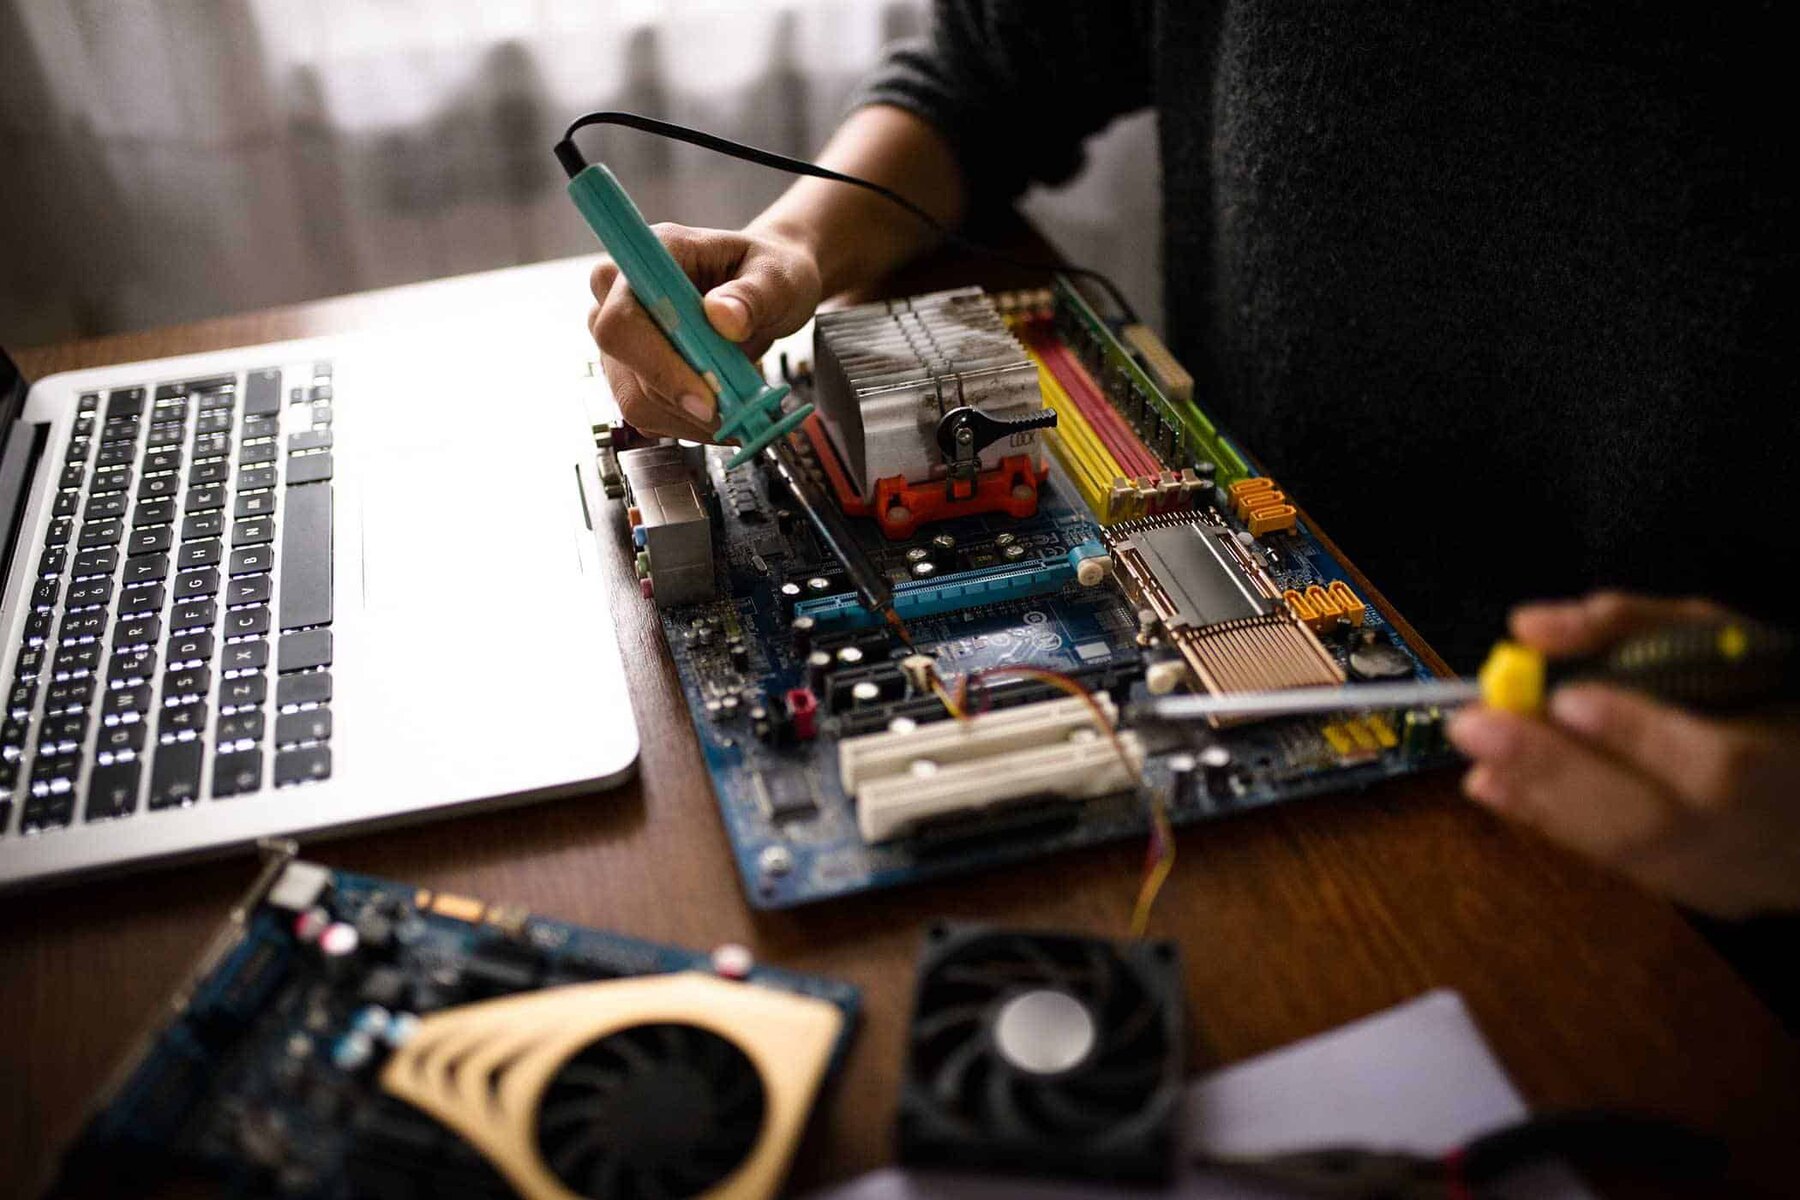
Installing the RAM
Installing new RAM modules in your system is a relatively straightforward process. Follow these steps to safely install the RAM:
1. Prepare Your System:
- Shut down your computer and unplug it from the power source.
- Ground yourself by touching a metal object to discharge any static electricity.
2. Locate RAM Slots:
- Open your computer case or access the RAM slots on your laptop, following the manufacturer’s instructions.
- Locate the RAM slots on your motherboard. They are usually long and vertically aligned.
3. Insert the RAM Modules:
- Hold the RAM module by its edges, avoiding touching the pins or connectors.
- Align the notch on the RAM module with the key in the RAM slot.
- Gently insert the module into the slot at a 45-degree angle.
- Once the module is fully inserted, press down evenly until the retention clips on the sides click into place, securing the module.
4. Confirm Installation:
- Double-check that the RAM module is firmly seated in the slot and the retention clips are secure.
- If you are installing multiple RAM modules, repeat the above steps for each module, following the optimal slot configurations specified in your motherboard’s documentation.
5. Close Your System:
- Close the computer case or secure the access panel on your laptop.
- Plug in your computer and power it on.
6. Verify RAM Installation:
- Once your system boots up, open the task manager or system information utility to check if your new RAM capacity is recognized.
- Alternatively, revisit the method described in the previous section to check your current RAM configuration.
Remember, it’s crucial to ensure compatibility and follow proper installation procedures to avoid damaging your RAM modules or motherboard. If you encounter any difficulties or are unsure about the installation process, consult the manufacturer’s documentation or seek assistance from a qualified professional.
Now that your RAM is installed and recognized, it’s time to optimize your Steam games to take full advantage of the added RAM capacity. In the next section, we’ll guide you through the process of optimizing your Steam games.
Verifying the RAM Installation
After installing new RAM modules, it’s important to verify that the installation was successful and the system recognizes the added memory. Here are some steps to verify the RAM installation:
1. Check System Information:
- In Windows, press the Windows key + R to open the Run dialog box.
- Type “msinfo32” and press Enter to open the System Information window.
- Under the “System Summary” section, you will find information about the installed RAM, including the total physical memory.
2. Use Task Manager:
- Right-click on the taskbar and select “Task Manager” from the context menu.
- Click on the “Performance” tab.
- Under the “Memory” section, you will see the total amount of installed RAM.
3. Run RAM Testing Software:
- There are various RAM testing software available, such as MemTest86 or Windows Memory Diagnostic.
- Download and run one of these programs to perform a thorough test of your RAM modules.
- If the software detects any errors or issues, it may indicate an installation problem or faulty RAM module.
If the system information and task manager correctly display the increased RAM capacity, and no errors are detected during the RAM testing, then the RAM installation was successful. Congratulations!
Remember to keep an eye on your system’s stability and performance after the RAM installation. If you encounter any unusual behavior or instability, it’s important to troubleshoot further to ensure everything is working correctly.
In the next section, we’ll dive into optimizing your Steam games to take full advantage of the added RAM capacity and enhance your gaming experience.
Optimizing Your Steam Games for the Added RAM
Now that you have added more RAM to your system, it’s time to optimize your Steam games to fully utilize the added memory and enhance your gaming experience. Here are some tips to get you started:
1. Adjust In-Game Settings:
- Open your Steam client and navigate to the game’s properties.
- Adjust the graphics settings to a higher level, such as increasing the texture quality, view distance, or other resource-intensive settings. With more RAM available, your system can handle these settings without compromising performance.
2. Enable Game Mode:
- If your computer has a game mode or performance-enhancing feature, enable it. This can allocate more system resources to your games, optimizing performance and reducing background processes that may consume memory.
3. Close Unnecessary Programs:
- Before launching your Steam games, close any unnecessary programs or applications running in the background. This frees up system resources, including RAM, for your games to utilize. You can use task manager or system monitoring software to identify and close resource-hungry programs.
4. Update Drivers:
- Ensure that your graphics card drivers and other system drivers are up to date. Updated drivers often include performance optimizations and improvements that can positively impact your gaming experience.
5. Monitor Resource Usage:
- Observe your system’s resource usage while playing your Steam games. Monitoring tools like MSI Afterburner or HWMonitor can provide real-time information on CPU, GPU, and RAM usage. This can help you identify any bottlenecks or issues affecting performance that may require further troubleshooting.
6. Utilize Virtual Memory:
- If your RAM usage is consistently high while playing games, you can optimize virtual memory settings. Virtual memory uses part of your hard drive or SSD as a supplement to physical RAM. Increasing the virtual memory allocation can help alleviate RAM limitations. However, keep in mind that virtual memory is slower than RAM, so try to prioritize adding more physical RAM for optimal performance.
By following these optimization tips, you can take full advantage of the added RAM capacity and enjoy smoother gameplay, reduced loading times, and improved overall performance in your Steam games.
Now that you’re armed with the knowledge to optimize your Steam games, let’s conclude this guide with a recap of the crucial points covered.
Conclusion
Adding more RAM to your system can significantly enhance your gaming experience with Steam games. RAM plays a crucial role in providing the necessary resources for smooth gameplay, faster loading times, and improved multitasking capability. By understanding RAM compatibility, selecting the right RAM modules, and following proper installation procedures, you can ensure a seamless and successful upgrade.
Verifying the RAM installation is essential to confirm that your system recognizes the added memory. By checking system information, using task manager, and running RAM testing software, you can ensure that the new RAM modules are functioning correctly.
Once the RAM installation is verified, optimizing your Steam games for the added RAM can further enhance your gaming experience. Adjusting in-game settings, enabling game mode, closing unnecessary programs, updating drivers, monitoring resource usage, and utilizing virtual memory are some effective strategies to maximize the benefits of your increased RAM capacity.
Remember to regularly monitor your system’s stability and performance after adding RAM and make necessary adjustments if any issues arise. Keep in mind that RAM is just one component of a well-rounded gaming system, so ensure that other hardware components, such as the CPU and graphics card, are also up to par.
With the added RAM and optimized settings, you are now ready to embark on a gaming journey filled with seamless gameplay, immersive visuals, and enhanced performance. So, dive into your favorite Steam games and enjoy an unforgettable gaming experience!