Introduction
Welcome to this guide on how to allocate more RAM to Subnautica. Subnautica is an immersive underwater survival game that offers players the chance to explore a vibrant and mysterious ocean world. However, some players may find that their gaming experience is hindered by low RAM allocation, resulting in lag, stuttering, and reduced performance.
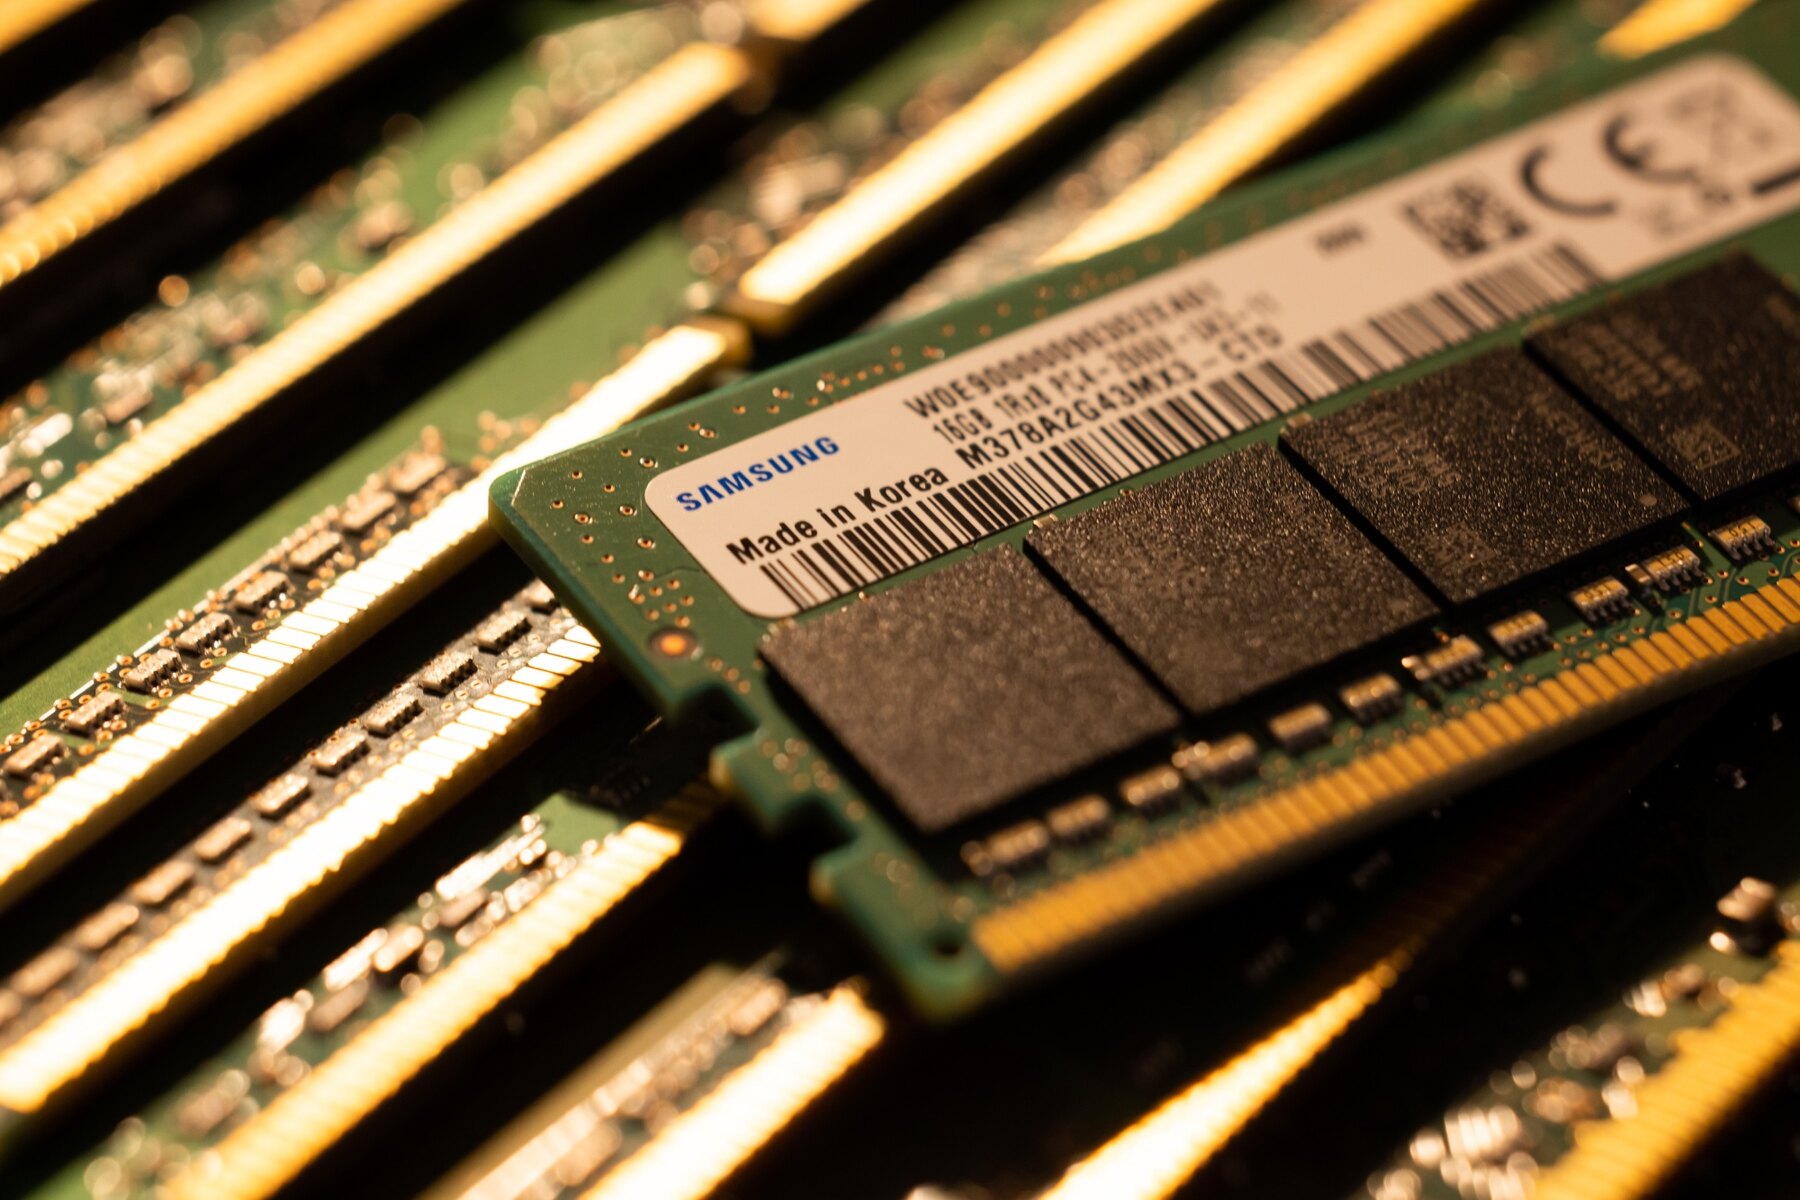
RAM (Random Access Memory) is a crucial component of your computer’s hardware that stores data and instructions that are actively used by your applications and operating system. Allocating more RAM to Subnautica can help ensure a smoother gameplay experience with fewer technical issues.
In this guide, we will take you through various methods to allocate more RAM to Subnautica, depending on your specific setup and requirements. We will cover how to check your system’s requirements, adjust RAM allocation using Steam launch options, edit Subnautica configuration files, and modify Windows virtual memory settings. By following these methods, you can optimize your system’s performance and enjoy Subnautica without any hindrances.
Before diving into the methods, it’s important to note that allocating more RAM to Subnautica may require adjusting system settings, and it’s always a good idea to back up your files and settings before making any changes. Additionally, it’s recommended to have a basic understanding of computer hardware and software to safely implement these changes.
Now that the stage is set, let’s dive into the world of Subnautica and explore how to maximize its performance by allocating more RAM.
Understanding RAM Allocation
Before delving into the methods of allocating more RAM to Subnautica, it is essential to understand what RAM allocation means and how it affects your gaming experience.
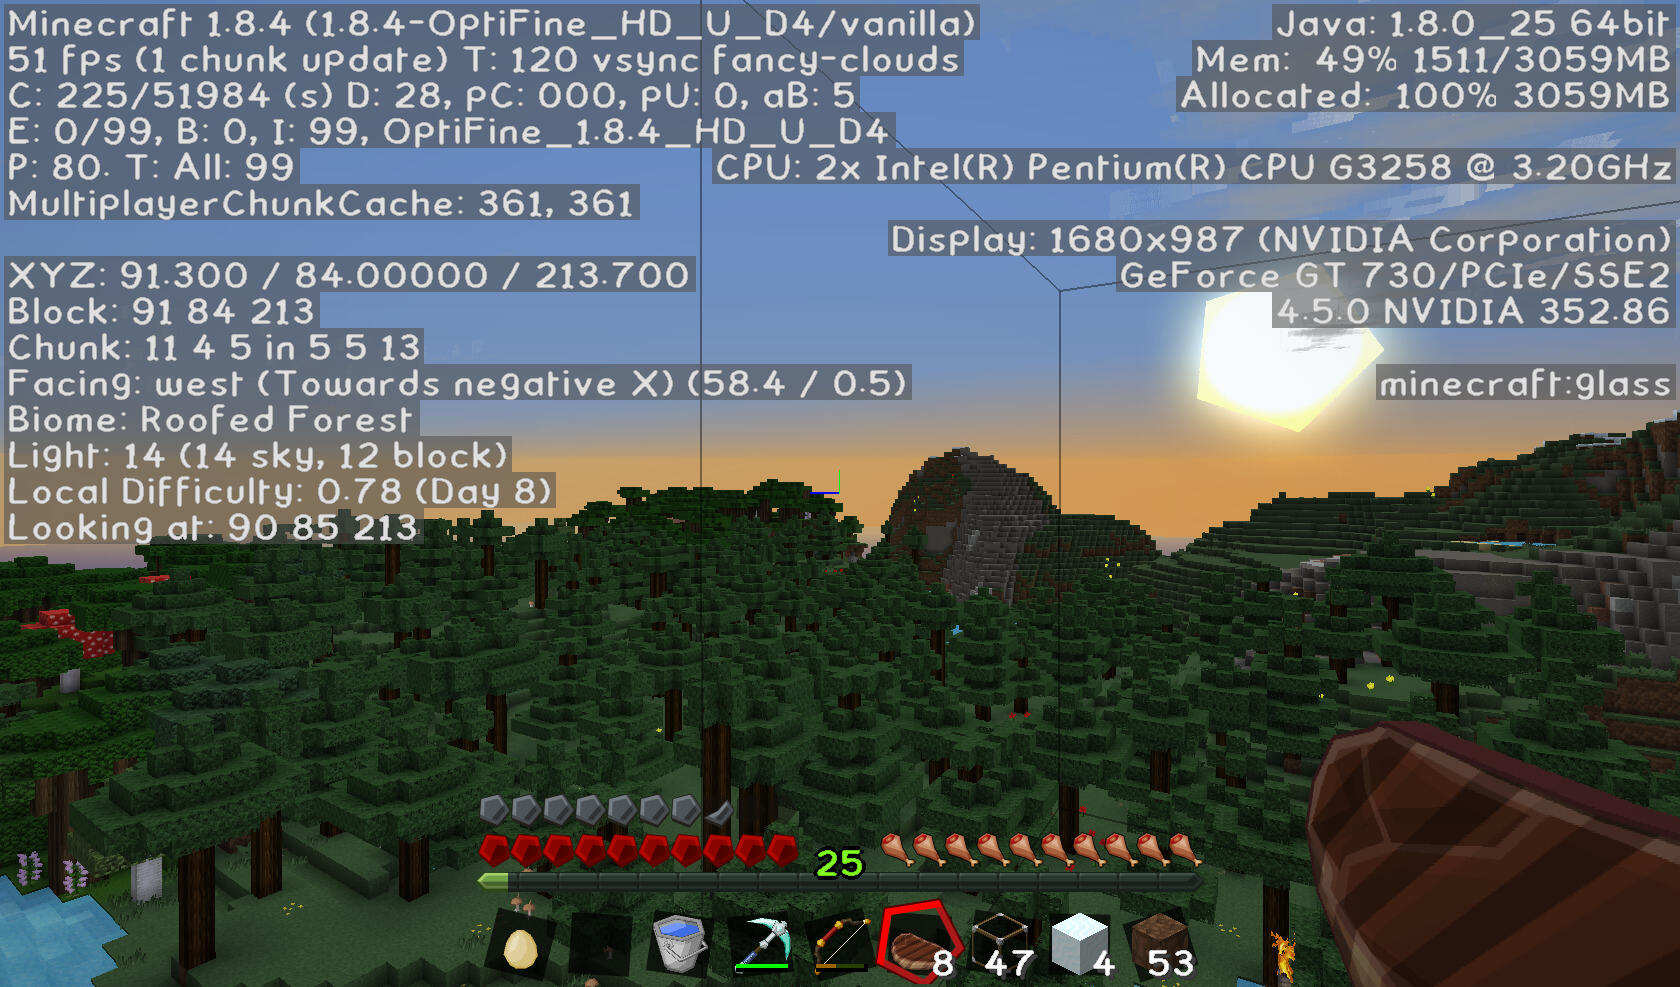
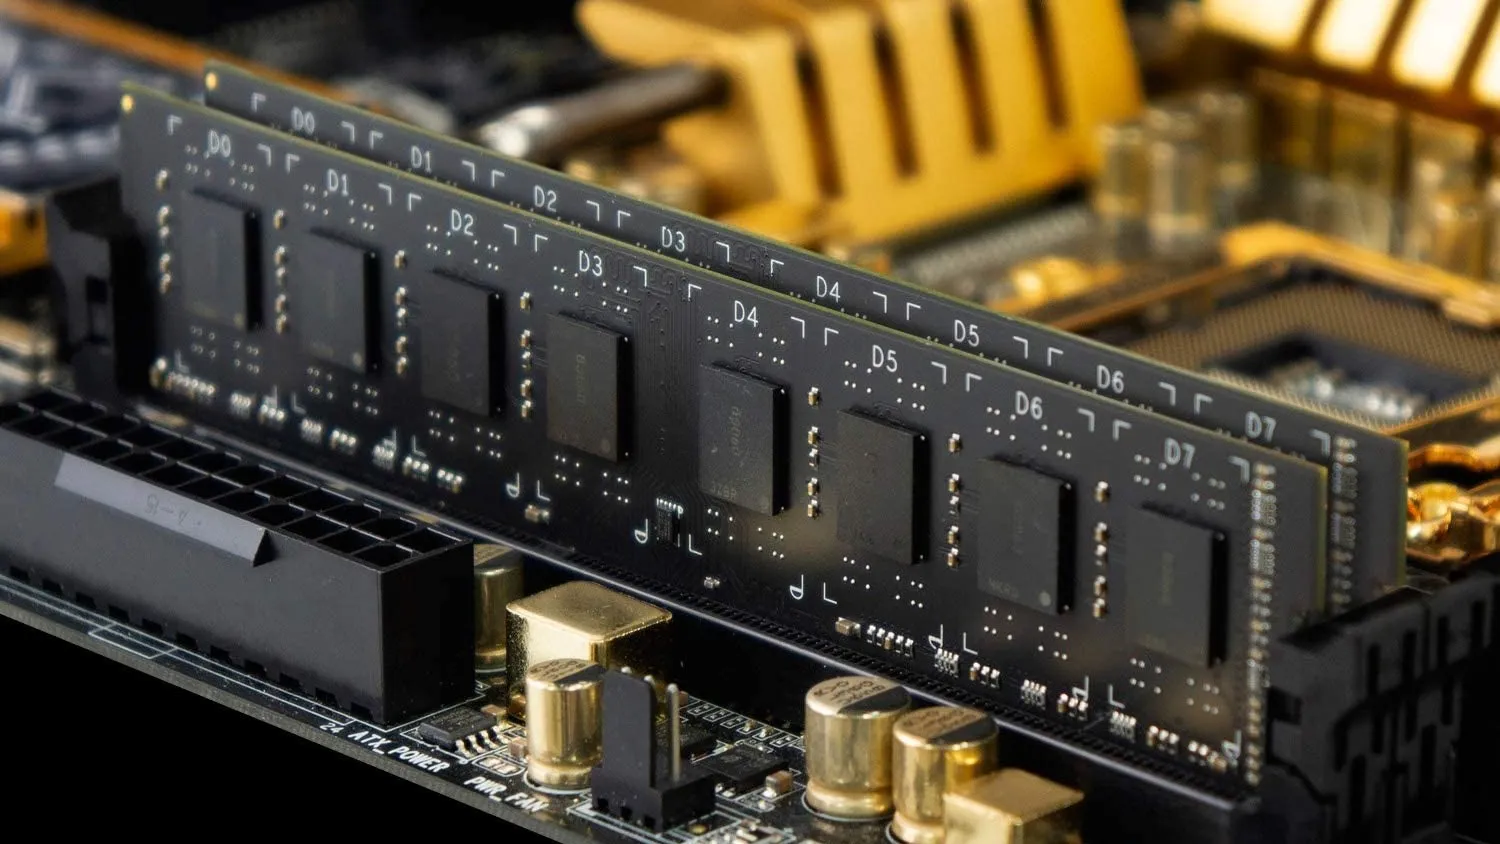
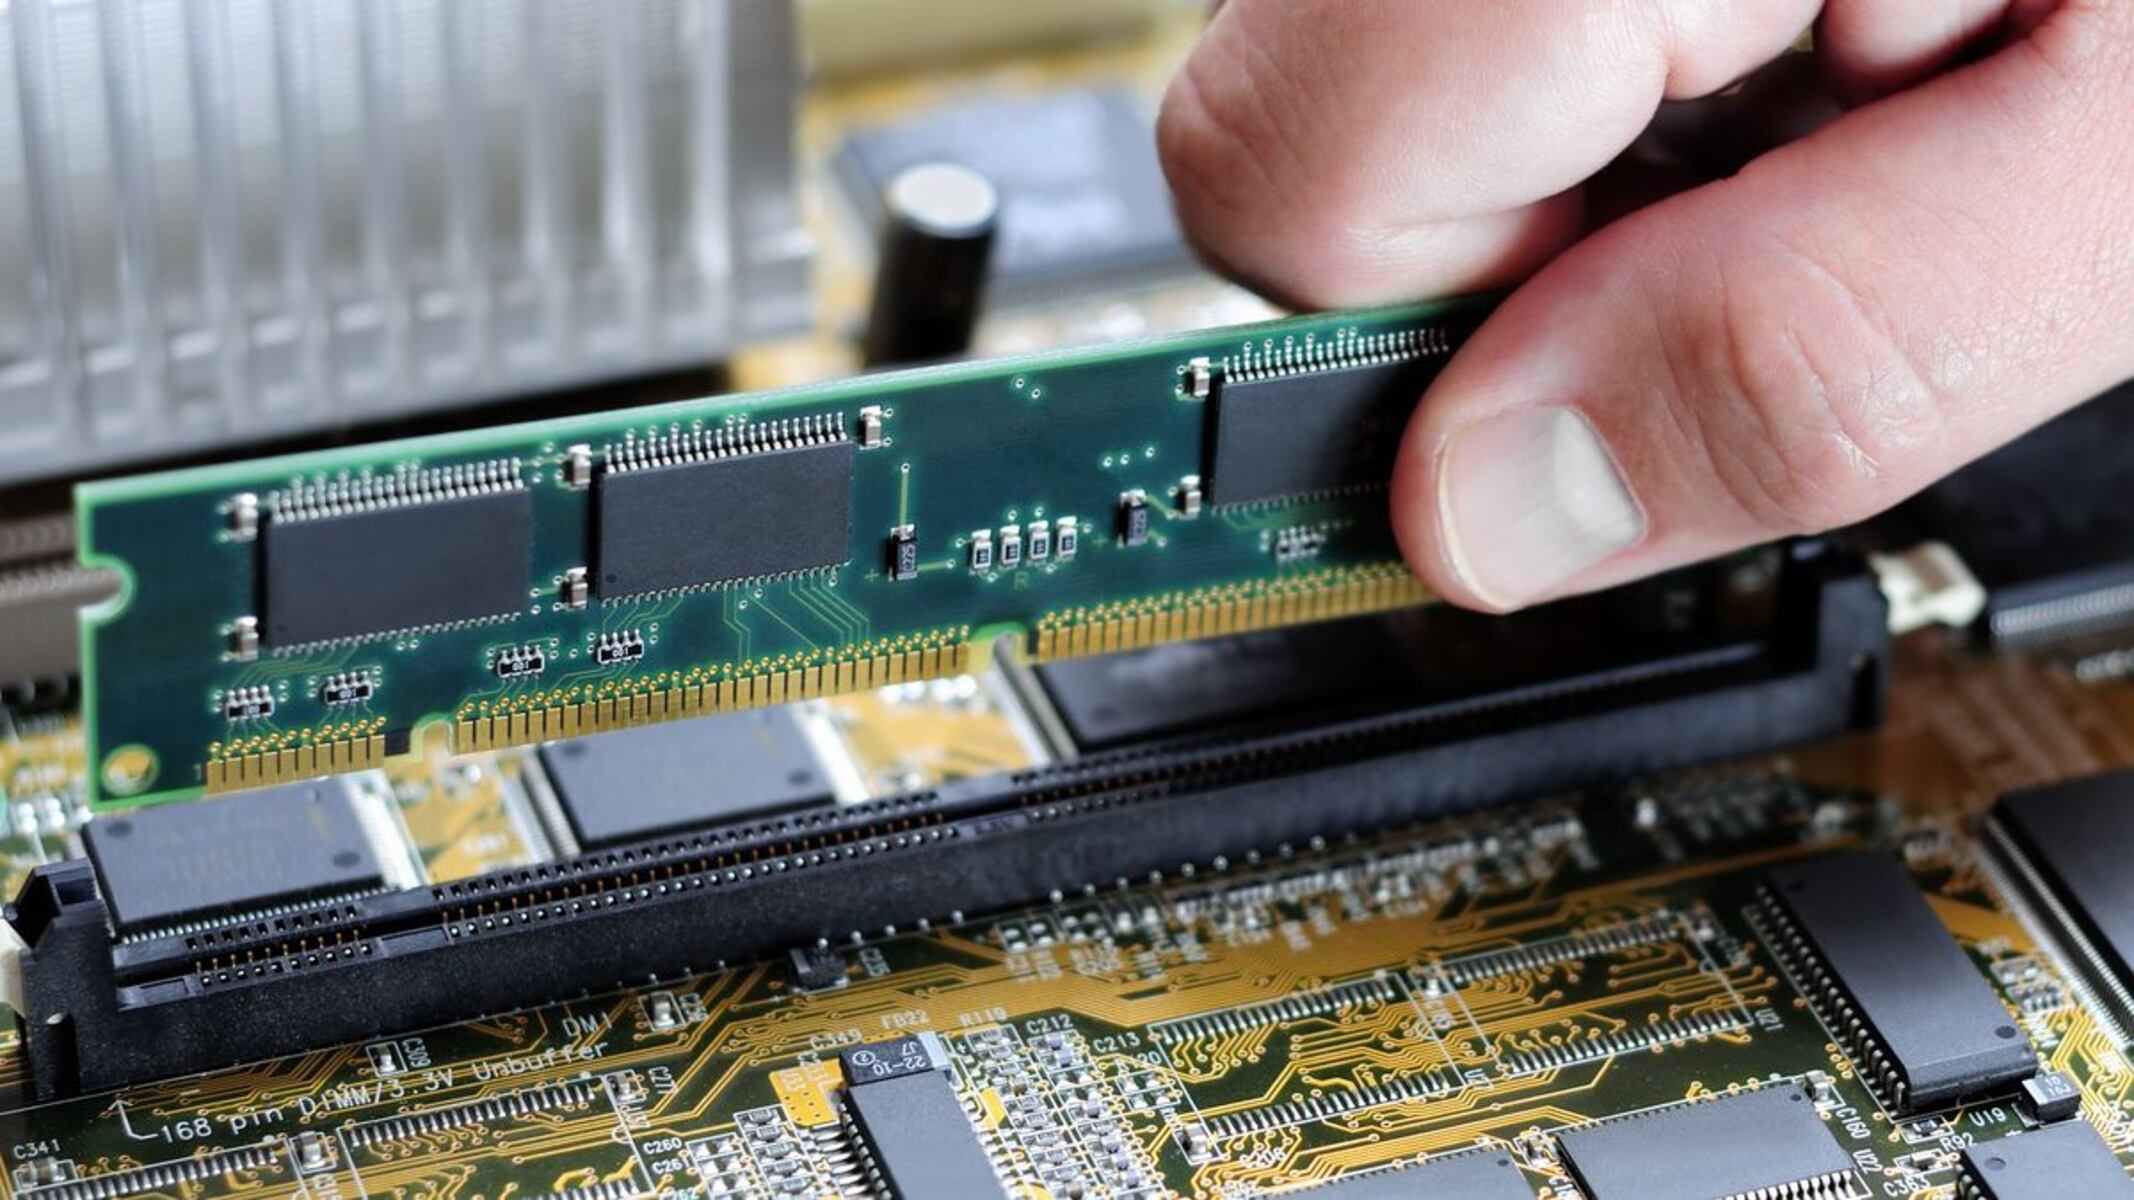
RAM, also known as Random Access Memory, is a type of computer memory that stores data temporarily while the computer is running. It allows the computer to quickly access and process data that is actively used by the operating system and applications, such as Subnautica. The more RAM your computer has, the more data it can store for faster access and processing.
RAM allocation refers to the amount of RAM that is dedicated to a specific application or process. By allocating more RAM to Subnautica, you are giving the game access to additional memory, which can lead to improved performance, reduced lag, and smoother gameplay.
However, it is important to note that RAM allocation is not the only factor that affects game performance. The overall performance of your system is determined by a combination of various factors, including the CPU (Central Processing Unit), GPU (Graphics Processing Unit), and the efficiency of the game itself.
Allocating more RAM to Subnautica is particularly beneficial if you have a low amount of RAM installed on your system or if you frequently run other memory-intensive applications simultaneously. It helps to ensure that there is enough memory available for Subnautica to run smoothly without constant swapping of data between RAM and the hard drive.
However, it is important to strike a balance when allocating RAM. Allocating too much RAM to a single application can starve other processes and lead to overall system instability. Therefore, it is crucial to understand your system’s capabilities and allocate an adequate amount of RAM to Subnautica without causing detrimental effects on other processes.
Now that we have a basic understanding of RAM allocation and its importance in optimizing game performance, let’s explore the methods of allocating more RAM to Subnautica and improving your gaming experience.
Checking System Requirements
Before proceeding with allocating more RAM to Subnautica, it is crucial to ensure that your system meets the minimum requirements for the game. This step is essential to avoid potential compatibility issues that may arise from allocating more RAM to a system that is not capable of handling it.
Start by checking the recommended and minimum system requirements for Subnautica, which can usually be found on the game’s official website or Steam store page. These requirements typically specify the minimum amount of RAM needed for smooth gameplay.
To check your system’s RAM, follow these steps:
- For Windows:
- Right-click on the Windows Start button and select “System”.
- In the System window, you will find information about your system, including the installed RAM.
- For macOS:
- Click on the Apple menu and select “About This Mac”.
- In the Overview tab, you will find information about your system, including the installed RAM.
- For Linux:
- Open a terminal window and type the following command:
free -h - The output will display the total and available RAM on your system.
Compare the amount of RAM installed on your system with the recommended requirements for Subnautica. If your system meets or exceeds the recommended amount of RAM, you may not need to allocate more RAM. However, if your system falls below the recommended requirements, allocating more RAM can help improve performance.
Keep in mind that allocating more RAM is not a magical solution to all performance issues. If your system meets the recommended requirements and you are still experiencing performance problems, it may be worth looking into other potential causes, such as outdated drivers or hardware limitations.
Now that you have verified your system’s RAM and ensured that it meets the minimum requirements for Subnautica, let’s explore the methods of allocating more RAM to enhance your gaming experience.
Adjusting RAM Allocation for Subnautica
Now that you have confirmed your system meets the minimum requirements for Subnautica, it’s time to explore methods for adjusting RAM allocation specifically for the game. There are multiple approaches you can try, depending on your system and preferences.
Here are three methods you can use to adjust the RAM allocation for Subnautica:
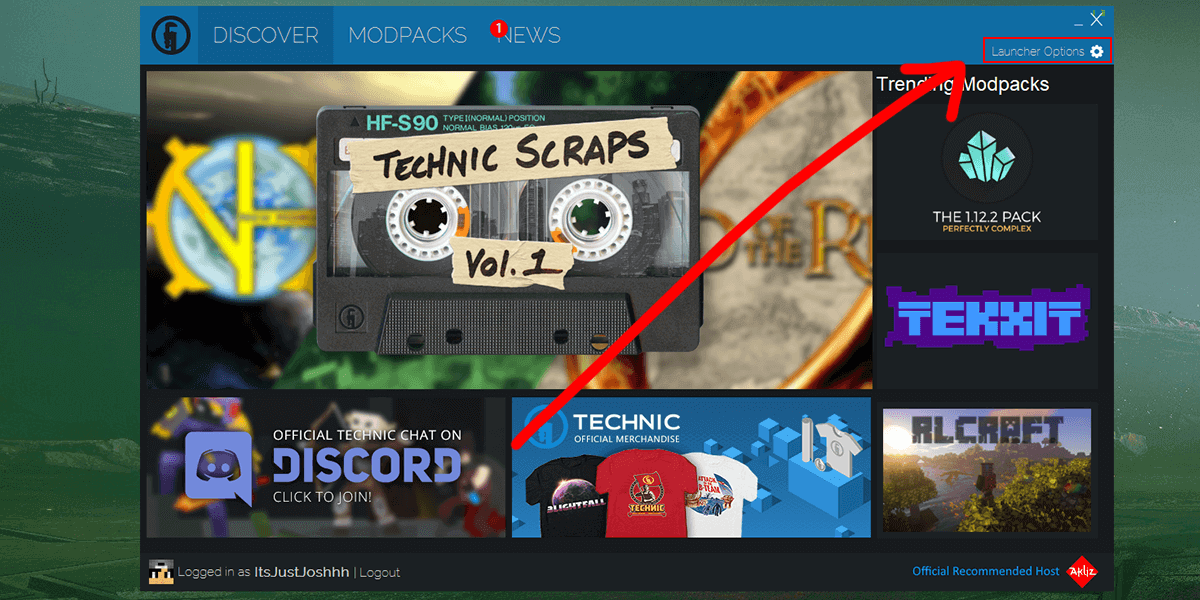
Method 1: Using Steam Launch Options
One way to allocate more RAM to Subnautica is by using Steam launch options. Here’s how:
- Open the Steam client and go to your library.
- Right-click on Subnautica and select “Properties”.
- In the Properties window, click on the “Set Launch Options” button.
- In the Launch Options dialogue box, enter the following command:
-heapsize [desired RAM allocation]
Replace “[desired RAM allocation]” with the amount of RAM you want to allocate to Subnautica, specified in bytes. For example, if you want to allocate 4 gigabytes of RAM, you would enter:
-heapsize 4294967296(4 * 1024 * 1024 * 1024). - Click “OK” to apply the changes.
Method 2: Editing Subnautica Configuration Files
Another method to adjust RAM allocation is by editing the configuration files of Subnautica. Please note that this method requires some technical knowledge:
- Navigate to the Subnautica installation directory, which is usually located in:
C:\Program Files (x86)\Steam\steamapps\common\Subnauticafor Windows. - Open the “SNAppData” folder.
- Locate the file named “Engine.ini” and open it with a text editor.
- Add the following lines at the end of the file:
[SystemSettings]
r.VSync=0
r.Streaming.MipBias=-1
r.TextureStreaming=on
r.MaxAnisotropy=16
PoolSize=desired RAM allocation
Replace “desired RAM allocation” with the amount of RAM you want to allocate to Subnautica in megabytes. For example, if you want to allocate 8 gigabytes of RAM, you would enter “8192” as the value.
- Save the changes and exit the text editor.
Method 3: Modifying Windows Virtual Memory Settings
The third method involves modifying the Windows virtual memory settings, which can help increase the available memory for Subnautica:
- Right-click on the “Start” button and select “System”.
- In the System window, click on “Advanced system settings” on the left-hand side.
- In the System Properties window, go to the “Advanced” tab and click on “Settings…” under the “Performance” section.
- In the Performance Options window, navigate to the “Advanced” tab and click on “Change…” under the “Virtual memory” section.
- Uncheck the “Automatically manage paging file size for all drives” option.
- Select the drive where Subnautica is installed and choose the “Custom size” option.
- Set the initial size and maximum size to the desired amount of RAM you want to allocate to Subnautica.
- Click “Set” and then “OK” to apply the changes.
- Restart your computer for the changes to take effect.
Remember to monitor your system’s performance after making any changes to ensure stability and optimal gameplay experience.
With these methods at your disposal, you can now adjust the RAM allocation for Subnautica according to your needs and system requirements. Let’s dive in and optimize your gaming experience!
Method 1: Using Steam Launch Options
If you have Subnautica installed through the Steam platform, you can utilize Steam’s launch options to allocate more RAM to the game. This method allows you to modify the launch settings specifically for Subnautica, giving you control over various aspects, including RAM allocation. Here’s how you can do it:
- Open the Steam client and navigate to your library where Subnautica is located.
- Right-click on Subnautica and select “Properties” from the drop-down menu.
- In the Properties window, click on the “Set Launch Options” button.
- A text box will appear where you can input launch options. Here, you will specify the desired RAM allocation for Subnautica.
- Type
-heapsize [desired RAM allocation]into the text box. Replace “[desired RAM allocation]” with the amount of RAM you want to allocate to Subnautica. It’s important to note that you need to specify the allocation in bytes. - For example, if you want to allocate 4 gigabytes of RAM, you would enter
-heapsize 4294967296(4 * 1024 * 1024 * 1024). - Once you have entered the desired RAM allocation, click “OK” to save the launch options.
- You can now launch Subnautica through Steam, and it will allocate the specified amount of RAM to the game.
Using Steam launch options is an efficient and convenient way to allocate more RAM to Subnautica. It allows for targeted changes to enhance game performance based on your system’s capabilities. However, it’s essential to exercise caution and allocate a reasonable amount of RAM to avoid potential issues.
Remember to monitor your system’s performance after implementing this method. If you experience any unexpected behavior or performance degradation, consider adjusting the RAM allocation or exploring other methods.
Now that you know how to allocate more RAM to Subnautica using Steam launch options, let’s explore another method, editing Subnautica configuration files, to further optimize your gaming experience.
Method 2: Editing Subnautica Configuration Files
If you prefer a more direct approach to adjust the RAM allocation for Subnautica, editing the game’s configuration files is a viable method. By modifying specific settings in the configuration files, you can allocate more RAM to Subnautica. Here’s how you can do it:
- Locate the installation directory of Subnautica on your computer. Typically, it can be found at
C:\Program Files (x86)\Steam\steamapps\common\Subnauticaon a Windows system. - Open the “SNAppData” folder within the Subnautica installation directory.
- Look for a file named “Engine.ini” and open it with a text editor, such as Notepad.
- Within the “Engine.ini” file, scroll down until you find a section labeled “[SystemSettings]”. If this section does not exist, create it at the bottom of the file.
- Add the following lines under the “[SystemSettings]” section:
- Replace “desired RAM allocation” with the amount of RAM you want to allocate to Subnautica, specified in megabytes. For example, if you want to allocate 8 gigabytes of RAM, you would enter “8192” as the value.
- Save the changes to the “Engine.ini” file and close the text editor.
r.Streaming.MipBias=-1
r.TextureStreaming=on
r.MaxAnisotropy=16
PoolSize=desired RAM allocationBy making these modifications to the configuration files, you instruct Subnautica to allocate the specified amount of RAM. This additional allocation can help improve game performance and reduce potential lag or stuttering issues.
It’s crucial to exercise caution when editing configuration files. Any changes made should adhere to the recommended settings and be based on your system’s capabilities. Making incorrect modifications could potentially lead to instability or unexpected behavior.
Now that you know how to edit Subnautica configuration files to allocate more RAM, let’s explore another method, modifying Windows virtual memory settings, to further optimize your gaming experience.
Method 3: Modifying Windows Virtual Memory Settings
Modifying the virtual memory settings of your Windows system is another method to allocate more RAM to Subnautica. Virtual memory, also known as the page file, acts as an extension of your RAM by utilizing a portion of your hard drive space. By adjusting these settings, you can increase the available memory for Subnautica. Here’s how you can do it:
- Right-click on the “Start” button and select “System” from the context menu.
- In the System window, click on “Advanced system settings” on the left-hand side.
- In the System Properties window, navigate to the “Advanced” tab and click on “Settings…” under the “Performance” section.
- In the Performance Options window, go to the “Advanced” tab and click on “Change…” under the “Virtual memory” section.
- Uncheck the box that says “Automatically manage paging file size for all drives.” This allows you to manually adjust the virtual memory settings.
- Select the drive where Subnautica is installed, usually the C: drive.
- Choose the option “Custom size.”
- Enter the desired value for the initial size and maximum size of the virtual memory allocation. It is recommended to set both values to the same amount to avoid constant resizing of the page file. The recommended size is typically 1.5 times the amount of physical RAM installed on your system. For example, if you have 8 gigabytes (8192 megabytes) of RAM, you can set the initial and maximum size to 12288 megabytes.
- Click “Set” and then “OK” to save the changes.
- Restart your computer for the modifications to take effect.
Modifying the virtual memory settings allows your system to allocate additional memory space for Subnautica when needed. This can help mitigate performance issues caused by limited system RAM, leading to smoother gameplay and reduced lag.
Remember, adjusting virtual memory settings affects the overall system, not just Subnautica. It is advisable to choose appropriate values that balance the needs of the game and the system as a whole. Setting the values too high may consume valuable hard drive space, while setting them too low may limit the game’s performance.
Now that you know how to modify Windows virtual memory settings to allocate more RAM to Subnautica, let’s explore some troubleshooting options to address common issues that may arise during this process.
Troubleshooting Common Issues
While adjusting RAM allocation for Subnautica can help improve performance, you may encounter certain issues during the process. Here are some common problems that can occur, along with their potential solutions:
1. Game Crashes or Freezes
If Subnautica crashes or freezes after adjusting RAM allocation, there are a few steps you can take:
- Ensure that you have allocated a reasonable amount of RAM. Allocating too much RAM can lead to instability. Try reducing the allocated RAM and see if the issue persists.
- Make sure that your system meets the minimum requirements for Subnautica, including other hardware components such as the CPU and GPU. Upgrading or updating drivers may help resolve compatibility issues.
- Verify the integrity of Subnautica game files through the Steam client to repair any corrupted files that might cause crashes.
2. Performance Degradation
If you experience a decline in performance after allocating more RAM, consider the following actions:
- Double-check that you have allocated an appropriate amount of RAM, ensuring it aligns with your system’s specifications. Allocating too much RAM can cause inefficiencies and impact overall performance.
- Update your graphics card drivers to the latest version to ensure optimal performance with Subnautica.
- Close any unnecessary background applications that may consume system resources and affect game performance.
3. System Instability
If your system becomes unstable or experiences frequent crashes after adjusting RAM allocation, try the following troubleshooting steps:
- Ensure that you have followed the correct procedures for allocating RAM, whether through Steam launch options, configuration file modifications, or virtual memory settings. Double-check the accuracy of the changes made.
- Consider restoring the default settings if you encounter persistent instability. Undo the changes made to RAM allocation and monitor system stability.
- If system instability continues, it may not be directly related to RAM allocation. Look into other potential causes, such as hardware issues, outdated drivers, or excessive system heat.
Remember to approach troubleshooting with caution and implement changes gradually to identify the root cause of any issues. Every system configuration is unique, and what works for one may not work for another. If problems persist, it may be beneficial to seek assistance from online forums or the game’s official support channels.
With these troubleshooting tips, you can address common issues that may arise when adjusting RAM allocation for Subnautica. Now, let’s examine the key takeaways and conclude our guide to allocating more RAM to Subnautica.
Conclusion
Allocating more RAM to Subnautica can significantly enhance your gaming experience by reducing lag, optimizing performance, and improving overall gameplay. In this guide, we explored three methods for adjusting RAM allocation specifically for Subnautica: using Steam launch options, editing Subnautica configuration files, and modifying Windows virtual memory settings.
By following these methods, you can allocate more RAM to Subnautica based on your system’s capabilities and requirements. However, it’s important to exercise caution and allocate an appropriate amount of RAM to avoid potential issues, such as crashes or system instability.
During the process, we also discussed the importance of understanding RAM allocation and its impact on game performance. Checking your system’s requirements, verifying your available RAM, and ensuring compatibility with Subnautica are crucial steps in optimizing your gaming experience.
Furthermore, we addressed common issues that may arise during the RAM allocation process and provided troubleshooting steps to overcome them. It’s important to monitor system performance, update drivers, and preserve hardware integrity to prevent crashes, freezes, or performance degradation.
Remember, every system configuration is unique, and what works for one may not work for another. It’s crucial to experiment, make gradual changes, and find the optimal RAM allocation that suits your specific system.
Now that you have a deeper understanding of RAM allocation and the methods to allocate more RAM to Subnautica, you can take control of your gaming experience. Enjoy exploring the depths of Subnautica with improved performance and seamless gameplay!