Introduction
In today’s fast-paced world, effective task management is crucial for individuals and teams alike. Asana, a popular project management tool, offers a wide range of features to help streamline workflows and enhance productivity. One such feature is the ability to add emails directly to a task in Asana, allowing you to consolidate all relevant information in one place.
Adding emails to tasks in Asana can be incredibly beneficial, especially when dealing with project-related communications. Instead of searching through an overflowing inbox or toggling between different platforms, you can have all the necessary information conveniently organized within your Asana task.
Whether you receive important updates, feedback, or attachments via email, adding them directly to your Asana task ensures that nothing gets lost in a sea of unread messages. With this feature, you can easily reference emails, collaborate with your team, and stay on top of your task list.
In this step-by-step guide, we will walk you through the process of adding email to an Asana task. Whether you’re a new Asana user or a seasoned pro looking to optimize your workflow, this tutorial will help you harness the power of email integration in Asana.
So, let’s dive in and discover how you can seamlessly add emails to your Asana tasks, save time, and increase your overall productivity.
Step 1: Sign in to your Asana account
Before you can start adding emails to your Asana tasks, you’ll need to sign in to your Asana account. If you don’t have an account yet, you can easily create one by visiting the Asana website and following the sign-up process.
Once you have your account credentials ready, follow these steps to sign in to your Asana account:
- Go to the Asana website (www.asana.com) using your preferred web browser.
- Click on the “Sign In” button located in the top-right corner of the page.
- Enter your email address and password in the provided fields.
- Click on the “Sign In” button to access your Asana account.
After successfully signing in, you will be directed to your Asana dashboard, where you can view and manage all of your projects, tasks, and team collaborations. Now that you are logged in, you are ready to move on to the next step: opening the project or task where you want to add the email.
Step 2: Open the project or task where you want to add email
Once you have signed in to your Asana account, the next step is to navigate to the project or task where you want to add the email.
Here’s how you can do it:
- From your Asana dashboard, locate the project or task where you want to add the email.
- If you’re looking for a specific project, you can use the search bar at the top of the page to quickly find it. Simply enter the project name or related keywords, and Asana will display relevant results.
- If you’re adding the email to a specific task within a project, click on the project to open it, and then locate the task from the list.
- Once you have found the project or task, click on it to open it. You will be directed to the project or task view.
By opening the desired project or task, you’re preparing to add the email directly to it. This ensures that all the pertinent information related to the email is easily accessible within the context of the project or task.
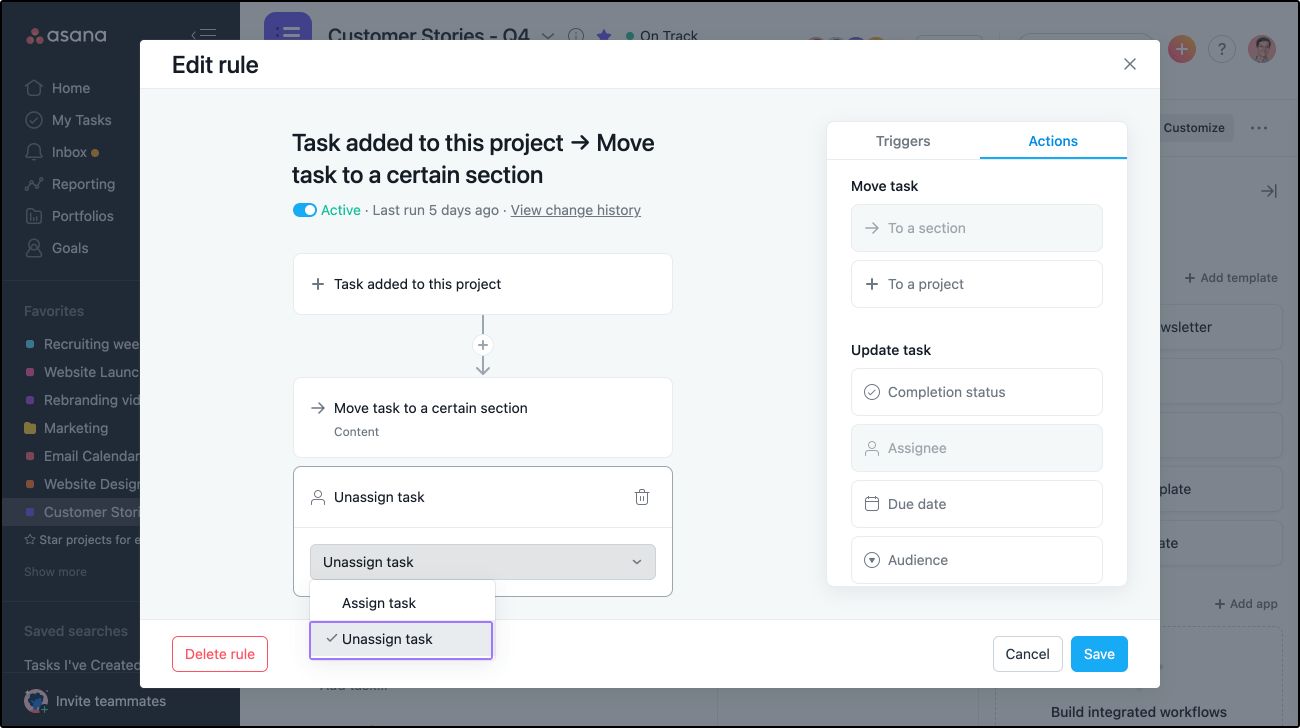
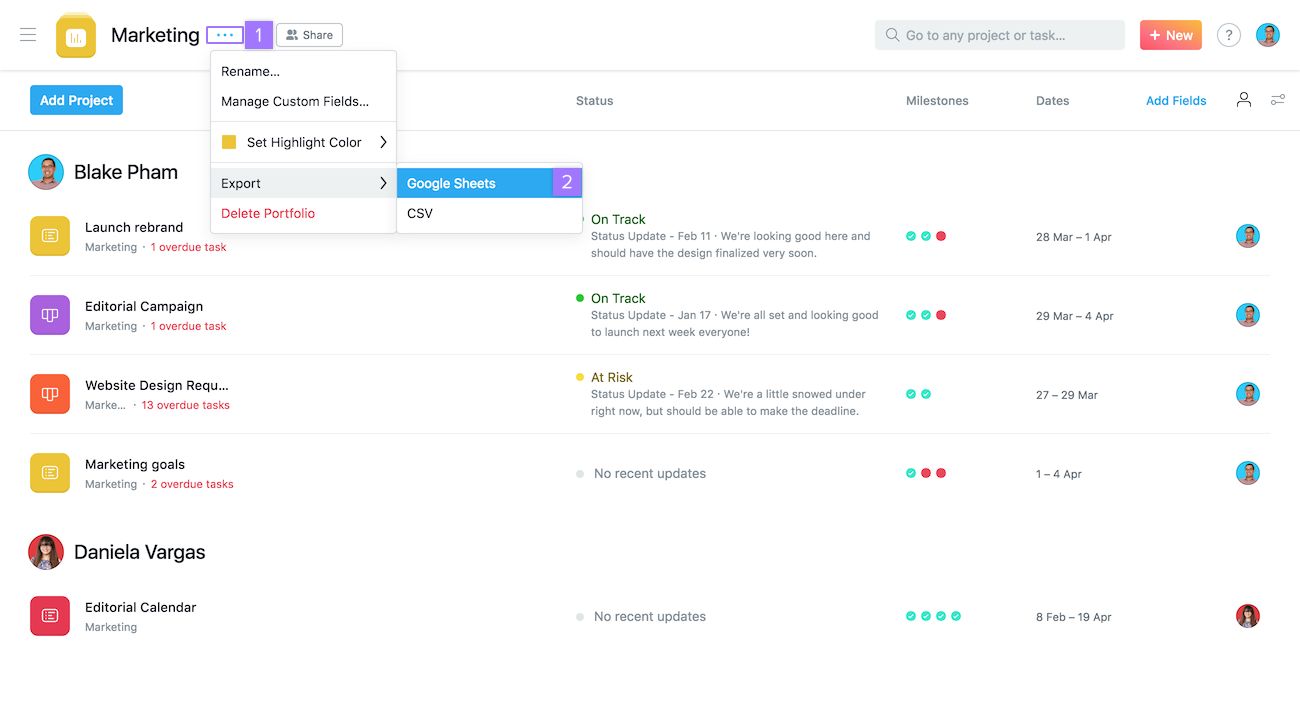
Step 3: Click on the “…” button
After opening the project or task where you want to add the email in Asana, the next step is to locate and click on the “…” button. This button provides access to additional options and features within Asana, including the ability to add an email to a task.
Here’s how you can find and click on the “…” button:
- Look for the task view or project view, depending on where you are adding the email.
- In the task view, the “…” button is located at the top-right corner of the task pane, right next to the assignee and due date fields.
- In the project view, the “…” button is typically found near the top-right corner of the project page, above the list of tasks.
- Click on the “…” button to open the menu of available options.
By clicking on the “…” button, you will reveal a dropdown menu that contains various actions you can perform within Asana. This menu is where you will find the option to add an email to the task, which we will explore in the next step.
Step 4: Select “Email to Task”
Once you have clicked on the “…” button in Asana, a dropdown menu will appear with a list of available options and actions. Among these options, you need to select “Email to Task” to proceed with adding an email to the task.
Here’s how you can select “Email to Task” in Asana:
- After clicking on the “…” button, look for the option labeled “Email to Task” within the dropdown menu.
- Hover over the option to highlight it.
- Click on “Email to Task” to select it.
By selecting “Email to Task,” you are indicating to Asana that you want to add an email to the specific task you are working on. This action will trigger the next steps in the process, including copying the email address to send emails to the task directly.
Step 5: Copy the email address
Once you have selected “Email to Task” in Asana, the next step is to copy the unique email address associated with the task. This email address will allow you to forward or send emails directly to the task, ensuring that all relevant communication is recorded and accessible within Asana.
Follow these simple steps to copy the email address in Asana:
- After selecting “Email to Task,” a dialog box or pop-up window will appear on your screen.
- In the dialog box, you will see a unique email address displayed. This email address is specific to the task you are working on and is used to add emails to that task.
- Click on the email address to select it.
- Right-click on the selected email address and choose “Copy” from the context menu, or use the shortcut “Ctrl+C” (Windows) or “Cmd+C” (Mac) to copy the email address to your clipboard.
By copying the email address, you now have the necessary information to send or forward emails directly to your Asana task. This email address serves as a unique identifier for the task and will ensure that any relevant correspondence is seamlessly integrated into your project management workflow.
Step 6: Add the email address to your contacts
To ensure smooth communication and seamless integration of emails into your Asana tasks, it’s important to add the task’s email address to your contacts. By doing so, you can easily send or forward emails to the task without the risk of typos or errors.
Follow these steps to add the email address to your contacts:
- Open your preferred email client or provider, such as Gmail, Outlook, or Apple Mail.
- Access your contacts or address book feature within your email client.
- Create a new contact entry to store the task’s email address.
- Enter a relevant name or description for the contact entry, such as the project name or task title.
- Paste the copied email address (from Step 5) into the contact’s email field.
- Click “Save” or “Add Contact” to store the contact entry.
By adding the task’s email address to your contacts, you can easily retrieve and use it whenever you need to send emails to the associated task. This step ensures accuracy and efficiency in your email communications, making it easier to keep track of all relevant information within Asana.
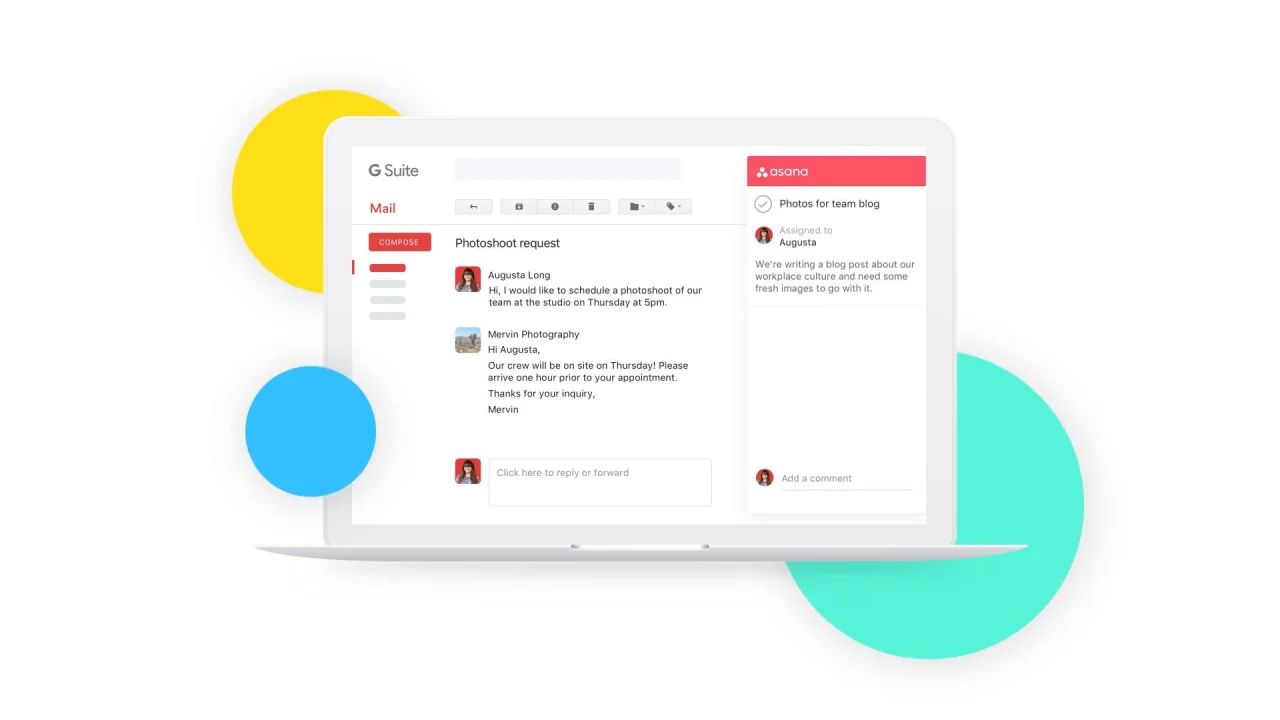
Step 7: Send an email to the Asana task
Now that you have copied the email address and added it to your contacts, you’re ready to send or forward emails directly to your Asana task. This step allows you to seamlessly integrate relevant communication and attachments into your project management workflow.
Follow these steps to send an email to the Asana task:
- Open your email client or provider.
- Click on “Compose” or “New Email” to start a new email.
- In the “To” field, paste the email address of the Asana task (from Step 5).
- Enter a relevant subject line for the email, providing a brief description or summary of its content.
- Compose the body of the email, including any relevant information, updates, or attachments.
- Review the email to ensure accuracy and completeness of the content.
- Click “Send” to forward the email to the Asana task.
By sending an email to the Asana task, you are effectively storing all relevant information and attachments within your project management tool. This not only helps keep your communications organized but also ensures that all team members can access and collaborate on the email’s contents directly from the task in Asana.
Conclusion
Adding emails to your Asana tasks is a powerful feature that enables you to consolidate and centralize project-related communication. By following the simple steps outlined in this guide, you can seamlessly integrate emails into your task management workflow, ensuring that all relevant information stays organized and easily accessible.
The process starts by signing in to your Asana account and opening the project or task where you want to add the email. Then, with just a few clicks, you can select the “Email to Task” option and copy the unique email address associated with the task. Adding this email address to your contacts facilitates quick and error-free forwarding or sending of emails to the task within Asana.
Sending an email to the Asana task allows you to effortlessly capture important updates, feedback, or attachments in one centralized location. This eliminates the need to search through your inbox or other platforms, enabling you and your team to stay focused and efficient.
By incorporating email integration into your Asana workflow, you can save time, reduce the risk of missing important information, and streamline your project management process. Whether you’re managing complex projects or organizing personal tasks, leveraging this feature will undoubtedly enhance your productivity and collaboration.
So, why not give it a try? Start adding emails to your Asana tasks today and experience the benefits for yourself. Happy task managing!