Introduction
Welcome to QuickBooks Online, the powerful cloud-based accounting software that helps you manage your finances efficiently. As a business owner, it’s essential to have a trusted accountant by your side to provide expert financial advice and ensure the accuracy of your financial records. Adding an accountant to your QuickBooks Online account allows them to access your financial data, review and analyze your transactions, and collaborate with you seamlessly.
In this article, we’ll guide you through the process of adding an accountant to your QuickBooks Online account. By following these steps, you’ll be able to grant your accountant the necessary access and permissions to assist you with managing your business finances effectively.
Whether you’re looking to bring on a new accountant or want to provide access to your existing accountant, QuickBooks Online makes the process simple and secure. Once your accountant is added, they can view your financial reports, assist with tax preparation, and provide valuable insights to help you make informed business decisions.
Before we dive into the step-by-step process, make sure you have your accountant’s email address handy, as you’ll need it to invite them to access your QuickBooks Online account. Additionally, ensure that you have administrative access to your QuickBooks Online account, as only administrators can add new users and modify their permissions.
Now, let’s get started on adding an accountant to your QuickBooks Online account and harness the power of collaboration and expertise!
Step 1: Sign in to your QuickBooks Online account
The first step in adding an accountant to your QuickBooks Online account is to sign in to your existing account. If you don’t have an account yet, you can create one by visiting the QuickBooks Online website and following the sign-up process.
To sign in to your QuickBooks Online account, follow these simple steps:
- Visit the QuickBooks Online website and click on the “Sign In” button located at the top-right corner of the page.
- Enter your login credentials, including your email address and password, in the designated fields.
- Click on the “Sign In” button to access your QuickBooks Online account.
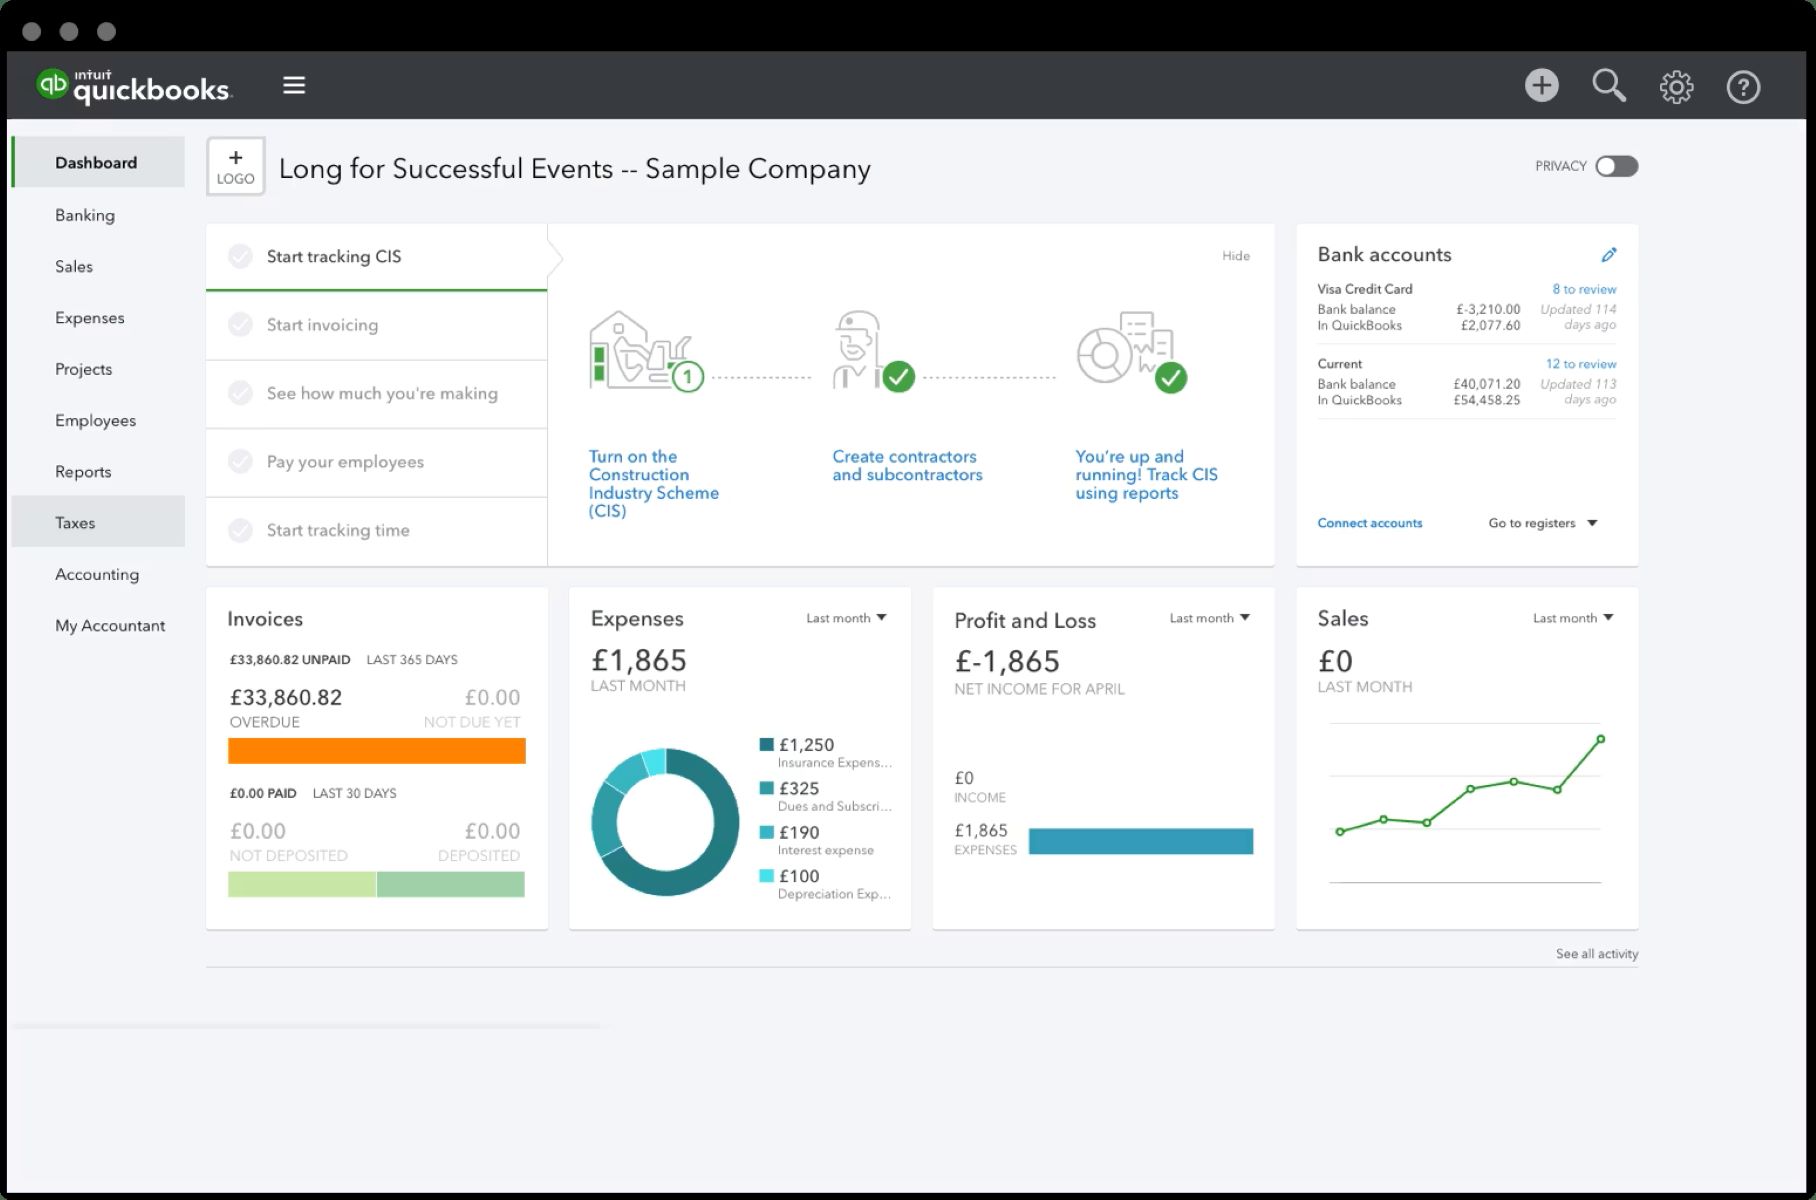
Once you have successfully signed in, you’ll be directed to your QuickBooks Online dashboard, where you can access and manage your financial data. From here, you can proceed to the next step to add your accountant to your account.
It’s important to note that only users with administrative access can add new users and modify their permissions. If you don’t have administrative access to your QuickBooks Online account, you may need to request assistance from the current administrator or contact QuickBooks Online customer support for guidance.
Step 2: Navigate to the “Accountant Tools” section
Once you have signed in to your QuickBooks Online account, the next step is to navigate to the “Accountant Tools” section. This is where you’ll find the option to add an accountant and manage their access.
Follow these steps to locate the “Accountant Tools” section:
- From your QuickBooks Online dashboard, look for the navigation menu on the left-hand side of the screen. It will typically display options such as “Sales,” “Expenses,” “Banking,” etc.
- Scroll down the navigation menu and locate the section titled “Accountant.” Click on it to expand the options.
- Within the “Accountant” section, you’ll find various tools and features specifically designed for working with accountants. Look for the option labeled “Accountant Tools” and click on it.
By selecting the “Accountant Tools” option, you’ll be taken to a new page where you can manage the settings related to your accountant’s access and permissions.
In case you are unable to locate the “Accountant Tools” section or have any difficulty navigating to it, you can refer to QuickBooks Online’s help documentation or reach out to their customer support for assistance. They will be happy to guide you through the process and address any concerns you may have.
Step 3: Invite your accountant to access your QuickBooks Online account
Now that you’ve located the “Accountant Tools” section in your QuickBooks Online account, it’s time to invite your accountant to access your financial data. Inviting your accountant is a simple process that ensures they have the necessary access to work with your financial information.
Follow these steps to invite your accountant:
- Within the “Accountant Tools” section, look for the option labeled “Invite Accountant” or “Invite Your Accountant.” Click on it to initiate the invitation process.
- A new window or form will appear, prompting you to enter your accountant’s email address. Make sure to provide the correct email address as this is where the invitation will be sent.
- You may have the option to include a personalized message to your accountant. If desired, you can provide any relevant information or instructions in this message section.
- Double-check all the information you have entered, including the email address and the message, to ensure accuracy.
- Click on the “Send Invitation” or “Invite” button to send the invitation to your accountant’s email address.
Once the invitation is successfully sent, your accountant will receive an email notification with instructions on how to accept the invitation and access your QuickBooks Online account.
It’s important to communicate with your accountant about the upcoming invitation, so they are aware of it and can accept it promptly. You may want to follow up with them to ensure they have received the invitation and assist with any questions or concerns they may have.
Step 4: Grant appropriate access and permissions to your accountant
After inviting your accountant to access your QuickBooks Online account, the next step is to grant them the appropriate access and permissions. This ensures that they can perform their duties effectively while maintaining the necessary security and confidentiality of your financial information.
To grant access and permissions to your accountant, follow these steps:
- Once your accountant accepts the invitation and logs into their QuickBooks Online account, they will be prompted to select your company file from their client list.
- As the business owner, you will receive a notification indicating that your accountant has accepted the invitation.
- Log in to your QuickBooks Online account and navigate to the “Accountant Tools” section.
- Within the “Accountant Tools” section, locate the option to manage your accountant’s access or permissions. This may be labeled as “Manage Access” or “Permissions.”
- Review the available options and determine the appropriate level of access for your accountant. QuickBooks Online offers various permission levels, including “Full Access,” “Create and Edit Transactions,” “Reports Only,” and more.
- Select the permission level that aligns with your accountant’s responsibilities and role.
- Save the changes to update your accountant’s access and permissions.
By granting the appropriate access and permissions, you can ensure that your accountant has the necessary tools and capabilities to assist you with your financial management tasks within QuickBooks Online.
It’s crucial to carefully consider the access and permissions you grant to your accountant, keeping in mind the sensitivity and confidentiality of your financial data. If you have any questions or concerns about the access levels or need guidance on choosing the right permissions, it’s always a good idea to consult with your accountant or seek assistance from QuickBooks Online customer support.
Step 5: Review the invitation and send it to your accountant
Before sending the invitation to your accountant, it’s important to review the details to ensure accuracy. Taking the time to double-check the invitation and any accompanying message can help avoid any potential issues or confusion.
Follow these steps to review and send the invitation to your accountant:
- Open the invitation form or window in QuickBooks Online, where you initially entered your accountant’s email address.
- Carefully review the email address you entered to ensure it is correct. One small typo can result in the invitation not reaching your accountant.
- If there is an option to include a personalized message, take a moment to review the message content. Make any necessary edits or provide additional instructions to your accountant if needed.
- Once you have verified all the information, click on the “Send Invitation” or “Invite” button to send the invitation.
After sending the invitation, your accountant will receive an email notification with instructions on how to accept the invitation and access your QuickBooks Online account.
It’s a good practice to communicate with your accountant to ensure they have received the invitation and address any questions or concerns they may have. This helps ensure a smooth onboarding process and establishes clear lines of communication between you and your accountant.
If you do not receive a confirmation from your accountant within a reasonable timeframe, you may want to follow up with them or confirm that the email address you provided is correct. It’s also advisable to check your spam or junk email folders, as sometimes important emails can end up there.
Remember, the invitation is valid for a limited period, typically around two weeks. If your accountant does not accept the invitation within the given timeframe, you may need to resend the invitation to ensure they can gain proper access to your QuickBooks Online account.
Step 6: Your accountant accepts the invitation and gains access to your QuickBooks Online account
Once your accountant receives the invitation to access your QuickBooks Online account, they will need to accept the invitation before gaining access to your financial data. This step ensures that your accountant can effectively collaborate with you and provide the necessary accounting services.
Here’s what happens when your accountant accepts the invitation:
- Your accountant will receive an email notification with the invitation to access your QuickBooks Online account. The email will contain a unique link that they can click on to accept the invitation.
- Once the invitation is accepted, your accountant will be prompted to log in to their QuickBooks Online account or create a new account if they don’t have one already.
- After logging in, your accountant will see a list of client invitations. They will select your invitation and confirm their acceptance.
- Once accepted, your accountant will have access to your QuickBooks Online account and be able to view and work with your financial data.
It’s crucial to maintain open lines of communication with your accountant during this process. You can check in with them to ensure they have successfully accepted the invitation and discuss next steps for collaboration.
During the initial stages of their access, it may be helpful to schedule a call or meeting to walk through your financial records and clarify any specific areas or tasks you would like them to focus on. This will ensure that both you and your accountant are on the same page regarding the expectations and goals for working together.
Remember, as the business owner, you still retain full control and ownership of your QuickBooks Online account. Your accountant’s access is limited to the specific permissions and levels you have assigned to them.
With your accountant now onboard and having gained access to your QuickBooks Online account, you can begin collaborating, discussing financial strategies, and relying on their expertise to streamline your business’s financial management.
Step 7: Collaborate and work with your accountant using QuickBooks Online
Now that your accountant has accepted the invitation and gained access to your QuickBooks Online account, it’s time to start collaborating and working together to manage your business finances effectively. QuickBooks Online provides a range of features and tools that facilitate seamless collaboration between you and your accountant.
Here are some key ways to collaborate with your accountant using QuickBooks Online:
- Sharing financial reports: QuickBooks Online allows you to generate and share various financial reports with your accountant. You can provide them with access to reports such as profit and loss statements, balance sheets, cash flow statements, and more. This enables your accountant to analyze your financial data and provide valuable insights.
- Real-time data access: With QuickBooks Online, both you and your accountant can access the financial data simultaneously, ensuring that you’re always on the same page. This real-time access enables your accountant to provide prompt assistance, answer any questions you may have, and spot any potential discrepancies or issues in your financial records.
- Collaborative document sharing: QuickBooks Online allows you to upload and share documents with your accountant. You can easily share important financial documents, such as invoices, receipts, bank statements, and expense files, directly within the platform. This eliminates the need for manual document sharing through emails or other platforms.
- Tax preparation and compliance: QuickBooks Online simplifies the tax filing process by providing tools and features that assist with tax preparation and compliance. Your accountant can utilize these features to ensure accurate and timely tax filings, helping you stay compliant with tax regulations.
- Communication and messaging: QuickBooks Online offers built-in communication features that allow you to exchange messages and communicate with your accountant directly within the platform. This streamlines communication and keeps all discussions related to your finances in one central location.
It’s important to maintain regular communication with your accountant throughout your collaboration. Schedule periodic check-ins, such as quarterly or annual meetings, to discuss financial performance, goals, and any changes in your business that may impact your financial management.
Remember, effective collaboration requires transparency and clear communication. Be open to your accountant’s recommendations and insights, and provide them with any relevant information or updates about your business that may impact your financial records.
By leveraging the collaborative features of QuickBooks Online, you can work hand-in-hand with your accountant to drive financial growth, make informed decisions, and optimize your business’s financial health.
Conclusion
Congratulations! You have successfully learned how to add an accountant to your QuickBooks Online account and collaborate with them to manage your business finances more effectively. By inviting your accountant and granting them the appropriate access and permissions, you have taken an important step towards streamlining your financial management processes.
Adding an accountant to your QuickBooks Online account allows for seamless collaboration, financial analysis, and expert advice. Your accountant can assist you with tasks such as reviewing financial reports, providing tax guidance, and identifying opportunities for cost savings or revenue growth.
Throughout this process, it’s vital to maintain open lines of communication with your accountant. Regularly discussing your business’s financial performance, goals, and any changes in your operations will help your accountant provide tailored insights and recommendations to support your financial success.
Remember to review the invitation details before sending it to your accountant and ensure that they have accepted the invitation to access your QuickBooks Online account. Additionally, make use of the collaborative features within QuickBooks Online, such as sharing financial reports, real-time data access, document sharing, and built-in communication, to foster efficient collaboration and drive financial growth.
If you encounter any difficulties or have further questions regarding adding an accountant to your QuickBooks Online account, don’t hesitate to refer to QuickBooks Online’s help documentation or reach out to their customer support. They are dedicated to providing assistance and ensuring a smooth experience for their users.
By leveraging the power of QuickBooks Online and collaborating with your accountant, you can confidently navigate the financial landscape of your business, make informed decisions, and pave the way for long-term success and growth.


