Introduction
Welcome to this comprehensive article on the topic of RAM support in Windows 8. If you’re a Windows 8 user or planning to upgrade to this operating system, understanding the limitations and capabilities of RAM is essential.
Random Access Memory (RAM) plays a critical role in determining the performance and responsiveness of your computer. It serves as a temporary storage for data that your computer needs to access quickly. The more RAM your system has, the more applications and processes it can handle simultaneously.
In this article, we’ll explore the limitations of RAM in Windows 8, including the differences between 32-bit and 64-bit versions and methods to check and increase your RAM capacity. Additionally, we’ll discuss techniques to optimize RAM usage in Windows 8 for improved overall system performance.
Whether you use your computer for gaming, multimedia editing, or general multitasking, learning about Windows 8’s RAM support will help you make informed decisions about your system’s memory requirements and ensure that your computer runs smoothly.
Before we delve into the specific RAM support in Windows 8, let’s take a closer look at the role of RAM and why it’s crucial for your computer’s performance.
Understanding RAM and its Role in Windows 8
RAM, or Random Access Memory, is a fundamental component of any computer system, including those running Windows 8. RAM serves as the temporary storage space that allows your computer to quickly access and store data that is actively being used by programs and processes.
When you open an application or perform tasks on your computer, the operating system loads the relevant data into the RAM. This allows for near-instantaneous access to the data, leading to faster program execution and smoother multitasking.
RAM is designed to be fast and readily accessible, unlike storage devices like hard drives or solid-state drives (SSDs). While these storage devices provide long-term storage for your files and programs, reading and writing data to them takes significantly more time compared to accessing data from RAM.
In Windows 8, RAM plays a crucial role in ensuring that your system runs efficiently and without slowdowns. The more RAM you have, the more programs and processes your computer can handle simultaneously without experiencing performance degradation.
When your system runs out of available RAM, it starts using a portion of the hard drive space as a temporary storage area known as the page file. However, relying too heavily on this virtual memory can significantly slow down your computer’s performance since hard drives are inherently slower than RAM.
Therefore, having an adequate amount of RAM is essential to ensure smooth multitasking, faster program launches, and overall system responsiveness in Windows 8. Understanding the limitations and capabilities of RAM support in Windows 8 will allow you to make informed decisions about upgrading or optimizing your system’s memory.
In the following sections, we’ll explore the specific limitations imposed by Windows 8 on RAM support, how to check your system’s RAM capacity, as well as methods to increase your RAM for improved performance.
RAM Limitations in Windows 8
While RAM is crucial for optimal performance in Windows 8, it’s important to understand that there are limitations on the amount of RAM that the operating system can support. These limitations are determined by the edition and architecture (32-bit or 64-bit) of Windows 8 that you are using.
In Windows 8 32-bit, the maximum amount of RAM that can be utilized is 4GB. This limitation is due to the memory addressing capabilities of the 32-bit architecture. While your computer may have more than 4GB of RAM installed, any RAM beyond this limit will not be recognized or utilized by the operating system.
If you want to fully utilize more than 4GB of RAM, you’ll need to switch to the 64-bit version of Windows 8. The 64-bit architecture offers much higher memory addressing capabilities, allowing for increased RAM support.
In Windows 8 64-bit, the maximum amount of RAM that can be supported depends on the specific edition that you have installed. The Home Basic and Home Premium editions have a maximum limit of 16GB of RAM, while the Professional, Enterprise, and Ultimate editions can support up to a staggering 128GB of RAM.
It’s important to note that the RAM limitations mentioned here apply to the consumer editions of Windows 8. The server editions have significantly higher RAM limits to accommodate the demands of server applications.
Before upgrading your system or adding more RAM, it’s crucial to check the edition and architecture of Windows 8 that you’re using to ensure compatibility with the desired amount of RAM. Additionally, you should consider the capabilities of your motherboard, as it may impose its own limitations on RAM support.
Now that we have a better understanding of the RAM limitations in Windows 8, let’s move on to exploring the differences between the 32-bit and 64-bit versions and how they affect RAM support.
Windows 8 32-bit vs. 64-bit: What’s the RAM Difference?
When it comes to Windows 8, one of the key factors that determines the amount of RAM your system can utilize is the architecture you’re running: 32-bit or 64-bit. Let’s take a closer look at the differences between the two and how they impact RAM support.
Windows 8 32-bit (x86) can address a maximum of 4 gigabytes (GB) of RAM. This limitation is a result of the 32-bit architecture’s memory addressing capabilities. This means that even if you install more than 4GB of RAM on your system, the operating system won’t be able to utilize the additional memory.
On the other hand, Windows 8 64-bit (x64) supports much higher RAM capacities. The 64-bit architecture can address up to 18.4 million terabytes of RAM, though this is far beyond what any consumer system would require or support. The specific RAM limit varies based on the edition of Windows 8.
Windows 8 64-bit Home Basic and Home Premium editions have a maximum RAM limit of 16GB. This makes them suitable for most home users who engage in everyday computing tasks.
For users with more demanding needs, the Professional, Enterprise, and Ultimate editions of Windows 8 64-bit support up to 128GB of RAM. This expanded RAM capacity is particularly beneficial for power users, content creators, and those running resource-intensive applications such as video editing software and virtual machines.
It’s worth noting that while the ability to address large amounts of RAM is a major advantage of the 64-bit architecture, it doesn’t automatically translate into better performance for all tasks. For simple web browsing and word processing, the difference between 32-bit and 64-bit may not be noticeable. However, for memory-intensive tasks such as running multiple virtual machines or working with large datasets, the increased RAM support of 64-bit systems can significantly enhance performance.
Before deciding to upgrade to a 64-bit version of Windows 8 or add more RAM, it’s essential to check your hardware’s compatibility. Ensure that your processor, motherboard, and other critical components are capable of supporting 64-bit architecture and the desired amount of RAM.
Now that we understand the RAM differences between 32-bit and 64-bit versions of Windows 8, let’s move on to learning how to check the current RAM capacity of your system.
How to Check RAM Capacity in Windows 8
If you’re unsure about the amount of RAM installed on your Windows 8 system, there are several methods you can use to quickly check the current RAM capacity. Here are a few simple steps to help you check your RAM in Windows 8:
- Task Manager: One of the easiest ways to check your system’s RAM capacity is by using the Task Manager. Simply right-click on the taskbar and select “Task Manager” from the context menu. In the Task Manager window, click on the “Performance” tab. Under the “Memory” section, you’ll see the total amount of RAM installed on your system.
- System Information: Windows 8 provides a built-in System Information tool that offers detailed information about your hardware, including RAM. To access it, press the Windows key + R to open the Run dialog box. Type “msinfo32” without quotes and press Enter. In the System Information window, navigate to the “System Summary” section, and you’ll find the total physical memory listed under “Installed Physical Memory (RAM)”.
- Control Panel: Another method to check your RAM capacity is through the Control Panel. Open the Control Panel by pressing the Windows key + X and selecting Control Panel from the menu. In the Control Panel, navigate to System and Security > System. Under the “System” section, you’ll see the installed memory (RAM) listed.
These methods provide you with a quick and easy way to determine the current RAM capacity of your Windows 8 system. Knowing the amount of RAM installed is crucial for understanding the limitations of your system and making informed decisions about upgrading or optimizing your memory.
Now that you have a better idea of how to check your RAM capacity, let’s explore ways to increase the RAM in your Windows 8 system if needed.
How to Increase RAM in Windows 8
If you find that your Windows 8 system is running low on RAM and experiencing performance issues, you may consider increasing the amount of RAM installed. Here are a few methods to help you do just that:
- Check motherboard compatibility: Before upgrading your RAM, it’s important to ensure that your motherboard supports additional memory and identify the type of RAM it accepts. Consult your motherboard’s documentation or visit the manufacturer’s website to find the compatible RAM types and maximum capacity that your motherboard can handle.
- Purchase compatible RAM modules: Once you’ve determined the type and maximum capacity supported by your motherboard, purchase compatible RAM modules from a reputable manufacturer. Make sure to match the speed and capacity recommendations provided by your motherboard’s documentation.
- Power off and open your computer: To install the new RAM modules, power off your computer and unplug it from the power source. Open the computer case by removing the screws or following the instructions specific to your computer model.
- Locate and remove existing RAM modules: Inside your computer, locate the existing RAM modules. These are typically long, rectangular-shaped modules inserted into slots on the motherboard. Carefully release the retaining clips or tabs on the sides of the module and gently remove it from the slot.
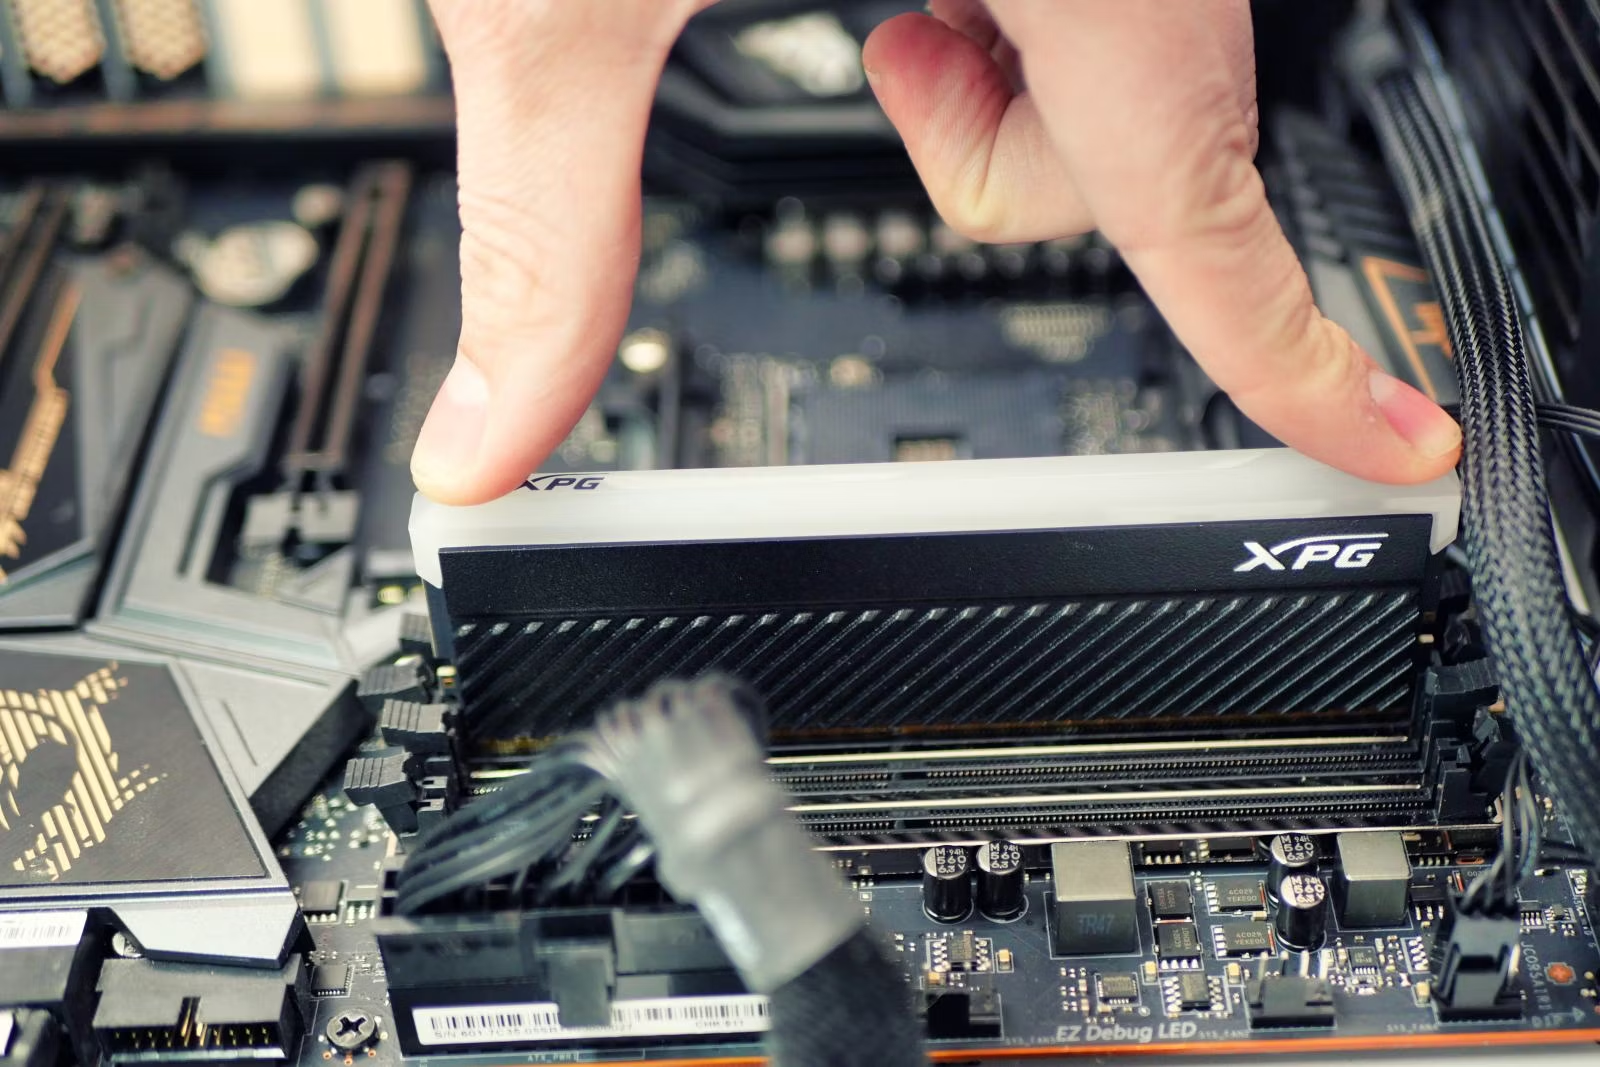
- Insert the new RAM modules: Take your new RAM modules and align them with the slots on the motherboard. Insert the modules firmly but gently into the slots, making sure they are fully seated. The retaining clips or tabs should lock into place on their own.
- Close your computer case and power on: Once you’ve installed the new RAM modules, carefully close your computer case and secure it with the screws. Plug in and turn on your computer. Windows 8 should automatically detect the new RAM and adjust its settings accordingly.
It’s worth noting that while increasing the amount of RAM can improve system performance, it may not always be the solution to all performance issues. Other factors such as processor speed, storage type, and overall system health can also impact performance.
If you’re uncomfortable or unsure about installing RAM yourself, consider seeking assistance from a professional or consult your computer manufacturer for support.
Now that you know how to increase the RAM in your Windows 8 system, let’s explore techniques to optimize RAM usage for improved overall performance.
Optimizing RAM Usage in Windows 8
To ensure optimal performance and make the most of the available RAM in your Windows 8 system, it’s important to take steps to optimize RAM usage. Here are some techniques and strategies that can help:
- Close unnecessary programs and processes: Make it a habit to close programs and processes that are not currently in use. This will free up RAM and allow more memory to be available for the programs and processes you actively use.
- Manage startup programs: Reduce the number of programs that automatically launch when you start your computer. Many applications have settings that allow you to control their startup behavior. Adjust these settings to prevent unnecessary programs from using up valuable RAM from the moment your system boots up.
- Disable visual effects: Windows 8 offers various visual effects that enhance the user interface but can consume system resources, including RAM. Disable or reduce these visual effects by accessing the “Performance Options” settings in the Control Panel. Choose options that prioritize performance over visual aesthetics.
- Check for memory leaks: Some programs or faulty drivers may cause memory leaks, where they gradually consume more and more RAM over time. Keep an eye out for any programs that appear to be using an unusually large amount of RAM, and consider updating or uninstalling them to resolve any memory leak issues.
- Run regular system maintenance: Perform regular system maintenance tasks, such as disk cleanup and disk defragmentation, to keep your system running smoothly. By removing unnecessary files and optimizing file storage, you can free up valuable space on your hard drive and potentially improve overall system performance.
- Use a reliable antivirus software: Malware or viruses can wreak havoc on your system’s resources, including RAM. Make sure you have a reputable antivirus software installed and keep it up to date to protect your system from potential threats that could affect RAM usage.
- Upgrade to an SSD: If your budget allows, consider upgrading your traditional hard drive to a solid-state drive (SSD). SSDs offer faster read and write speeds, reducing the impact on RAM usage when accessing data and improving overall system performance.
By implementing these optimization techniques, you can make the most of the available RAM in your Windows 8 system and enhance its overall performance.
Now that we’ve explored strategies to optimize RAM usage, let’s conclude this article with a recap of the key points discussed.
Conclusion
In conclusion, understanding the RAM support in Windows 8 is essential for maximizing system performance. RAM plays a crucial role in the speed and responsiveness of your computer, allowing for quick access to data and efficient multitasking.
We’ve explored the limitations of RAM in Windows 8, including the 4GB limit for 32-bit versions and the varying capacities supported by different editions of the 64-bit version. The architecture and edition of Windows 8 determine the maximum amount of RAM that can be utilized.
To check the current RAM capacity in Windows 8, you can use tools such as the Task Manager, System Information, or the Control Panel. This information will help you identify whether additional RAM is needed to meet your system requirements.
If you decide to increase the RAM in your Windows 8 system, make sure to check your motherboard’s compatibility and purchase compatible RAM modules. Follow the proper installation steps to ensure a successful upgrade.
In addition to upgrading hardware, optimizing RAM usage in Windows 8 is crucial for improved performance. Closing unnecessary programs, managing startup programs, disabling visual effects, monitoring for memory leaks, and performing regular maintenance tasks are some of the techniques that can help optimize RAM usage.
Remember that while RAM is an essential component, other factors, such as processor speed, storage type, and overall system health, also contribute to system performance.
By understanding the limitations and capabilities of RAM in Windows 8, and employing optimization strategies, you can ensure that your system runs smoothly and efficiently, providing a seamless computing experience.
We hope this article has provided you with valuable insights into RAM support in Windows 8 and empowered you to make informed decisions regarding your computer’s memory needs.