Why RAM is important for Revit performance
RAM, or Random Access Memory, plays a vital role in the overall performance of Autodesk Revit software. As a memory resource, RAM acts as a temporary storage space for data and instructions that are actively used by the computer’s operating system and software applications, including Revit. It allows for quick access and retrieval of information, which directly impacts the speed and efficiency of Revit’s processes.
Revit is a highly complex software that deals with large models, extensive calculations, and real-time collaboration. It requires substantial amounts of RAM to handle the sheer volume of data and perform tasks effectively. Insufficient RAM can result in sluggish performance, increased loading times, and even system crashes, hindering productivity and causing frustration for users.
When using Revit, the software loads the project file and its associated data into RAM for processing. As you work on the project, Revit constantly updates the model, making changes to geometry, applying calculations, and maintaining consistency across different views and elements. All of this requires RAM to store and manipulate the data in real-time.
The more RAM available, the smoother and faster Revit will run. With ample RAM, Revit can keep more data in memory, reducing the need to rely on slower hard drives or virtual memory. This leads to improved responsiveness, quicker rendering times, and seamless interactions within the software.
Furthermore, Revit heavily relies on multi-threaded processing, which allows for the simultaneous execution of multiple tasks. RAM plays a significant role in supporting this multi-threading capability. With sufficient RAM, Revit can allocate memory resources to different threads, enabling parallel processing and faster completion of tasks.
It’s important to note that RAM is not the only factor influencing Revit’s performance. The speed of the processor, the capabilities of the graphics card, and the efficiency of the storage drive also contribute to overall performance. However, RAM has a direct impact on the software’s ability to handle large projects and execute complex operations.
In summary, RAM is crucial for optimal Revit performance. Sufficient RAM ensures faster processing, smoother interactions, and improved productivity while using the software. It allows Revit to efficiently handle data, perform calculations, and maintain real-time synchronization. Investing in adequate RAM capacity is essential for users who want to maximize their Revit experience and avoid performance bottlenecks.
Minimum RAM requirements for running Revit
When it comes to running Revit, Autodesk provides minimum system requirements that should be met in order to ensure smooth and stable performance. These requirements include specifications for RAM, among other hardware components.
The minimum RAM requirement for running Revit varies depending on the version of the software and the size and complexity of the projects you are working on. As of the latest version, Autodesk recommends a minimum of 8GB of RAM for typical usage. However, keep in mind that this is the absolute minimum requirement, and it may not provide the best experience, especially if you are dealing with larger projects or complex models.
While 8GB of RAM may be sufficient for basic functionality and smaller projects, it is important to consider that Revit relies heavily on memory-intensive tasks, such as rendering, calculations, and real-time collaboration. As projects become more complex and detailed, the demand for RAM increases. It is not uncommon for professionals working on advanced BIM projects to have 16GB or even 32GB of RAM to ensure smooth operation and optimal performance.
Insufficient RAM can result in performance issues, such as slow responsiveness, lag during model navigation, delays in calculations, and longer loading times for projects. These issues can have a significant impact on productivity and hinder the overall Revit experience.
It is important to note that the minimum RAM requirements provided by Autodesk are intended as a guideline for basic functionality. If you are working on larger or more complex projects, or if you frequently use resource-intensive features, it is strongly recommended to have more RAM than the minimum requirement. The additional RAM will provide the necessary headroom to handle the demanding tasks and improve the overall performance of Revit.
To determine the appropriate amount of RAM for your specific needs and projects, it is advisable to consider factors such as the size and complexity of the models you work with, the extent of calculations and renderings required, and the number of users collaborating in real-time. Consulting with hardware professionals or referring to Autodesk’s recommended system requirements can also provide valuable insights into the ideal RAM configuration for running Revit smoothly.
Recommended RAM for optimal Revit performance
While the minimum RAM requirements provide a baseline for running Revit, most professionals and power users prefer to have more RAM to achieve optimal performance and improve their productivity. The recommended RAM for optimal Revit performance depends on several factors, including the complexity of projects, the size of models, and the specific tasks performed.
For many users, having at least 16GB of RAM is considered a good starting point. This provides a substantial increase compared to the minimum requirements and allows for smoother operation and faster processing. With 16GB of RAM, Revit can handle more data in memory, reducing the need for frequent reading from the hard drive or virtual memory.
However, as projects become more complex and demanding, the need for additional RAM becomes evident. Many professionals working on large-scale projects or dealing with intricate designs find that 32GB or even 64GB of RAM provides a significant performance boost. This additional RAM capacity allows Revit to handle extensive calculations, renderings, and real-time collaboration more efficiently.
Power users who work with extremely complex models, perform advanced analysis, or engage in virtual reality and immersive experiences may benefit from an even higher RAM configuration. In these cases, having 128GB or more of RAM can help ensure that Revit runs smoothly and can handle the demanding requirements of the workflow.
Investing in more RAM not only improves the performance of Revit but also provides headroom for future growth and scalability. As technology advances and Revit capabilities expand, having ample RAM will future-proof your system and allow for seamless adoption of new features and enhancements.
It is important to note that the RAM requirements may vary depending on your specific workflow and the nature of your projects. Consulting with IT professionals, hardware experts, or referring to Autodesk’s recommended system requirements can help you determine the optimal RAM configuration for your needs.
Keep in mind that RAM is just one component in the overall system configuration for Revit. Other hardware components such as the processor, graphics card, and storage drive also play a role in overall performance. Striking the right balance between these components will ensure that your system delivers the best performance for your Revit projects.
Factors that may increase RAM requirements for Revit
While the recommended RAM for optimal Revit performance provides a general guideline, there are certain factors that can increase the RAM requirements, depending on the nature and complexity of your projects. Understanding these factors can help you determine the appropriate amount of RAM needed to ensure smooth and efficient operation of Revit.
1. Project size and complexity: Larger and more complex projects, such as high-rise buildings, complex infrastructure designs, or large-scale industrial projects, require more RAM to handle the extensive data and calculations involved. The more elements, views, and details in your project, the more RAM you will need to maintain smooth performance.
2. File size and number of views: Revit projects can grow in size as more elements, families, and details are added. Additionally, the number of views, sheets, and schedules in your project can also impact RAM requirements. Projects with numerous views or large sheet sets may necessitate additional RAM to handle the increased data and information.
3. Rendering and visualization: If you frequently work with renderings, visualizations, or 3D modeling in Revit, the RAM requirements will be higher. Rendering tasks are memory-intensive, as they involve loading and processing large textures, lighting data, and geometry. More RAM allows Revit to store and manipulate this data efficiently during the rendering process.
4. Real-time collaboration: Collaborating with team members or stakeholders in real-time through programs like Autodesk BIM 360 Design requires additional RAM. As multiple users work on the same model simultaneously, Revit needs to handle the synchronization of changes, view updates, and data transfers between users, which can put a strain on system resources.
5. Performance demands: Certain workflows and tasks in Revit, such as running complex analyses, performing simulations, or working with intricate parametric families, can place higher demands on RAM. These tasks require more memory to store and process the data, and having sufficient RAM will ensure a smooth and efficient workflow.
It’s important to monitor your RAM usage while working in Revit and identify any performance bottlenecks. If you notice that Revit frequently exceeds available RAM and starts relying on virtual memory or causing slow performance, it may be an indicator that additional RAM is needed.
Considering these factors and assessing the specific requirements of your Revit projects will help you determine the optimal RAM configuration. It’s always recommended to consult with IT professionals or hardware experts to ensure that your system meets the necessary RAM requirements for your specific workflow.
How to determine the amount of RAM needed for a specific Revit project
Determining the appropriate amount of RAM for a specific Revit project is crucial to ensure optimal performance and productivity. While there are general guidelines and minimum requirements, several factors need to be taken into consideration to determine the exact amount of RAM needed.
1. Assess the project requirements: Start by evaluating the size, complexity, and scope of your Revit project. Is it a small residential building or a large-scale commercial project? The number of elements, views, sheets, and details in your project will impact the RAM requirements.
2. Consider the project’s long-term growth: Anticipate the future growth of your project. Will you be adding more elements, details, or collaborating with additional team members? Keep in mind that RAM requirements may increase as the project evolves, so it’s wise to account for scalability when determining the RAM needed.
3. Evaluate the specific workflows and tasks: Identify the type of tasks you’ll be performing in Revit. Will you be running complex analyses, simulations, or renderings? Will you be working with large BIM models? More memory-intensive tasks will require additional RAM to ensure smooth operation.
4. Consult Autodesk’s recommendations: Refer to Autodesk’s recommended system requirements for the version of Revit you are using. They provide valuable insights into the RAM configurations ideal for different project sizes and complexities. These recommendations serve as a good starting point and can help narrow down the RAM range required.
5. Consult with hardware professionals: Seeking advice from IT professionals or hardware experts is highly recommended. They can evaluate your specific project requirements, hardware configuration, and budget to provide custom recommendations tailored to your needs. They can help strike the right balance between performance, cost, and scalability.
6. Monitor RAM usage: As you work on your Revit project, monitor the RAM usage on your system. If you notice frequent resource spikes, slow performance, or Revit relying heavily on virtual memory, it may be an indication that you need more RAM. Tools like the Windows Task Manager or third-party software can help you monitor RAM usage.
7. Test different RAM configurations: If you have the flexibility, consider performing tests with different RAM configurations to determine the optimal setup for your specific project. Add or remove RAM modules and observe the impact on Revit’s performance, responsiveness, and overall stability.
By considering these factors, consulting experts, and monitoring RAM usage, you can determine the appropriate amount of RAM needed for your specific Revit project. Investing in the right RAM configuration will help maximize performance, minimize bottlenecks, and ensure a smooth workflow throughout the project’s lifecycle.
Tips for optimizing RAM usage in Revit
Optimizing RAM usage in Revit is essential to maintain smooth performance and ensure efficient workflows. By implementing the following tips, you can make the most of your available RAM and optimize Revit’s performance:
1. Close unused applications: Before launching Revit, close any unnecessary applications running in the background. Each open application consumes RAM, and closing them frees up resources for Revit.
2. Manage project size and complexity: Divide large and complex projects into smaller sections or separate files when possible. By working on smaller portions, you can reduce the RAM requirements and enhance performance.
3. Use worksharing efficiently: When collaborating in a worksharing environment, avoid excessively large worksets and minimize the number of elements loaded into your local file. Only load the worksets and elements you are actively working on to conserve RAM usage.
4. Optimize views and visibility settings: Limit the number of views and sheets you have open simultaneously. Use the “Isolate” or “Hide in View” features to control visibility and reduce the amount of data loaded into memory.
5. Purge unused elements: Regularly purge and remove unused or unnecessary elements from your project. This reduces the amount of data stored in RAM, freeing up resources for other essential tasks.
6. Limit undo operations: Revit’s undo command consumes significant RAM. Reduce the number of undo operations or adjust the undo settings to free up memory for active tasks.
7. Optimize family and component usage: Use lightweight components and families whenever possible. Complex families and components with excessive geometry or high-resolution textures can place a strain on RAM usage.
8. Optimize render settings: Adjust the render settings to reduce the quality or level of detail in viewport representations. This can decrease the RAM required for rendering, saving resources for other operations.
9. Use default materials: Utilize default or simple materials instead of highly detailed or complex materials. This reduces the amount of texture data stored in RAM and improves performance.
10. Manage linked files: If your project contains linked files, carefully manage the models and elements loaded from those files. Load only the necessary information and keep an eye on RAM usage when working with linked files.
11. Monitor RAM usage: Keep an eye on your system’s RAM usage while working in Revit. Use tools like the Windows Task Manager or third-party software to identify any abnormal spikes or excessive memory consumption.
By implementing these tips and adopting good RAM management practices, you can optimize Revit’s performance and ensure smoother workflows. Regularly monitoring RAM usage and making adjustments as needed will help maintain optimal performance throughout your Revit projects.
Common issues and error messages related to insufficient RAM in Revit
Insufficient RAM in Revit can lead to various issues and error messages that can negatively impact your workflow. Recognizing these common problems can help you identify if RAM is the cause and take appropriate actions to address them:
1. Slow performance and lag: One of the most noticeable signs of insufficient RAM is slow performance and lag while performing tasks in Revit. Actions such as model navigation, element selection, or loading/saving projects may take longer than usual, impacting productivity.
2. Freezing or crashing: When working with large and complex projects, inadequate RAM can cause Revit to freeze or crash, resulting in data loss and disruption to your workflow. These crashes may occur when opening or closing projects, rendering, or performing memory-intensive operations.
3. Out of memory errors: If Revit exceeds the available RAM, you may encounter “Out of Memory” errors. These errors typically occur when performing memory-intensive tasks such as rendering or working with large datasets. Revit may be unable to allocate enough memory, resulting in the error message and disruption of the task at hand.
4. Increased file loading and saving times: Limited RAM can significantly slow down the loading and saving times of Revit project files. As Revit relies on RAM to store and process project data, insufficient memory may result in longer processing times, causing delays when opening or saving projects.
5. Incomplete or failed rendering: Insufficient RAM can cause incomplete or failed rendering operations in Revit. Renderings may appear incomplete or exhibit artifacts due to memory limitations. Revit may also encounter errors during the rendering process, leading to failed or distorted output.
6. Revit system instability: Inadequate RAM can make Revit unstable, leading to random crashes, freezing, or unexpected program termination. This instability can disrupt your workflow, cause data loss, and hinder project progress.
7. Inability to handle large models: When working with large BIM models, inadequate RAM can make Revit struggle to handle the data and calculations required. This can lead to delayed responses, sluggish performance, or even project file corruption in extreme cases.
When encountering these issues or error messages, it is crucial to assess your system’s RAM capacity and consider upgrading if necessary. Increasing the RAM can alleviate these problems and enhance Revit’s performance and stability, providing a smoother experience and improving productivity.
It is also important to note that while insufficient RAM is often the cause of these issues, other factors such as outdated hardware, incompatible software, or system configuration issues can also contribute. It is recommended to consult with IT professionals or hardware experts to diagnose and address any underlying issues that may be affecting Revit’s performance.
Upgrading RAM for improved Revit performance: What to consider
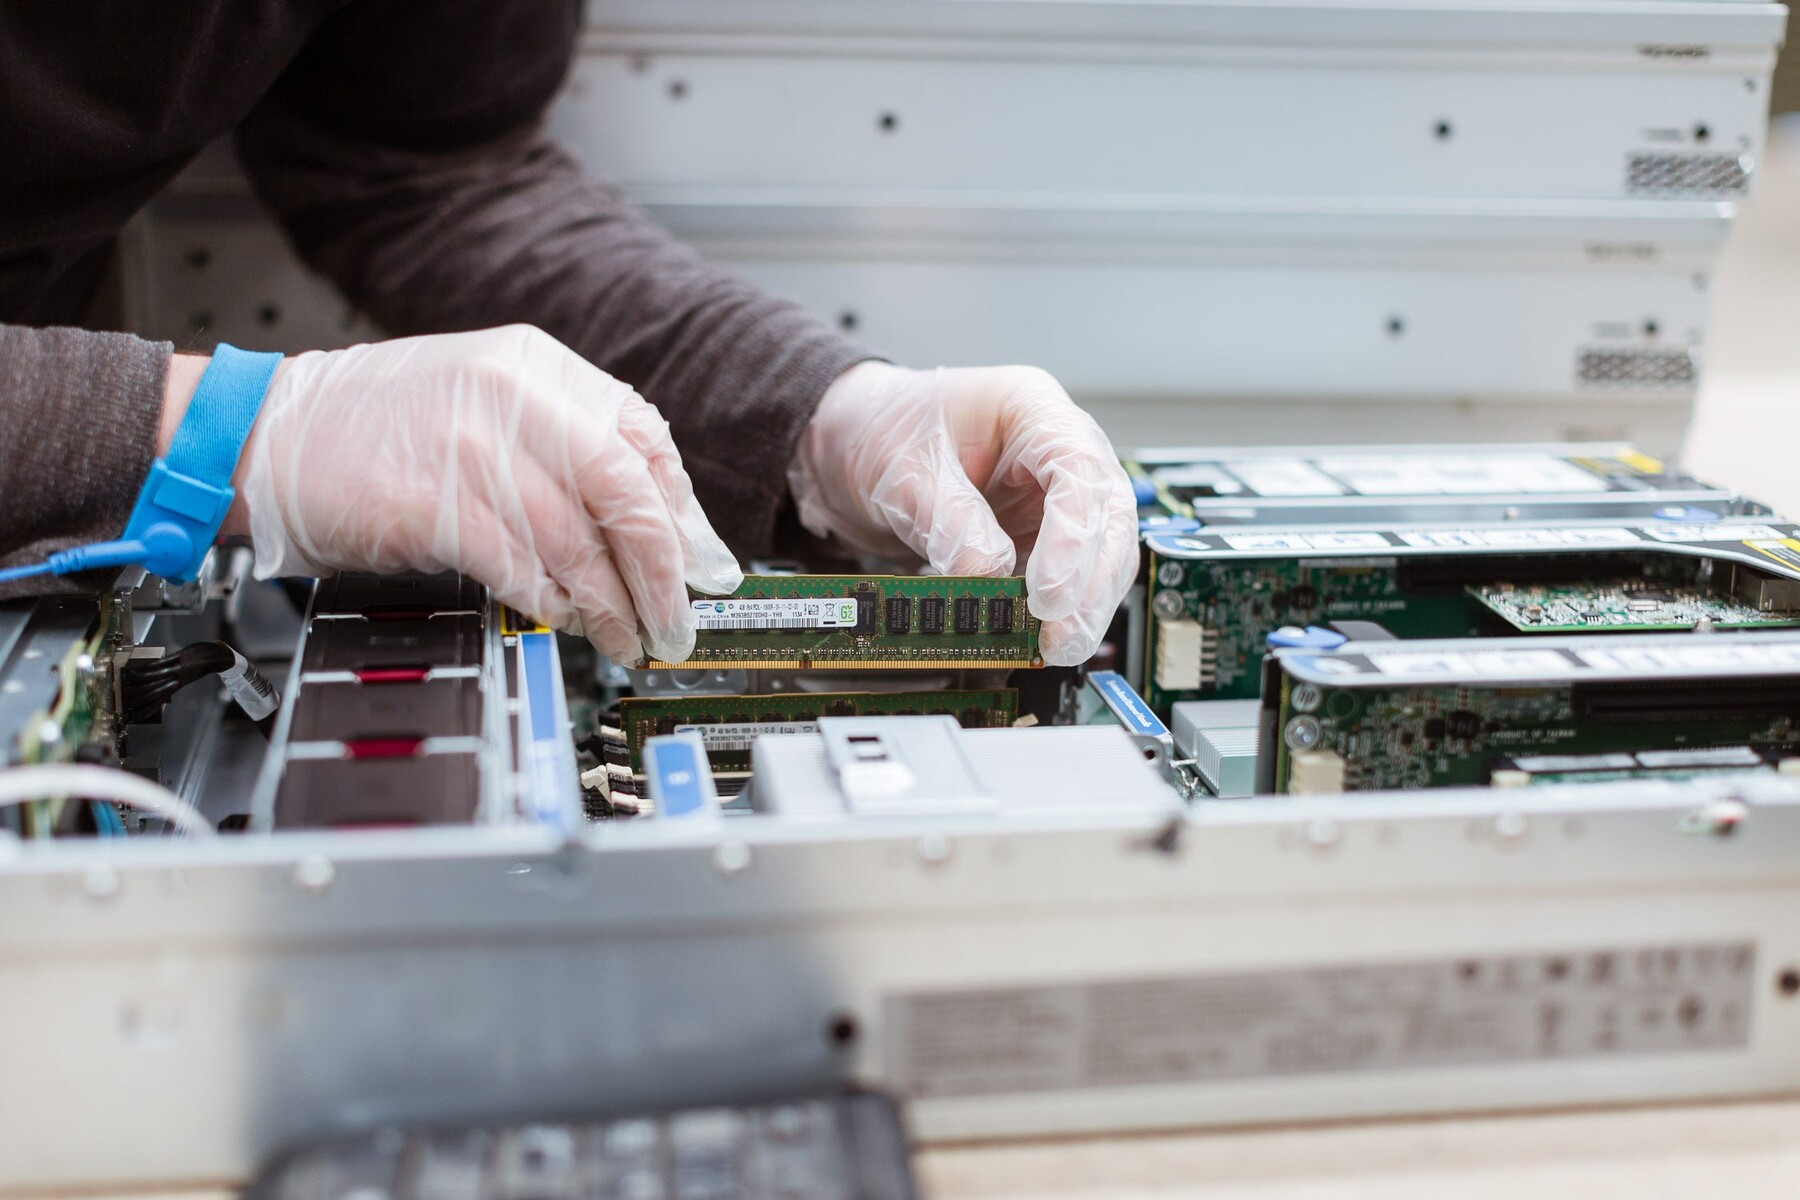
Upgrading RAM can significantly enhance the performance of Revit, especially when working with larger and more complex projects. When considering a RAM upgrade, there are several factors to take into consideration to ensure the best results:
1. Determine the current RAM capacity: Check the current amount of RAM installed on your system. This will provide a baseline for determining the additional RAM needed for improved Revit performance.
2. Refer to Revit’s recommended system requirements: Consult Autodesk’s recommended system requirements for the version of Revit you are using. It will provide valuable insights into the maximum RAM capacity supported and the ideal configurations for different project sizes and complexities.
3. Assess your budget: Determine your budget for the RAM upgrade. RAM prices can vary depending on the capacity and type of RAM modules. Consider how much you are willing to invest and balance it with the expected performance gains.
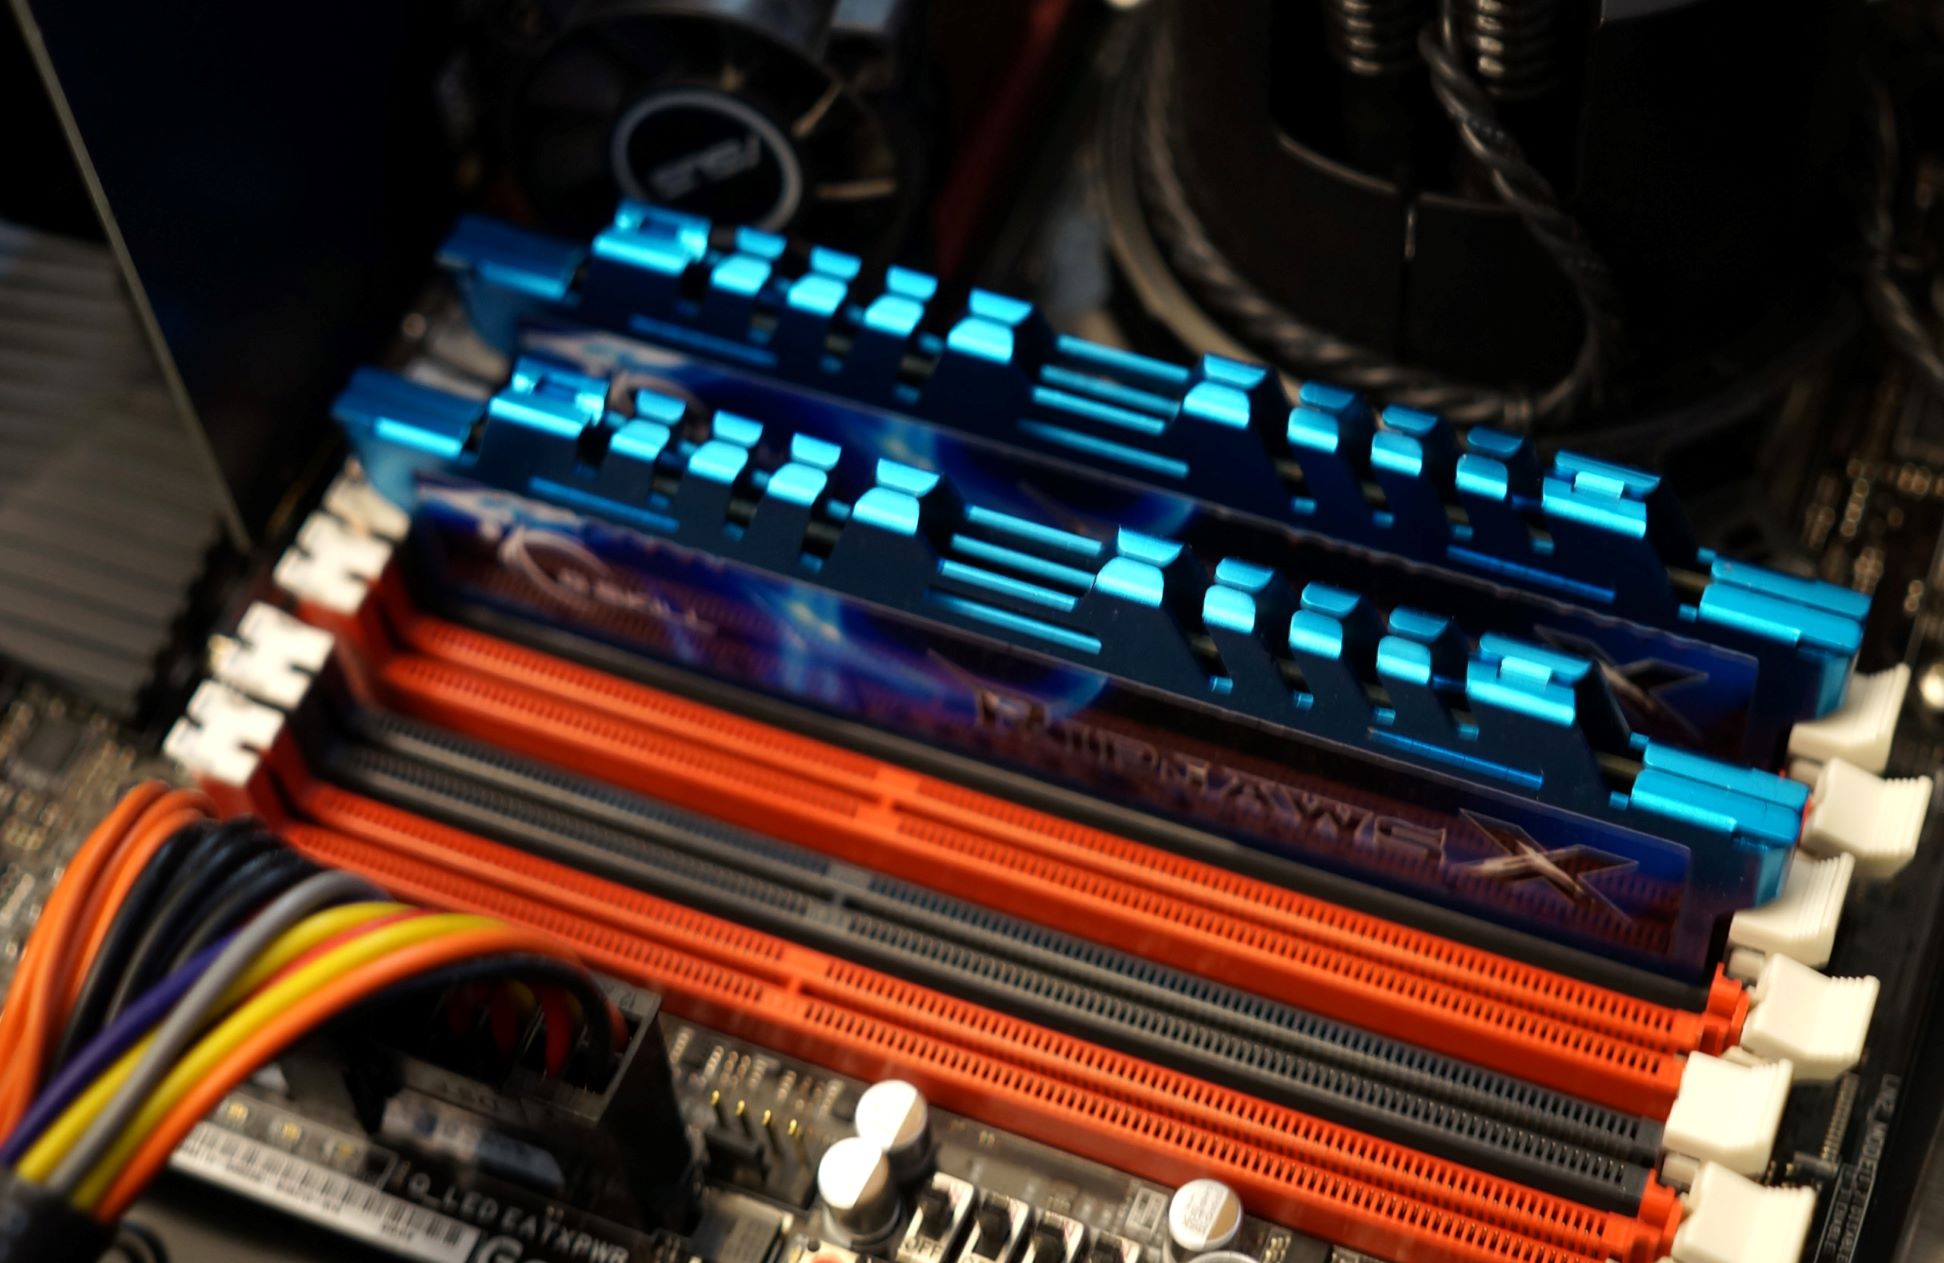
4. Consider the motherboard limitations: Check the specifications of your motherboard to ensure it can support the additional RAM you plan to install. Some motherboards have limitations on the maximum RAM capacity or support specific types of RAM modules. Ensure compatibility before making a purchase.
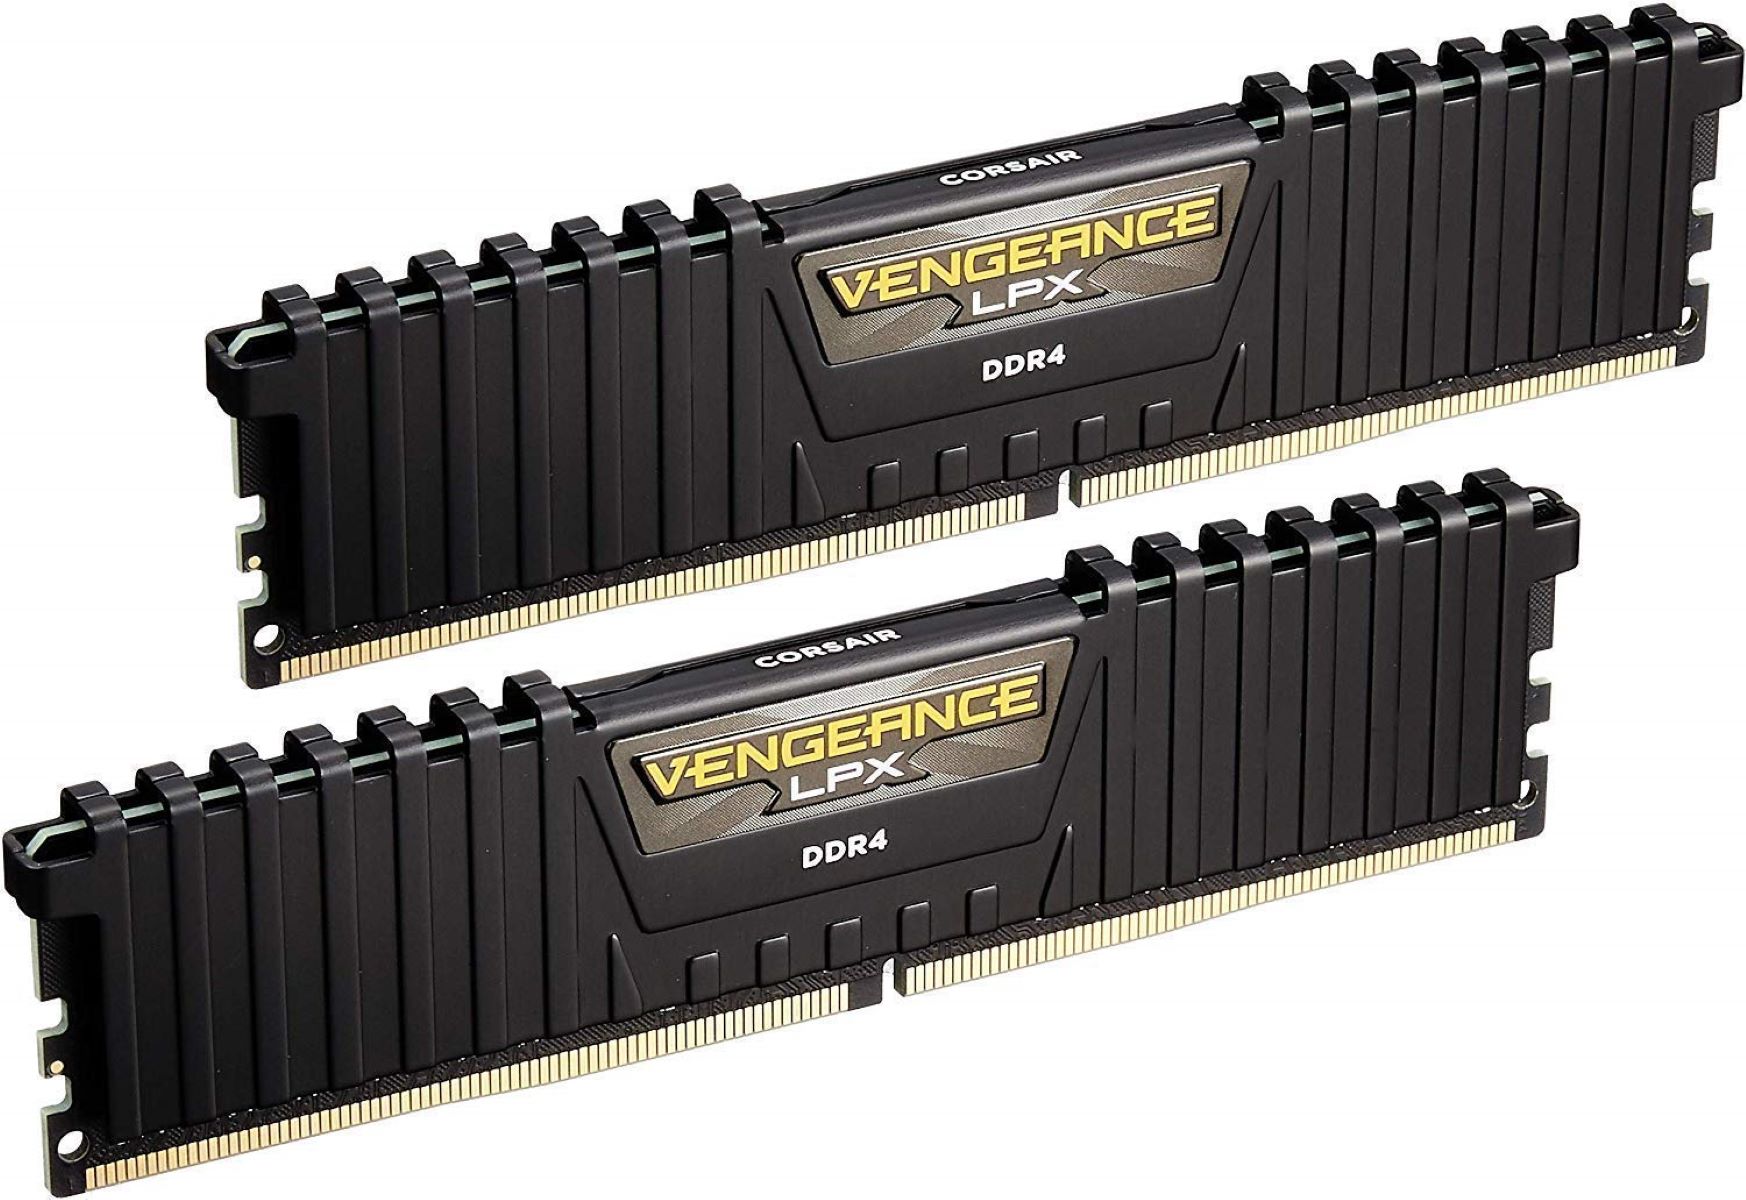
5. Choose the appropriate RAM type and speed: Research the compatible RAM types and speeds for your system. DDR4 RAM is commonly used in modern systems, but DDR3 may still be suitable for older systems. Select RAM modules with the appropriate speed to match your motherboard’s capabilities for optimal performance.
6. Consider dual-channel or quad-channel configurations: If your motherboard supports it, consider using a dual-channel or quad-channel configuration. These configurations allow for higher memory bandwidth and can improve data transfer rates, enhancing Revit’s performance.
7. Plan for future expansion: Consider future expansion needs when upgrading RAM. If you anticipate working on more complex projects or utilizing resource-intensive features, it may be wise to invest in additional RAM capacity to accommodate future growth and ensure long-term performance.
8. Consult with hardware professionals: Seek advice from IT professionals or hardware experts when planning your RAM upgrade. They can provide valuable insights, assess your specific needs, and recommend the best RAM configuration for your system and Revit workflow.
Upgrading RAM can significantly improve Revit’s performance, allowing for smoother operation, faster rendering times, and enhanced productivity. Careful consideration of your system’s capabilities, budget, and future needs will help you make an informed decision and choose the right RAM upgrade for improved Revit performance.
Understanding the relationship between RAM and other hardware components in Revit
While RAM is an important component in improving Revit’s performance, it’s crucial to understand its relationship with other hardware components to achieve optimal results. The following hardware components work in tandem with RAM to enhance Revit’s capabilities:
Processor: The processor, or CPU, is responsible for executing Revit’s instructions and calculations. It works closely with RAM to ensure smooth data transfer and processing. While RAM stores the actively used data and instructions, the processor accesses and manipulates this data. A powerful CPU can handle complex calculations and tasks more efficiently, working in conjunction with RAM.
Graphics Card: The graphics card, or GPU, plays a vital role in rendering and displaying graphical elements in Revit. It deals with the visual aspects of the software, including modeling, shading, and lighting. While RAM primarily focuses on data storage and processing, a dedicated graphics card can offload the rendering tasks from the CPU and improve overall system performance. It also has its own dedicated video RAM (VRAM) for storing and processing graphical data.
Storage Drive: The storage drive, commonly referred to as the hard disk drive (HDD) or solid-state drive (SSD), stores Revit software, project files, and other data. While RAM provides quick access to data during active Revit sessions, the storage drive holds the permanent storage for the software and files. A fast and reliable storage drive can enhance Revit’s loading times, project file access, and overall system responsiveness.
Motherboard: The motherboard acts as a central hub that interconnects various hardware components in a system. It plays a crucial role in determining the compatibility and maximum capacity of RAM. The type and speed of RAM supported, as well as the number of RAM slots available, are determined by the motherboard. Understanding the capabilities and limitations of the motherboard is essential when upgrading or selecting RAM for Revit.
It’s important to note that RAM works in conjunction with these hardware components, but it is not the sole factor in determining Revit’s performance. Each component contributes to the overall system performance and affects how Revit operates. Striking a balance between these components is key to achieving optimal performance in Revit.
When upgrading or optimizing your system for Revit, it’s essential to consider these hardware components collectively. Investing in a powerful CPU, a dedicated graphics card, and a fast storage drive alongside sufficient RAM can result in a well-rounded system that delivers excellent performance in Revit. Proper hardware configuration and compatibility are vital for maximizing Revit’s capabilities and ensuring a smooth and efficient workflow.


