Introduction
Indulging in a delicious scoop of homemade ice cream can be a delightful experience. From classic vanilla to exotic flavors like salted caramel or matcha green tea, the possibilities are endless when it comes to creating your own ice cream creations. One way to achieve this is by using an electric ice cream maker, a convenient appliance designed to churn and freeze the mixture simultaneously. But have you ever wondered how long it takes for your ice cream to be ready?
The amount of time it takes to make ice cream in an electric ice cream maker can vary depending on several factors. Understanding these factors can help you plan ahead, manage your time, and ensure that you have a perfectly frozen treat when you’re craving it the most.
In this article, we will explore the different variables that can influence the time it takes to make ice cream in an electric ice cream maker. We’ll discuss the capacity of the appliance, the type of ice cream mixture used, the temperature of the ingredients, pre-chilling the ice cream maker, motor speed and power, and the desired texture of the ice cream. By considering these factors, you’ll be able to optimize your ice cream-making process and achieve the desired results.
So, whether you’re a novice or an experienced ice cream enthusiast, let’s delve into the world of electric ice cream makers and uncover the secrets to whipping up creamy, dreamy frozen treats in no time.
Factors Affecting the Time to Make Ice Cream
When it comes to making ice cream in an electric ice cream maker, several factors play a crucial role in determining the amount of time it will take to achieve that perfect scoop. These factors include the capacity of the ice cream maker, the type of ice cream mixture used, the temperature of the ingredients, pre-chilling the ice cream maker, motor speed and power, and the desired texture of the final product.
The capacity of your electric ice cream maker is an important factor to consider. The larger the capacity, the more time it will take to freeze the ice cream mixture thoroughly. If your ice cream maker has a smaller capacity, the freezing process may be quicker due to the smaller volume of the mixture. It’s always a good idea to check the instruction manual of your specific ice cream maker to understand its capacity limitations.
The type of ice cream mixture you use also affects the freezing time. Different recipes and ingredients can result in variations in freezing time. For example, a custard-based ice cream with egg yolks will typically take longer to freeze compared to a simple fruit-based sorbet. Additionally, the fat content and sugar content of the mixture can influence freezing time, with higher fat and sugar content often requiring more time to freeze.
Another factor to consider is the temperature of the ingredients used in the ice cream mixture. It’s recommended to use ingredients that have been properly chilled in the refrigerator before adding them to the ice cream maker. Starting with chilled ingredients helps the ice cream maker to reach freezing temperatures more quickly, thus speeding up the overall process.
Pre-chilling the ice cream maker itself can also impact the time it takes to make ice cream. Some ice cream makers require pre-freezing the inner bowl for a certain amount of time before using it. This pre-chilling step ensures that the bowl is at the optimal temperature for freezing the mixture, reducing the overall freezing time.
The motor speed and power of your electric ice cream maker also affect the freezing time. Ice cream makers with more powerful motors and higher speeds tend to freeze the mixture faster. However, it’s important to note that excessive speed can also result in grainy or icy textures, so finding the right balance is key.
Lastly, the desired texture of the ice cream plays a role in determining the time it takes to make it. Some people prefer a softer, more delicate texture, which may require less freezing time. On the other hand, if you prefer a firmer, harder scoop, you may need to increase the freezing time to achieve that desired consistency.
By considering these factors and making adjustments as needed, you can optimize the time it takes to make ice cream in your electric ice cream maker. Experimenting with different recipes and understanding your specific appliance’s capabilities will help you achieve the perfect scoop every time.
Capacity of the Electric Ice Cream Maker
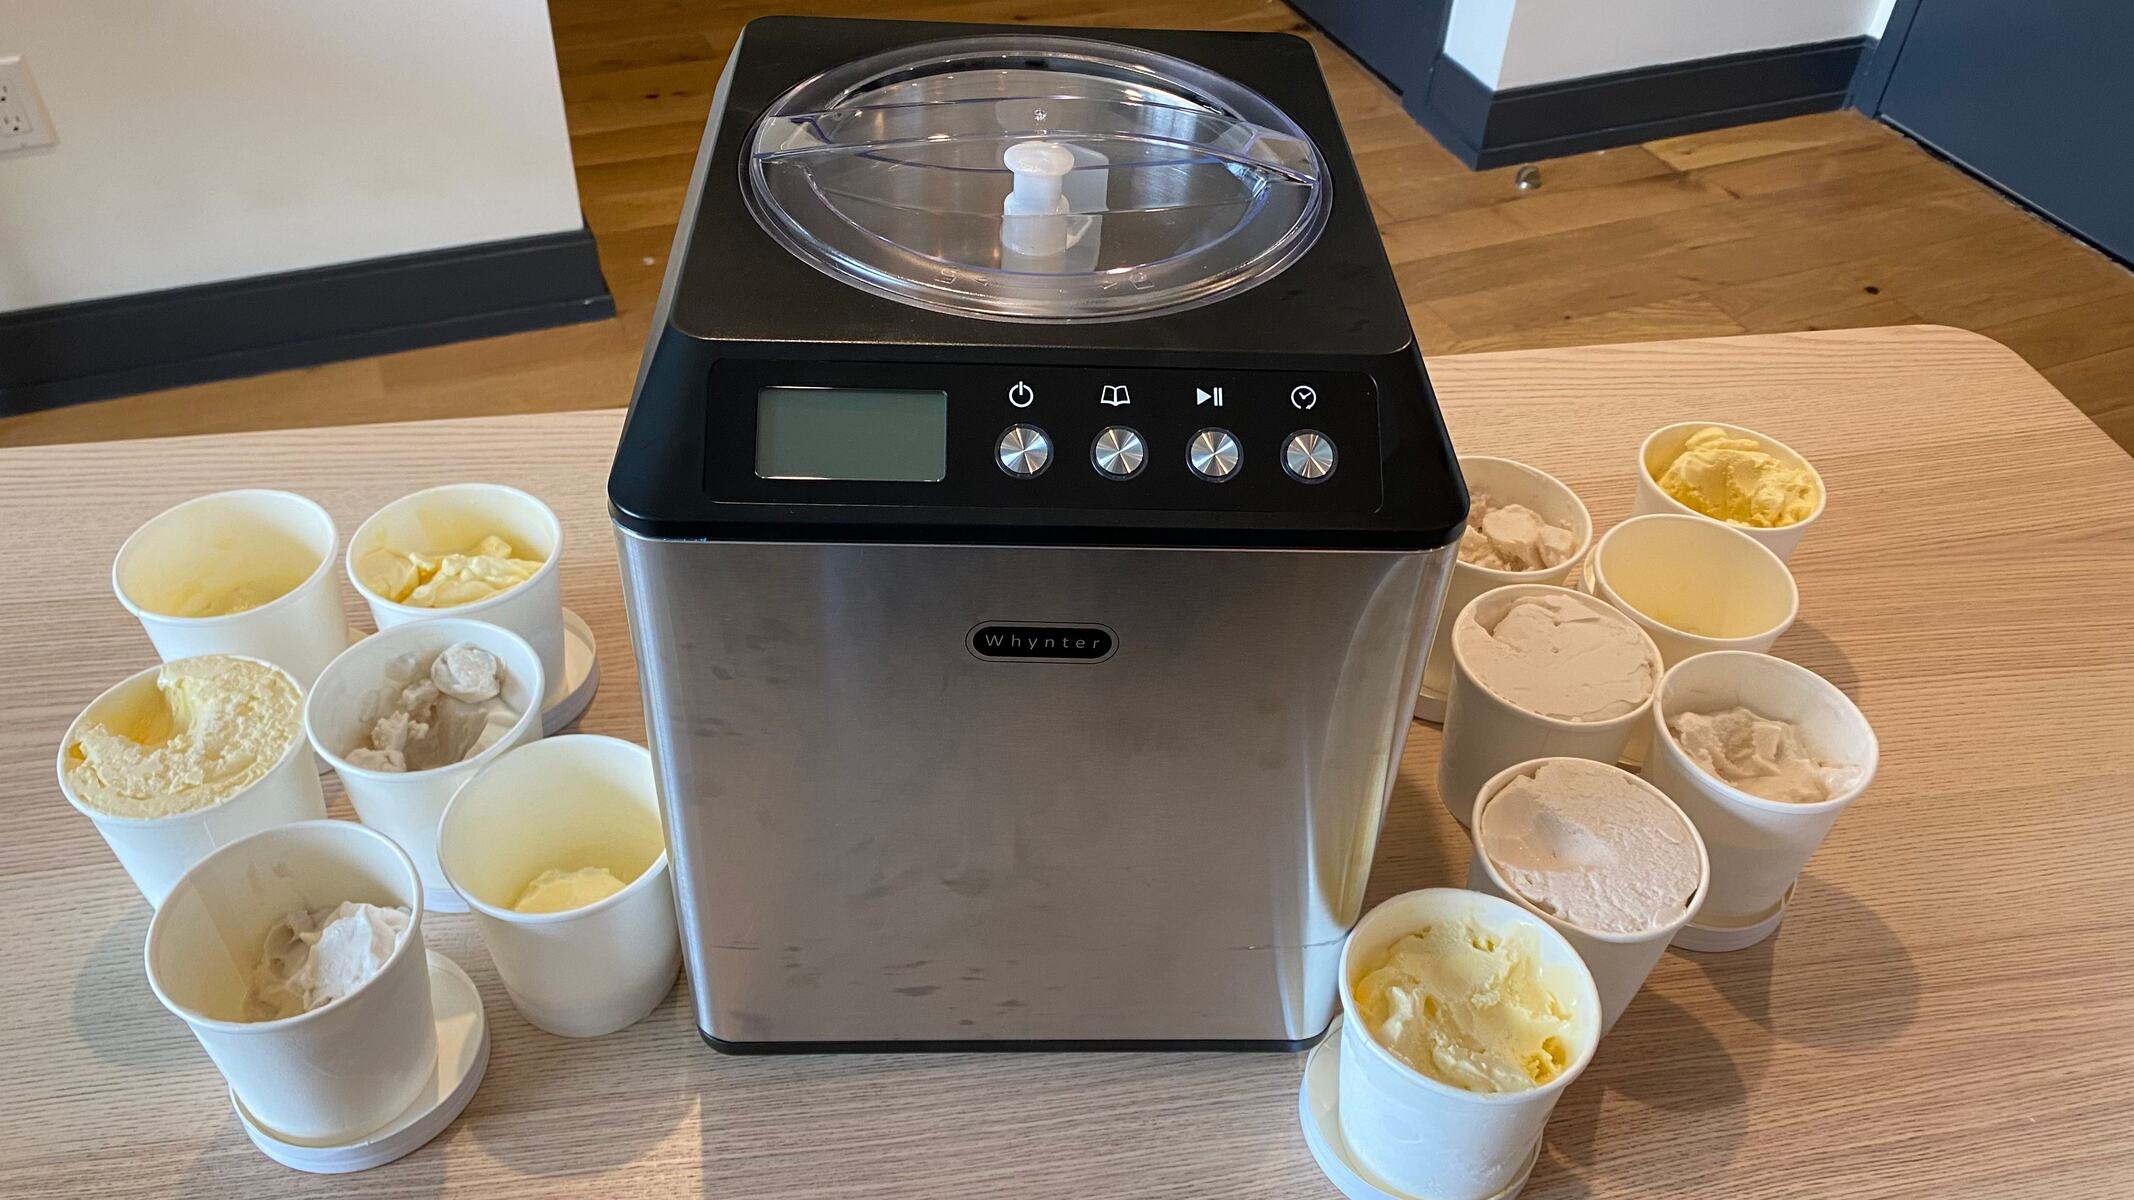
The capacity of your electric ice cream maker is an important factor to consider when it comes to the time it takes to make ice cream. The capacity refers to the volume of ice cream mixture that the appliance can handle at one time. Typically, electric ice cream makers are available in various sizes, ranging from half a quart to several quarts.
The larger the capacity of your ice cream maker, the more time it will generally take to freeze the ice cream mixture thoroughly. This is because a larger volume of mixture requires more time for the machine to churn and freeze it properly. As a result, if you’re using a machine with a larger capacity, it’s likely that the overall process will take longer compared to a smaller capacity machine.
On the other hand, if you’re using an ice cream maker with a smaller capacity, the freezing process may be quicker. This is because there is a smaller volume of mixture to freeze, allowing the machine to reach the desired consistency faster. However, it’s important to note that even with a smaller capacity, the total time required to make ice cream may still vary depending on other factors like the type of mixture and the level of desired firmness.
When determining the capacity of your electric ice cream maker, it’s essential to refer to the instruction manual or the product specifications provided by the manufacturer. This will help you understand the maximum volume of ice cream mixture that the machine can handle without overflowing or compromising the freezing process. Overfilling the machine can lead to inadequate freezing and uneven consistency in the final product.
Additionally, it’s worth noting that a larger capacity ice cream maker can be beneficial when making larger batches of ice cream for gatherings or parties. It allows you to prepare a larger quantity of ice cream in a single batch, saving you time and effort. However, keep in mind that the larger the batch size, the longer it will take to freeze the entire mixture.
Ultimately, the capacity of your electric ice cream maker plays a significant role in determining the time it takes to make ice cream. Whether you opt for a smaller or larger capacity machine, it’s important to consider your preferences, the number of servings you plan to make, and the time you have available. By understanding and managing the capacity effectively, you can optimize the time it takes to create delicious homemade ice cream.
Type of Ice Cream Mixture Used
The type of ice cream mixture you choose to make can have a significant impact on the amount of time it takes to create your frozen treat using an electric ice cream maker. Different recipes and ingredients result in variations in freezing time, texture, and overall taste.
If you’re making a custard-based ice cream, which typically includes egg yolks, cream, milk, sugar, and flavorings, the freezing time will generally be longer compared to other types of ice cream mixtures. This is due to the higher fat content and the presence of egg yolks, which requires a longer freezing time for proper solidification. However, custard-based ice creams often result in a rich and creamy texture that many ice cream lovers enjoy.
On the other hand, if you’re making a fruit-based sorbet, which typically contains pureed fruits, sugar, and water, the freezing time is often shorter. Fruit-based mixtures have a lower fat content and typically don’t contain eggs, allowing them to freeze faster. This is great if you’re looking for a refreshing and lighter frozen treat that can be enjoyed more quickly.
The fat and sugar content of the ice cream mixture also affect the freezing time. Higher fat content tends to slow down the freezing process, as fat takes longer to solidify. Similarly, high sugar content can lower the freezing point of the mixture, resulting in a longer freezing time. It’s important to consider these factors when creating your ice cream mixture and adjust them according to your desired consistency and freezing time.
Additionally, the use of additives like stabilizers, emulsifiers, and thickeners can also impact the freezing time. These additives help improve texture and stability, but they can also affect how quickly the mixture freezes. Pay attention to the specific requirements and recommendations in your chosen recipe to achieve the desired results.
Experimenting with different types of ice cream mixtures can be an enjoyable and creative process. From classic flavors like vanilla and chocolate to more adventurous combinations like mint chocolate chip or lavender honey, the type of mixture you choose will determine the freezing time required to achieve the perfect consistency.
Remember to follow the recipe instructions closely and adjust ingredients and ratios as necessary to suit your taste preferences. By understanding the impact of different ice cream mixtures, you’ll be able to make informed decisions and create delectable frozen treats with your electric ice cream maker.
Temperature of Ingredients
The temperature of the ingredients used in your ice cream mixture can significantly affect the time it takes to make ice cream in an electric ice cream maker. Starting with properly chilled ingredients can help expedite the freezing process and ensure that your ice cream reaches the desired consistency in a timely manner.
Using ingredients that have been chilled in the refrigerator before starting the ice cream-making process can help the ice cream maker reach the required freezing temperatures more quickly. When the mixture starts at a lower temperature, the machine has less work to do in order to freeze it, saving you valuable time.
Including dairy products, such as milk and cream, that have been properly refrigerated is crucial. These ingredients contain fats that need to solidify during the freezing process, and starting with colder temperatures can promote faster solidification.
Another key ingredient to consider is the liquid used in the ice cream mixture. Water-based liquids, such as fruit juices, can freeze faster than dairy-based liquids due to their lower freezing points. Using liquid ingredients that have been chilled in advance can help speed up the freezing process. However, be mindful of the balance between the liquid ingredients and the other components of the recipe, as too much liquid can affect the texture of the final product.
Sugar also plays a role in freezing time. Higher sugar content can lower the freezing point of the mixture, resulting in a longer freezing time. It’s important to follow the recipe instructions regarding sugar amounts to achieve the desired consistency and freezing time.
Similarly, any additional flavorings or mix-ins, such as vanilla extract, chocolate chips, or fruit puree, should also be at the proper temperature. These ingredients can add complexity and enhance the overall taste of the ice cream but may require extra time for the machine to freeze them evenly throughout the mixture.
When preparing the ingredients for your ice cream, it’s essential to follow the recipe instructions regarding chilling and temperature requirements. By starting with the correct temperature for each ingredient, you can ensure optimal freezing conditions for your electric ice cream maker. This will result in a smoother and creamier final product in less time.
Remember to properly store any leftover ice cream in a freezer-safe container in the freezer after it has gone through the churning process. Maintaining the proper temperature during storage will help preserve the texture and flavor for an extended period of time, ensuring the best ice cream experience every time you indulge.
Pre-chilling the Ice Cream Maker
One effective way to reduce the time it takes to make ice cream in an electric ice cream maker is by pre-chilling the appliance before starting the mixing and freezing process. Pre-chilling ensures that the ice cream maker is at the optimal temperature for freezing the mixture, allowing for a quicker and more efficient freezing process.
Many electric ice cream makers require pre-freezing the inner bowl, which is the main component responsible for freezing the ice cream mixture. The length of time needed to pre-freeze the bowl can vary among different models, but it is typically several hours or overnight. It’s crucial to consult your specific ice cream maker’s instruction manual to determine the recommended pre-freezing time.
By pre-freezing the bowl, you create an environment that is already at a lower temperature than the room temperature. This pre-chilled bowl can quickly transfer cold energy to the ice cream mixture, helping it freeze faster. Be sure to store the bowl in a freezer that maintains a consistent temperature of 0°F (-18°C) or below to ensure optimal freezing conditions.
Before pouring in the ice cream mixture, it’s important to check that the pre-chilled bowl is firmly secured within the ice cream maker. This ensures proper contact with the mixing paddle and allows for efficient freezing and churning. Additionally, make sure to assemble the ice cream maker according to the manufacturer’s instructions to prevent any issues during operation.
Pre-chilling the ice cream maker also helps maintain a consistent temperature throughout the entire ice cream-making process. This prevents the mixture from thawing too quickly, which could lead to icy textures or uneven freezing. The colder the ice cream maker, the better it can maintain the freezing temperatures needed to create a smooth and creamy consistency.
It’s worth mentioning that if you plan to make multiple batches of ice cream, you may need to re-chill the bowl between batches. This prevents the subsequent batches from taking longer to freeze due to a warmer bowl temperature. Always refer to the instruction manual to understand the specific guidelines for re-freezing the bowl.
Overall, pre-chilling the ice cream maker plays a vital role in reducing the time it takes to make ice cream. By following the recommended pre-freezing time and ensuring proper assembly, you can optimize the freezing process and enjoy your homemade frozen delights in less time.
Motor Speed and Power
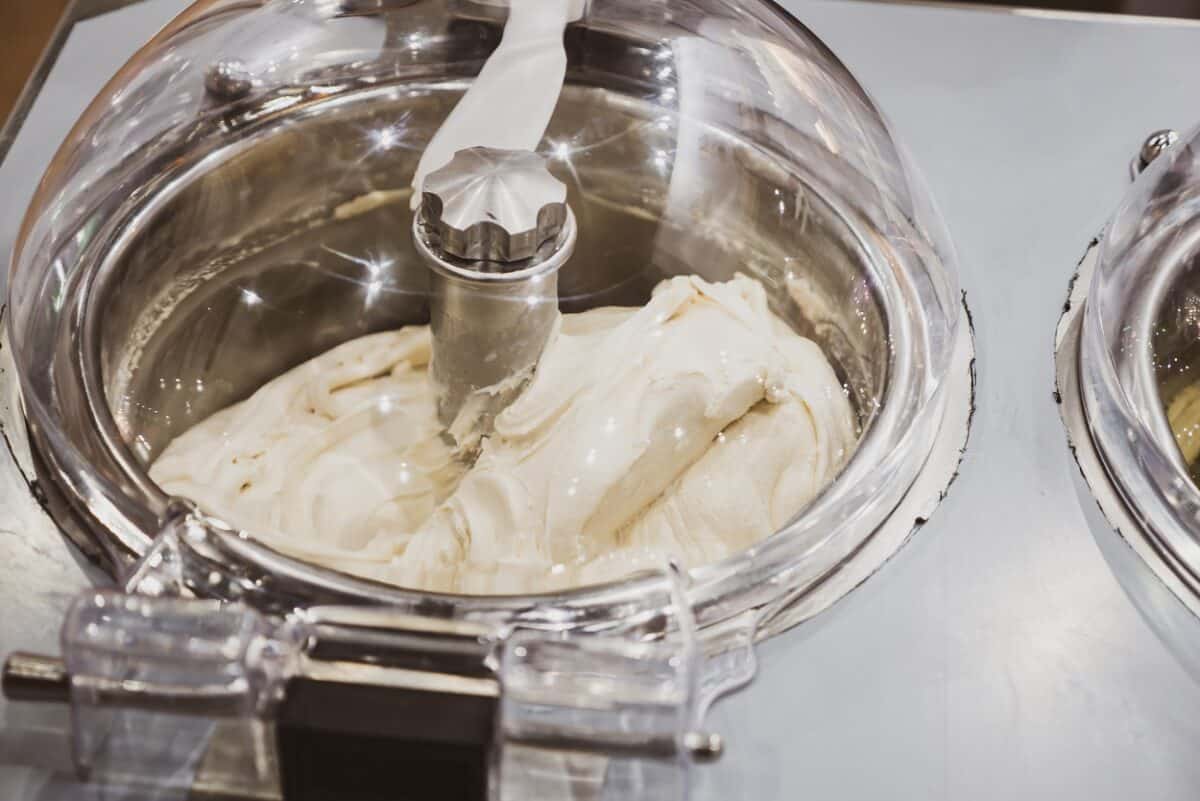
The motor speed and power of your electric ice cream maker can have a significant impact on the time it takes to make ice cream. The motor is responsible for driving the mixing paddle and freezing the ice cream mixture. Understanding the capabilities of your ice cream maker’s motor can help you optimize the freezing process and achieve faster results.
Ice cream makers with more powerful motors and higher speeds are generally able to freeze the mixture more quickly. The increased power allows the machine to churn and freeze the mixture efficiently, resulting in a faster overall freezing time. These machines are designed to generate more cold energy, which helps solidify the ice cream mixture effectively.
However, it’s essential to strike a balance when it comes to motor speed and power. While a higher speed can expedite the freezing process, excessive speed can also impact the texture of the ice cream. Rapid churning can introduce excessive air into the mixture, resulting in a lighter and sometimes grainy texture. It’s important to find the right balance between speed and texture to achieve the desired consistency for your ice cream.
Some ice cream makers come with adjustable motor speeds, allowing you to customize the freezing process according to your preferences. Lower speeds are often used for more delicate mixtures, such as those with a custard base, to prevent over-whipping and maintain a smoother texture. Higher speeds are typically used for lighter mixtures, such as sorbets and fruit-based ice creams, to promote better incorporation of air and create a fluffier texture.
It’s also important to consider the power source for your ice cream maker. Electric ice cream makers that are directly connected to a power outlet tend to have a more consistent and reliable power supply, ensuring optimal performance throughout the freezing process. Battery-powered or rechargeable ice cream makers may have limitations in terms of motor power and overall freezing time due to the limited power capacity.
When using your electric ice cream maker, pay attention to the motor speed and power options available, and adjust them accordingly based on the type of ice cream mixture and desired texture. Experimenting with different settings and understanding the capabilities of your machine’s motor will help you achieve the perfect balance between speed and consistency, resulting in delicious homemade ice cream in no time.
Overrun and Texture Preferences
When making ice cream in an electric ice cream maker, the concept of overrun and texture preferences comes into play. Overrun refers to the increase in volume of the ice cream mixture as a result of the incorporation of air during the freezing process. The amount of overrun significantly affects the texture and consistency of the final product.
Ice cream with higher overrun will have a lighter and fluffier texture. This is achieved by incorporating more air into the mixture during the churning process. Ice cream with lower overrun will be denser and have a smoother, creamier texture. The level of overrun you prefer ultimately depends on personal taste and texture preferences.
Ice cream machines with higher motor speeds and more powerful motors tend to incorporate more air into the mixture, resulting in a higher overrun. If you prefer a lighter, fluffier ice cream, you can select a higher-speed setting during the freezing process. This will aerate the mixture more, increasing the overrun and creating a lighter texture.
On the other hand, if you prefer a denser and more indulgent ice cream, you can opt for lower motor speeds to minimize the amount of air incorporated. This will result in a lower overrun and a creamier texture. Keep in mind that the lower the overrun, the more pronounced the flavors will be, as there is less air to dilute the taste.
Texture preferences can also be influenced by factors like the fat content and type of ingredients used in the ice cream mixture. Higher fat content, such as the inclusion of heavy cream or egg yolks in a custard base, results in a creamier and richer texture. Lower fat content, such as using milk or yogurt, will yield a lighter texture.
Additionally, the type of sweeteners used can affect the texture. Sugar helps lower the freezing point of the mixture, resulting in a smoother texture by reducing the formation of ice crystals. Other sweeteners like honey or maple syrup may contribute a different texture, so it’s important to consider how they can impact your desired outcome.
Experimenting with different combinations of overrun, motor speeds, and ingredients can help you find the perfect texture for your ice cream. Adjusting these factors based on your personal preferences will allow you to create a frozen treat that meets your individual taste and enjoyment.
Ultimately, when considering overrun and texture preferences, it’s important to strike a balance that creates a delightful and satisfying sensory experience. Whether you prefer a light and airy scoop or a rich and creamy indulgence, understanding and adjusting these factors will help you achieve your desired texture every time you make homemade ice cream.
Common Timeframes for Making Ice Cream
The time it takes to make ice cream in an electric ice cream maker can vary depending on several factors, including the capacity of the machine, the type of mixture used, and the desired texture. However, there are some general timeframes that can provide a reference point for the ice cream-making process.
For a typical batch of homemade ice cream made with a standard electric ice cream maker, the overall time can range from 20 minutes to 40 minutes. This timeframe includes both the mixing and freezing phases.
The mixing phase usually takes around 5 to 10 minutes. During this time, the ingredients are combined, and the mixture is churned to incorporate air and create a smooth consistency. The mixing time can vary depending on the recipe and the desired level of incorporation and overrun.
After the mixing phase, the machine transitions into the freezing phase. The freezing process typically takes around 15 to 30 minutes. The exact time can vary depending on factors such as the temperature of the ingredients, the pre-chilling of the ice cream maker, the motor speed and power, and the desired texture.
It’s important to monitor the freezing process closely. You’ll notice that as time goes on, the mixture will start to thicken and develop a frozen texture. When the ice cream reaches the desired consistency, it’s time to stop the freezing process and transfer the ice cream to a freezer-safe container for further hardening.
Keep in mind that these timeframes are approximate and can vary depending on the specific ice cream maker, recipe, and preferences. Custard-based ice creams, which require cooking a mixture of eggs, sugar, and dairy, often have longer overall timeframes due to the additional cooking and cooling steps involved.
When preparing to make ice cream, it’s always a good idea to plan ahead and allocate enough time for the entire process. Preparing the ice cream mixture in advance, ensuring that the ice cream maker is pre-chilled, and having all the necessary ingredients on hand will help streamline the process.
Remember that the goal is to achieve a creamy, smooth, and well-frozen ice cream. Don’t rush the process and be patient, as the time spent in the ice cream maker is essential for the proper development of flavor and texture.
By following the instructions and guidelines provided with your specific ice cream maker, as well as considering the factors mentioned above, you’ll be able to create delicious homemade ice cream within a reasonable timeframe.
Conclusion
Making ice cream in an electric ice cream maker is an enjoyable and rewarding process that allows you to create delectable frozen treats in the comfort of your own home. Throughout this article, we have explored the various factors that can affect the time it takes to make ice cream, including the capacity of the machine, the type of mixture used, the temperature of the ingredients, pre-chilling the ice cream maker, motor speed and power, overrun, and texture preferences.
By understanding these factors and making adjustments as needed, you can optimize the time it takes to make ice cream and achieve the desired results. Consider the capacity of your ice cream maker and choose a recipe that suits the size of the machine. Pay attention to the type of ice cream mixture you use, adjusting the fat and sugar content to achieve the desired texture. Take into account the temperature of the ingredients, pre-chilling the ice cream maker, and the motor speed and power to optimize freezing time.
Don’t forget to factor in the desired texture and overrun preferences when making your ice cream. Experimenting with different settings and ingredients will help you find the perfect balance between light and airy or creamy and rich textures.
While specific timeframes can vary depending on these factors, a common timeframe for making ice cream in an electric ice cream maker ranges from 20 to 40 minutes, including both the mixing and freezing phases. However, it’s important to follow the instructions provided by your ice cream maker’s manufacturer and any specific recipe guidelines to achieve the best possible results.
With a little patience and creativity, you can create flavorful and delightful ice cream at home, customized to your taste preferences. Enjoy the process, have fun experimenting with different recipes and techniques, and savor the satisfaction of indulging in a scoop of your very own homemade ice cream.


