Introduction
Yogurt has long been a favorite food for many people due to its creamy texture and tangy flavor. It is not only a delicious snack but also a source of beneficial probiotics that can improve gut health. Making yogurt at home allows you to customize the ingredients, flavors, and sweetness to your liking.
While traditional methods of making yogurt require a lot of time and effort, using an electric pressure cooker can streamline the process and produce consistent results. The controlled temperature and sealed environment of the pressure cooker create the ideal conditions for the fermentation process, resulting in thick and creamy yogurt.
In this article, we will guide you through the step-by-step process of making yogurt in an electric pressure cooker. You will learn how to prepare the milk, incubate the yogurt, and add flavorings if desired. By following these simple instructions, you can enjoy homemade yogurt that is not only delicious but also free from any additives or preservatives.
Whether you are a seasoned cook or a beginner in the kitchen, making yogurt in an electric pressure cooker is a fun and rewarding experience. So, let’s gather our ingredients and equipment and get started on this delicious homemade yogurt journey!
Step 1: Gather Your Ingredients and Equipment
Before diving into the yogurt-making process, it’s essential to gather all the necessary ingredients and equipment. Here’s what you’ll need:
- 4 cups of milk: You can use whole milk, 2% milk, or even plant-based milk like almond or soy milk.
- 2 tablespoons of plain yogurt: Make sure to choose a high-quality plain yogurt that contains live and active cultures. This will serve as your starter for the fermentation process.
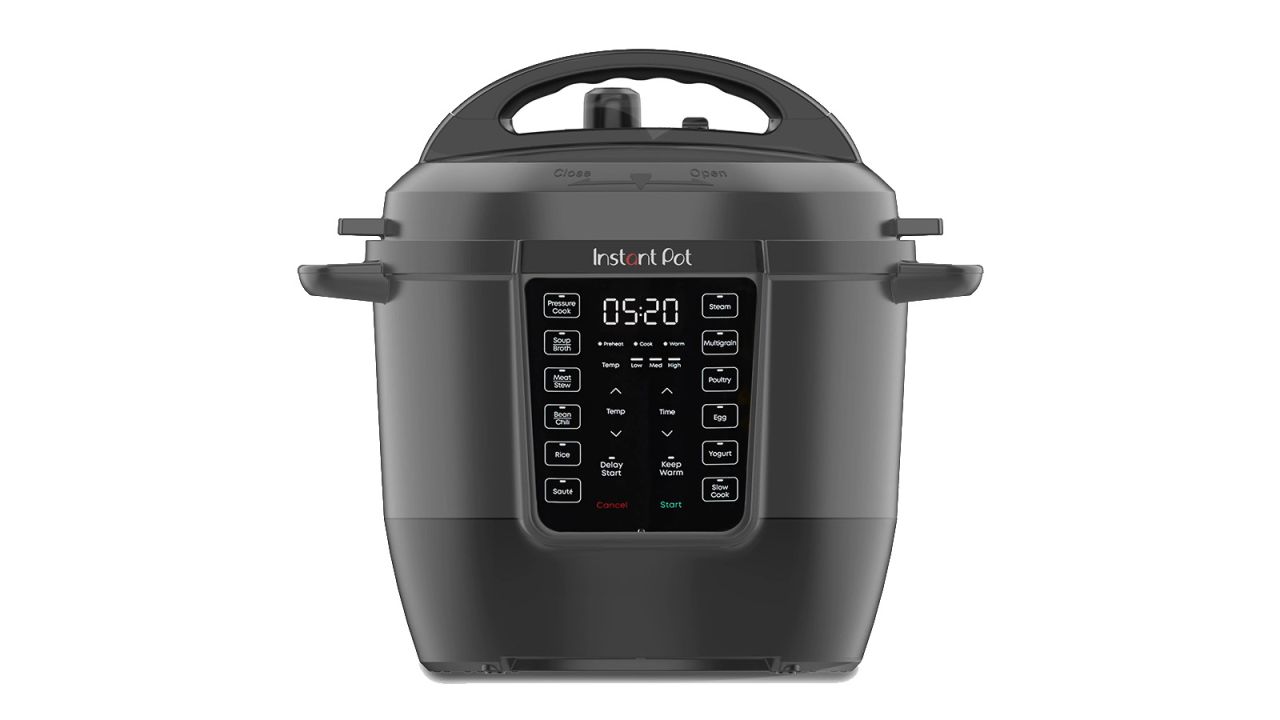
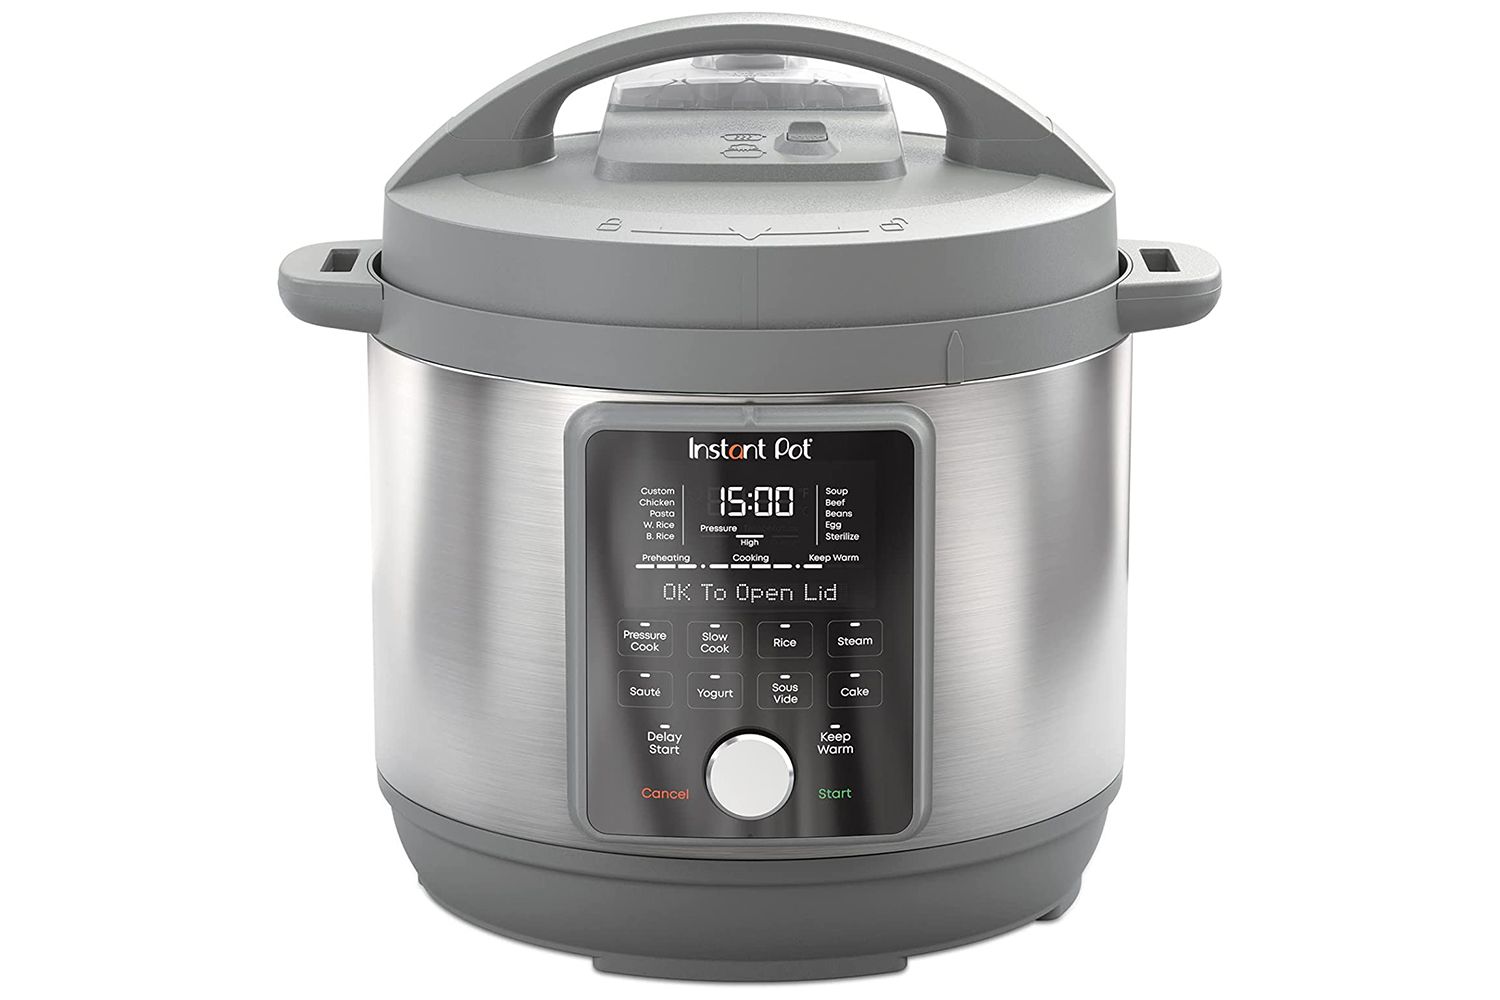
- Electric pressure cooker: Ensure that you have an electric pressure cooker with a yogurt function. It should have temperature settings that can maintain a consistent temperature of around 110°F (43°C).
- Thermometer: A kitchen thermometer is necessary to monitor the temperature of the milk.
- Glass jars or containers: You will need enough clean glass jars or containers to hold your yogurt. Make sure they are heat-resistant and have a tight-sealing lid to prevent any contamination.
- Whisk or spoon: Use a whisk or spoon to mix the milk and starter yogurt thoroughly.
Once you have gathered all the required ingredients and equipment, you are ready to move on to the next step of the yogurt-making process. Take a moment to prepare your workstation and ensure that everything is clean and sanitized. This will help maintain the quality and safety of your homemade yogurt.
Step 2: Prepare the Milk
Now that you have all your ingredients and equipment ready, it’s time to prepare the milk for the yogurt-making process. Follow these steps:
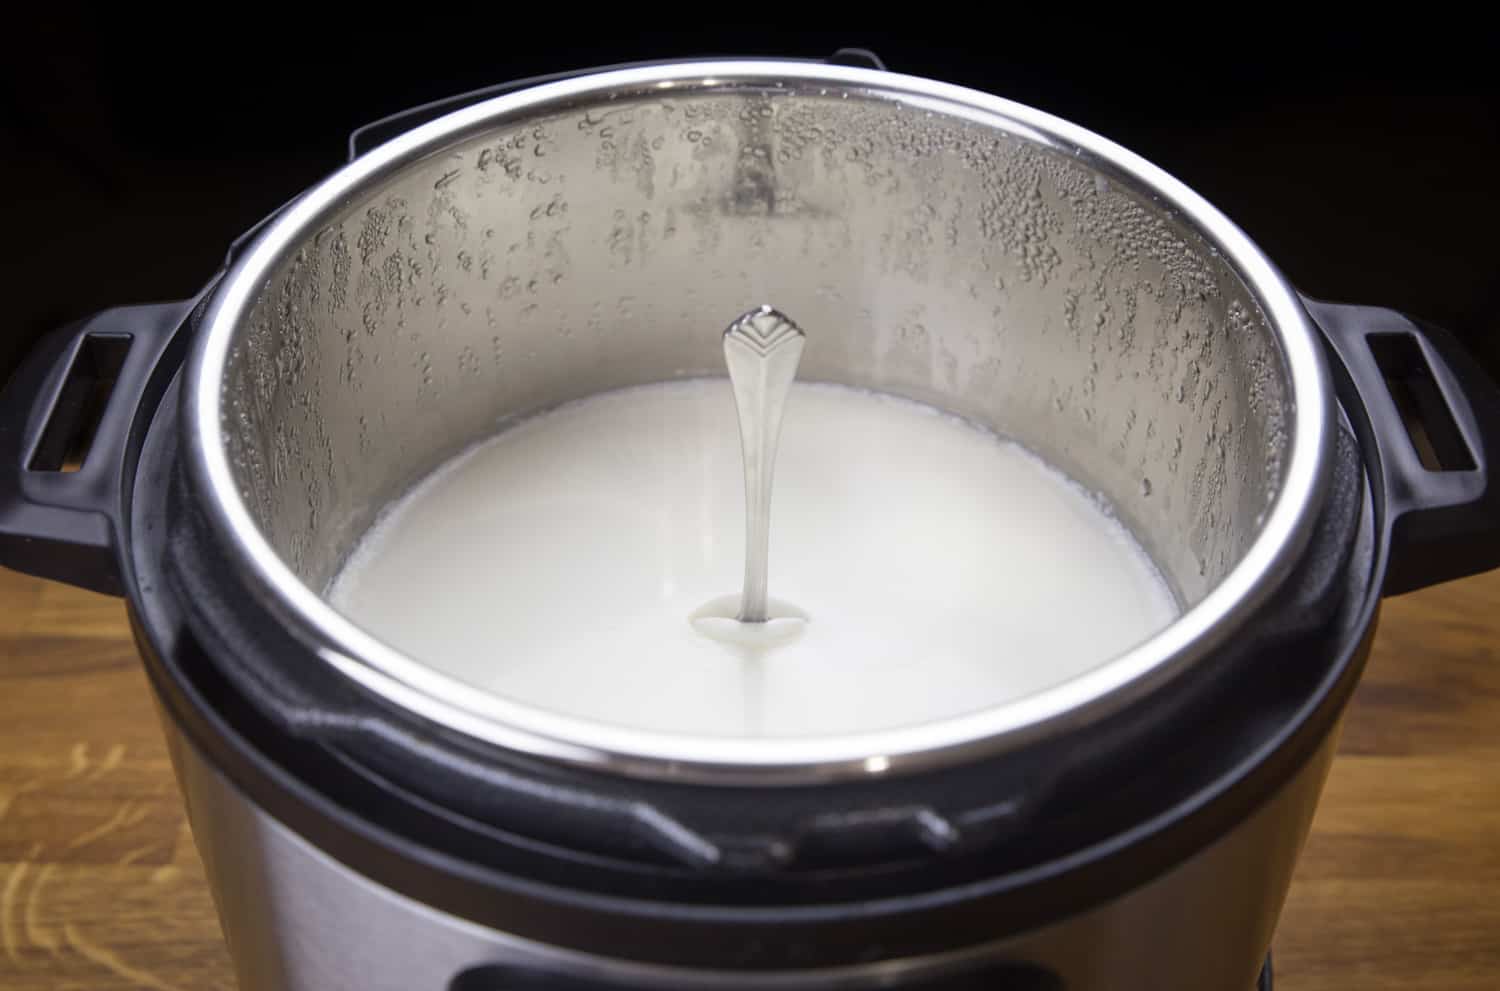
- Pour the milk into the electric pressure cooker: Start by pouring the desired amount of milk into the inner pot of your electric pressure cooker. Use a heat-resistant measuring cup to ensure accurate measurements.
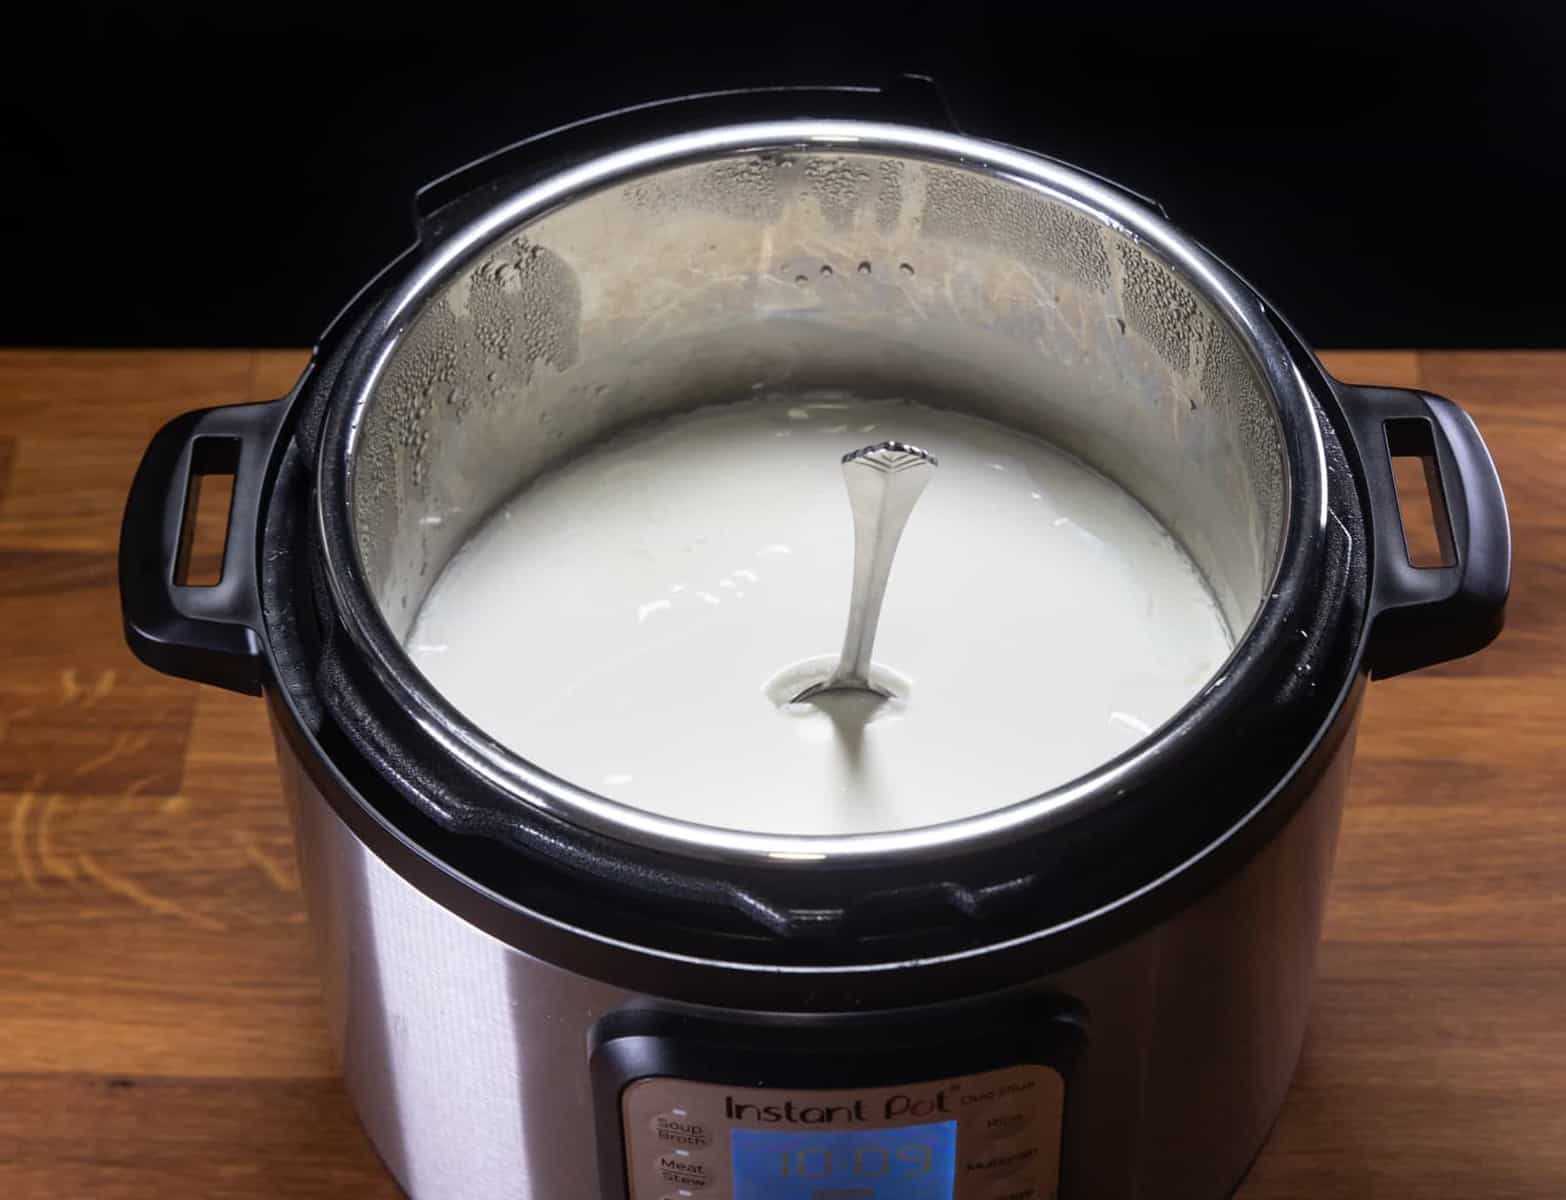
- Heat the milk: Close the lid of the pressure cooker and select the “Yogurt” function. Adjust the temperature settings to “Boil” or “High.” The pressure cooker will heat the milk to around 180°F (82°C) to kill any bacteria present in the milk.
- Cool the milk: Once the milk reaches the desired temperature, open the lid and allow it to cool down to around 110°F (43°C). The cooling process can take approximately 30 minutes. Stir the milk occasionally to distribute the heat evenly.
- Add the starter yogurt: Once the milk has cooled to the appropriate temperature, add 2 tablespoons of plain yogurt to the pot. Use a whisk or spoon to mix the yogurt thoroughly into the milk, ensuring all the milk is evenly inoculated with the starter culture.
It’s important to note that the starter yogurt you use should contain live and active cultures. These cultures will ferment the milk and turn it into yogurt. Look for labels that mention “live cultures” or “probiotics” while choosing your starter yogurt.
Preparing the milk is a crucial step in the yogurt-making process, as it sets the foundation for the fermentation to occur. Be patient during the cooling process and ensure that the milk has reached the suggested temperature before adding the starter yogurt. This will help create the perfect environment for the yogurt cultures to flourish and create a delicious batch of homemade yogurt.
Step 3: Incubate in the Electric Pressure Cooker
After preparing the milk and adding the starter yogurt, it’s time to incubate the mixture in the electric pressure cooker. Follow these steps for successful fermentation:
- Ensure the yogurt function is selected: Check that the pressure cooker is set to the “Yogurt” function. This setting will maintain a consistent temperature needed for the fermentation process.
- Set the incubation time: Select the desired incubation time for your yogurt. The longer you incubate, the tangier and thicker the yogurt will become. The average time is around 8 to 10 hours, but you can experiment with different durations to achieve your desired taste and texture.
- Start the incubation process: Close the lid of the pressure cooker and let it work its magic! The electric pressure cooker will maintain the set temperature throughout the incubation period, allowing the live cultures in the starter yogurt to convert the milk into yogurt.
- Ensure undisturbed incubation: It’s essential to avoid disturbing the pressure cooker during the incubation process. Opening the lid or adjusting the settings can disrupt the ideal conditions required for the fermentation process.
During the incubation period, the bacteria in the starter yogurt will consume the lactose in the milk and convert it into lactic acid. This process thickens the milk and gives it the characteristic tangy flavor of yogurt. The longer you incubate, the more time the bacteria have to work, resulting in a thicker and tangier yogurt.
While the yogurt is incubating, resist the temptation to open the lid and check on its progress. Any disturbance can impact the texture and consistency of the yogurt. Trust the process and let the electric pressure cooker create the perfect environment for the fermentation to take place.
Step 4: Cool and Set the Yogurt
Once the incubation period is complete, it’s time to cool down and set the yogurt. Follow these steps:
- Turn off the pressure cooker: Once the desired incubation time has passed, switch off the pressure cooker or select the “Keep Warm” function.
- Carefully remove the inner pot: Open the lid of the pressure cooker and use oven mitts or kitchen towels to carefully remove the inner pot. Place it on a heat-resistant surface to cool down.
- Cool the yogurt: Allow the yogurt to cool at room temperature for about 1 to 2 hours. Cooling it gradually helps the yogurt to set and develop a firm texture.
- Refrigerate the yogurt: After the cooling period, cover the pot with a lid or seal it with plastic wrap. Place it in the refrigerator and let it chill for at least 4 hours or overnight. This allows the yogurt to fully set and develop its smooth and creamy consistency.
It’s important to resist the temptation to stir or disturb the yogurt while it is cooling and setting. This can affect the texture and may result in a grainy or runny consistency. Allow the yogurt to cool naturally and set undisturbed for the best results.
Once the yogurt has chilled and set, it’s ready to be enjoyed! You can serve it as is or move on to the optional steps of straining and adding flavorings, depending on your preference.
Now that you’ve successfully cooled and set your yogurt, you can look forward to savoring a delicious and healthy homemade treat. The next steps will add an optional touch to further enhance the flavor and texture of your yogurt.
Step 5: Strain (Optional)
For those who prefer a thicker and creamier yogurt, straining is an optional step that can help achieve the desired consistency. Here’s how to strain your yogurt:
- Prepare a strainer or cheesecloth: Place a fine-mesh strainer over a deep bowl or line it with a cheesecloth. The strainer will catch the liquid whey that separates from the yogurt, while allowing the thicker yogurt to strain through.
- Pour the yogurt into the strainer: Carefully pour the chilled yogurt into the prepared strainer or cheesecloth. Make sure there’s enough space in the bowl to collect the whey.
- Allow the yogurt to strain: Leave the yogurt to strain for 1 to 2 hours, or even longer if you prefer an ultra-thick Greek-style yogurt. The longer you strain, the more whey will be removed, resulting in a thicker consistency.
- Discard or save the whey: As the yogurt strains, the liquid whey will collect in the bottom of the bowl. You can discard the whey, or if desired, save it to use in smoothies, soups, or as a liquid in baking recipes.
- Transfer the strained yogurt: Once you’re satisfied with the thickness of the yogurt, transfer it to a clean container. Store it in the refrigerator and consume within the recommended timeframe.
Straining the yogurt removes some of the excess liquid, resulting in a denser and creamier texture. The longer you strain, the more the whey separates, leaving you with a yogurt similar to the Greek yogurts available in stores.
Keep in mind that straining will reduce the volume of the yogurt, so adjust the quantity of milk used accordingly if you prefer a larger batch of strained yogurt.
While straining is optional, it’s a great technique to enhance the texture and richness of your homemade yogurt. Give it a try and see if you prefer the results with or without this step!
Step 6: Add Flavorings (Optional)
One of the joys of making homemade yogurt is the opportunity to customize the flavor to suit your taste preferences. Here’s how you can add delicious flavorings to your yogurt:
- Choose your flavorings: Decide on the flavors you want to infuse into your yogurt. This can include fresh fruits, honey, maple syrup, vanilla extract, cocoa powder, or any other ingredients that you enjoy.
- Prepare the flavorings: If you’re adding fresh fruits, wash and chop them into small pieces. If using liquid flavorings like honey or maple syrup, measure the desired amount.
- Mix the yogurt and flavorings: In a separate bowl, take the desired amount of yogurt and gently fold in the flavorings. Ensure that the flavorings are evenly distributed throughout the yogurt.
- Taste and adjust: Once mixed, taste the yogurt to see if the flavorings are to your liking. If needed, you can add more of the chosen flavorings to enhance the taste.
- Store and let flavors meld: After adding the flavorings, transfer the yogurt to a clean container and store it in the refrigerator. Allow the flavors to meld together for a few hours or overnight, so the yogurt becomes infused with the delicious flavors.
Adding flavorings is a fantastic way to elevate your homemade yogurt and make it even more enjoyable. You can experiment with different combinations of fruits, sweeteners, and extracts to create a wide range of delicious yogurt flavors.
Remember to be mindful of the quantity of flavorings you add, as they can affect the overall taste and nutritional profile of the yogurt. Enjoy the process of awakening your taste buds with the addition of your favorite flavors!
Step 7: Store and Enjoy
Now that you’ve made your delicious homemade yogurt, it’s important to store it properly and savor its goodness. Here’s what you need to know:
- Transfer the yogurt to storage containers: Once you have achieved the desired consistency and flavor, transfer the yogurt to clean and airtight containers. Mason jars, glass containers, or plastic containers with secure lids work well for storing yogurt.
- Label and date the containers: To keep track of freshness, label each container with the date of preparation. Yogurt can typically be stored in the refrigerator for up to two weeks.
- Refrigerate the yogurt: Place the containers of yogurt in the refrigerator and allow them to cool completely. The cooling process further enhances the texture and sets the flavors.
- Enjoy the yogurt: You can enjoy your homemade yogurt as a snack, mix it with granola and fruit for a delicious breakfast, or use it as a base for smoothies and desserts. The possibilities are endless!
Homemade yogurt is a versatile and nutritious treat that can be enjoyed in various ways. Feel free to experiment with different toppings, mix-ins, and serving suggestions to discover your favorite combinations.
As you continue to make homemade yogurt, you may notice subtle variations in consistency and flavor with each batch. This is normal and adds to the charm of crafting your own yogurt.
Remember to store the yogurt in the refrigerator and consume it within the recommended timeframe to ensure its freshness and quality. Homemade yogurt is a delightful and healthy option that you can enjoy with peace of mind, knowing exactly what ingredients are included.
So, grab a spoon and indulge in the creamy goodness of your homemade yogurt. Share it with family and friends, and relish the pride that comes with creating something delicious from scratch!