Introduction
Welcome to this guide on how to make thick yogurt in an electric pressure cooker. Yogurt has become a staple in many households, not only for its delicious taste but also for its numerous health benefits. While store-bought yogurt is readily available, making your own yogurt at home allows you to have complete control over the ingredients and the thickness of the final product.
An electric pressure cooker is a versatile kitchen appliance that can be used for various cooking tasks, including making yogurt. Using an electric pressure cooker to make yogurt has several advantages, including convenience, time efficiency, and the ability to achieve a thicker consistency. In this guide, we will walk you through the steps to make thick yogurt in an electric pressure cooker, providing you with a creamy and satisfying homemade treat.
Whether you are new to making yogurt or an experienced home cook looking for an alternative method, this guide will equip you with the knowledge and techniques needed to achieve the perfect thickness in your yogurt. So, let’s dive in and learn how to make thick yogurt in an electric pressure cooker!
Why Make Thick Yogurt in an Electric Pressure Cooker?
Making thick yogurt in an electric pressure cooker offers several benefits that set it apart from other methods. Here are a few reasons why you should consider using an electric pressure cooker to make thick yogurt:
- Consistency: One of the main advantages of using an electric pressure cooker is the ability to achieve a thick and creamy consistency in your yogurt. The high-pressure environment created inside the cooker helps promote a faster and more efficient fermentation process, resulting in a thicker end product.
- Time Efficiency: Making yogurt in an electric pressure cooker significantly reduces the overall time required compared to traditional methods. With the pressure cooking function, the fermentation process is accelerated, allowing you to enjoy your homemade thick yogurt in a fraction of the time.
- Convenience: Electric pressure cookers are designed to be user-friendly and convenient. They typically have programmable settings specifically for yogurt making, making the process a breeze. You can simply set it and forget it until your thick yogurt is ready to be enjoyed.
- Cost Savings: Homemade yogurt made in an electric pressure cooker can be more cost-effective than buying store-bought options. You have control over the quality of the ingredients and can choose to use organic or locally sourced milk, resulting in a healthier and more affordable option.
- Versatility: Electric pressure cookers can be used for a wide variety of cooking tasks, making them a versatile addition to any kitchen. By making thick yogurt in your electric pressure cooker, you can unlock its full potential and experiment with different flavors and additions to customize your yogurt to your liking.
Now that you understand the advantages of making thick yogurt in an electric pressure cooker, let’s move on to the next section where we will delve into the ingredients and equipment you’ll need for the process.
What You’ll Need
Before you embark on your journey to make thick yogurt in an electric pressure cooker, it’s important to gather all the necessary ingredients and equipment. Here’s a list of what you’ll need:
- Milk: Start with high-quality milk, preferably whole milk, as it will yield a richer and creamier yogurt. You can also use low-fat or skim milk if you prefer a lighter option.
- Yogurt Culture: You’ll need a small amount of plain yogurt with live active cultures to serve as a starter. Make sure the yogurt you choose doesn’t contain any additives or sweeteners.
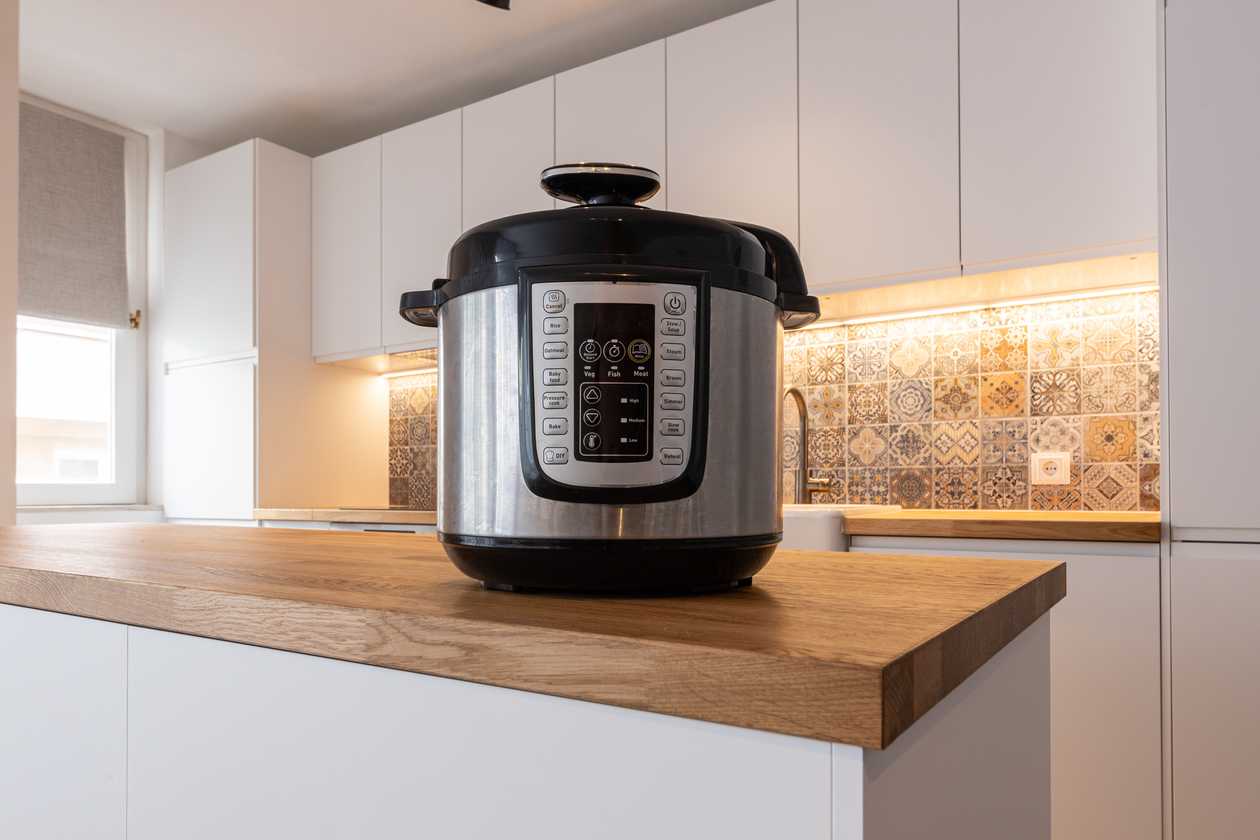
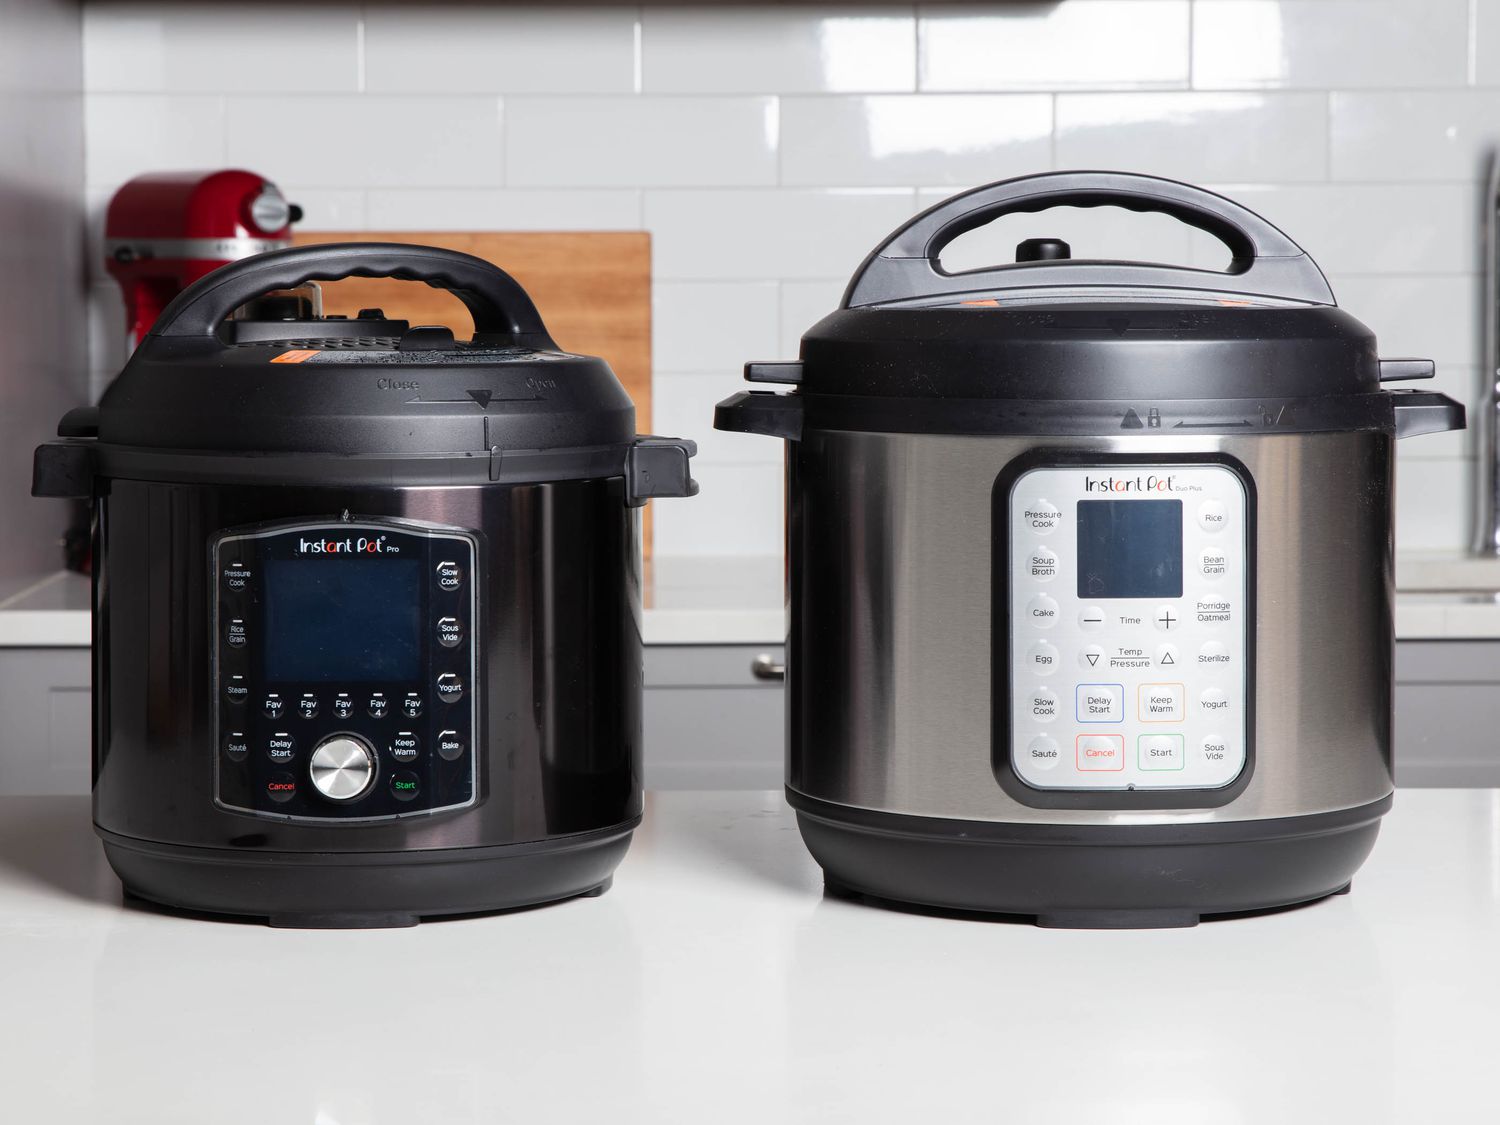
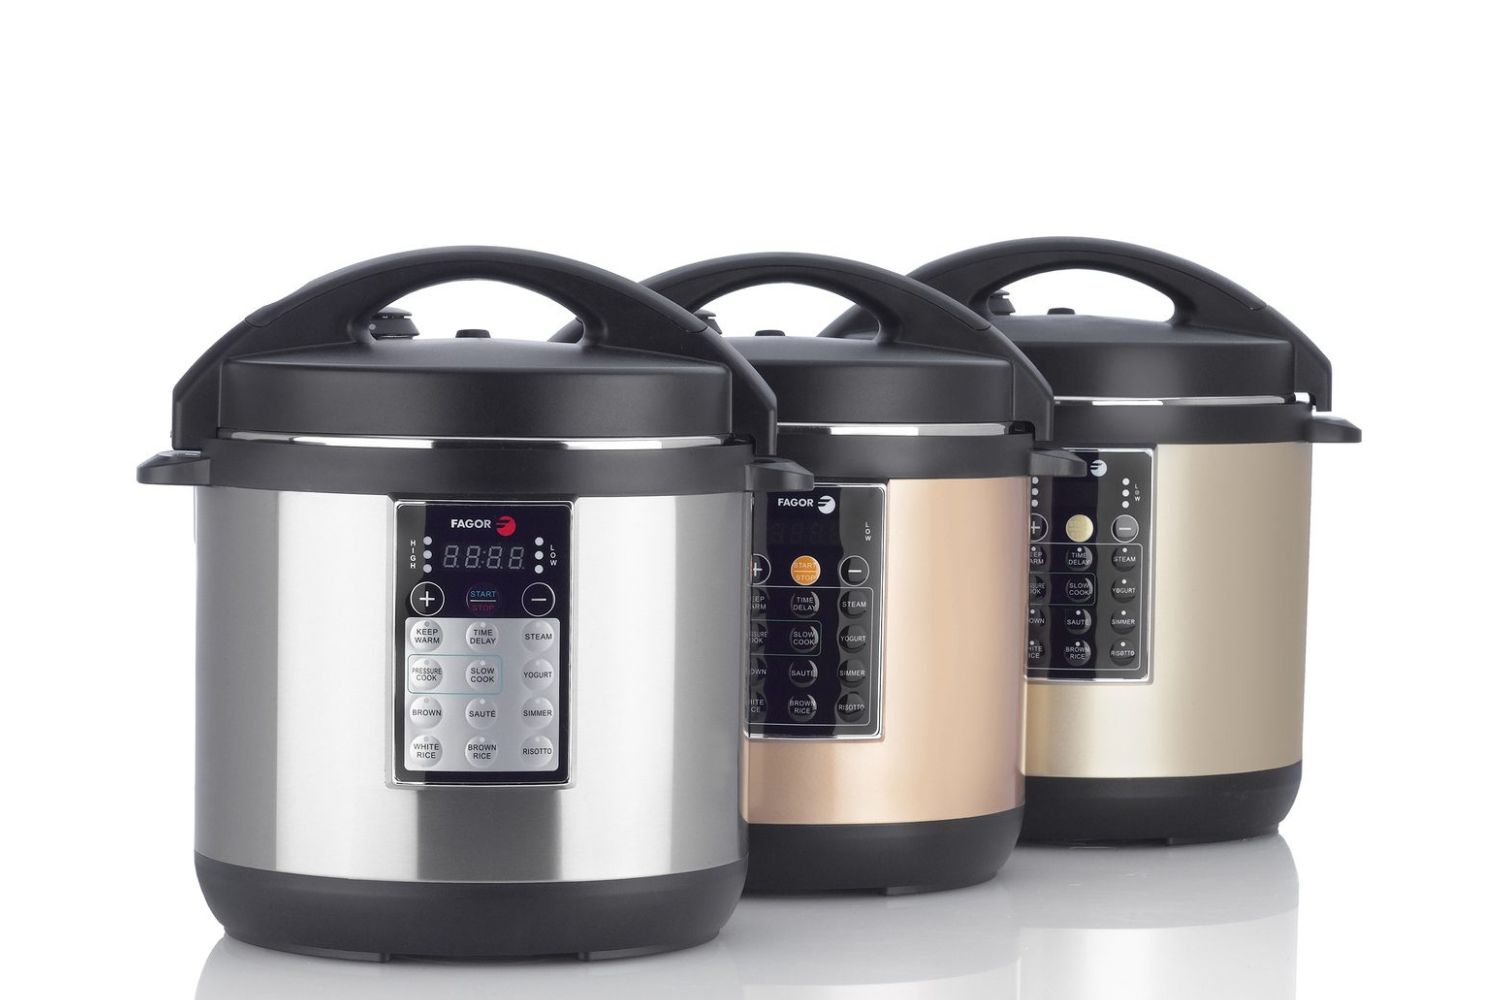
- Electric Pressure Cooker: You’ll need an electric pressure cooker with a yogurt function. It’s important to ensure that your pressure cooker has this specific setting to achieve the desired results.
- Thermometer: A kitchen thermometer is essential to monitor the temperature of the milk during the heating and cooling stages. This will ensure that the milk is at the optimal temperature for the yogurt culture to thrive.
- Jars or Containers: You’ll need sterile jars or containers to store the yogurt during the fermentation process. Make sure they are clean and have airtight lids to maintain the temperature and prevent contamination.
- Kitchen Towels or Blankets: To create a warm and insulated environment for the yogurt to ferment, you’ll need kitchen towels or blankets to wrap around the jars or containers. This will help maintain a consistent temperature throughout the process.
- Optional Additions: If you want to add flavor or texture to your thick yogurt, you can include optional additions such as honey, fresh fruits, granola, or nuts. These additions should be added after the yogurt has fermented and cooled down.
Once you have gathered all the necessary ingredients and equipment, you’re ready to proceed with the steps to make thick yogurt in your electric pressure cooker. In the next section, we will walk you through the process step by step.
Steps to Make Thick Yogurt in an Electric Pressure Cooker
Now that you have everything you need, let’s dive into the step-by-step process of making thick yogurt in an electric pressure cooker:
- Step 1: Heat the Milk
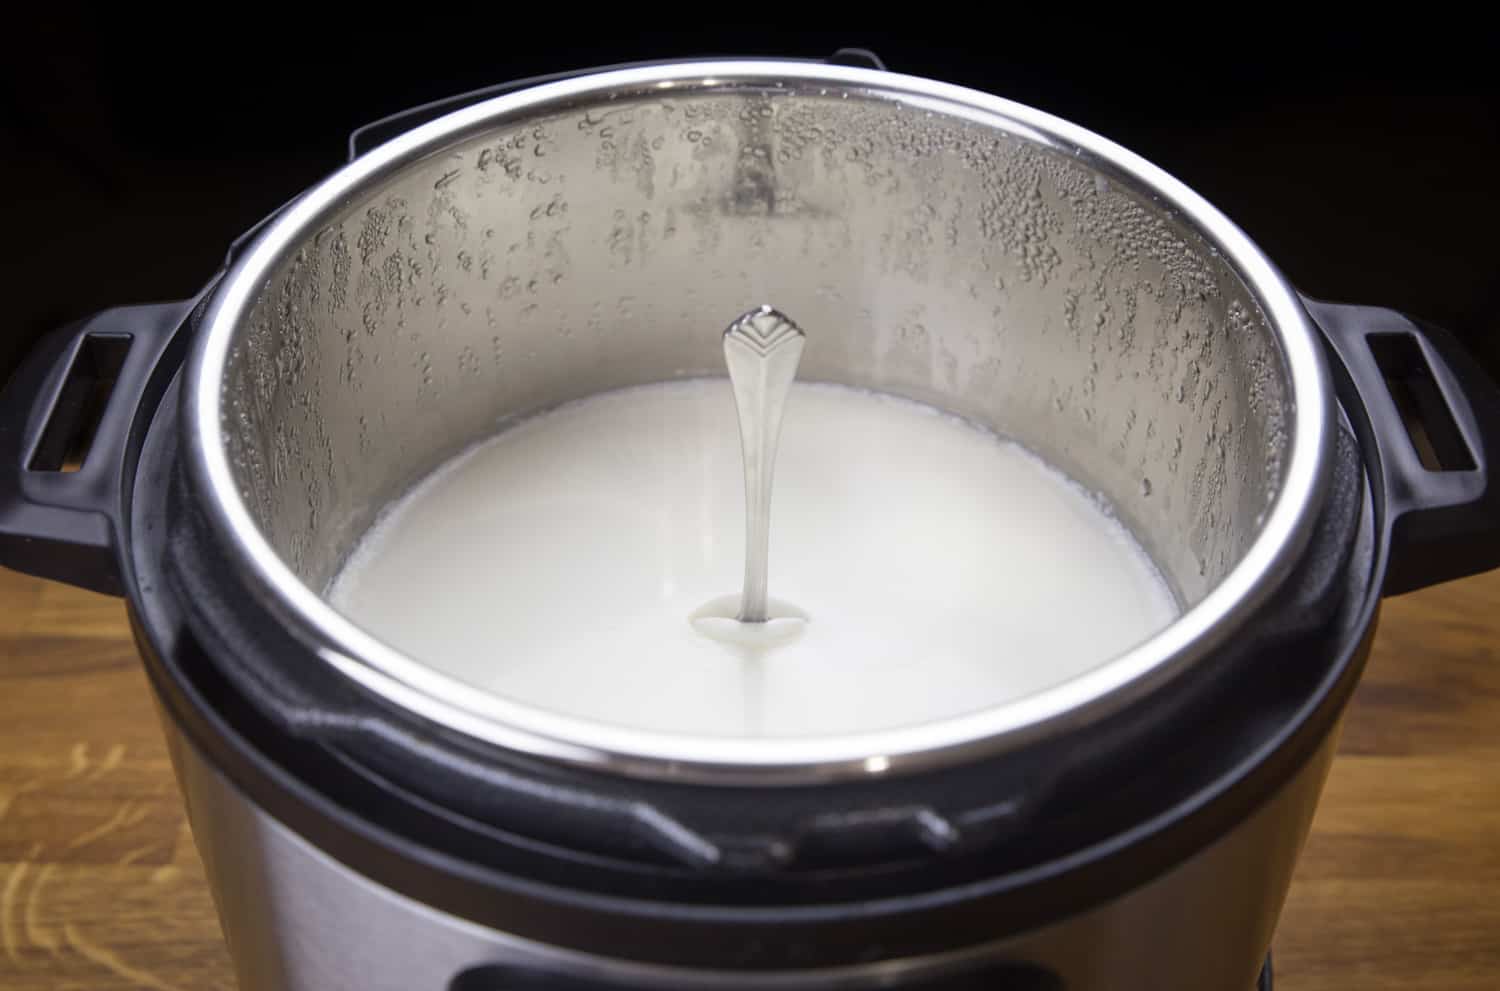
Pour the desired amount of milk into the inner pot of your electric pressure cooker. Secure the lid and select the sauté function. Heat the milk until it reaches a temperature of around 180°F (82°C), stirring occasionally to prevent the milk from scorching. Heating the milk helps kill any unwanted bacteria and denatures the proteins, resulting in a thicker yogurt.
- Step 2: Cool the Milk
Once the milk has reached the desired temperature, turn off the sauté function and remove the inner pot from the pressure cooker. Allow the milk to cool down to around 110°F (43°C). This can take anywhere from 30 minutes to an hour. Use a thermometer to monitor the temperature and avoid introducing the yogurt culture when the milk is too hot, as it can kill the live cultures.
- Step 3: Add the Yogurt Culture
Once the milk has cooled down to the appropriate temperature, add the yogurt culture to the pot and gently whisk until fully incorporated. The yogurt culture contains the beneficial bacteria that will initiate the fermentation process and transform the milk into delicious thick yogurt. Use a ratio of about 2 tablespoons of yogurt culture per quart (1 liter) of milk.
- Step 4: Incubate the Yogurt
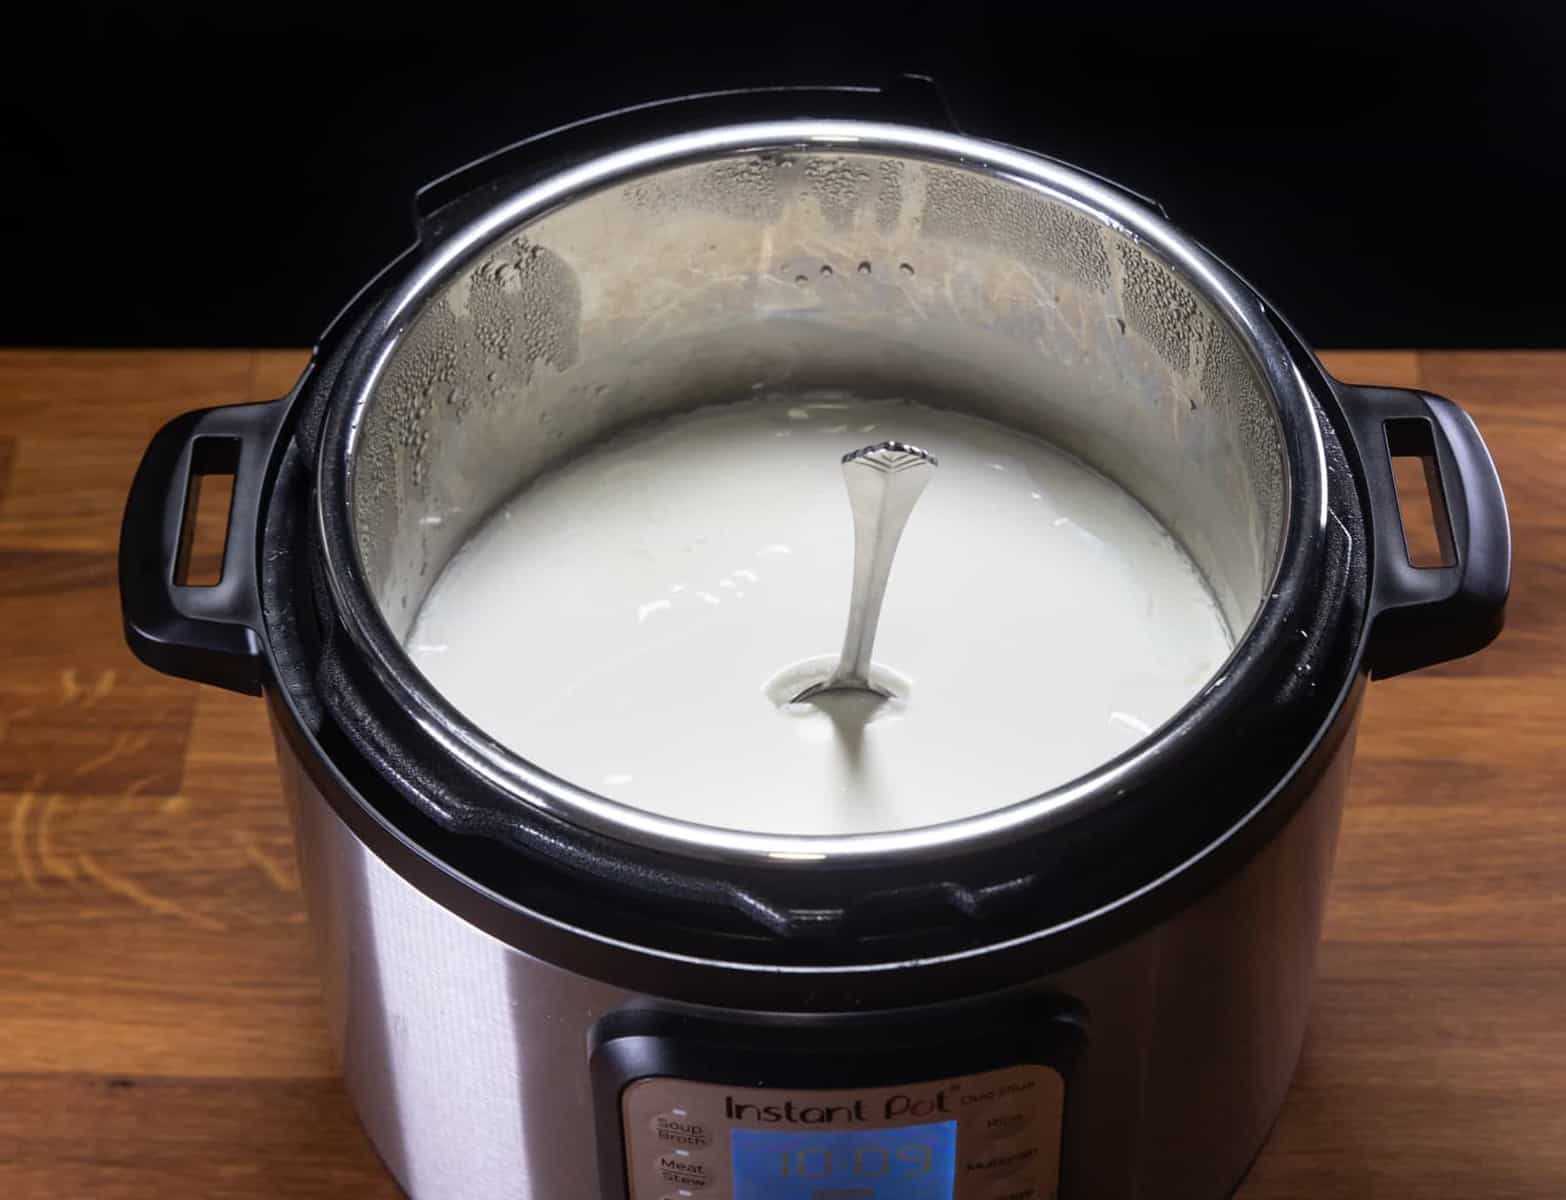
Place the inner pot back into the electric pressure cooker and secure the lid. Select the yogurt function or manual function and set the time for 6 to 8 hours, depending on your desired thickness and tanginess. The longer you incubate, the thicker and tangier the yogurt will be. The pressure cooker will maintain a consistent temperature throughout the incubation period, allowing the bacteria to ferment the milk and thicken it.
- Step 5: Refrigerate and Chill
Once the incubation time is complete, carefully remove the inner pot from the pressure cooker and cover it with a lid. Place the pot in the refrigerator and allow the yogurt to chill for at least 4 hours or overnight. The chilling process helps the yogurt to set and develop a firmer texture.
- Step 6: Enjoy
When the yogurt has chilled, it is finally ready to be enjoyed. You can serve it as is or customize it with your favorite toppings such as honey, fresh fruits, or granola. The thick and creamy homemade yogurt made in your electric pressure cooker is now ready to tantalize your taste buds!
Now that you know the step-by-step process, along with the necessary tips and tricks, you’re well-equipped to make your own thick yogurt at home. However, we understand that you may have some additional questions. In the next section, we will address some frequently asked questions about making thick yogurt in an electric pressure cooker.
Tips and Tricks for Thick Yogurt
While making thick yogurt in an electric pressure cooker is a relatively straightforward process, following a few tips and tricks can help you achieve the best results. Here are some helpful tips to ensure your yogurt turns out thick and creamy:
- Use a Starter: Make sure to use a high-quality plain yogurt with live active cultures as your starter. Using a fresh yogurt starter will provide the necessary bacteria to ferment the milk and create a thick consistency.
- Be Mindful of Milk Temperature: Heating the milk to the correct temperature before adding the starter is crucial for a successful fermentation process. Too hot and it can kill the live cultures, while too cool can result in a runny yogurt. Use a thermometer to accurately monitor the milk temperature.
- Incubation Time: The incubation time can vary depending on the desired thickness and tanginess of your yogurt. Longer incubation times will result in a thicker consistency and a tangier flavor. Experiment with different incubation times to find your preferred taste and texture.
- Insulate the Yogurt: To maintain a consistent temperature during fermentation, wrap the jars or containers with kitchen towels or blankets. This insulation helps retain heat and provides an ideal environment for the bacteria to thrive and create a thick yogurt.
- Avoid Disturbing the Yogurt: Once you place the jars or containers back into the pressure cooker, avoid moving or shaking them excessively. This can disrupt the fermentation process and affect the thickness of the yogurt. Allow the pressure cooker to do its job undisturbed.
- Refrigerate for Longer: If you prefer an even thicker yogurt, refrigerate it for a longer period after incubation. The extended chilling time will help the yogurt set and develop a firmer texture.
- Experiment with Milk Types: While whole milk is commonly used for making thick yogurt, you can also experiment with different types of milk, such as low-fat or skim milk. Keep in mind that the fat content in the milk can affect the final texture and creaminess of the yogurt.
- Use Thickening Agents: If you desire an even thicker consistency, you can add thickening agents such as powdered milk, gelatin, or even pectin. These additives can help enhance the thickness and stability of the yogurt.
By following these tips and tricks, you’ll be well on your way to creating a batch of deliciously thick and creamy homemade yogurt in your electric pressure cooker. However, you may still have some lingering questions about the process. In the next section, we will address common FAQs to provide you with further clarity.
FAQ’s about Making Thick Yogurt in an Electric Pressure Cooker
Here are some frequently asked questions about making thick yogurt in an electric pressure cooker:
- Can I use store-bought yogurt as a starter?
- How long does it take to make thick yogurt in an electric pressure cooker?
- Can I make yogurt with non-dairy milk?
- Why is my yogurt runny?
- Can I sweeten my yogurt during the fermentation process?
- How long can I store homemade yogurt in the refrigerator?
Yes, you can use store-bought plain yogurt with live active cultures as a starter. Look for a yogurt that doesn’t contain any additives or sweeteners. Make sure the yogurt is fresh and hasn’t expired.
The process of making thick yogurt in an electric pressure cooker typically takes around 6 to 8 hours for fermentation. This includes the incubation time in the pressure cooker and the chilling time in the refrigerator.
Yes, you can make yogurt with non-dairy milk alternatives such as almond milk, soy milk, or coconut milk. However, keep in mind that non-dairy milk may result in a slightly different texture and taste compared to traditional dairy yogurt.
Several factors can contribute to runny yogurt, such as not heating the milk to the proper temperature, using an insufficient amount of starter, or not allowing enough incubation time. Ensure you follow the steps carefully, and adjust the time and temperature if needed.
It’s best to avoid adding sweeteners, such as sugar or honey, during the fermentation process. Sweeteners can interfere with the fermentation process and potentially prevent the yogurt from thickening properly. Add sweeteners or flavors to your yogurt after it has finished incubating and cooled down.
Homemade yogurt can typically be stored in the refrigerator for up to 1 to 2 weeks. Make sure to keep it in airtight containers to maintain its freshness and prevent any off-flavors from developing.
These are some of the common questions that arise when making thick yogurt in an electric pressure cooker. By following the tips and guidelines provided, you’ll be well-prepared to create a batch of perfectly thick yogurt in your own kitchen.
So go ahead and give it a try – you’ll be amazed at the delicious results you can achieve with just a few simple steps and the help of your electric pressure cooker. Enjoy your homemade thick yogurt and savor the satisfaction of creating a healthy treat right at home!
Conclusion
Congratulations! You’ve reached the end of this guide on how to make thick yogurt in an electric pressure cooker. By following the steps outlined here and incorporating the tips and tricks provided, you’re now equipped with the knowledge and techniques to create your own creamy and satisfying homemade yogurt.
Making thick yogurt in an electric pressure cooker offers several advantages, including convenience, time efficiency, and the ability to achieve a desirable consistency. With the right ingredients, equipment, and techniques, you can enjoy the taste and health benefits of homemade yogurt without the hassle of traditional methods.
Remember, temperature control, the quality of the starter culture, and proper incubation time are key factors in obtaining the desired thickness. Don’t be afraid to experiment with different milk types, incubation times, and additives to personalize your yogurt to your liking.
Whether you choose to enjoy your thick yogurt as is or customize it with various toppings and flavors, the possibilities are endless. From topping it with fresh fruits and granola to using it as a base for smoothies and desserts, your homemade yogurt will add a delicious and nutritious touch to your meals and snacks.
We hope that this guide has provided you with valuable insights and guidance on how to make thick yogurt in an electric pressure cooker. Now, it’s time for you to put your newfound knowledge into practice and embark on your yogurt-making adventure.
So, gather your ingredients, fire up your electric pressure cooker, and get ready to indulge in the creamy goodness of homemade thick yogurt. Enjoy the process, savor the taste, and embrace the satisfaction of creating a healthy and delicious treat right in your own kitchen.
Happy yogurt making!