Introduction
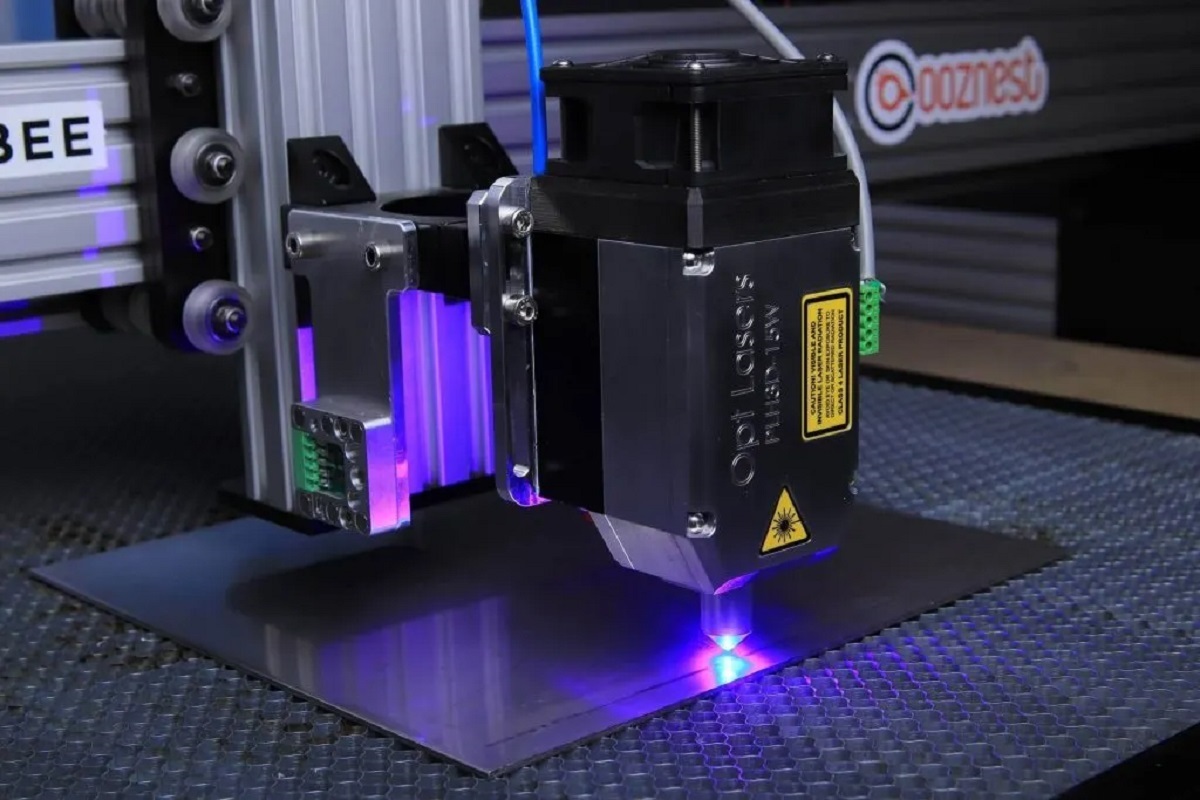
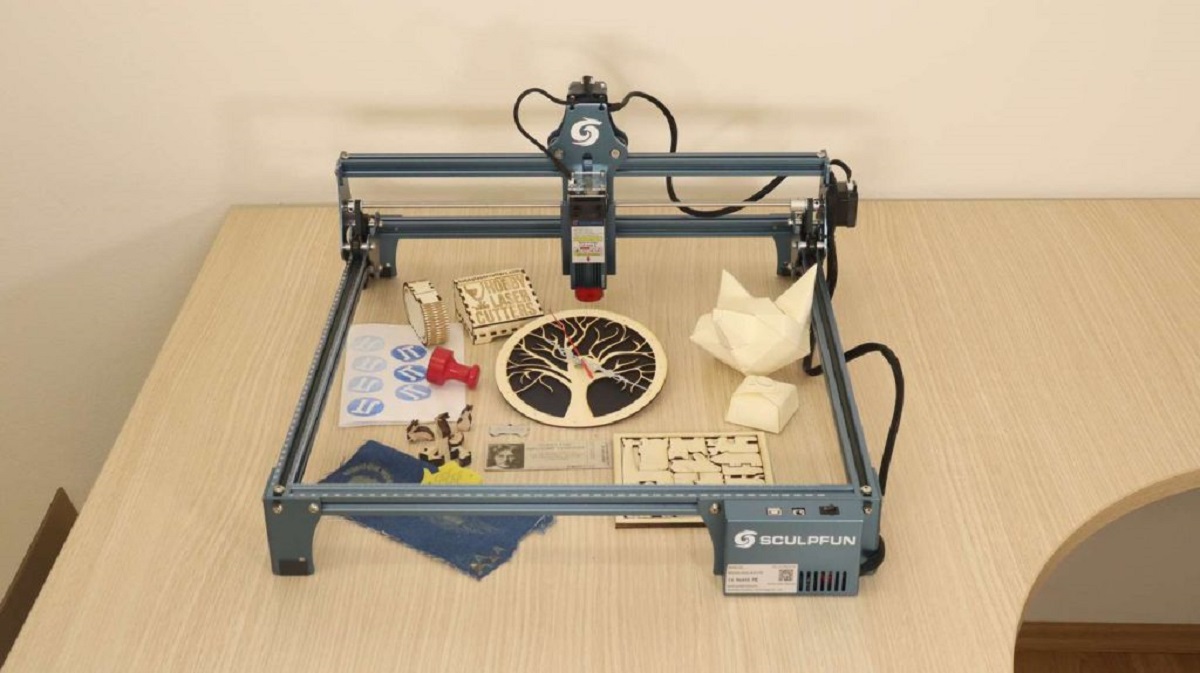
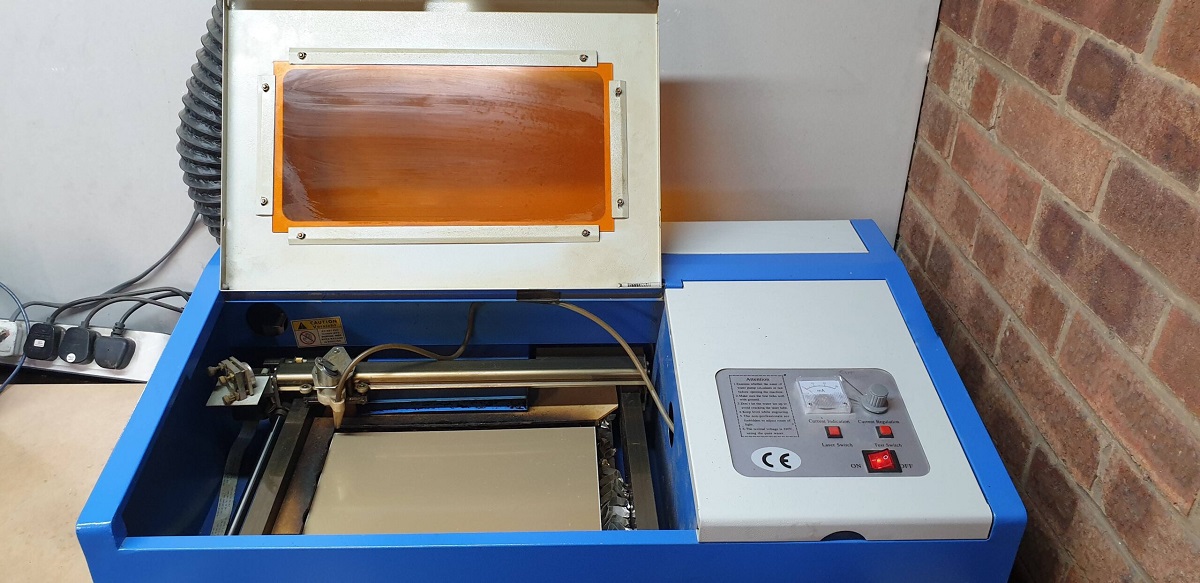
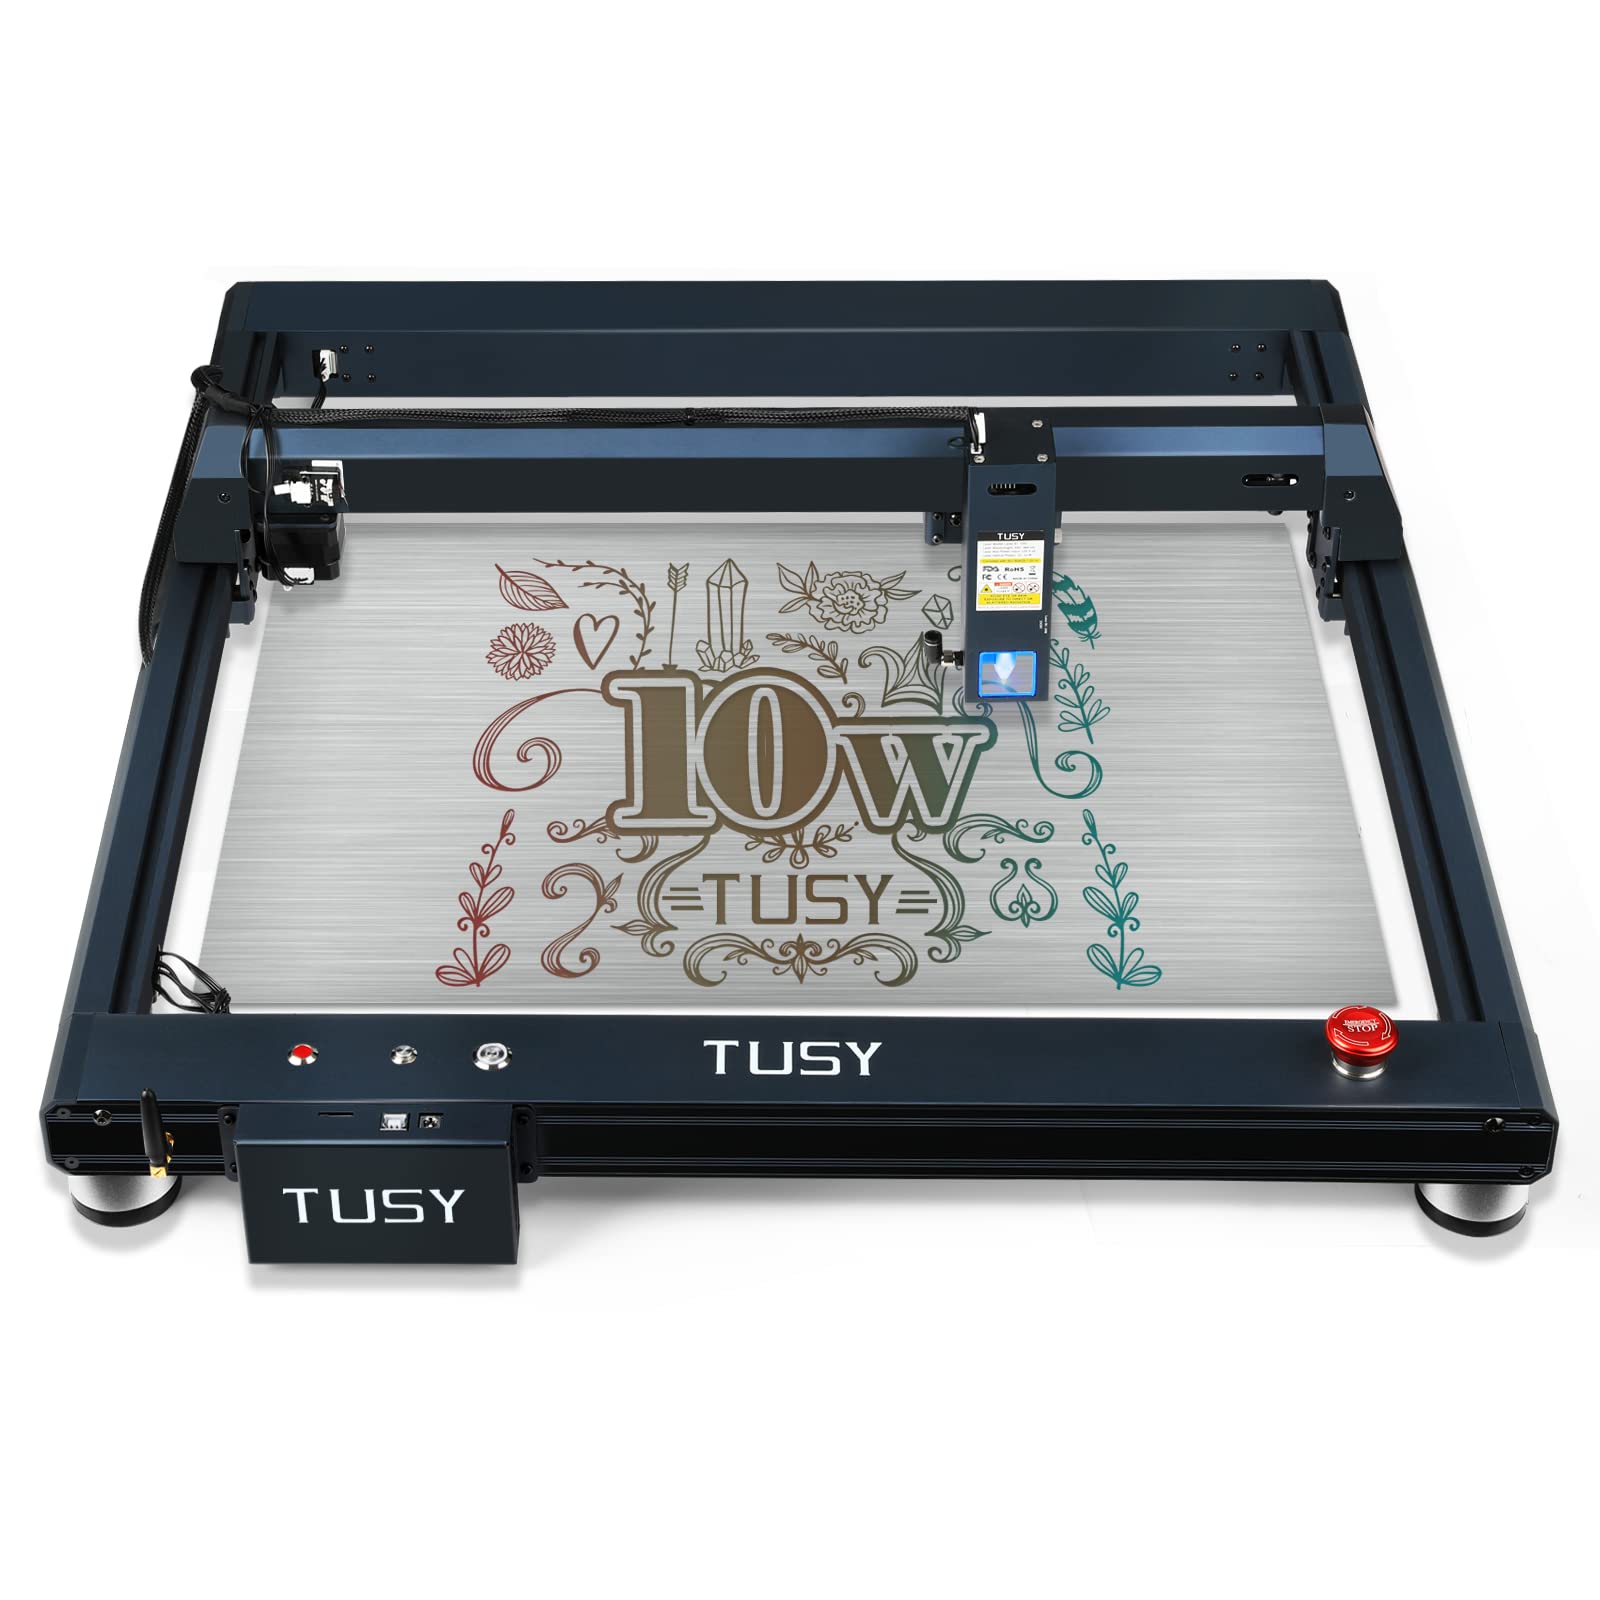
Welcome to the world of laser engraving! If you have recently purchased a laser engraver and are ready to get started, you’ve come to the right place. This guide will walk you through the process of setting up your laser engraver on Windows 7, ensuring that you can unleash your creative potential and bring your designs to life.
Laser engraving is a versatile and precise method of creating intricate designs on various materials such as wood, acrylic, and leather. Whether you are a hobbyist or a small business owner, having a laser engraver opens up a world of possibilities for customization and personalization.
Before diving into the setup process, it is important to ensure that you have the necessary equipment and software. Make sure that your laser engraver is compatible with Windows 7 and that you have the appropriate drivers and software installation files. If you are unsure about this, refer to the user manual or contact the manufacturer.
In this step-by-step guide, we will cover everything from installing the software to starting the engraving process. By the end of this guide, you will be well-equipped to bring your designs to life using your laser engraver on Windows 7.
So grab your laser engraver, dust off your creative ideas, and let’s embark on this exciting journey of laser engraving on Windows 7!
Step 1: Install the Laser Engraver Software
The first step in setting up your laser engraver on Windows 7 is to install the appropriate software. This software acts as the bridge between your computer and the engraver, allowing you to control and send design files to be engraved.
Start by locating the software installation file that came with your laser engraver or visit the manufacturer’s website to download the latest version. Ensure that the software is compatible with Windows 7.
Once you have the software installation file, double-click on it to begin the installation process. Follow the on-screen instructions, accepting the terms and conditions and selecting the desired installation location. It is recommended to choose the default options unless you have specific preferences.
After the software is successfully installed, you may be prompted to restart your computer. If so, go ahead and do this to ensure that the software is properly integrated with your operating system.
Once your computer has restarted, connect the laser engraver to your computer using the provided USB cable or any other compatible connection method. Ensure that the engraver is powered off before making the connection.
Once the connection is established, power on the laser engraver and wait for your computer to recognize it. Windows 7 should automatically install the necessary drivers for the engraver. If prompted, allow Windows to search and install the drivers automatically.
Now that the software is installed and the engraver is recognized by your computer, you are ready to move on to the next step: configuring the laser engraver settings. This will ensure that the engraver is properly calibrated and ready to produce accurate and precise engravings.
Take a moment to familiarize yourself with the software interface and explore the different settings and options available. This will give you a better understanding of the capabilities of your laser engraver and allow you to make the most out of your creative projects.
With the laser engraver software successfully installed and the engraver recognized by your computer, you are now one step closer to unlocking the full potential of laser engraving on Windows 7.
Step 2: Connect the Laser Engraver to your Computer
Now that you have installed the laser engraver software, it’s time to connect the engraver to your computer. This step is essential for establishing a communication link between the two, allowing you to send designs to be engraved.
Start by locating the USB cable that came with your laser engraver. One end of the cable will have a standard USB connector, while the other end may have a different type of connector specific to your engraver model.
Next, locate the corresponding USB port on your computer. In most cases, you will find several USB ports on the front or back of your computer tower. Choose a free USB port and connect one end of the USB cable to it.
Now, it’s time to connect the other end of the USB cable to the laser engraver. Look for the USB port on the engraver, usually located on the back or side. Gently insert the USB connector into the port, ensuring that it is securely connected.
Once the USB cable is connected at both ends, it’s time to power on the laser engraver. Locate the power switch on the engraver – it may be a physical switch or a button. Flip the switch or press the button to turn on the engraver.
At this point, your computer should recognize the laser engraver as a new device. If prompted, allow the installation of any necessary drivers or software updates to ensure proper communication between the engraver and your computer.
You can verify the connection by opening the laser engraver software on your computer. Look for an option that allows you to connect to the engraver or detect connected devices. Once connected, the software should display the status of the connection.
It’s important to note that some laser engraver models may use different connection methods, such as Ethernet or wireless. If your engraver uses a different connection type, refer to the manufacturer’s instructions for the specific steps to connect your engraver to your computer.
With the laser engraver successfully connected to your computer, you are now ready to move on to the next step: powering on the engraver and configuring the settings for optimal engraving results.
Stay tuned to learn how to set up and calibrate your laser engraver to ensure precise and accurate engravings every time.
Step 3: Power On the Laser Engraver
With the laser engraver connected to your computer, it’s time to power on the engraver. This step is crucial for ensuring that the hardware is functioning properly and ready for engraving.
The power switch or button on the laser engraver is usually located on the front, side, or back of the device. Locate the power switch and flip it to the “on” position. Some engravers may have an indicator light that turns on when the power is successfully activated.
After powering on the engraver, it will go through a start-up process. Depending on the model, you may hear some mechanical noises as the engraver initializes its components. This is normal, so don’t be alarmed.
While the engraver is starting up, it’s important to ensure that the engraving area is clear and free from any obstacles that could interfere with the engraving process. Remove any materials or objects that may be in the way to ensure smooth and uninterrupted operation.
Once the engraver is powered on and ready, you’ll need to ensure that it is correctly configured to produce accurate and high-quality engravings. This involves adjusting the settings such as laser power, engraving speed, and focal point based on the material you’ll be working with.
Refer to the user manual or the manufacturer’s instructions to determine the ideal settings for different materials. Take the time to familiarize yourself with the various settings and how they affect the engraving process. This will help you achieve optimal results and avoid any potential damage to the material or the engraver.
If your laser engraver has a control panel or interface, navigate through the settings and input the appropriate values for the material you’ll be engraving. Ensure that the focus is properly adjusted to achieve crisp and clear engravings.
It’s important to exercise caution and follow all safety guidelines when working with a laser engraver. Always wear protective eyewear, operate the engraver in a well-ventilated area, and keep flammable materials away from the engraving area.
Now that the laser engraver is powered on and properly configured, you’re one step closer to transforming your creative designs into beautiful engravings. In the next step, we’ll guide you through the process of configuring the laser engraver settings for your specific project.
Step 4: Configure the Laser Engraver Settings
Now that your laser engraver is powered on and ready, it’s time to configure the settings to ensure optimal engraving results. The settings will vary depending on the material you’re working with, the desired depth of the engraving, and the level of detail required.
Start by accessing the control panel or interface of your laser engraver. This is where you’ll find the settings that control parameters such as laser power, engraving speed, and focal point. These settings will determine the intensity and speed at which the laser engraver operates.
Begin by selecting the appropriate laser power for your material. This value determines how intense the laser beam will be during the engraving process. Lower power settings are suitable for delicate materials, while higher power settings are necessary for harder materials that require deeper engravings.
Next, adjust the engraving speed. This setting controls how quickly the laser moves across the material surface. A higher speed will result in faster engraving but may sacrifice some detail, while a lower speed produces finer engravings but takes longer.
When working with different materials, it’s crucial to adjust the focal point. The focal point refers to the distance between the surface of the material and the laser beam. It determines the sharpness and clarity of the engravings. Adjust the focal point based on the thickness and nature of the material.
Additionally, some laser engraver settings allow you to choose between vector and raster engraving modes. Vector engraving follows lines or paths, while raster engraving works by scanning and pixelating the design. The mode you select depends on the type of design you want to engrave and the level of detail required.
It’s worth noting that different laser engraver models may offer different settings and customization options. Take the time to familiarize yourself with your specific engraver and its capabilities. Refer to the user manual or any online resources provided by the manufacturer for guidance on adjusting the settings.
When configuring the laser engraver settings, it’s a good idea to run a test engraving on a small piece of scrap material. This allows you to assess and fine-tune the settings without risking damage to your final workpiece. Make adjustments as needed until you achieve the desired depth, clarity, and overall quality of the engraving.
Once you’re satisfied with the settings, you’re ready to move on to the next step: loading your design file into the laser engraver software. We’ll guide you through this process in the following step, so stay tuned!
Step 5: Load the Design File into the Software
With the laser engraver settings configured, it’s time to load your design file into the laser engraver software. This step is crucial for turning your creative vision into a tangible engraved masterpiece.
Start by locating the design file on your computer that you wish to engrave. The file can be in various formats, such as SVG, DXF, or even bitmap images like JPG or PNG. Ensure that the design file is compatible with the laser engraver software you have installed.
Open the laser engraver software on your computer. Look for an option like “Open” or “Import” to browse for and select your design file. You can navigate to the location where the file is stored, select it, and click “Open” to load it into the software.
Once the design file is loaded, you may have the option to preview and make any necessary adjustments to the placement, size, or orientation of the design. Take advantage of these features to ensure that the design is positioned correctly on the material.
If your laser engraver software allows for multiple design files or layers, you can also arrange and manage them accordingly. This is particularly useful when engraving complex designs or incorporating text and graphics.
Before proceeding with the engraving process, it’s essential to take a moment to double-check your design file and ensure that it reflects your desired outcome. Pay attention to details such as spelling, design elements, and overall aesthetics.
Once you’re satisfied with the design file and its placement, you’re ready to move on to the next step: selecting the material and setting the parameters for the engraving process. This step will determine the specific engraving settings based on the material you’ll be working with.
By loading your design file into the laser engraver software, you’re one step closer to seeing your vision come to life. Soon, you’ll be able to watch as your design takes shape on the material surface through the power of laser engraving.
Step 6: Select the Material and Set Parameters
Now that your design file is loaded into the laser engraver software, it’s time to select the material you’ll be working with and set the parameters for the engraving process. These parameters will determine the specific settings required to achieve optimal results on your chosen material.
Start by identifying the type of material you’ll be engraving. Laser engravers are capable of working with a variety of materials, including wood, acrylic, leather, glass, and more. Each material has its own characteristics and requires specific engraving settings.
Once you’ve identified the material, consult the laser engraver software or the manufacturer’s guidelines for recommended settings. These settings typically include laser power, engraving speed, and focal point adjustments tailored to the specific material. Adhering to these guidelines will help you achieve the best possible results.
When selecting the laser power, consider the material’s density and hardness. Softer materials like wood or leather may require lower laser power, while harder materials like glass or metal may necessitate higher laser power for effective engraving.
The engraving speed determines how quickly the laser moves across the material’s surface. Again, this setting will vary depending on the type of material. In general, higher speeds are suitable for softer materials, while slower speeds help achieve more detailed engravings on harder materials.
Adjusting the focal point is critical for achieving crisp and clear engravings. The focal point is the distance between the surface of the material and the laser beam. Make sure to set the focal point appropriately according to the thickness of the material to ensure optimal engraving results.
Some laser engraver software may have pre-programmed settings for specific materials, making it easier for you to select the right parameters. If this option is available, choose the material from the software’s material library to automatically apply the recommended settings.
Remember to always conduct a test engraving on a small sample of the material before engraving the final piece. This allows you to fine-tune the parameters and ensure that the engraving depth, clarity, and overall quality meet your expectations.
Don’t forget to consider any safety precautions specific to the material you’re working with. Certain materials, such as PVC or other plastics, may produce toxic fumes when engraved by a laser. Ensure you are using the appropriate ventilation and personal protective equipment to work safely with your chosen material.
By selecting the material and setting the parameters, you are paving the way for a successful engraving process. The next step will guide you through starting the engraving process and monitoring its progress.
Step 7: Start the Engraving Process
With the material selected and the parameters configured, it’s time to start the engraving process and watch as your design comes to life on the material surface. This step requires careful attention and monitoring to ensure a successful and precise engraving.
Before you start the engraving process, double-check that the material is properly positioned and securely held in place within the engraving area. This will prevent any movement or shifting during the engraving process, which could result in misaligned or inaccurate engravings.
With the material in place, give one final look at the design file loaded in the software to ensure that everything is as desired. Take note of any specific areas or details that you want to pay close attention to during the engraving process.
Once you are satisfied with the setup, initiate the engraving process by clicking on the “Start” or “Engrave” button in the laser engraver software. This will send the command to the laser engraver to begin the engraving according to the specified parameters.
As the engraving progresses, closely observe the engraving area to ensure that the laser is following the intended paths and that the engraving depth is consistent. It’s recommended to stay near the engraving area during the process to monitor it closely and make any necessary adjustments if needed.
If you notice any issues with the engraving, such as missing portions of the design or inconsistent engraving depth, pause or stop the engraving process immediately. Check for any potential issues like loose material or incorrect parameters, and make the necessary adjustments before resuming.
During the engraving process, avoid moving the material or disturbing the engraver to prevent any unwanted smudges or blurs in the engravings. Any interruptions or vibrations can affect the overall quality and accuracy of the engraving.
While the laser engraver carries out the engraving, avoid prolonged direct contact with the laser beam. Ensure you follow the recommended safety guidelines provided by the manufacturer and maintain a safe distance from the engraving area.
Once the engraving is complete, carefully review the final result. Pay close attention to the details, clarity, and depth of the engraving. If the desired effect is not achieved, you may need to adjust the parameters and run another test engraving before proceeding with any additional projects.
Congratulations! You have successfully started the engraving process and witnessed your design taking shape on the material. In the next step, we’ll cover how to monitor the progress of the engraving to ensure optimal results.
Step 8: Monitor the Engraving Progress
Monitoring the engraving progress is a crucial step to ensure the quality and accuracy of your final engraving. By closely observing the process as it unfolds, you can address any issues or make necessary adjustments to achieve optimal results.
During the engraving process, stay nearby and keep a watchful eye on the engraving area. Observe the movement of the laser beam and ensure that it follows the intended paths of your design. Pay attention to any deviations or discrepancies that may occur.
One important aspect to monitor is the engraving depth. Check to see if the laser is consistently engraving at the desired depth. If you notice variations in depth, it may be necessary to adjust the laser power or focus settings accordingly.
Keep an eye out for any signs of excessive heat or burning on the material. If you notice any discoloration or smoke coming from the material, it may indicate that the laser power is too high or that the engraving speed is too slow. Adjust the parameters as needed to prevent any damage.
Be mindful of the engraving time, especially if you have a large or intricate design. The duration of the engraving process can vary based on factors such as design complexity, material hardness, and engraving speed. Ensure that you have allocated enough time for the engraving to complete without interruptions.
If you notice any unexpected pauses, stops, or errors during the engraving process, pause or stop the operation immediately. Address any issues, such as material displacement or software errors, before resuming. It’s crucial to address any problems promptly to prevent any potential damage to the material or the engraver.
While monitoring the engraving progress, it’s also important to remain mindful of safety precautions. Avoid any direct contact with the laser beam and ensure that the engraving area is clear of any flammable materials or potential hazards.
If you have any doubts or concerns about the engraving progress, refer to the manufacturer’s guidelines or consult the user manual for troubleshooting tips and recommendations. They can provide specific instructions on how to address common issues that may arise during the engraving process.
By actively monitoring the engraving progress, you have the opportunity to make real-time adjustments and achieve the best possible results. As the engraving nears completion, you’ll be able to witness the transformation of your design into a beautifully engraved piece.
In the final step, we’ll guide you through safely removing the engraved object from the laser engraver and concluding the engraving process.
Step 9: Remove the Engraved Object
After the engraving process is complete, it’s time to carefully remove the engraved object from the laser engraver. This final step requires precision and attention to ensure that the engraving remains intact and undamaged.
Before removing the engraved object, make sure that the laser engraver is turned off and the engraving area has cooled down. Depending on the material and the duration of the engraving process, the material may still be warm or hot to the touch.
First, examine the engraved object closely to ensure that the engraving is to your satisfaction. Check for any areas that may need touch-ups or corrections. If adjustments or refinements are needed, make note of them for future reference.
Next, gently and carefully detach the material from any securing mechanisms or fixation devices within the engraving area. Ensure that you avoid applying excessive force or pressure that could unintentionally damage the engraving or the material.
If the material was secured onto a platform or bed, release any clamps or attachments that were holding it in place. Be cautious not to scrape or scratch the material against any sharp edges or surfaces during the removal process.
Once the engraved object has been safely removed, place it on a clean and flat surface. Take a moment to examine and appreciate the final result of your engraving. Admire the intricate details and the craftsmanship that laser engraving has brought to your design.
If desired, you can further enhance the appearance of the engraving by cleaning the surface of the material. Use a soft, lint-free cloth to gently wipe away any debris or residue that may have accumulated during the engraving process.
Store the engraved object safely, protecting it from dust or potential damage. Consider using protective coverings, such as cloth or plastic sleeves, to preserve the engraved surface and maintain its overall quality.
As you remove the engraved object from the laser engraver, take a moment to reflect on the entire engraving process. Consider the progress you’ve made, the challenges you’ve overcome, and the satisfaction of seeing your design transformed into a tangible work of art.
Congratulations! You have successfully completed the engraving process, from setting up the laser engraver to removing the engraved object. Take pride in your achievement and use this experience to inspire and embark on new creative projects in the future.
Conclusion
Setting up and using a laser engraver on Windows 7 can be an exciting and rewarding experience. With the right software, proper connection, configuration of settings, and careful monitoring, you can create beautiful and precise engravings on various materials.
Throughout this guide, we have walked you through each step of the process. From installing the laser engraver software to removing the engraved object, each step plays a crucial role in ensuring a successful engraving.
By following the instructions and guidelines provided, you can feel confident in your ability to set up your laser engraver and create stunning designs. Remember to refer to the user manual and manufacturer’s guidelines for specific instructions tailored to your laser engraver model.
Always prioritize safety by wearing protective gear, working in a well-ventilated area, and following safety precautions while operating the laser engraver. Take extra care when handling materials, especially after engraving, as they may be hot or delicate.
As you gain more experience with laser engraving, you’ll discover new techniques and creative possibilities. Experiment with different materials, designs, and settings to expand your skills and create unique and personalized engravings.
Lastly, don’t forget to enjoy the process and embrace the artistry and craftsmanship of laser engraving. It’s a fulfilling and engaging hobby or profession that allows you to bring your ideas to life and leave a lasting impression on your creations.
Now that you have the knowledge, it’s time to unleash your creativity and start exploring the possibilities of laser engraving on Windows 7. Embrace the art of precision and bring your designs to life with the power of laser technology.
Thank you for joining us on this laser engraving journey, and we wish you success in your future projects!


