Introduction
Welcome to the guide on how to install your solid state drive (SSD)! Upgrading to an SSD can greatly enhance the performance and speed of your computer, making it a worthwhile investment. However, if you’ve never installed an SSD before, the process can seem a bit daunting. But fear not, as we’ll walk you through each step to ensure a hassle-free installation.
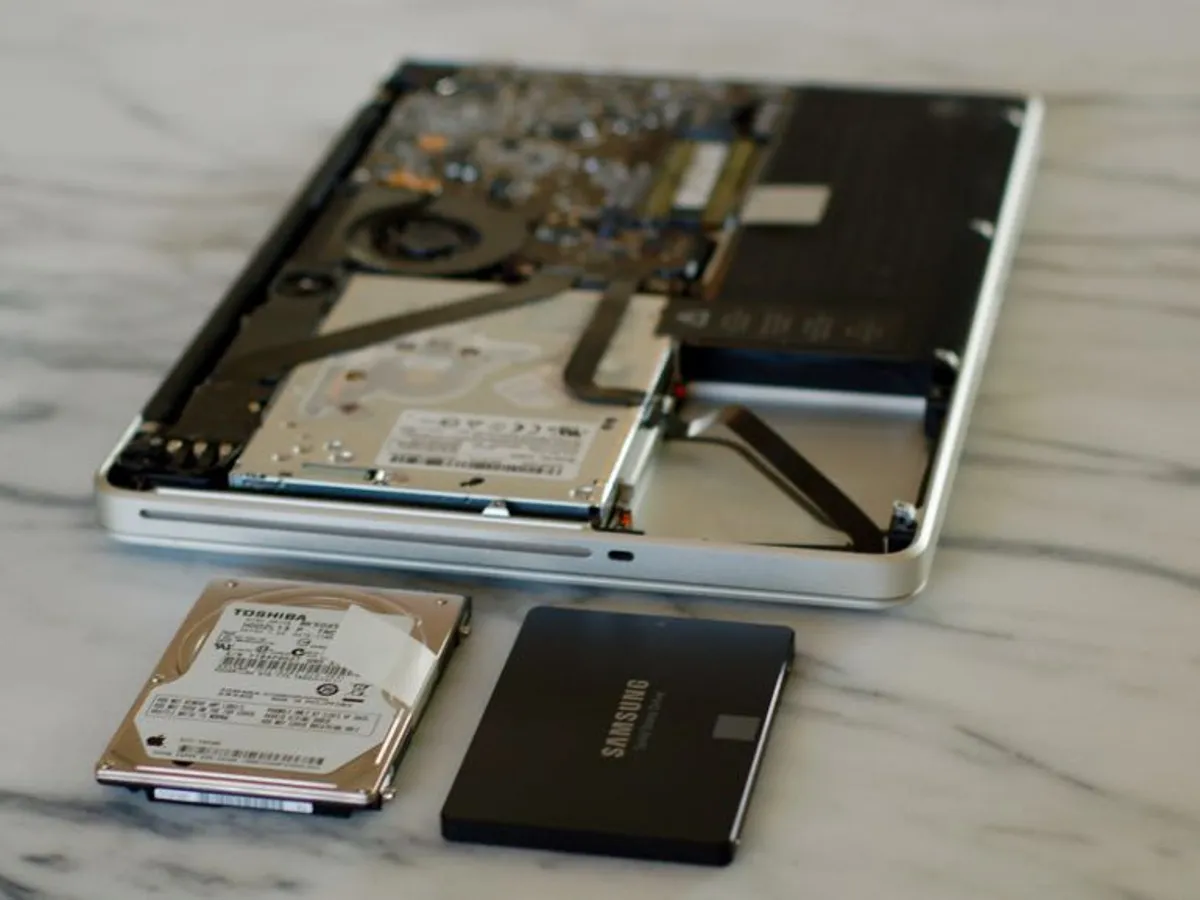
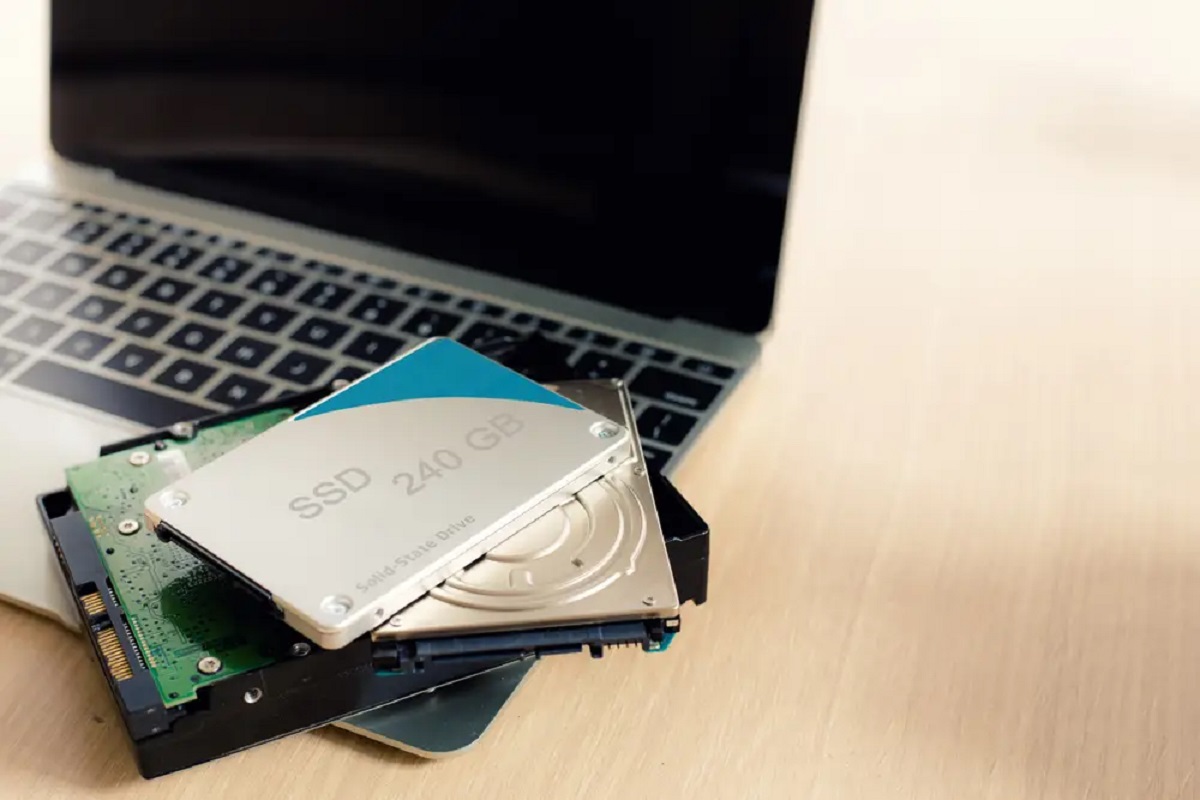
An SSD is a storage device that uses flash memory to store and retrieve data. Unlike traditional hard disk drives (HDD), which use spinning disks and mechanical parts, SSDs offer faster read and write speeds, lower power consumption, and increased durability. These benefits make SSDs a popular choice for both new and old computers looking to boost their performance.
Before we dive into the installation process, it’s important to note that opening your computer and making hardware changes can void your warranty. Therefore, if your computer is still under warranty, it’s recommended to consult the manufacturer or an authorized technician for assistance. However, if you’re comfortable with taking on the task yourself, let’s proceed!
In this guide, we’ll cover the necessary steps to prepare for the installation, connect the SSD to your computer, configure the BIOS settings, format and partition the SSD, transfer your data, and test the SSD for optimal performance. By the end of this guide, you’ll have a fully functional SSD that will significantly improve your computer’s speed and responsiveness.
Before we get started, be sure to back up all your important files and data to an external storage device. It’s better to be safe than sorry, as the installation process involves formatting and potentially erasing your existing hard drive. Now, let’s begin the journey towards a faster and more efficient computer with your new solid state drive!
Preparing for Installation
Before you begin the installation process, there are a few essential steps you need to take to ensure a smooth and successful SSD installation. Let’s go over these preparations in detail.
1. Gather the necessary tools: To install your SSD, you’ll need a few basic tools, including a screwdriver, an anti-static wrist strap (optional but recommended), and a USB-to-SATA adapter cable (if you’re planning to clone your existing hard drive to the SSD).
2. Read the user manual: Familiarize yourself with the user manual of your computer or laptop model. Some models may have specific instructions or requirements for installing an SSD. Be sure to follow any manufacturer guidelines to avoid complications.
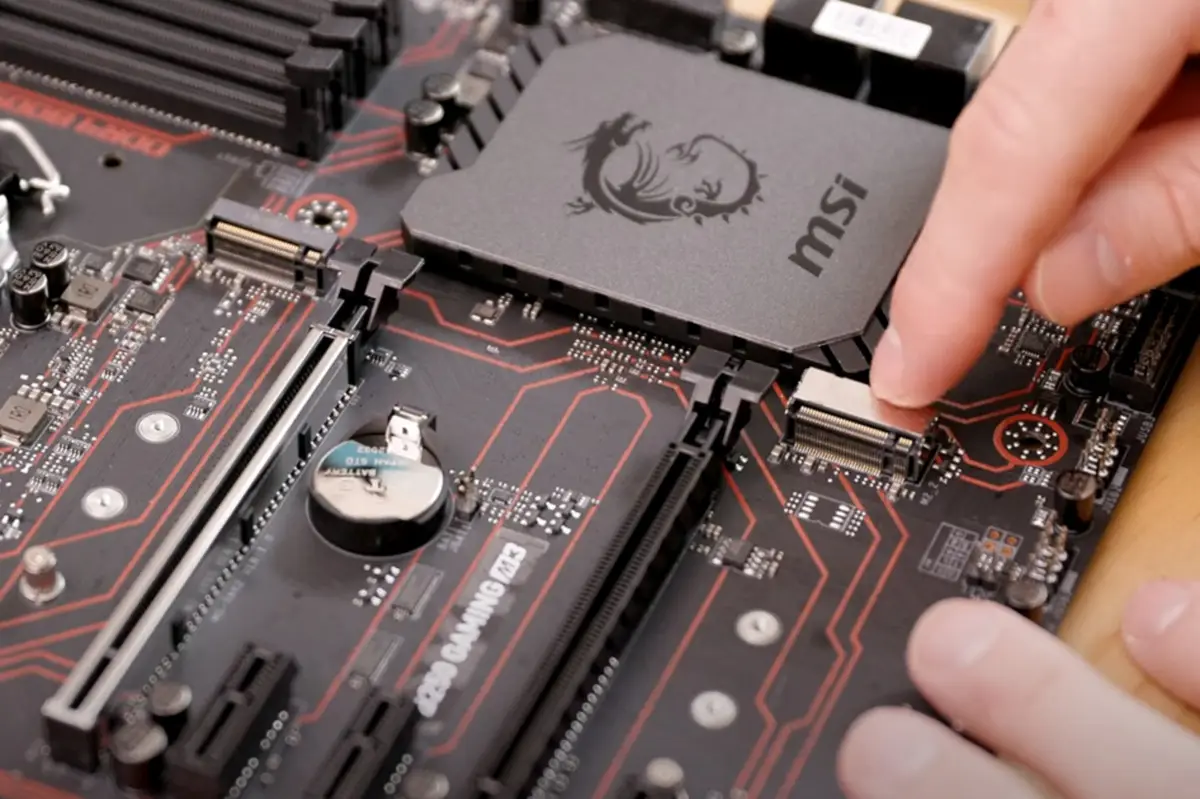
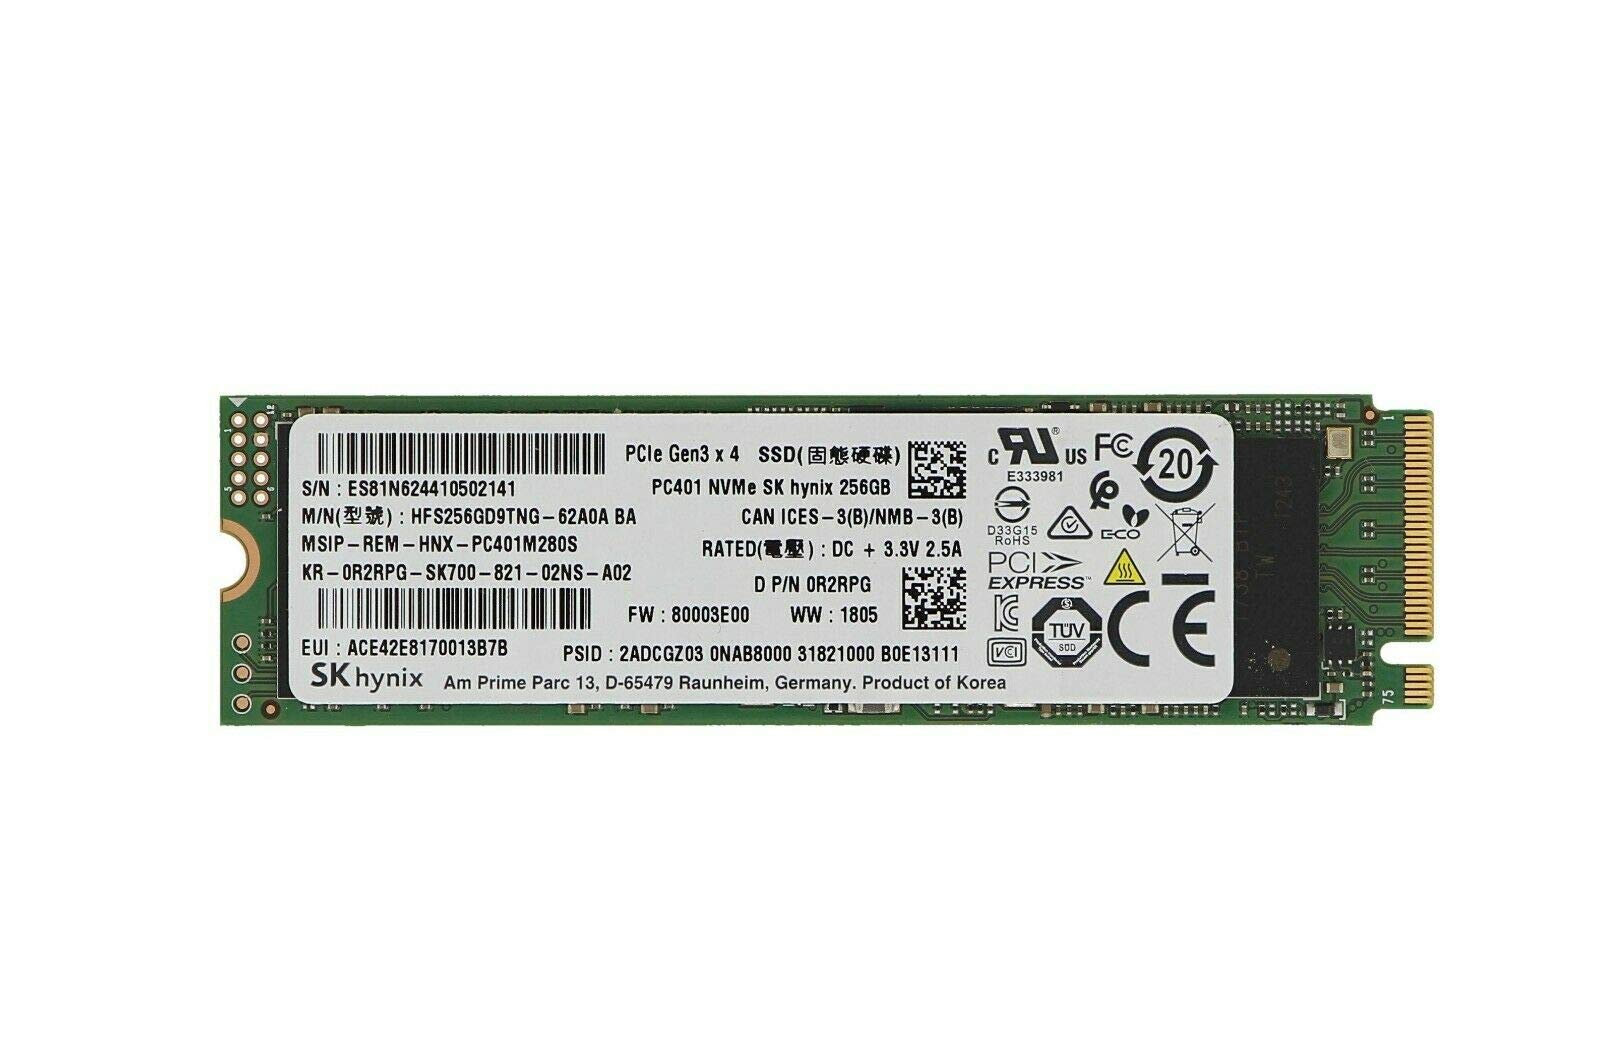
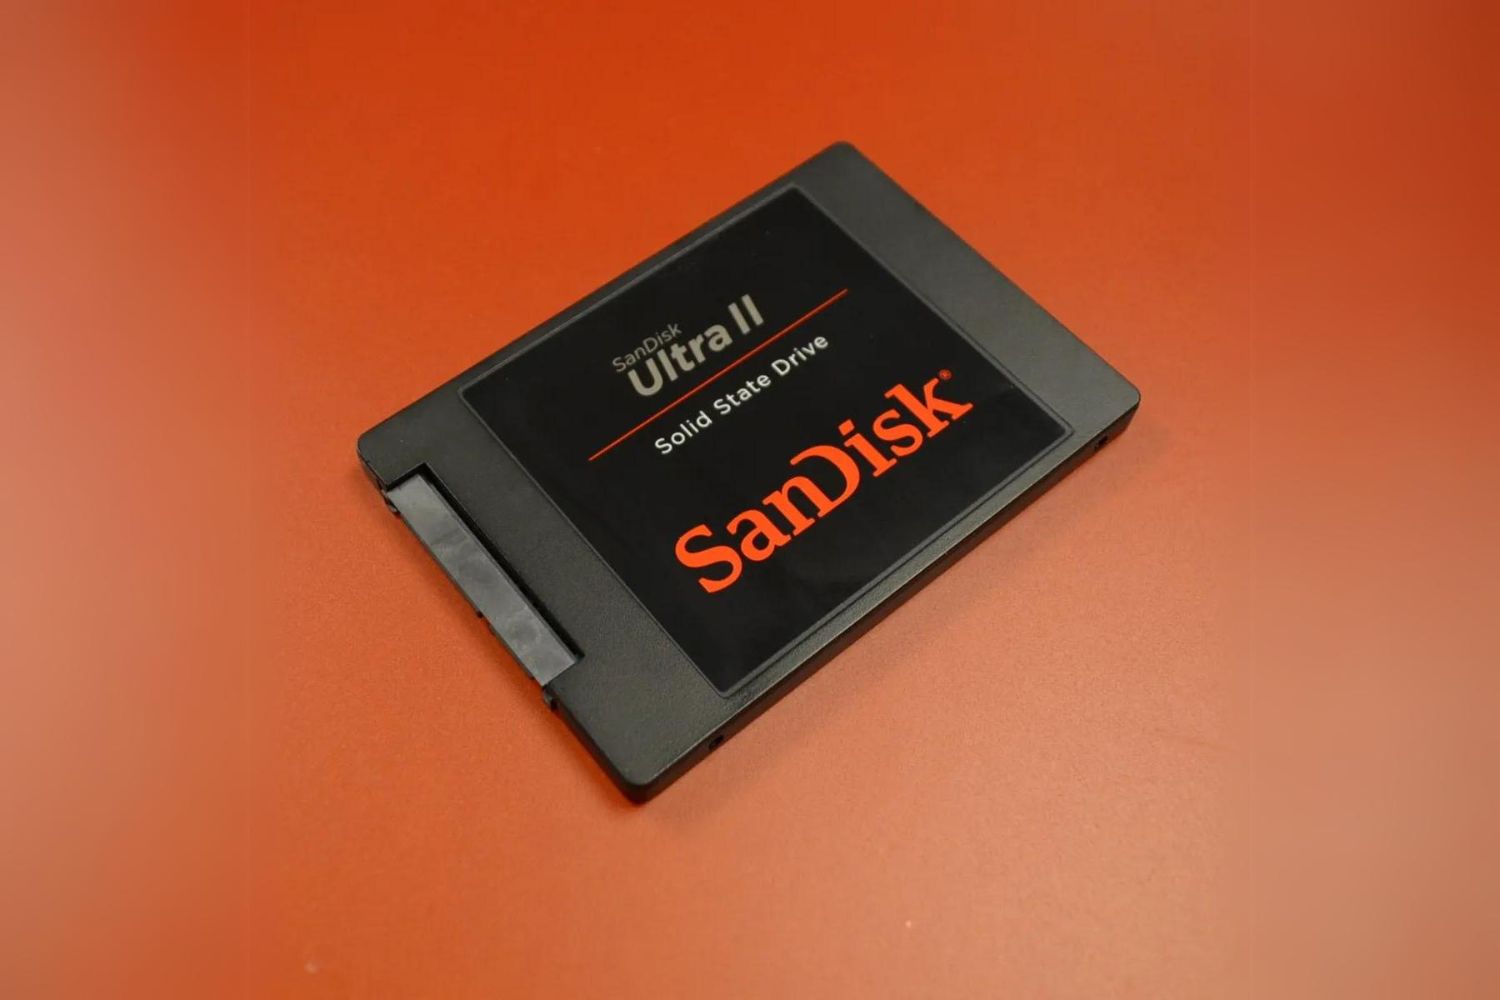
3. Choose the right SSD: Before purchasing an SSD, ensure compatibility with your computer. Check the interface and form factor of your current hard drive to determine the appropriate SSD. Common SSD interfaces include SATA, M.2, and NVMe, while standard form factors are 2.5-inch and M.2.
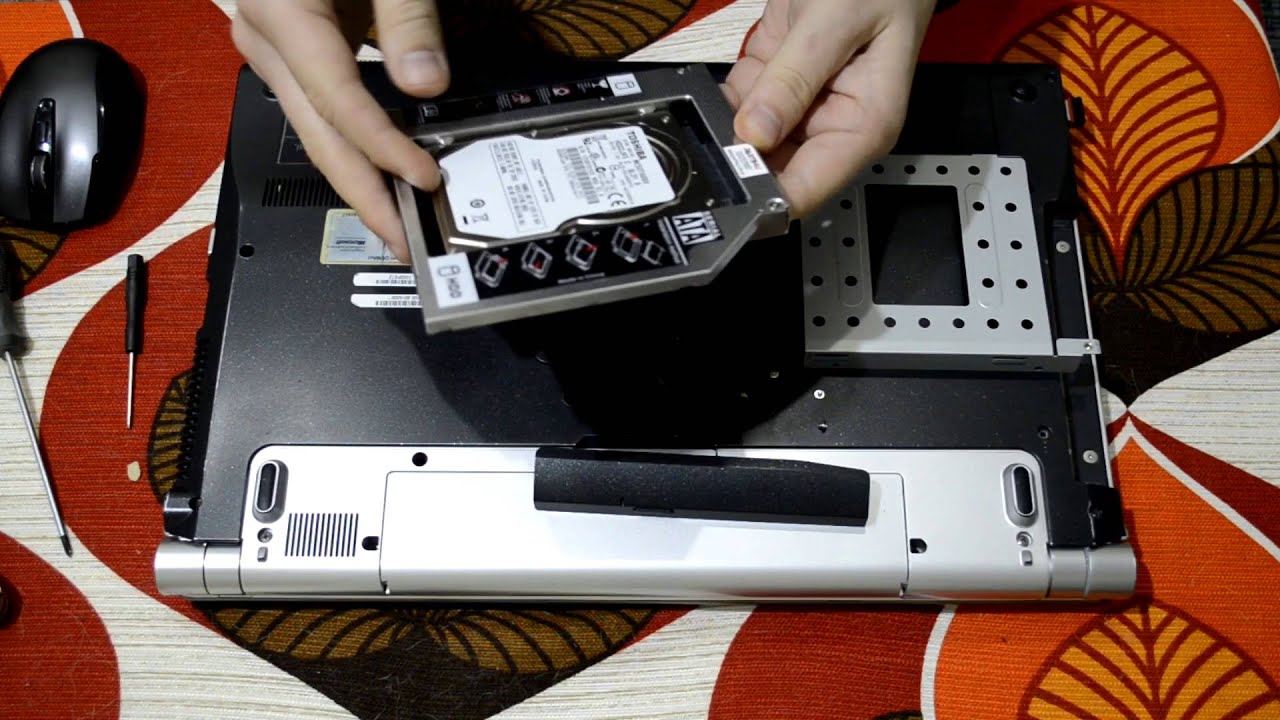
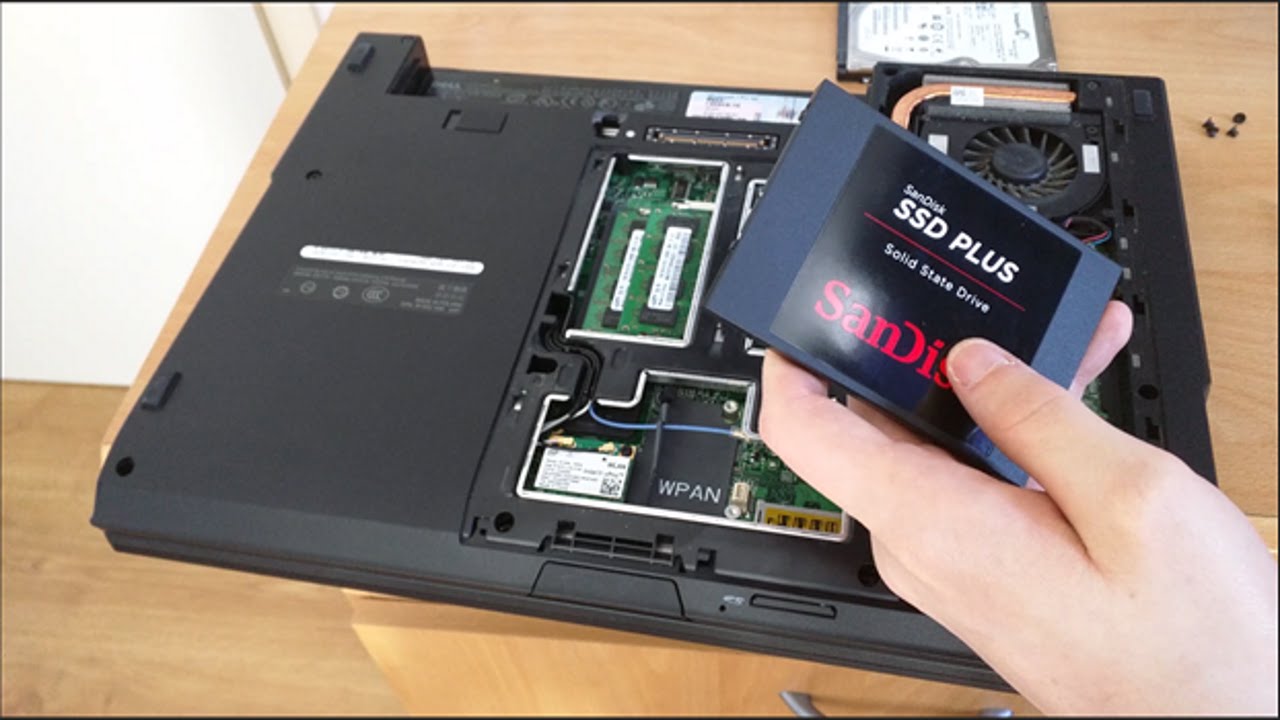
4. Check available space: Ensure that your computer has sufficient space to accommodate the SSD. This may involve removing the existing hard drive or optical drive, depending on the available slots in your computer. Make sure you understand the layout and capacity of your computer’s storage bays.
5. Backup your data: As mentioned earlier, backing up your data is crucial before any installation process. Create a complete backup of your files, applications, and settings on an external storage device or a cloud-based service. This ensures that you can recover your data in case of any unforeseen issues during the installation.
6. Prepare a bootable USB drive: If you’re planning to clean install your operating system on the new SSD, you’ll need a bootable USB drive with the installation media. Follow the instructions provided by the operating system’s manufacturer to create the bootable USB drive.
By completing these preparations, you’ll be well-equipped for a successful SSD installation. Take your time to gather the necessary tools, understand your computer’s requirements, and backup your data. With everything in place, you’re now ready to move on to the next step: connecting the SSD to your computer.
Connecting the SSD
Now that you’ve prepared for the installation, it’s time to connect your SSD to your computer. Follow these steps to ensure a proper and secure connection:
1. Power off your computer: Before opening your computer and making any hardware changes, make sure to shut down your computer completely and disconnect it from the power source. This step is crucial to avoid any damage to your computer or the SSD.
2. Locate the storage bays: Depending on your computer model, the storage bays may be located at different positions. Consult the user manual of your computer to identify the storage bays and determine where you’ll be installing the SSD.
3. Open your computer: Carefully remove the side panel of your computer case, following the instructions provided by the manufacturer. Take note of any screws or clips that may be securing the panel and ensure you keep them in a safe place.
4. Identify the SATA connectors: Look for the SATA connectors on your motherboard. These connectors are typically rectangular and will have multiple ports labeled SATA. Identify the unused SATA port where you’ll connect the SSD.
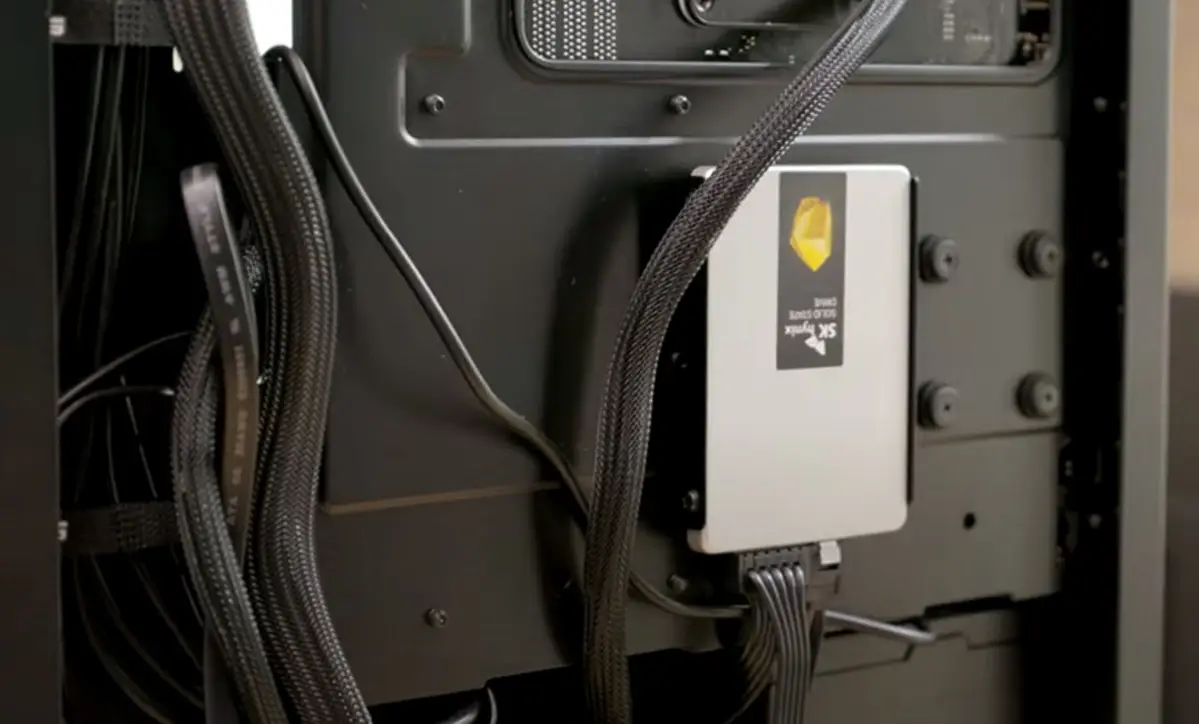
5. Connect the SATA data cable: Take the SATA data cable and connect one end to the SATA port on your SSD and the other end to the unused SATA port on your motherboard. Ensure the connection is secure but avoid applying excessive force.
6. Connect the SATA power cable: The SSD also requires power to function. Locate the SATA power connectors from your power supply and connect one end to the power port on the SSD. Again, ensure a secure connection without applying excessive force.
7. Secure the SSD: If you’re installing the SSD in a 2.5-inch bay, you may need to use mounting brackets or screws to secure it in place. Refer to your computer’s user manual for specific instructions on installing the SSD in the storage bay.
8. Reassemble your computer: Once the SSD is securely connected, carefully put the side panel back on your computer case and secure it with the screws or clips. Ensure that everything is properly aligned and tightened but avoid overtightening.
With the SSD successfully connected to your computer, you’re one step closer to experiencing the improved performance and speed it offers. In the next section, we’ll move on to configuring the BIOS settings to recognize the newly installed SSD.
Configuring the BIOS
After connecting the SSD to your computer, it’s important to configure the BIOS settings to recognize and utilize the newly installed SSD. The BIOS (Basic Input/Output System) is a firmware on your computer’s motherboard that controls the hardware during the startup process. Follow the steps below to configure the BIOS settings:
1. Power on your computer: Turn on your computer and immediately press the designated key to access the BIOS menu. The key to access the BIOS varies depending on the computer manufacturer. Commonly used keys are Del, F2, F10, or Esc. Consult your computer’s user manual if you’re unsure.
2. Navigate to the BIOS setup: Once you’re in the BIOS menu, use the arrow keys on your keyboard to navigate to the “Advanced” or “Storage” section. Look for options related to SATA or storage devices.
3. Enable AHCI Mode: Most modern SSDs require the AHCI (Advanced Host Controller Interface) mode to be enabled for optimal performance. Locate the setting that corresponds to SATA mode and change it from IDE or RAID to AHCI. Save the changes before exiting the BIOS menu.
4. Check boot order: While still in the BIOS menu, navigate to the “Boot” or “Boot Order” section. Ensure that the SSD is set as the primary boot device. This ensures that your computer boots from the SSD rather than the old hard drive.
5. Save and exit: Once you’ve made the necessary changes, save the settings and exit the BIOS menu. Your computer will now restart with the updated BIOS settings.
Upon rebooting, your computer should recognize the newly installed SSD and be ready to utilize its enhanced performance capabilities. However, if your computer doesn’t recognize the SSD or encounters any issues, double-check the connections and consult your computer’s user manual for troubleshooting steps.
In the next section, we’ll discuss how to format and partition the SSD to prepare it for data storage and installation of the operating system.
Formatting and Partitioning the SSD
Now that you’ve configured the BIOS settings, it’s time to format and partition your SSD. Formatting prepares the SSD for data storage, while partitioning divides it into logical sections for organizing files and installing the operating system. Follow these steps to format and partition your SSD:
1. Access Disk Management: On Windows, right-click the Start button and select “Disk Management” from the context menu. On macOS, open the “Disk Utility” application located in the Utilities folder.
2. Identify the SSD: Look for the SSD in the list of drives displayed in Disk Management or Disk Utility. It should be labeled with the disk number or the size of the SSD.
3. Format the SSD: Right-click on the SSD in Disk Management (Windows) or click on the SSD in Disk Utility (macOS) and select the option to format the drive. Choose the desired file system, such as NTFS for Windows or macOS Extended (Journaled) for macOS. Follow the prompts to complete the formatting process.
4. Create partitions: To create partitions, right-click on the unallocated space of the SSD in Disk Management (Windows) or click the “+” button in Disk Utility (macOS). Specify the size and other options for each partition according to your needs. You can create multiple partitions for different purposes if desired.
5. Assign drive letters: In Disk Management (Windows), you’ll need to assign drive letters to each partition. Right-click on a partition and choose the option to assign or change the drive letter. On macOS, the partitions will be automatically mounted and assigned with letters or names.
6. Verify the partitions: Double-check the partitions and their assigned letters or names to ensure they match your requirements. Make any necessary adjustments if needed.
With the SSD formatted and partitioned, it’s ready to be used for data storage and installation of the operating system. You can now begin transferring your data to the SSD or proceed with a clean installation of your desired operating system.
In the next section, we’ll discuss how to transfer data from your old hard drive to the newly installed SSD, ensuring a seamless transition without losing any important files.
Transferring Data to the SSD
Transferring your data from your old hard drive to the newly installed SSD allows you to keep your files, applications, and settings intact. Follow these steps to ensure a smooth data transfer process:
1. Clone your old drive: If you want an exact copy of your old hard drive, including the operating system and all files, you can use a disk cloning tool. Connect your old hard drive to your computer using a USB-to-SATA adapter cable. Then, use a disk cloning software like Clonezilla, EaseUS Todo Backup, or Macrium Reflect to clone your old drive to the SSD. Follow the instructions provided by the software to complete the cloning process.
2. Manually transfer files: If you prefer a selective transfer or if you don’t want to clone your entire old drive, you can manually copy your files from the old drive to the SSD. Connect both the old hard drive and the SSD to your computer using the appropriate cables. Then, use your operating system’s file explorer to copy and paste the desired files and folders from the old drive to the SSD.
3. Reinstall applications: If you choose to manually transfer your files, you’ll need to reinstall your applications on the SSD. Take note of the applications you had installed on your old drive and download or reinstall them on the SSD. Remember to use the latest version of each application to ensure compatibility with your new storage device.
4. Configure settings: After transferring your data to the SSD, there may be some settings and preferences that need to be reconfigured. For example, you may need to set your default file locations, update file paths in applications, or adjust specific preferences. Take the time to go through your applications and settings to ensure everything is properly configured on the SSD.
By following these steps, you can successfully transfer your data to the SSD, ensuring a seamless transition to your newly installed storage device. Once the data migration is complete, you can enjoy the enhanced speed and performance of your computer with the SSD.
In the next section, we’ll discuss how to test the functionality and performance of your SSD to ensure it’s working optimally.
Testing the SSD
After installing and transferring your data to the SSD, it’s important to test its functionality and performance to ensure everything is working optimally. Here are some tests you can perform to evaluate your SSD:
1. Benchmarking: Use benchmarking software like CrystalDiskMark, AS SSD Benchmark, or ATTO Disk Benchmark to measure the read and write speeds of your SSD. Compare the results with the manufacturer’s specifications to ensure that your SSD is performing as expected.
2. S.M.A.R.T. monitoring: S.M.A.R.T. (Self-Monitoring, Analysis, and Reporting Technology) is a feature built into most modern SSDs that monitors the health and performance of the drive. Use S.M.A.R.T. monitoring tools like CrystalDiskInfo or SSD Health to check the S.M.A.R.T. attributes of your SSD and ensure there are no signs of impending failure or issues.
3. Stress testing: You can perform stress tests on your SSD using tools like HD Tune or PassMark BurnInTest. These tests will simulate heavy usage and read/write operations to determine the stability and reliability of your SSD under intense workloads.
4. File transfer test: Copy a large file or a folder containing multiple files from your SSD to another location, such as a different drive or an external storage device. Observe the transfer speed and ensure it meets your expectations.
5. Real-world performance: Use your computer as you normally would and pay attention to the speed and responsiveness of your system. Launch applications, open files, and perform various tasks to gauge the overall performance improvement that the SSD has brought to your computer.
By conducting these tests, you can ensure that your SSD is functioning properly and meet your expectations in terms of speed, stability, and performance. Should you encounter any issues or notice unexpected results, refer to the manufacturer’s support resources or consult with a professional for further assistance.
With the completion of the testing phase, you can enjoy the benefits of your newly installed SSD and experience the enhanced performance and responsiveness it brings to your computer.
Conclusion
Congratulations! You have successfully installed and set up your solid state drive (SSD). By following the steps outlined in this guide, you have transformed your computer into a faster and more efficient machine. The SSD will provide you with improved performance, quicker boot times, and faster data access.
In this guide, we covered the essential steps required to install an SSD, including preparing for the installation, connecting the SSD, configuring the BIOS settings, formatting and partitioning the SSD, transferring data, and testing the SSD’s functionality and performance. Each step is crucial to ensure a smooth and seamless transition to your new storage device.
Remember, it’s important to take precautionary measures such as backing up your data before starting the installation process. Additionally, consult your computer’s user manual and manufacturer guidelines to ensure compatibility and avoid any warranty issues.
With your SSD up and running, you can experience a significant improvement in the speed and responsiveness of your computer. Whether you use it for everyday tasks, gaming, or resource-intensive applications, the SSD will enhance your computing experience.
As technology continues to advance, it’s always worth considering upgrades that can prolong the lifespan and performance of your computer. Installing an SSD is a cost-effective and efficient way to turbocharge your computer’s performance without the need for a complete system overhaul.
We hope that this guide has provided you with the knowledge and confidence to install your SSD and enjoy the benefits it offers. If you have any questions or encounter any issues, don’t hesitate to consult the manufacturer’s support resources or seek professional assistance.
Thank you for following this guide, and we wish you many years of improved performance and productivity with your newly installed SSD!


