Introduction
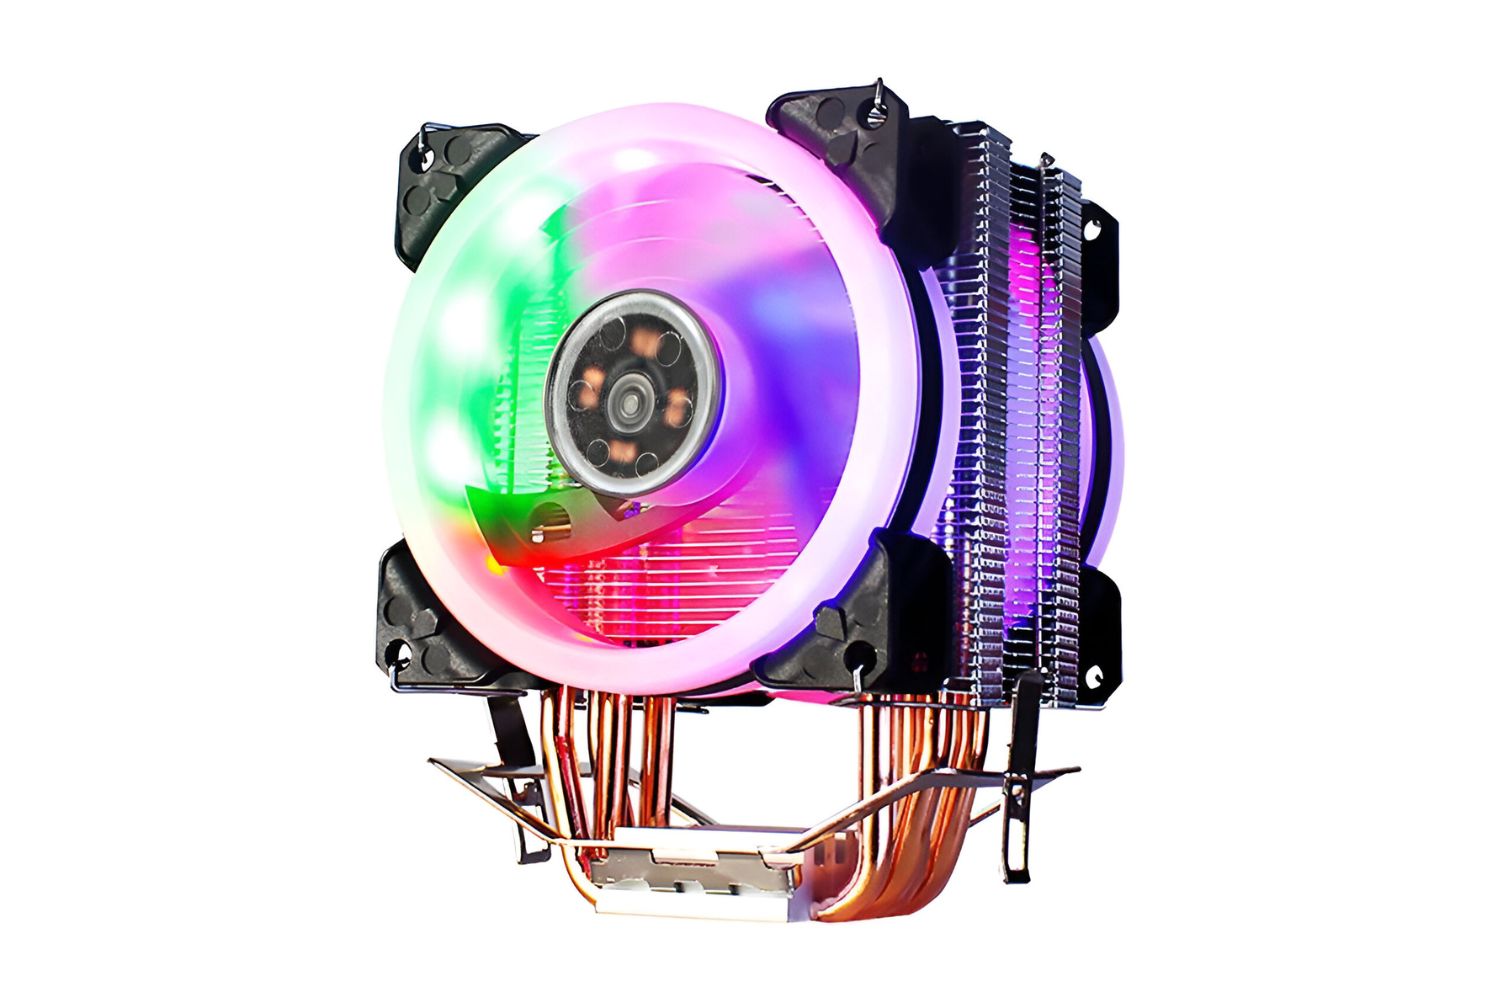
When it comes to keeping your PC running smoothly and efficiently, cooling is absolutely crucial. One popular cooling option for avid PC users is a water cooler. Not only does it offer improved thermal performance, but it can also add a stylish touch to your PC case.
However, fitting a water cooler in your PC case may seem like a daunting task if you’re unfamiliar with the process. Don’t worry though, as we’ve got you covered! In this guide, we’ll take you through the step-by-step process of fitting a water cooler in your PC case, ensuring a successful installation and optimal cooling performance.
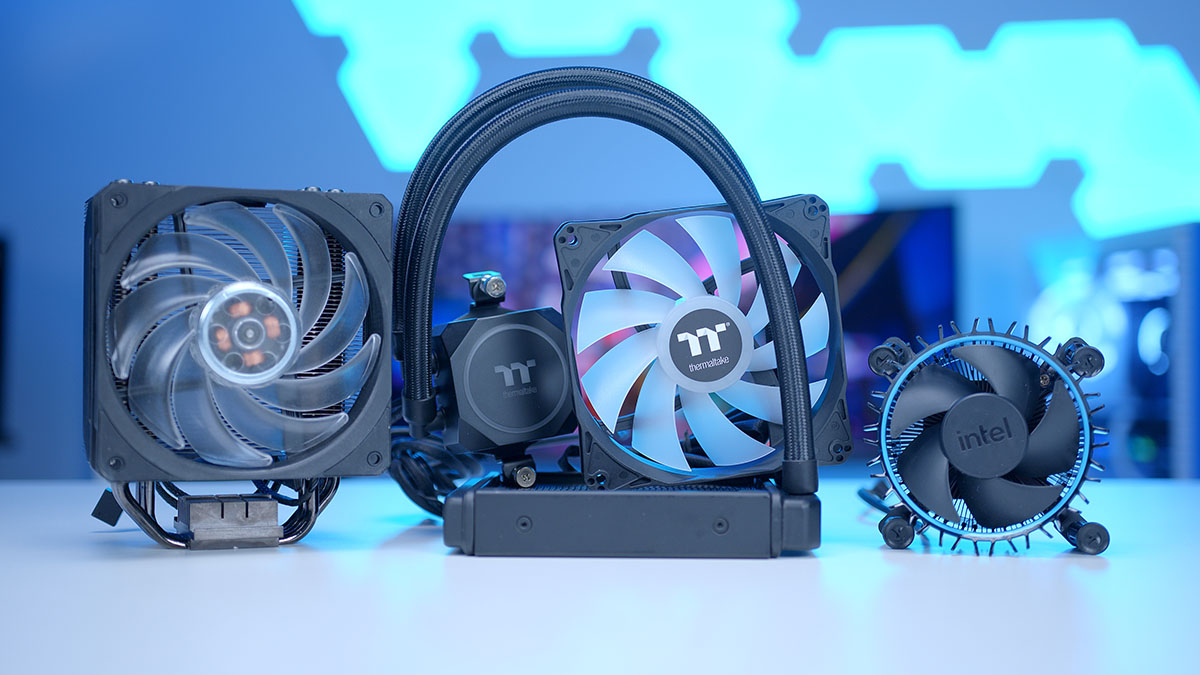
Before diving into the installation process, it’s important to note that there are different types of water coolers available, including all-in-one (AIO) coolers and custom loop cooling systems. In this guide, we’ll focus on installing an AIO cooler, which is a popular choice for most PC users due to its simplicity and effectiveness.
So, if you’re ready to take your PC cooling to the next level, let’s get started with the installation process. By the end of this guide, you’ll have a fully functioning water cooler system, allowing you to keep your PC cool and performing at its best.
Step 1: Choose the Right Water Cooler
Before you can begin the installation process, it’s important to choose the right water cooler for your PC. There are several factors to consider when making this decision:
- Compatibility: Check if the water cooler is compatible with your PC case and motherboard. Most water coolers are designed to fit standard case sizes, but it’s always a good idea to double-check the specifications.
- Cooling Performance: Look for a water cooler that offers excellent cooling performance within your budget. Consider the size of the radiator and the number of fans it supports, as these factors contribute to effective heat dissipation.
- Noise Level: Some water coolers can be quite noisy, especially under heavy loads. If noise is a concern for you, consider models that come with quiet or low-noise fans.
- Installation Difficulty: If you’re new to PC building, opt for an all-in-one (AIO) water cooler that is relatively easy to install. Custom loop cooling systems, on the other hand, require more expertise and are better suited for experienced users.
Once you have identified your requirements, take the time to research and read reviews to find the best water cooler that meets your needs. Consider factors such as reliability, customer support, and warranty coverage as well.
Remember, choosing the right water cooler is essential to ensure optimal cooling performance for your PC. Take your time, do your research, and make an informed decision before proceeding to the next step.
Step 2: Assess Your PC Case
Once you have chosen the right water cooler for your PC, it’s important to assess your PC case to determine the best location for the cooler and ensure proper fitment. Here are a few key points to consider:
- Available Space: Take a look at the interior of your PC case and identify available space for mounting the water cooler. Measure the dimensions and make a note of any obstacles such as cables or other components that may interfere with the installation process.
- Mounting Options: Check if your PC case supports top, front, or rear mounting for the radiator. Different cases have different mounting options, so it’s essential to identify the ideal location that provides adequate airflow and fits the dimensions of your water cooler.
- Cable Management: Consider the cable management options in your PC case. Ensure that there is enough space to route the cooling tubes and connect the necessary cables without obstructing other components or impeding airflow.
- Clearance: Take note of any clearance issues that may arise due to existing components, such as tall RAM modules or large GPU cards. You may need to remove or reposition certain components to make room for the water cooler.
By thoroughly assessing your PC case, you will have a clear understanding of the available space and any potential obstacles that need to be addressed before proceeding with the installation. This step is crucial to ensure a smooth and successful installation process without any unforeseen issues.
Remember, each PC case is unique, so it’s important to tailor the installation process based on the specific requirements and limitations of your case. With a clear assessment in hand, you are now ready to move on to the next step of fitting the water cooler into your PC case.
Step 3: Prepare Your PC Case
Before installing the water cooler, it’s important to properly prepare your PC case to ensure a smooth and hassle-free installation. Here are the key steps to follow:
- Clean the Case: Start by cleaning the interior of your PC case. Remove any dust, debris, or cables that may obstruct the installation process. Use compressed air or a soft brush to clean all surfaces, ensuring optimal conditions for the installation.
- Remove Side Panels: Take off the side panels of your PC case to gain easy access to the internal components. Most cases have screws or latches to secure the panels, so carefully remove them without causing any damage.
- Locate Mounting Points: Identify the mounting points for your chosen water cooler. These are usually located on the top, front, or rear of the case. Refer to the manufacturer’s instructions or your PC case manual for accurate information.
- Prepare Cooling Fans: If your PC case has pre-installed cooling fans, consider their placement and airflow direction. Ensure that the fans are facing the correct direction to provide optimal cooling efficiency when combined with the water cooler.
- Organize Cables: Proper cable management is crucial for a clean and efficient installation. Use cable ties or velcro straps to neatly route and secure cables, keeping them away from the path of the water cooler and maintaining an organized interior.
By preparing your PC case appropriately, you create a suitable environment for installing the water cooler. This step not only facilitates a smoother installation process but also ensures that your PC case remains organized and clutter-free, promoting better airflow and cooling performance.
Keep in mind that different PC cases may have specific requirements or additional steps for preparation. Always refer to the manual or instructions provided with your case to ensure you follow the manufacturer’s recommendations for preparing your specific PC case.
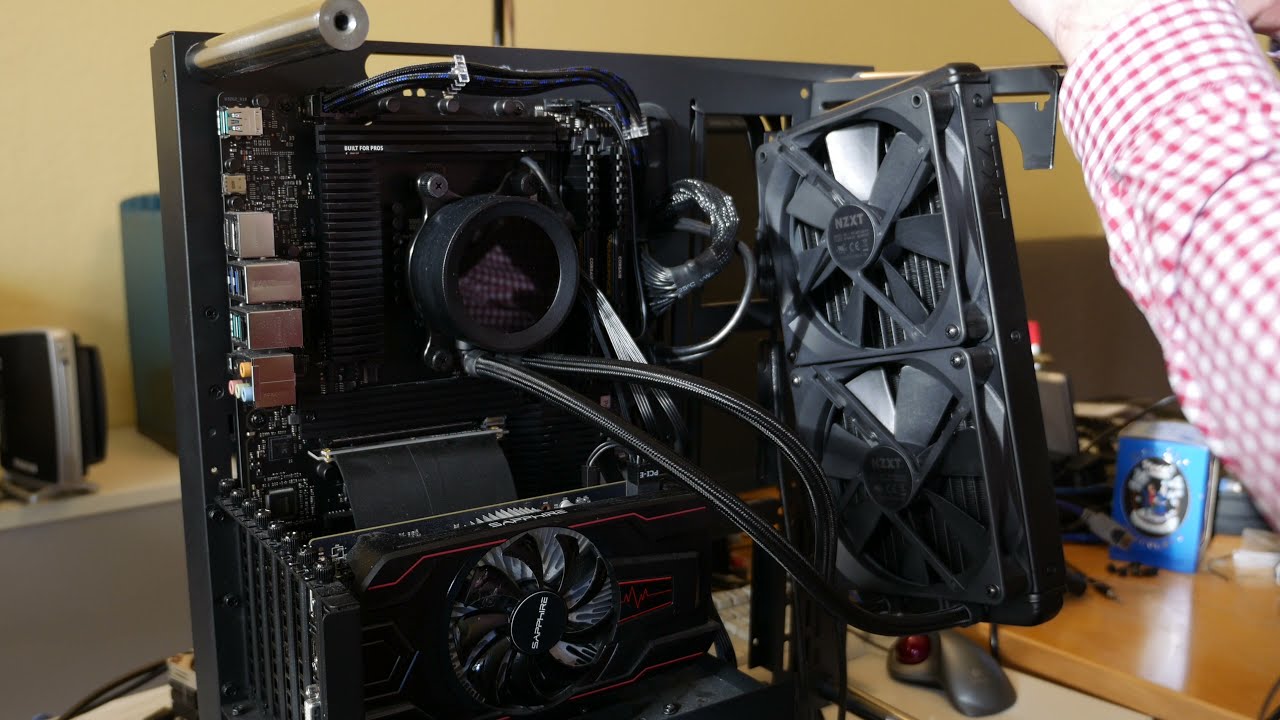
Step 4: Install the Radiator
Now that you have prepared your PC case, it’s time to install the radiator of your water cooler. The radiator is responsible for dissipating heat from the coolant, so proper installation is crucial for optimal cooling performance. Follow these steps to install the radiator:
- Locate the Mounting Points: Identify the mounting points in your PC case that are designed to hold the radiator. These are typically located on the top, front, or rear of the case. Refer to your PC case manual or instructions for accurate information.
- Attach the Fans: If your radiator includes cooling fans, attach them to the radiator before mounting it in the case. These fans help in expelling heat from the radiator and should be securely attached to ensure proper cooling.
- Position the Radiator: Carefully position the radiator inside the case, aligning it with the mounting points that you identified earlier. Ensure that the tubing and connectors are easily accessible and properly oriented for future connections.
- Secure the Radiator: Once the radiator is correctly positioned, use the appropriate screws or fasteners provided with your PC case to secure it in place. Make sure the radiator is firmly attached and does not move or wiggle when gently touched.
- Connect the Cooling Fans: If you detached the cooling fans in the previous step, now is the time to reconnect them to the radiator. Follow the manufacturer’s instructions to connect the fans securely, ensuring proper alignment and cable management.
With the radiator securely installed in your PC case, you have completed a crucial step in the water cooler installation process. The radiator will play a key role in efficiently dissipating heat from your PC’s components, allowing for improved overall performance and longevity.
Remember to double-check the connections and ensure that the radiator is aligned properly with the mounting points. A secure and well-positioned radiator is essential for the next steps of the installation process.
Step 5: Mount the Pump
With the radiator installed, it’s time to mount the pump of your water cooler. The pump is responsible for circulating the coolant through the system, ensuring efficient cooling of your PC’s components. Here’s how to mount the pump:
- Locate Mounting Area: Refer to the manufacturer’s instructions or your PC case manual to locate the designated area for mounting the pump. This is typically near the CPU socket on the motherboard or in a designated pump housing.
- Prep the Mounting Surface: Clean the mounting surface to ensure proper contact and adhesion. Use a lint-free cloth or alcohol wipe to remove any dust, debris, or thermal paste residue that may interfere with the pump’s installation.
- Apply Thermal Paste: Apply a small pea-sized amount of thermal paste to the center of the CPU. This helps promote optimal heat transfer between the CPU and the water block of the pump. Use a spreading tool or the included applicator to evenly distribute the paste.
- Attach the Pump: Carefully align the pump with the mounting holes or bracket on the motherboard. Gently lower the pump onto the CPU, ensuring that the thermal paste makes good contact with the CPU surface.
- Secure the Pump: Use the provided screws or fasteners to securely attach the pump to the motherboard. Tighten them evenly in a diagonal pattern to ensure even pressure and proper installation.
Once the pump is securely mounted, double-check that all connections are secure and aligned correctly. The pump serves a vital role in maintaining proper coolant circulation, ensuring efficient heat transfer and cooling throughout your PC.
Remember to consult the manufacturer’s instructions for any specific mounting considerations or additional steps that may apply to your particular water cooler model. Proper installation of the pump is crucial for the overall performance and longevity of your water cooling system.
Step 6: Secure the Waterblock/CPU Cooler
After mounting the pump, the next step is to secure the waterblock or CPU cooler in place. The waterblock is responsible for transferring heat from the CPU to the coolant circulating within the system. Follow these steps to secure the waterblock or CPU cooler:
- Prepare the CPU: Ensure that the CPU surface is clean and free from any thermal paste residue. If necessary, clean the surface with a lint-free cloth or alcohol wipe. This will help to ensure proper thermal contact between the CPU and the waterblock.
- Apply Thermal Paste: Apply a small amount of thermal paste to the center of the CPU. The thermal paste aids in efficient heat transfer from the CPU to the waterblock. Use an applicator or spreading tool to evenly spread the thermal paste if needed.
- Position the Waterblock: Align the waterblock with the CPU socket, ensuring that the mounting holes or brackets line up correctly. Gently lower the waterblock onto the CPU, making sure that the thermal paste makes contact with the CPU surface.
- Secure the Waterblock: Attach the mounting brackets or screws provided with your water cooler to secure the waterblock in place. Tighten the screws evenly, but avoid overtightening to prevent damage to the CPU or the waterblock.
- Check for Proper Alignment: Verify that the waterblock sits evenly on the CPU and does not appear misaligned. It should firmly attach to the CPU socket without any gaps or wobbling.
Once the waterblock is securely mounted, you have completed the installation of the CPU cooler. Ensure that all connections are secure, and there is proper alignment between the waterblock and the CPU.
Take a moment to double-check the mounting screws and brackets to ensure they are firmly tightened without being overly tightened. This step helps promote efficient heat transfer from the CPU to the waterblock, contributing to optimal cooling performance for your PC.
Keep in mind that different water cooling systems may have specific mounting mechanisms or additional steps. Always refer to the manufacturer’s instructions or manual for your specific water cooler to ensure proper installation.
Step 7: Connect the Cooling Tubes
With the waterblock securely in place, it’s time to connect the cooling tubes of your water cooler. These tubes are responsible for circulating the coolant between the radiator, pump, and waterblock. Follow these steps to connect the cooling tubes:
- Identify Tube Connections: Locate the tube connections on the radiator, pump, and waterblock. These are usually marked with labels or arrows indicating the flow direction of the coolant.
- Ensure Proper Orientation: Check the arrows or labels on the cooling tubes to ensure that they are connected in the correct direction. It’s crucial for the coolant to flow from the pump to the radiator and then to the waterblock, following the recommended path of cooling.
- Attach the Tubes: Insert one end of a cooling tube onto the designated outlet of the waterblock. Use a gentle twisting motion while pushing the tube to ensure a secure connection. Repeat this process for the other end of the tube, connecting it to the corresponding inlet on the radiator or pump.
- Tighten the Fittings: If your water cooler has fittings or clamps to secure the tubes, ensure that you tighten them adequately. These fittings help maintain a tight seal and prevent any leaks during operation.
- Double-Check Connections: Once all the cooling tubes are connected, take a moment to inspect each connection. Ensure there are no kinks, bends, or loose fittings that could impede proper coolant flow. A well-connected and secure tube setup will contribute to efficient cooling performance.
Connecting the cooling tubes is a critical step in establishing the circulation of coolant throughout your water cooling system. Ensure that the tubes are properly aligned, secure, and connected in the correct orientation to allow for effective heat transfer from the components to the radiator.
Always refer to the manufacturer’s instructions or manual for your specific water cooler to ensure that you follow their recommended tube connection process. This will help prevent any issues and ensure optimal performance and longevity of your water cooling system.
Step 8: Fill the Cooling System
Now that the cooling tubes are connected, it is time to fill the cooling system with coolant. Filling the system ensures that there is enough liquid to effectively transfer heat and maintain optimal cooling performance. Follow these steps to fill the cooling system:
- Prepare the Coolant: Start by preparing the coolant solution according to the manufacturer’s instructions. Some coolants may need to be mixed with distilled water in a specific ratio. Ensure that you use a high-quality coolant specifically designed for water cooling systems.
- Identify the Fill Port: Locate the designated fill port on your water cooling system. It is typically located on the top of the radiator or pump. Refer to the manufacturer’s instructions or manual to find the exact location.
- Open the Fill Port: Unscrew or remove the cap from the fill port to expose the opening. Keep the cap in a safe place for later use.
- Pour the Coolant: Carefully pour the coolant into the fill port, ensuring that it enters the system without any spills or splashes. Pour the coolant slowly and monitor the fill level to prevent overfilling.
- Bleed the Air: As you fill the cooling system, air bubbles may become trapped inside the tubes and components. To remove these air bubbles, gently tap or shake the radiator and pump housing. You may also need to tilt your PC case slightly to encourage air to rise to the fill port.
- Continue Filling: Keep pouring coolant into the fill port until the system is adequately filled. Monitor the fill port for any signs of coolant overflow.
- Close the Fill Port: Once the system is filled, screw or replace the cap on the fill port securely. Ensure that it is tightly closed to prevent any leaks.
By following these steps, you have successfully filled the cooling system with coolant. Filling the system is crucial to maintain optimal cooling performance and prevent overheating of your PC components.
Remember to use caution when handling the coolant and follow the manufacturer’s instructions regarding the type and amount of coolant to use. It is also advisable to periodically check the coolant levels and top up if necessary to ensure continuous and effective cooling.
Step 9: Test for Leaks
Testing for leaks is a critical step to ensure the integrity of your water cooling system and prevent any potential damage. Even with proper installation, leaks can occur, so it is important to perform a thorough leak test before powering on your PC. Follow these steps to test for leaks:
- Inspect Connections: Carefully inspect all the connections, including the waterblock, tubing, fittings, and radiator. Look for any signs of moisture, drips, or pooling coolant. Pay particular attention to areas where the tubes are connected to the waterblock and radiator.
- Dry the System: Use a clean cloth or paper towel to carefully wipe any areas that appear moist. Remember to thoroughly dry the connections without applying excessive force or causing damage to the components.
- Run the System Outside the Case: For added safety, it is recommended to run the system outside of the PC case during the leak test. Place the radiator and pump assembly on a non-conductive surface, away from any electronics or sensitive components.
- Initiate Power: Connect the power cables to the pump and any necessary components for testing. Keep other PC components disconnected during this initial test to minimize the risk of damage in case of a leak.
- Observe for Leaks: Power on the system and observe the connections and fittings closely for any signs of leaks. Allow the system to run for an extended period, typically around 30 minutes, to ensure a thorough leak test.
- Monitor Coolant Levels: Keep an eye on the coolant levels during the test. If there is a significant drop in the coolant level, it could be an indication of a leak. However, minor fluctuations may occur due to air bubbles escaping from the system.
- Perform Visual Inspections: Periodically check the connections and fittings visually while the system is running. Look for any signs of moisture, drips, or changes in the coolant flow. Take note of any areas that require further attention or possible adjustments.
By following these steps, you can identify and address any potential leaks before fully integrating your water cooling system into the PC case. It is crucial to address any leaks promptly to prevent any damage to your PC components.
If you notice any leaks or suspect a problem during the test, immediately power off the system, disconnect the power cables, and assess the situation. Identify the source of the leak and rectify it by adjusting the fittings, tightening connections, or applying additional sealant if necessary.
It is essential to ensure a leak-free water cooling system before proceeding to the final step of completing the installation process and powering on your PC.
Step 10: Complete the Installation
With the leak test successfully conducted and any necessary adjustments made, it’s time to complete the installation of your water cooling system in your PC. Follow the final steps below to finish the installation:
- Disconnect the Power: Turn off the system and disconnect the power cables. This is a crucial safety measure to prevent any accidental damage while completing the installation.
- Reconnect PC Components: If you ran the leak test outside the case, carefully reconnect all the necessary PC components, including the graphics card, storage devices, and any other peripherals.
- Secure the Radiator: Ensure that the radiator is securely fastened in place within the PC case. Double-check the screws or mounting brackets to ensure they are tight and properly aligned.
- Check Cable Management: Review your cable management to ensure that all cables are neatly routed and do not hinder the operation of the water cooler. Make any necessary adjustments to maintain an organized and clutter-free interior.
- Close the PC Case: Carefully replace the side panel(s) of your PC case and secure them with the appropriate screws or latches. Ensure that the case is fully closed before proceeding.
- Connect Power Cables: Reconnect the power cables to all components, including the pump and any additional fans. Double-check that all connections are secure and aligned correctly.
- Power on the System: Verify that everything is in place, and there are no loose connections. Power on your PC and monitor for any abnormal behavior or unusual temperatures. Ensure that the cooling system is functioning correctly.
With these final steps, you have completed the installation of your water cooling system. Take a moment to observe your PC during operation and monitor the temperatures to ensure that the cooling performance meets your expectations.
Should you encounter any issues or notice any abnormalities, refer to the manufacturer’s instructions or seek assistance from appropriate support channels. Regularly monitor the coolant levels, check for dust accumulation, and maintain proper maintenance of your water cooling system to ensure long-lasting performance and optimal cooling for your PC.
Conclusion
Congratulations! You have successfully completed the installation of your water cooling system in your PC. By following the step-by-step guide, you have learned how to choose the right water cooler, assess your PC case, prepare it for installation, mount the radiator and pump, secure the waterblock, connect the cooling tubes, fill the cooling system, test for leaks, and complete the installation.
A water cooling system offers significant benefits, including improved thermal performance and the potential for overclocking your components for enhanced performance. Proper installation and maintenance of your water cooling system ensure that your PC remains cool, thus enhancing its longevity and overall performance.
Remember, when working with water cooling systems, it is essential to exercise caution, carefully follow the manufacturer’s instructions, and regularly check for any leaks or issues. Performing routine maintenance, such as cleaning the system and monitoring coolant levels, will help ensure the continued efficiency of your water cooling system.
Now that you have completed the installation and are enjoying the benefits of a properly cooled PC, take the time to appreciate the effort you have put into this project. With a well-performing water cooling system, you can push your PC to its limits while maintaining optimal temperatures and performance.
Thank you for following this guide, and we hope that it has provided you with the knowledge and confidence to successfully install and enjoy your water cooling system in your PC. Happy computing!