Introduction
Welcome to this step-by-step guide on how to delete your Slack account. Whether you no longer use Slack for communication or you’re switching to a different platform, deleting your account is a simple and straightforward process.
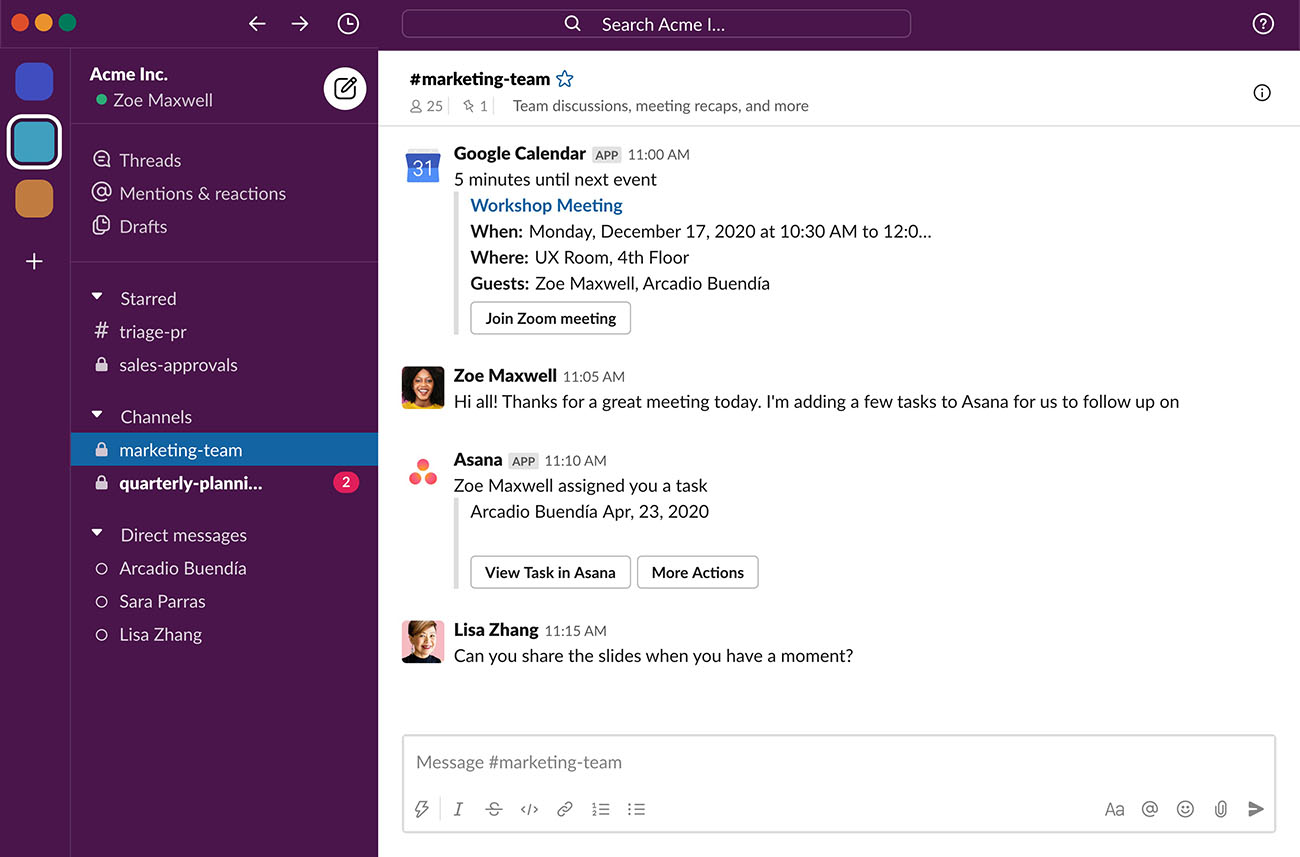
Slack is a powerful collaboration tool that allows teams to communicate and collaborate in real-time. However, if you’ve decided that Slack no longer serves your needs or you want to tidy up your online presence, deleting your account is a viable option.
Before we dive into the steps to delete your Slack account, it’s important to note that this action is irreversible. Once your account is deleted, you will lose access to all your messages, channels, and files on Slack. Therefore, it’s crucial to back up any important information before proceeding.
Additionally, keep in mind that as the owner of a team, you cannot delete your Slack account unless you transfer ownership to someone else. If you’re the only member of the team or an administrator, make sure to transfer ownership before initiating the deletion process.
In this guide, we’ll walk you through the process of deleting your Slack account step by step. From accessing the Slack settings to confirming your decision and signing out, we’ll cover everything you need to know. So, let’s get started!
Step 1: Go to Slack’s website
The first step towards deleting your Slack account is to visit the official Slack website. Open up your preferred web browser and navigate to slack.com.
Once you’ve arrived at the Slack homepage, you should see the option to either sign in or sign up for an account. Since you already have an account, click on the “Sign In” button.
If you’re already logged in to your Slack account on your browser, you may be redirected directly to your workspace. In that case, ensure that you’re on the correct workspace before proceeding. If not, you can log out of the current account and sign in with the appropriate credentials.
If you’ve forgotten your Slack login details, click on the “Forgot your password?” link below the sign-in form to reset your password. Alternatively, you can use the “Sign in with SSO” option if your workspace has single sign-on enabled.
Once you’ve successfully signed in to your Slack account, you’re ready to move on to the next step in the account deletion process.
Step 2: Sign in to your account
After accessing the Slack homepage, the next step is to sign in to your account. If you’re not already signed in, click on the “Sign In” button in the top-right corner of the page.
You will be presented with a sign-in form where you’ll need to enter your Slack login credentials. Input your email address or username in the designated field and your password in the corresponding field. Once you’ve entered the required information, click on the “Sign In” button.
If you have enabled two-factor authentication for your Slack account, you will be prompted to enter the verification code that you receive on your registered device. This is an additional security measure to protect your account from unauthorized access.
If you encounter any issues signing in, double-check that you’ve entered your login information correctly. Also, verify that you’re connected to a stable internet connection to ensure a smooth sign-in process.
It’s worth mentioning that if you’ve previously signed in to Slack using a third-party authentication provider (such as Google or Microsoft), you can simply click on the corresponding button to sign in using that method. This eliminates the need to remember and enter your Slack-specific login details.
Once you have successfully logged in to your Slack account, you’re ready to proceed to the next step of the account deletion process.
Step 3: Open the Slack settings menu
Now that you’re signed in to your Slack account, it’s time to navigate to the settings menu. Click on your profile name or avatar in the top-right corner of the Slack interface to open a dropdown menu.
Within the dropdown menu, you will find various options related to your Slack account and settings. Locate and select the “Preferences” or “Settings” option, which will lead you to the settings page.
The specific name and location of the settings option may vary depending on the Slack interface version or customization by your workspace administrator. However, it is usually denoted by an icon or label that signifies user settings.
Once you click on the settings option, a new page will open, displaying several categories and tabs related to your account preferences and customization options.
At this point, it’s essential to ensure that you have the necessary permissions to modify your account settings. If you’re unable to access the settings page or encounter any errors, reach out to your workspace administrator or contact Slack support for assistance.
With the settings menu open, you’re ready to proceed to the next step in the process of deleting your Slack account.
Step 4: Access the “You and Team” tab
After opening the settings menu, it’s time to navigate to the section where you can manage your account details. Look for the “You and Team” tab or a similar option in the settings sidebar or menu.
Click on the “You and Team” tab to access a range of settings related to your individual account and your interaction with the team.
Within the “You and Team” section, you may find options to customize your profile, update your display name or username, configure notifications, and manage other account-related settings.
It’s crucial to note that the exact layout and available options within the “You and Team” tab may vary depending on the Slack version and the permissions granted by your workspace administrator.
If you’re unable to locate the “You and Team” tab or encounter any difficulties accessing this section, double-check that you have proper access privileges. If necessary, consult with your workspace administrator to verify your permissions or seek guidance on accessing the necessary account settings.
Once you’ve successfully accessed the “You and Team” tab, you’re one step closer to deleting your Slack account. Next, we’ll delve into the steps required to initiate the account deletion process.
Step 5: Choose “Account Settings”
Within the “You and Team” tab of the Slack settings, you will find a list of options related to your account management. Look for the specific option labeled “Account Settings” and click on it.
The “Account Settings” section is where you can access various settings and options that specifically pertain to your Slack account. This includes account preferences, security settings, and other account-related details.
Once you click on “Account Settings,” you will be taken to a new page that displays a range of options and configurations to manage your account.
In this section, you may find the option to change your email address, update your password, configure login methods, and adjust other account-related settings. Take a moment to review the available options and ensure that you’re in the right section.
Keep in mind that the layout and available options may differ slightly depending on the version of Slack you’re using and the permissions granted by your workspace administrator.
If you encounter any difficulties accessing the “Account Settings” section or have questions about the options available, consult the Slack Help Center or reach out to the Slack Support team for assistance.
Once you’ve successfully accessed the “Account Settings” page, you’re ready to proceed to the next step in the process of deleting your Slack account.
Step 6: Scroll down and find “Deactivate Account”
Now that you’re in the “Account Settings” section, scroll down the page to explore the available account management options. Look for the specific option labeled “Deactivate Account” or a similar phrase.
The “Deactivate Account” option allows you to initiate the process of deleting your Slack account permanently. It’s important to note that once your account is deactivated, all your messages, channels, and files will be permanently deleted, and this action cannot be undone.
Take a moment to review any additional details or instructions provided alongside the “Deactivate Account” option. It’s recommended to read through the information to ensure that you fully understand the consequences of deleting your Slack account.
If you’re unsure about deactivating your account or have concerns, you may want to consider archiving your conversations, downloading important files, or transferring any critical information to another team member before proceeding with the account deletion.
If you don’t find the “Deactivate Account” option in the “Account Settings” section, it’s possible that your workspace administrator has restricted this functionality. In that case, you may need to reach out to your administrator or contact Slack support to discuss your account deactivation request.
Once you have located the “Deactivate Account” option and taken all necessary precautions, you’re ready to proceed to the next step and confirm your decision.
Step 7: Confirm your decision
After finding the “Deactivate Account” option, it’s time to confirm your decision to delete your Slack account. Click on the “Deactivate Account” button or the corresponding confirmation option provided.
A confirmation dialog box or pop-up will appear, asking you to confirm that you want to proceed with deleting your Slack account. This step serves as an extra precaution to ensure that the account deletion is intentional.
Take a moment to carefully read the information presented in the confirmation dialog box. It may include details about what happens to your data, the irreversibility of the process, and any final warnings or recommendations.
If you’re certain about deleting your Slack account, click on the “Confirm” or “Delete Account” button to proceed. However, if you change your mind or wish to retain your account, you can click on the “Cancel” or “Keep Account” option.
Keep in mind that once you confirm the account deletion, there is no way to recover any data or information associated with your Slack account. Therefore, it’s crucial to ensure that you have backed up any essential files or conversations prior to this step.
Remember, this confirmation step is your final opportunity to reconsider your decision before permanently deleting your Slack account. Take your time to review and triple-check before proceeding to the next step.
Once you’ve confirmed your decision and proceed with deleting your Slack account, there’s no turning back. All your messages, channels, files, and other account-related information will be permanently deleted.
Step 8: Provide feedback (optional)
After confirming the deletion of your account, Slack may give you the option to provide feedback on your experience or reasons for deleting your account. This step allows you to share your thoughts and help Slack understand how they can improve their platform.
Providing feedback is optional, but it can be valuable for both you and Slack. If you encountered any issues or have suggestions for improvement, this is an opportunity to voice your opinions and contribute to the platform’s development.
If you choose to provide feedback, you may be directed to a form or a survey where you can share your thoughts. Be honest and specific in your feedback, highlighting areas where you believe Slack can enhance its user experience or address any concerns you may have had.
Keep in mind that the feedback you provide is valuable to Slack, so try to be constructive and provide actionable suggestions where possible. Your insights can contribute to the ongoing refinement of the platform and help shape future updates.
If you prefer not to provide any feedback or simply want to proceed without sharing your thoughts, you can usually skip this step and move on to the final step of the account deletion process.
Now that you’ve considered providing feedback (or skipped this step), you’re almost done with the account deletion process. It’s time to proceed to the next step and sign out of your account.
Step 9: Sign out of your account
Once you’ve completed the necessary steps to delete your Slack account, the final step is to sign out of your account. This ensures that you have successfully ended your session and no longer have access to your account.
To sign out of your Slack account, locate the sign-out option within the Slack interface. Typically, you can find this option by clicking on your profile name or avatar in the top-right corner of the screen.
After clicking on your profile, a dropdown menu will appear. Look for the “Sign Out” or “Logout” option and select it to initiate the sign-out process.
Once you’ve clicked on the sign-out option, you will be logged out of your Slack account, and the session will be terminated. This means that you will no longer have access to your Slack workspace or any related content.
It’s important to note that signing out of your account after deleting it is essential for security and privacy reasons. It ensures that no one else can access your account or view your conversations and files.
If you’re using a shared or public device, be sure to sign out completely and close the browser to prevent any unauthorized access to your account.
With the sign-out process completed, you have successfully deleted your Slack account and logged out of your session. Congratulations on completing the account deletion process!
Conclusion
Congratulations on successfully deleting your Slack account! By following the step-by-step guide outlined in this article, you have taken the necessary actions to permanently remove your account from the platform.
Deleting your Slack account can be a significant decision, and it’s important to be aware of the consequences. Once your account is deleted, you will lose access to all your messages, channels, and files on Slack, so it’s crucial to back up any important information beforehand.
Throughout the account deletion process, it’s worth noting that the specific steps and options may vary slightly depending on the version of Slack you’re using and the permissions granted by your workspace administrator. In case of any difficulties or questions, reach out to your administrator or consult the Slack Help Center for guidance.
Remember, if you’re the owner of a team, you will need to transfer ownership before deleting your Slack account. Additionally, consider informing your teammates about your decision and ensuring any essential information is transferred or backed up for the team’s continued collaboration.
We hope this guide has provided you with a clear understanding of how to delete your Slack account. If you ever decide to rejoin or use Slack in the future, you can create a new account and start fresh.
Thank you for using Slack, and we wish you success in your future endeavors!