Introduction
Welcome to the world of seamless entertainment and convenient streaming with Chromecast! Whether you want to enjoy your favorite movies, TV shows, or music, Chromecast allows you to effortlessly stream content from your smartphone, tablet, or computer straight to your TV screen. To get started, you need to connect your Chromecast to the internet via Wi-Fi. In this guide, we will walk you through the step-by-step process of connecting your Chromecast to Wi-Fi, ensuring a smooth streaming experience. So let’s dive in and get your Chromecast up and running in no time!
Chromecast is a small, easy-to-use device that plugs into the HDMI port of your TV. It acts as a receiver, allowing you to “cast” or stream content from your devices directly to your TV. With Chromecast, you can access various entertainment apps such as Netflix, YouTube, Spotify, and many more, transforming your TV into a smart entertainment hub.
Before we start, make sure you have your Chromecast device, a compatible TV with an HDMI port, and a Wi-Fi network with internet access. It’s also recommended to have your smartphone or tablet handy, as you’ll need it to download the Google Home app and complete the setup process.
Now that we have the essentials covered, let’s begin setting up your Chromecast and connecting it to your Wi-Fi network. Follow the simple steps outlined in this guide, and you’ll be ready to enjoy endless entertainment options on your TV screen.
Step 1: Unboxing the Chromecast
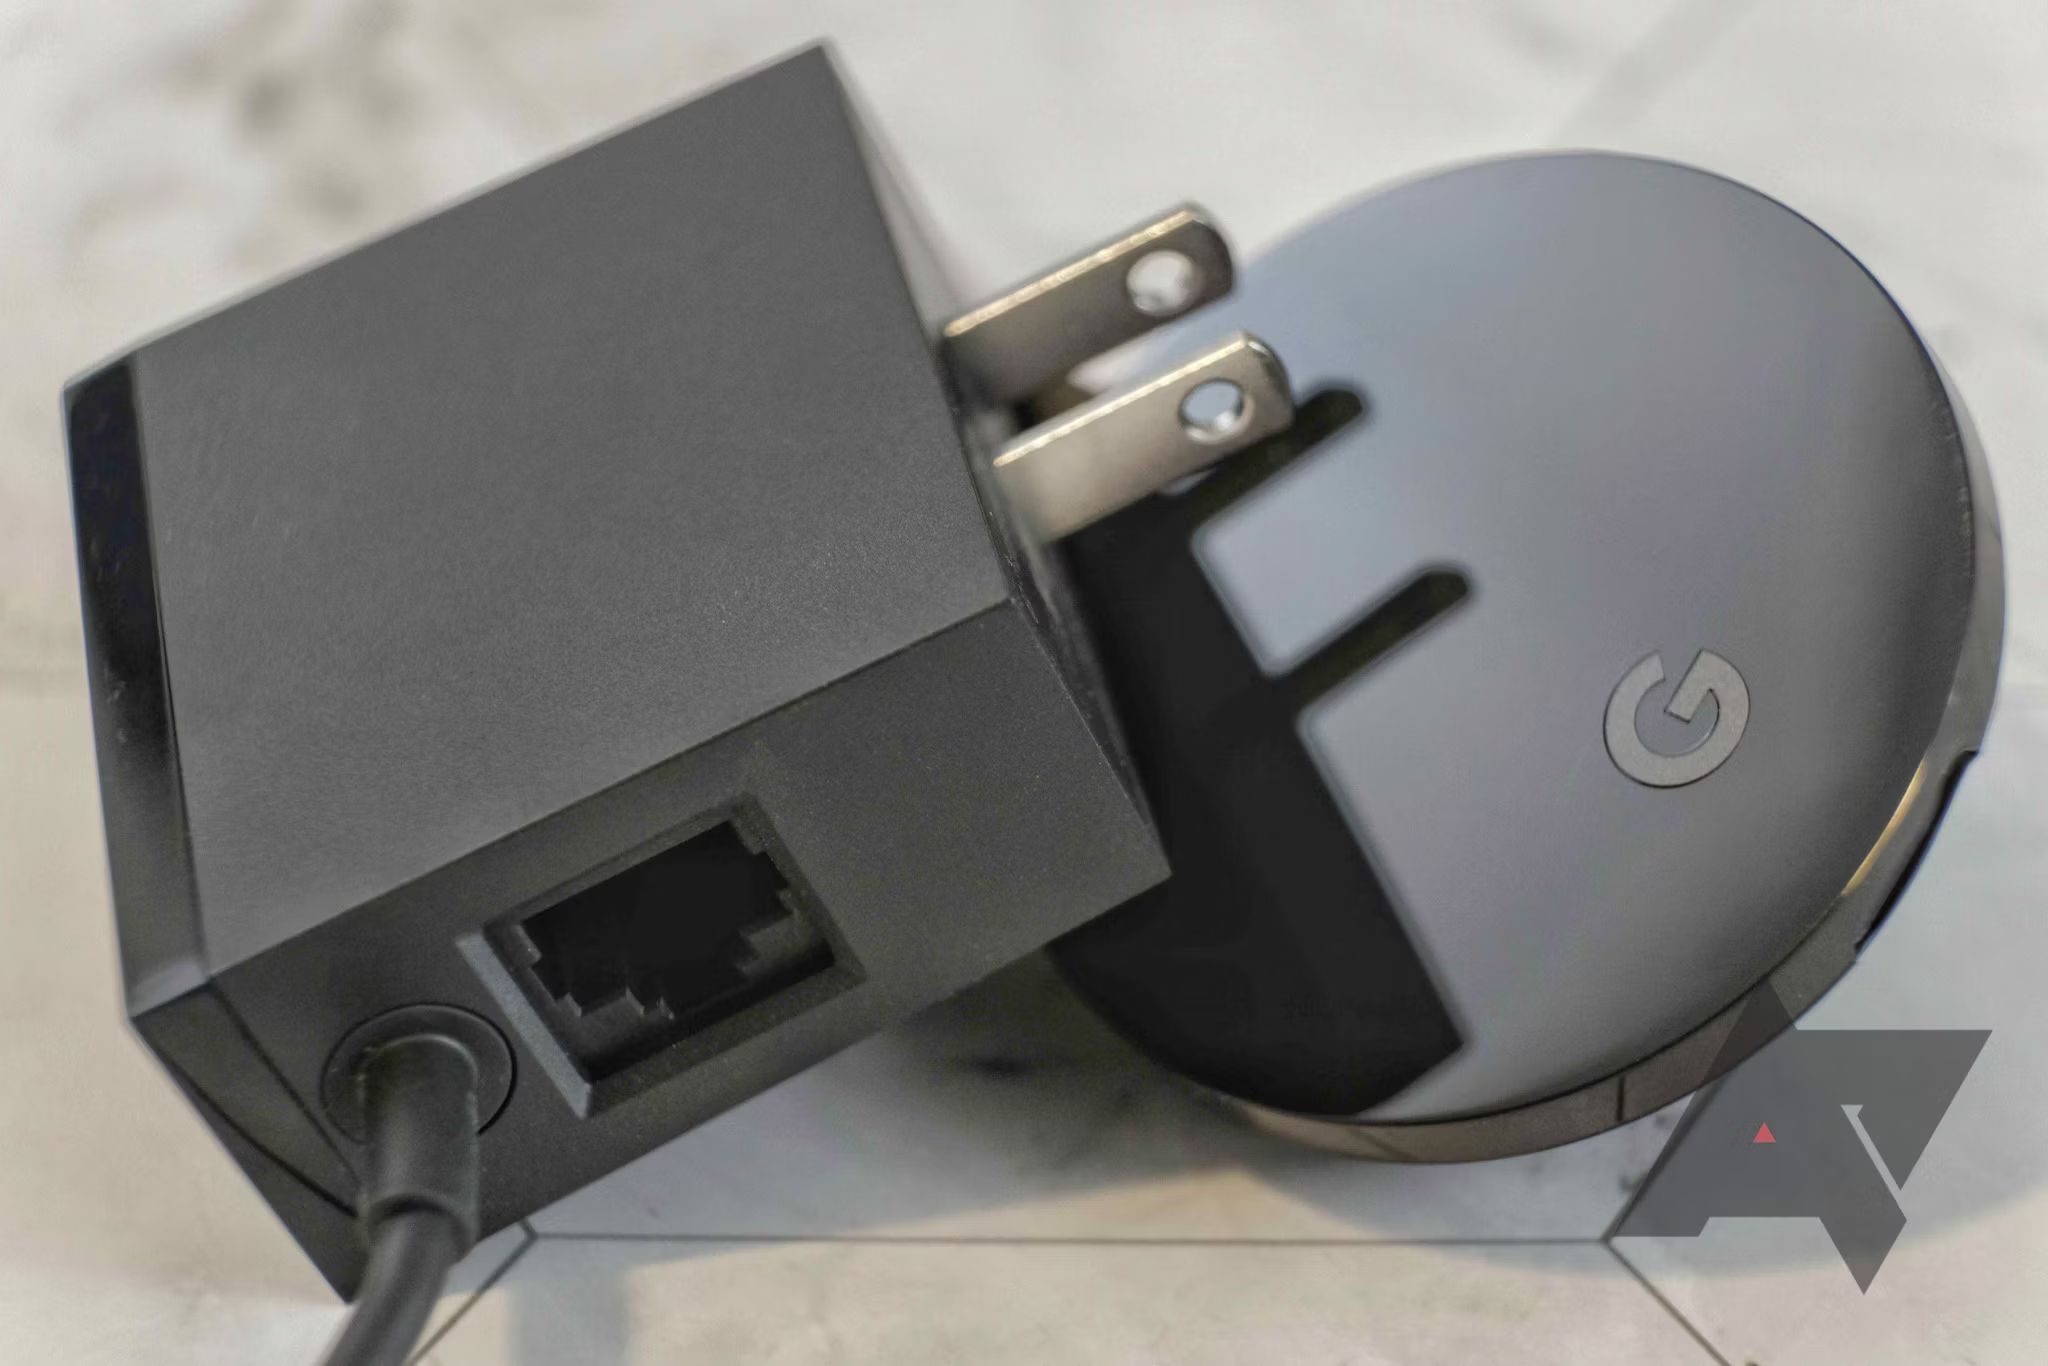
The first step in connecting your Chromecast to Wi-Fi is unboxing the device. When you open the box, you will find the Chromecast itself, a power adapter, and a USB cable. Take a moment to familiarize yourself with these components.
The Chromecast is a small, circular device with an HDMI connector on one end. This connector will be plugged into an available HDMI port on your TV. The power adapter is used to provide electricity to the Chromecast, and the USB cable connects the device to the power adapter. Make sure to keep all these components handy.
It’s important to note that if your TV has a built-in USB port, you can connect the Chromecast directly to the USB port for power. This eliminates the need for the power adapter, as the Chromecast can draw power from the USB port. However, if your TV doesn’t have a USB port or if you prefer a more stable power source, you can use the power adapter and plug it into a standard power outlet.
Once you have unboxed your Chromecast and familiarized yourself with the components, you are ready to move on to the next step: connecting the Chromecast to your TV.
Step 2: Connecting the Chromecast to your TV
After unboxing your Chromecast, the next step is to connect it to your TV. To do this, locate an available HDMI port on your TV. It’s usually located on the back or side panel of the TV. Insert one end of the Chromecast into the HDMI port. Be sure to remember which HDMI port you used, as you will need to select the corresponding input on your TV later.
Once you have connected the Chromecast to the HDMI port, you may need to adjust the setting on your TV to switch to the HDMI input. Most TVs have a dedicated button or input selection option on the remote control for this purpose. Look for buttons like “Source,” “Input,” or “TV/Video” on your remote control, and use them to navigate to the connected HDMI input.
If your TV has multiple HDMI ports, make sure to select the one where you plugged in the Chromecast. Some TVs label their HDMI inputs, so look for any labels that indicate which input is being used. This ensures that you see the Chromecast setup process on your TV screen.
Once you have selected the correct HDMI input, you should see the Chromecast setup screen displayed on your TV. If you don’t see anything, check the HDMI connection and ensure that the Chromecast and TV are powered on. Make sure the TV is set to the correct HDMI input. If you are still having trouble, refer to the troubleshooting section in this guide.
Now that your Chromecast is physically connected to your TV, we can move on to the next step: powering up the Chromecast.
Step 3: Powering up the Chromecast
Now that you have connected the Chromecast to your TV, it’s time to power it up. To provide power to the Chromecast, you have two options: using the power adapter or the USB port on your TV.
If you choose to use the power adapter, simply plug one end of the USB cable into the Chromecast and the other end into the power adapter. Then, plug the power adapter into a standard power outlet. Make sure that the power outlet is easily accessible and located near your TV setup.
On the other hand, if your TV has a USB port, you can connect the Chromecast directly to it. Plug one end of the USB cable into the Chromecast and the other end into the USB port on your TV. This eliminates the need for the power adapter, as the Chromecast will draw power from the USB port. However, it’s worth noting that some TVs may not provide enough power through the USB port, resulting in instability or intermittent performance. In such cases, using the power adapter is recommended.
Once you have powered up the Chromecast, you should see the familiar “Chromecast” logo on your TV screen, indicating that the device is ready to be set up. If you don’t see the logo, double-check the power connection and ensure that the Chromecast is properly plugged in and powered on.
Congratulations! You have successfully powered up your Chromecast. Now, let’s move on to the next step: downloading the Google Home app on your smartphone or tablet.
Step 4: Downloading the Google Home App
In order to set up and configure your Chromecast, you will need to download the Google Home app on your smartphone or tablet. The Google Home app is available for both iOS and Android devices and can be found in the respective app stores.
Here’s how to download the Google Home app:
- On your smartphone or tablet, open the App Store (iOS) or Google Play Store (Android).
- In the search bar, type “Google Home” and tap on the search result for the Google Home app.
- Tap the “Install” or “Get” button to download and install the app.
- Wait for the installation process to complete, and then tap on the app icon to open it.
Once the Google Home app is installed and opened on your device, you are ready to proceed to the next step: setting up your Chromecast with the Google Home app.
The Google Home app acts as a control center for all your Google smart devices, including Chromecast. It allows you to set up and manage your Chromecast, customize settings, and control what you cast to your TV. It’s a powerful tool that simplifies the Chromecast setup process and makes it easy to interact with your Chromecast.
Now that you have downloaded the Google Home app, let’s move on to the next step: setting up your Chromecast with the Google Home app.
Step 5: Setting up Your Chromecast with the Google Home App
Now that you have the Google Home app installed on your smartphone or tablet, it’s time to set up your Chromecast. Follow these steps to complete the setup process:
- Open the Google Home app on your device.
- Tap the “+” icon or the “Add” button to add a new device.
- From the list of available devices, select “Set up a new device” and choose “Chromecast” from the options.
- Make sure that the code displayed on your TV screen matches the code shown in the Google Home app. If they match, tap “Yes” to continue.
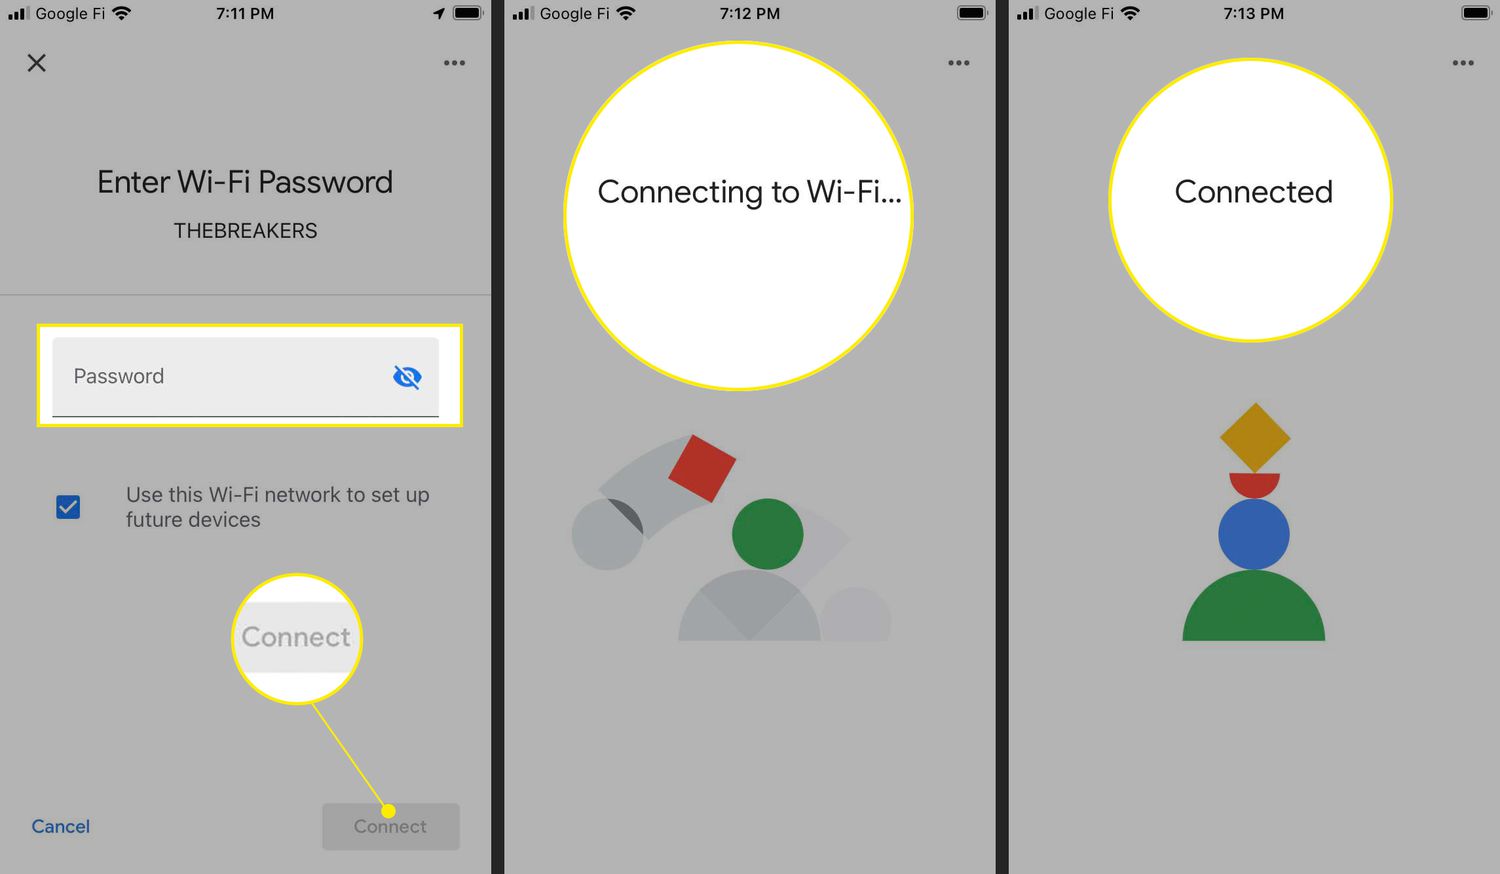
- Choose the Wi-Fi network that you want to connect your Chromecast to. Make sure you select the correct network and enter the password if prompted.
- Wait for the Google Home app to connect your Chromecast to the Wi-Fi network. This process may take a few moments.
- Once the connection is successful, you can choose a name for your Chromecast. This name will be used to identify your Chromecast within the Google Home app.
- Finally, you can customize some additional settings, such as guest mode and guest network accessibility. These settings are optional but can enhance your overall experience.
After completing these steps, the Google Home app will confirm that your Chromecast is set up and connected to your Wi-Fi network. You can now start casting content from your smartphone, tablet, or computer to your TV using the Chromecast.
Keep in mind that the steps outlined in this section may vary slightly depending on the version of the Google Home app and the operating system of your device. However, the general process should remain the same, and the app will guide you through each step.
With your Chromecast set up and connected to your Wi-Fi network, you are now ready to enjoy seamless streaming and immersive entertainment. In the next step, we will cover how to connect your Chromecast to your Wi-Fi network.
Step 6: Connecting Your Chromecast to Your Wi-Fi Network
Now that your Chromecast is set up with the Google Home app, the next step is to connect it to your Wi-Fi network. Follow these steps to establish a connection:
- Open the Google Home app on your smartphone or tablet.
- Ensure that your Chromecast device is selected in the app.
- Tap on the “Settings” or gear icon, usually located in the top right corner of the screen.
- In the device settings, scroll down and select “Wi-Fi.”
- You will see a list of available Wi-Fi networks. Select your network from the list.
- If your network requires a password, enter it when prompted.
- Wait for the Chromecast to connect to the Wi-Fi network. This process may take a few moments.
- Once the connection is established, you will receive a confirmation message in the Google Home app.
It’s important to note that your Chromecast and your smartphone or tablet need to be connected to the same Wi-Fi network for seamless casting. This ensures that they can communicate with each other effectively and deliver content to your TV.
If you want to connect your Chromecast to a different Wi-Fi network in the future, you can follow the same steps outlined above. Simply select a different network from the list and enter the password if required.
With your Chromecast successfully connected to your Wi-Fi network, you can now enjoy the freedom of streaming your favorite content directly to your TV. The next section will cover some common Wi-Fi connectivity issues and how to troubleshoot them.
Step 7: Troubleshooting Common Wi-Fi Connectivity Issues
While setting up and connecting your Chromecast to Wi-Fi is usually a straightforward process, you may encounter some common connectivity issues. Here are a few troubleshooting tips to help you resolve these issues:
- Check your Wi-Fi signal strength: Ensure that your Wi-Fi network has a strong signal in the area where your Chromecast is located. Weak Wi-Fi signal can cause intermittent connectivity or buffering issues. Try moving your router closer to your Chromecast or consider using a Wi-Fi range extender.
- Restart your Chromecast: Sometimes, a simple restart can solve connectivity issues. Unplug the power adapter from your Chromecast, wait for a few seconds, and plug it back in. Allow your Chromecast to power up and reconnect to the Wi-Fi network.
- Restart your router: If your Chromecast is still not connecting, try restarting your router. Unplug the power source, wait for a few seconds, and plug it back in. Allow your router to fully restart before attempting to connect your Chromecast again.
- Check your Wi-Fi network settings: Ensure that your Wi-Fi network is configured correctly. Check for any restrictions or settings that may prevent your Chromecast from connecting. You can also try disabling any firewalls or security features temporarily to see if that resolves the issue.
- Update the firmware: Ensure that both your Chromecast and your router have the latest firmware updates installed. Outdated firmware can cause compatibility issues and connectivity problems. Check for firmware updates on the manufacturer’s website and follow the instructions to update your devices.
- Factory reset your Chromecast: As a last resort, you can perform a factory reset on your Chromecast. Keep in mind that this will erase all settings and data on your Chromecast. To do a factory reset, open the Google Home app, select your Chromecast, go to the settings, and choose the option to factory reset. Follow the on-screen instructions to complete the process.
If you have followed these troubleshooting steps and are still experiencing issues, it may be helpful to consult the official documentation or support resources provided by Google for further assistance. They can provide guidance specific to your device and help resolve any persistent connectivity problems.
By troubleshooting common Wi-Fi connectivity issues, you can ensure a smooth and uninterrupted streaming experience with your Chromecast.
Conclusion
Congratulations! You have successfully connected your Chromecast to your Wi-Fi network, allowing you to effortlessly stream your favorite entertainment content directly to your TV. By following the step-by-step process outlined in this guide, you have set up your Chromecast, connected it to your TV, downloaded the Google Home app, and established a stable Wi-Fi connection.
With your Chromecast and the Google Home app, you now have access to a wide range of streaming apps, including Netflix, YouTube, Spotify, and more. You can cast your favorite movies, TV shows, music, and even games from your smartphone, tablet, or computer to the big screen, enhancing your home entertainment experience.
Remember, if you encounter any issues during the setup process or experience connectivity problems, be sure to refer to the troubleshooting section for helpful tips and solutions. Sometimes, a simple restart or adjustments to your Wi-Fi network settings can resolve minor connectivity issues.
Now that your Chromecast is up and running, feel free to explore the various features and options available through the Google Home app. You can customize settings, manage connected devices, and discover new content to enjoy on your TV screen.
We hope this guide has been helpful in assisting you with connecting your Chromecast to your Wi-Fi network. Enjoy your streaming experience and immerse yourself in endless entertainment possibilities!