Introduction
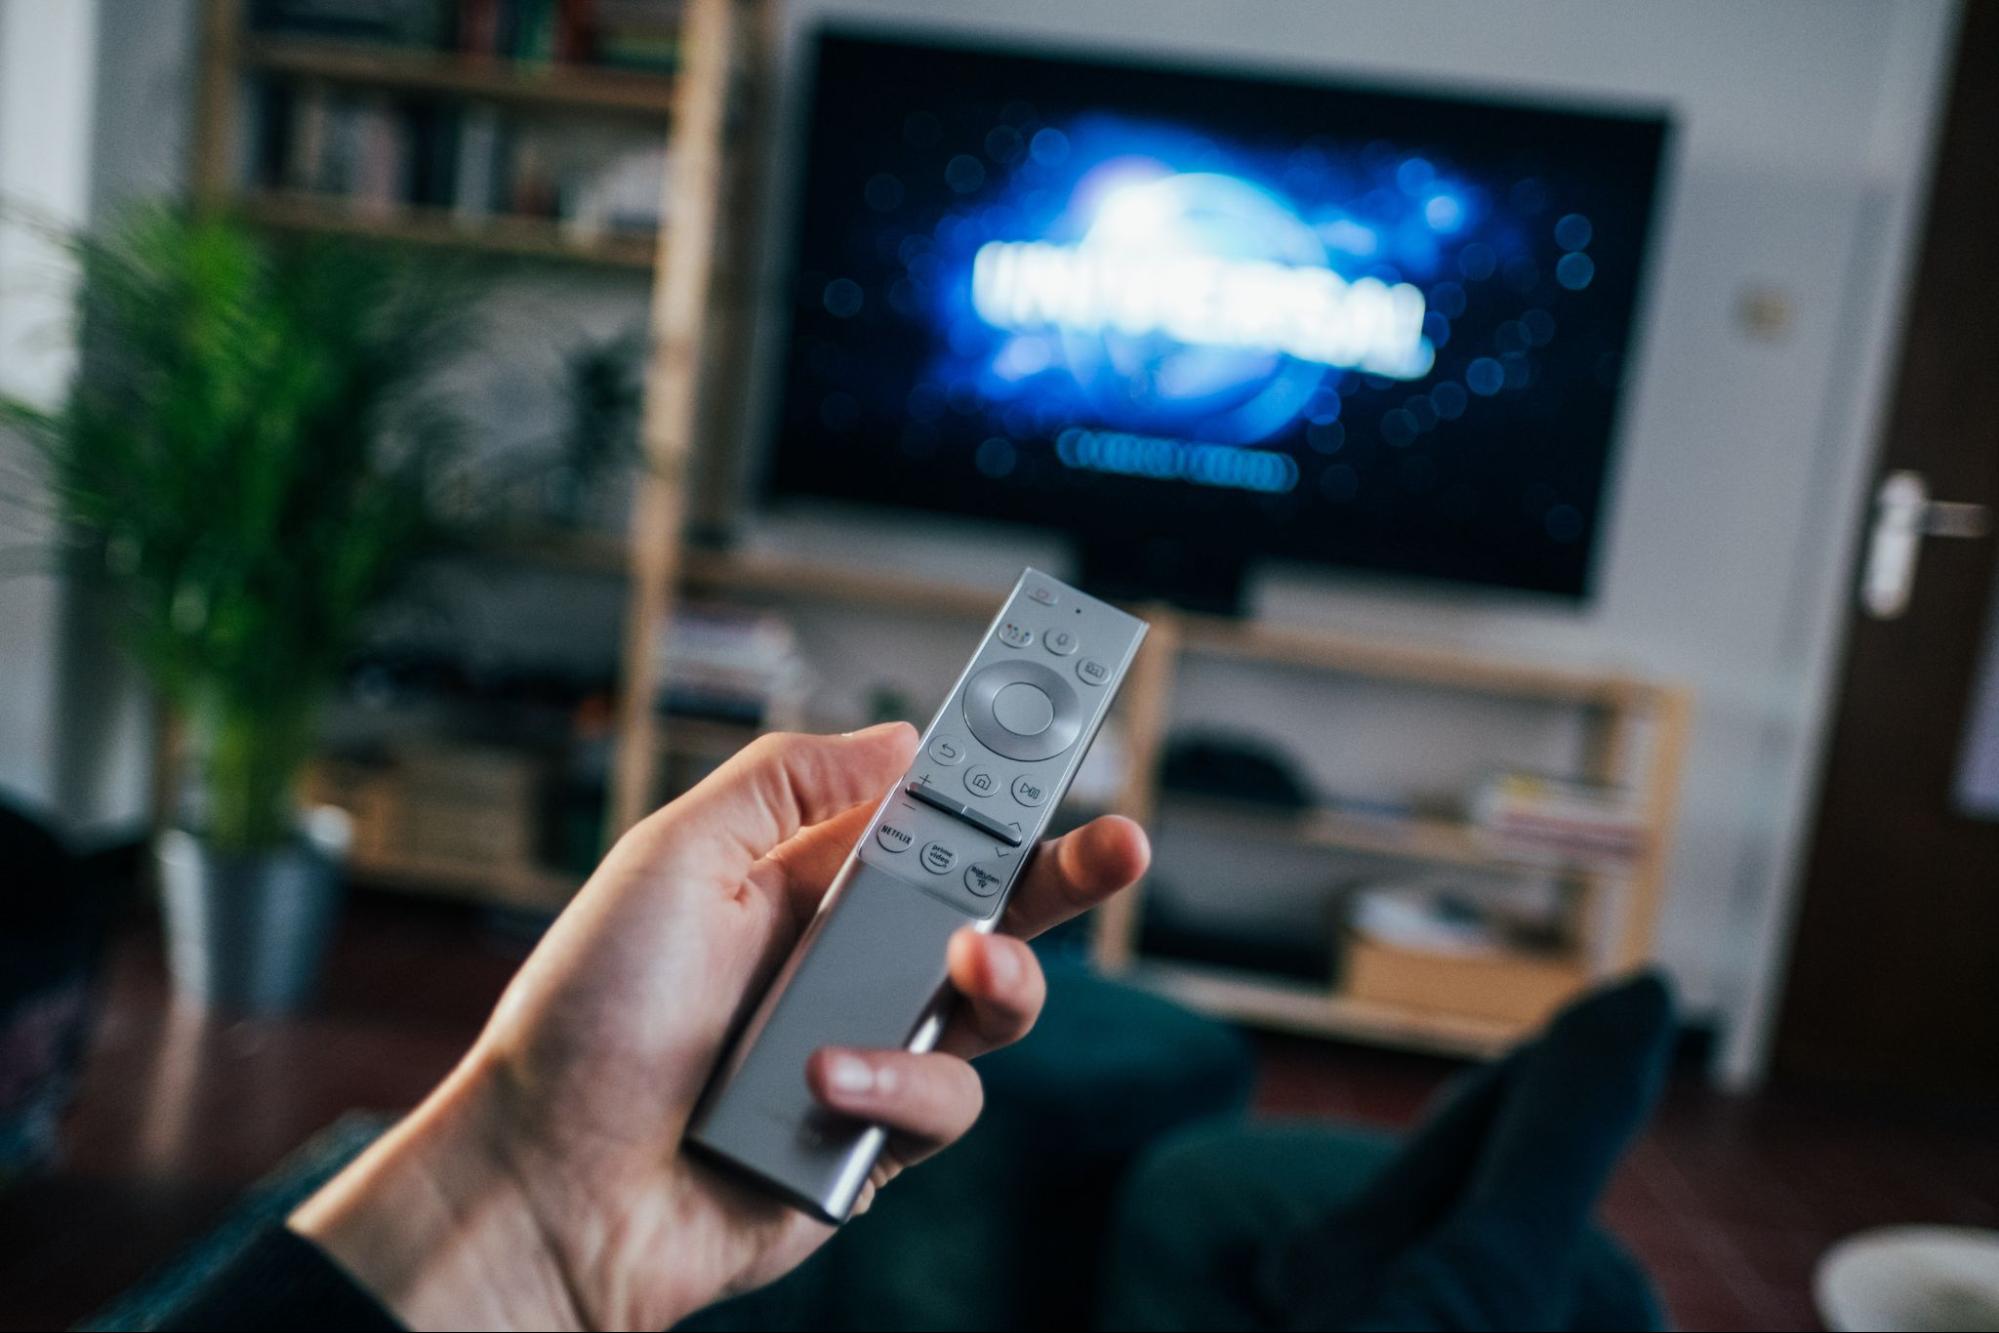
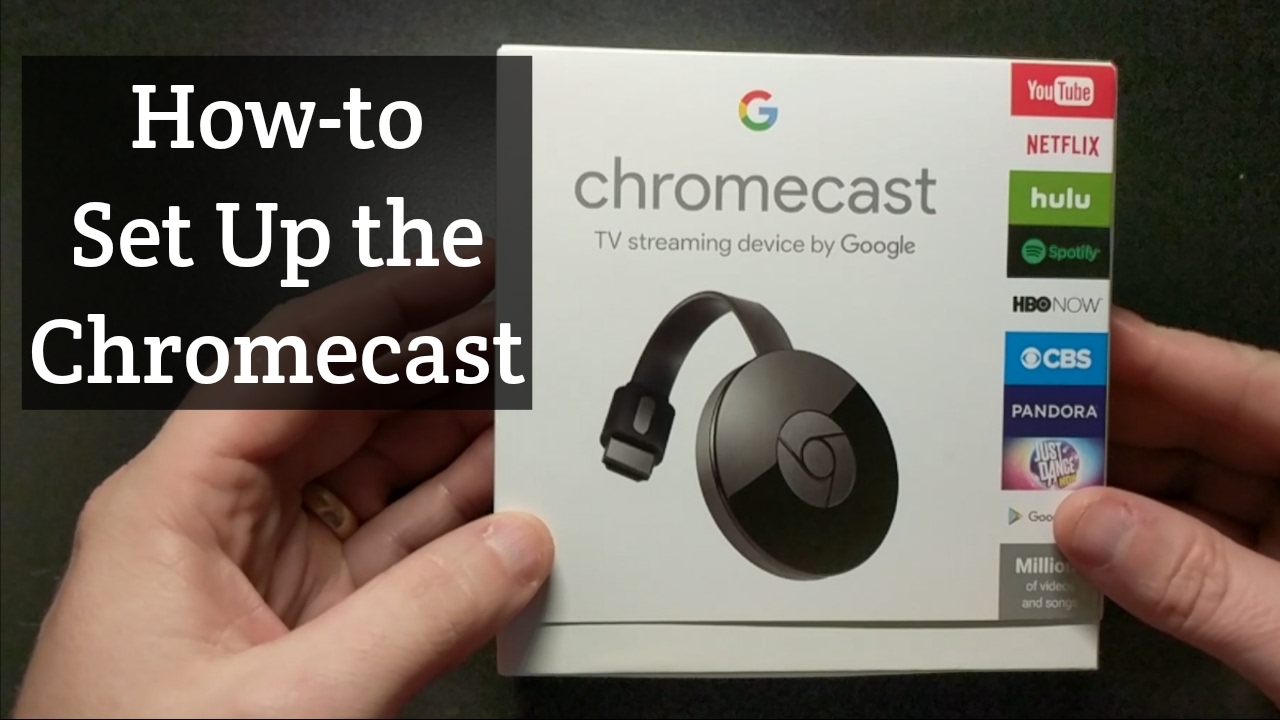
Welcome to the world of Chromecast, a revolutionary device that allows you to seamlessly stream your favorite movies, TV shows, and music from your smartphone, tablet, or computer to your TV. Setting up Chromecast is a straightforward process that requires just a few simple steps. Whether you’re a tech enthusiast or a beginner, this guide will walk you through the process of setting up Chromecast with ease.
Chromecast is a small dongle-like device that plugs into the HDMI port of your TV, enabling you to cast content from your devices onto the big screen. It offers a convenient way to enjoy your favorite streaming services like Netflix, YouTube, Spotify, and more, transforming your regular TV into a smart TV.
Before diving into the setup process, it’s important to note that Chromecast requires a stable Wi-Fi connection to function properly. Make sure you have your Wi-Fi network name and password handy as you’ll need them during the setup process. Additionally, ensure that you have control over the TV you’ll be connecting Chromecast to, as you’ll need to access its HDMI port and settings.
Whether you’re looking to enjoy a movie night at home or share vacation photos with your family on the big screen, Chromecast provides a seamless and intuitive streaming experience. So, let’s get started!
Step 1: Gather the Materials
Before you begin setting up your Chromecast, it’s essential to gather the necessary materials. Here’s what you’ll need:
- A Chromecast device: This can be either Chromecast or Chromecast Ultra, depending on your preferences and budget.
- A TV with an HDMI port: Ensure that your TV has an available HDMI port to connect the Chromecast device.
- A power source: Chromecast requires power to function, either through a USB port on your TV or using the power adapter included with the device.
- A smartphone, tablet, or computer: You’ll need a compatible device to control and cast content to Chromecast.
- A stable Wi-Fi network: It’s crucial to have a reliable Wi-Fi network connection to stream content smoothly.
Once you have gathered all the necessary materials, you’re ready to move on to the next step of the Chromecast setup process. Make sure that your TV is turned on, and your device is connected to the same Wi-Fi network you intend to use for Chromecast.
Chromecast devices are readily available both online and in electronics stores, making it easily accessible for anyone interested in upgrading their TV viewing experience. Additionally, keep in mind that Chromecast is compatible with various platforms, including Android, iOS, macOS, and Windows, allowing you to cast content from a wide range of devices.
Now that you have all the required materials, let’s move on to the next step: connecting the Chromecast device to your TV.
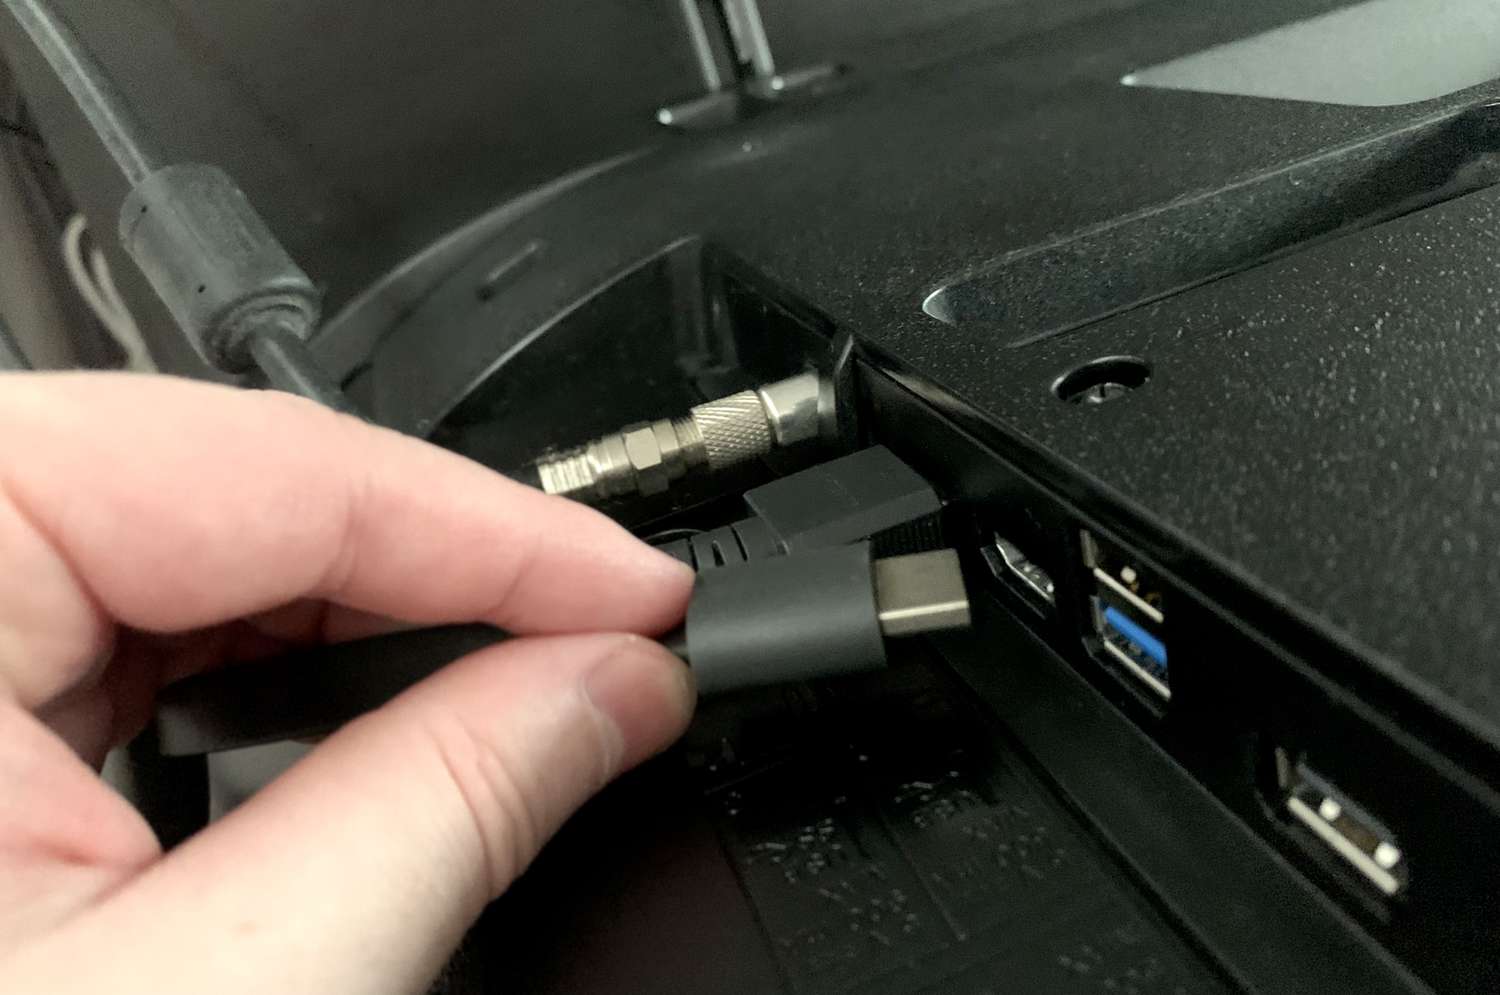
Step 2: Connect Chromecast to Your TV
Now that you have your materials ready, it’s time to connect your Chromecast device to your TV. Follow these simple steps:
- Locate the HDMI port on your TV: Examine the back or side of your TV to find the HDMI port where you will connect the Chromecast device.
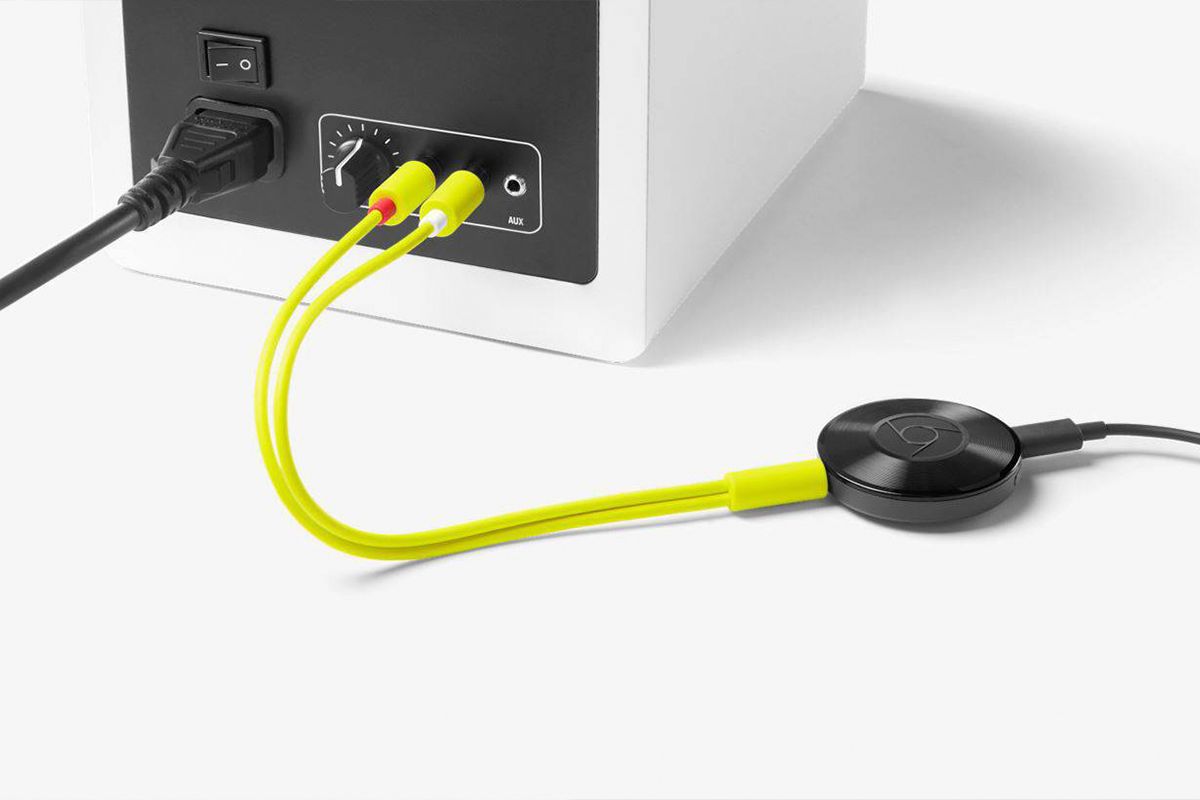
- Plug the Chromecast into the HDMI port: Insert the Chromecast device into the HDMI port of your TV. If you’re using Chromecast Ultra, make sure to connect the power cable to the device as well.
- Choose the power source: If your Chromecast requires external power, connect the power cable to the device. You can either use the USB port on your TV or the power adapter that comes with the Chromecast. If you’re using the USB port on your TV, make sure it’s capable of powering the Chromecast device.
- Power on the TV: Turn on your TV and switch the input source to the HDMI port where you connected the Chromecast device.
Once you’ve completed these steps, you should see the Chromecast setup screen on your TV. If not, ensure that you have selected the correct HDMI input source on your TV. It’s important to note that some TVs automatically switch to the correct input source when they detect a new device connected via HDMI.
Connecting Chromecast to your TV is a simple and straightforward process, requiring no complicated setup or technical expertise. Once you’ve successfully connected the device, it’s time to move on to the next step: setting up your Wi-Fi connection.
Step 3: Set Up Your Wi-Fi Connection
Now that your Chromecast device is connected to your TV, it’s time to set up your Wi-Fi connection for seamless streaming. Here are the steps to follow:
- On your device, open the Google Home app: If you don’t have the app installed, you can download it from the Google Play Store or the Apple App Store.
- Sign in or create a Google account: The Google Home app requires a Google account to proceed with the setup process. If you don’t have one, you can easily create a new account directly from the app.
- Tap the “+” icon to add a device: The app will prompt you to set up a new device. Tap the “+” icon in the top-left corner of the screen and select “Set up device” from the options.
- Follow the on-screen instructions: The app will guide you through the setup process step by step. Make sure your mobile device is connected to the same Wi-Fi network that you want to connect your Chromecast to.
- Select your Chromecast device: The app will automatically detect any available Chromecast devices. Choose the one you want to set up and continue.
- Verify the displayed code: The Google Home app will display a code on your TV screen. Ensure that the code matches the one shown on your mobile device. If it does, tap “Yes” to continue.
- Choose your Wi-Fi network: The app will display a list of available Wi-Fi networks. Select your desired network and enter the Wi-Fi password when prompted.
- Wait for the connection: The Google Home app will connect your Chromecast device to the selected Wi-Fi network. This may take a few moments, so be patient and ensure that your mobile device remains connected to the Wi-Fi network throughout the process.
Once the connection is established, you’re all set to start streaming your favorite content on your TV through Chromecast. The Google Home app will guide you through additional setup options, such as customizing your device name and enabling guest mode, if desired.
Setting up your Wi-Fi connection is a vital step in the Chromecast setup process, as it enables your device to connect to the internet and access various streaming services. With a stable and reliable Wi-Fi connection, you can now move on to the next step: downloading and installing the Google Home app.
Step 4: Download and Install the Google Home App
To complete the setup process for your Chromecast, you’ll need to download and install the Google Home app on your device. Here’s how:
- Open the app store on your device: Depending on your device, open the Google Play Store for Android or the App Store for iOS.
- Search for the Google Home app: In the app store’s search bar, type “Google Home” and search for the official Google Home app.
- Select and install the app: Choose the Google Home app from the search results and tap on it to access the app’s page. Then, press the “Install” or “Get” button to download and install the app on your device.
- Wait for the installation to complete: The app will begin downloading and installing on your device. The process may take a few moments, depending on your internet speed.
- Open the Google Home app: Once the installation is complete, locate the app on your device and tap on its icon to launch it.
After opening the Google Home app, you’ll be prompted to sign in with your Google account. If you don’t have a Google account, you can create one within the app. Signing in with a Google account is necessary to complete the setup process for your Chromecast device.
The Google Home app serves as the control center for managing and setting up your Chromecast. It provides a user-friendly interface that allows you to cast content from your device, customize settings, and explore additional features such as guest mode and ambient mode.
With the Google Home app installed and ready to use, you’re one step closer to enjoying the full benefits of your Chromecast. The next step is to set up your Chromecast using the Google Home app, which we will cover in the next section.
Step 5: Set Up Chromecast Using the Google Home App
Now that you have the Google Home app installed on your device, it’s time to set up your Chromecast using the app. Follow these steps:
- Open the Google Home app: Launch the Google Home app on your device.
- Sign in with your Google account: If you haven’t already signed in, enter your Google account credentials to proceed.
- Select “Set up device”: Tap on the “+” icon in the top-left corner of the screen, and then choose “Set up device” from the options.
- Choose “New devices”: Select “New devices” when prompted to choose between “New devices” and “Works with Google.” This will allow you to set up your Chromecast.
- Confirm the device code: The app will ask you to confirm the code displayed on your TV screen. Ensure that the code matches the one shown on the TV and tap “Yes” to proceed.
- Choose your room: Assign your Chromecast to a room or create a new one within the app. This step helps you organize your devices if you have multiple Chromecasts or other connected devices.
- Connect to Wi-Fi: Select your Wi-Fi network from the list provided and enter the Wi-Fi password if prompted. The app will establish a connection with your Chromecast and your Wi-Fi network.
- Wait for the setup to complete: The app will finalize the setup process, including any updates or additional configuration. This may take a few minutes, so be patient.
- Customize settings: Once the setup is complete, you can customize various settings such as backdrop options, ambient mode, preferred language, and more.
By following these steps, you’ll be able to set up your Chromecast device using the Google Home app. The app simplifies the setup process and provides a user-friendly interface for controlling and managing your Chromecast.
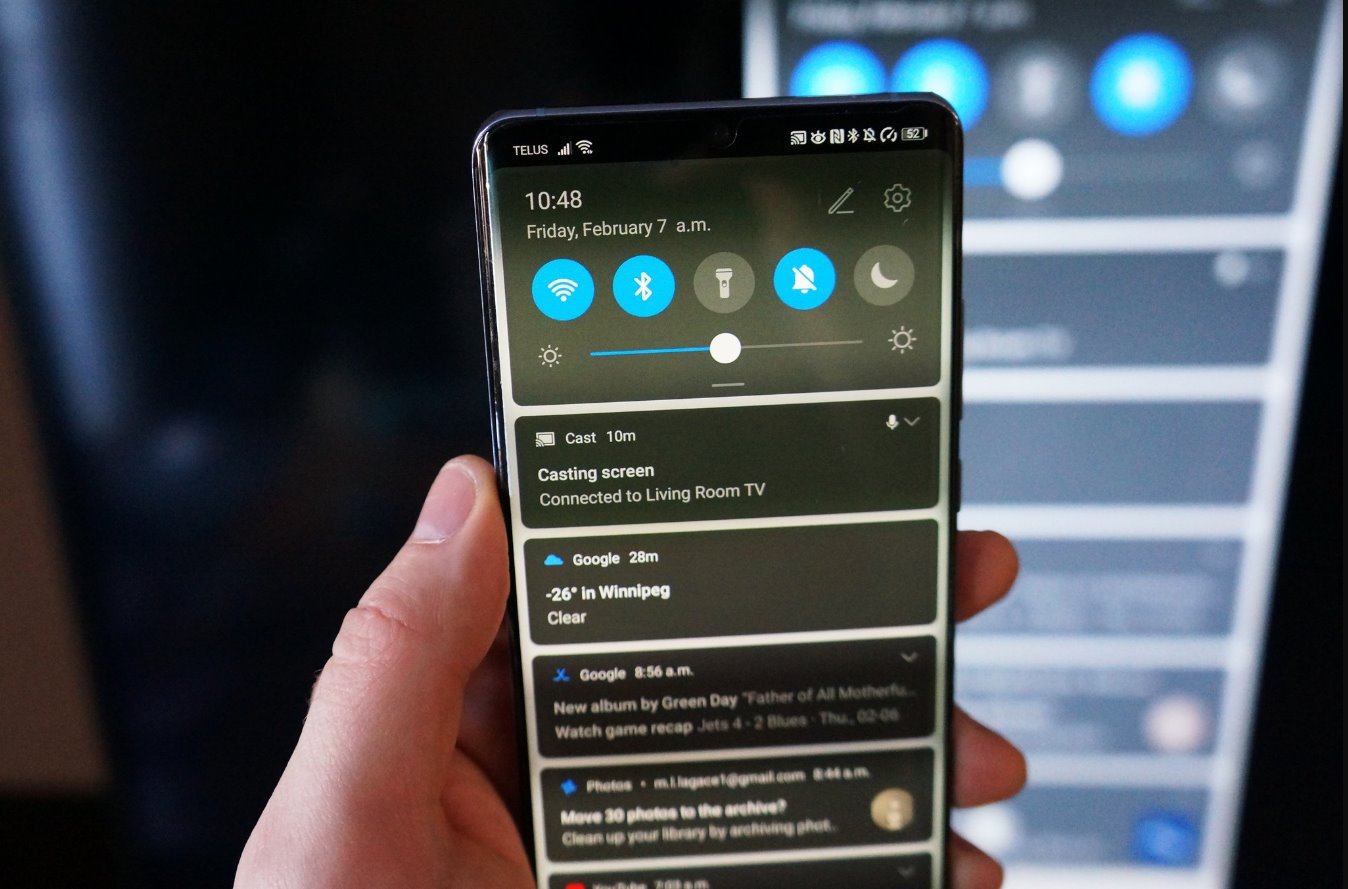
After completing the setup, you can start casting content from your device to your TV using Chromecast. Simply look for the cast icon in supported apps, tap it, and select your Chromecast device from the list of available devices. Your media will then be displayed on the big screen for an immersive viewing experience.
Congratulations! You have successfully set up your Chromecast using the Google Home app. The next step is to connect to streaming services and customize additional settings to enhance your streaming experience, which we will cover in the following section.
Step 6: Connect to Streaming Services and Customize Settings
Now that you have set up your Chromecast device, it’s time to connect it to your favorite streaming services and customize additional settings to enhance your streaming experience. Follow these steps:
- Open the Google Home app: Launch the Google Home app on your device.
- Select your Chromecast device: Tap on the device icon in the top-right corner of the screen to select your Chromecast device.
- Access device settings: Tap on the gear icon to access the settings for your Chromecast device.
- Connect to streaming services: Under the “Services” section, tap on “Link new services” to connect your preferred streaming services, such as Netflix, YouTube, Spotify, and more. Follow the prompts to log in to your accounts and authorize access.
- Customize backdrop settings: If desired, you can personalize the backdrop settings to display beautiful images, artworks, or your own photo albums when your Chromecast is idle. You can choose from a variety of categories and even add your own photos.
- Enable or disable ambient mode: Ambient mode displays useful information, such as weather updates, news headlines, and your calendar, on your TV screen when your Chromecast is idle. You can enable or disable this feature in the settings.
- Adjust audio and video settings: You can fine-tune the audio and video settings in the Google Home app to optimize your streaming experience. Adjust the volume, enable or disable captions, or set the video resolution based on your preferences.
- Explore additional features: The Google Home app offers additional features, such as guest mode, which allows your friends or family to cast content to your Chromecast without connecting to your Wi-Fi network. Take some time to explore and customize these features.
By connecting your Chromecast to streaming services and customizing the settings, you’ll be able to personalize your streaming experience and make the most out of your device. You can easily cast content from your favorite apps using the cast icon, and enjoy a seamless and immersive viewing experience on your TV.
Continue to explore the endless entertainment possibilities that Chromecast offers, and make adjustments to the settings as needed to enhance your streaming experience. Now that you have completed these steps, you’re ready to sit back, relax, and enjoy your favorite movies, TV shows, and music on the big screen.
Step 7: Troubleshooting Common Issues
While setting up and using your Chromecast device, you may encounter some common issues. Don’t worry, as many of these problems can be resolved with a few troubleshooting steps. Here are some tips to help you troubleshoot common issues:
- Ensure your Chromecast is powered properly: Make sure your Chromecast is receiving power either through a USB port on your TV or an external power adapter. If it’s powered via USB, try using a different USB port or using the included power adapter.
- Check the Wi-Fi connection: Ensure that your Wi-Fi network is working properly and that your device is connected to the same network. If the connection is unstable, try restarting your router or moving the router closer to your Chromecast.
- Restart your Chromecast: If you’re experiencing issues, try restarting your Chromecast by unplugging it from the power source, waiting for a few seconds, and plugging it back in.
- Update the Google Home app: Make sure you have the latest version of the Google Home app installed on your device. Check for app updates in the respective app store and install any available updates.
- Reset your Chromecast: If all else fails, you can perform a factory reset on your Chromecast. This will erase all settings and data, returning the device to its original state. To do this, open the Google Home app, select your Chromecast device, go to the device settings, and choose “Factory reset.”
- Check for device compatibility: Ensure that your device is compatible with Chromecast. Visit the Chromecast website or consult the device documentation to confirm compatibility.
- Refer to the Chromecast Help Center: If you’re still experiencing issues, visit the Chromecast Help Center on the Google support website. Here, you can find troubleshooting guides, FAQs, and access to community forums for further assistance.
By following these troubleshooting steps, you’ll be able to resolve most common issues that may arise while setting up or using your Chromecast device. In case of persisting issues, don’t hesitate to reach out to Google support for more personalized assistance.
Chromecast offers a user-friendly streaming experience, and with a little troubleshooting, you’ll be able to enjoy uninterrupted casting of your favorite content on your TV.
Conclusion
Congratulations! You have successfully set up your Chromecast and are ready to experience the joy of streaming your favorite content on the big screen. Chromecast provides a seamless and convenient way to cast movies, TV shows, and music from your smartphone, tablet, or computer to your TV. With just a few simple steps, you have unlocked a world of entertainment possibilities.
Throughout this guide, you learned how to gather the necessary materials, connect Chromecast to your TV, set up your Wi-Fi connection, download and install the Google Home app, set up Chromecast using the app, connect to streaming services, customize settings, and troubleshoot common issues. By following these steps, you have become a Chromecast pro and are now able to enjoy a personalized and immersive streaming experience.
Remember to keep the Google Home app updated and explore its additional features to enhance your Chromecast experience. Whether you’re hosting a movie night, enjoying a TV series marathon, or simply sharing photos with friends and family, Chromecast offers a seamless and high-quality streaming experience.
Should you encounter any difficulties or issues along the way, don’t hesitate to refer to the troubleshooting tips provided or consult the Chromecast Help Center for further assistance. With a little troubleshooting, you’ll be able to resolve most problems and continue enjoying the full benefits of Chromecast.
Thank you for choosing Chromecast and taking the time to set it up. Now, sit back, relax, and enjoy endless entertainment on your TV with Chromecast!