Introduction
Welcome to a quick and helpful guide on how to change the channel on your AT&T wireless router. Whether you are experiencing slow internet speeds, frequent disconnections, or simply want to optimize your Wi-Fi signal, changing the channel can be a practical solution. In this article, we will provide you with step-by-step instructions on how to change the channel on your AT&T wireless router, as well as explore the reasons behind this adjustment.
As technology evolves, our internet usage has become more demanding, with an increasing number of devices relying on a stable and fast internet connection. These devices, including smartphones, laptops, smart TVs, and gaming consoles, can put a strain on your router’s capacity to deliver consistent and reliable signals. This is where changing the channel on your AT&T wireless router can significantly improve your internet experience.
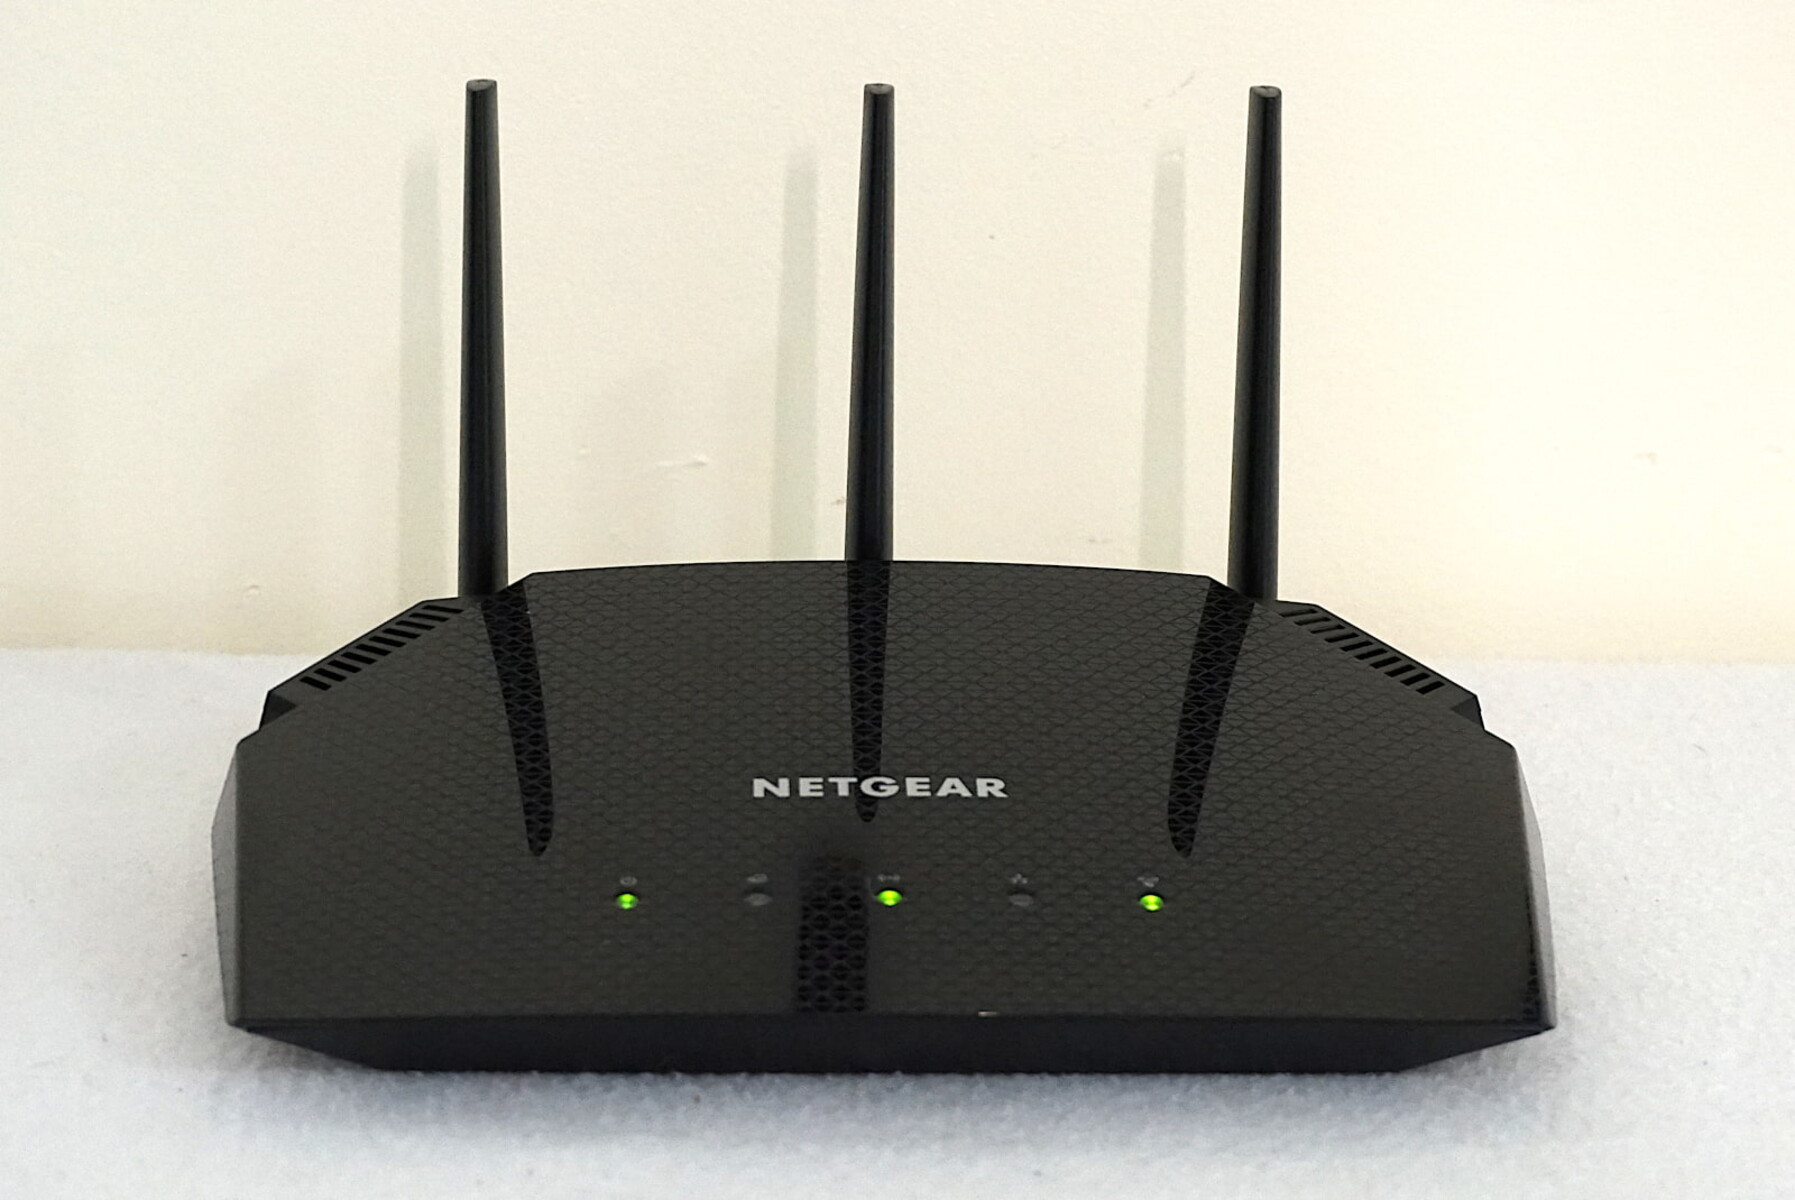
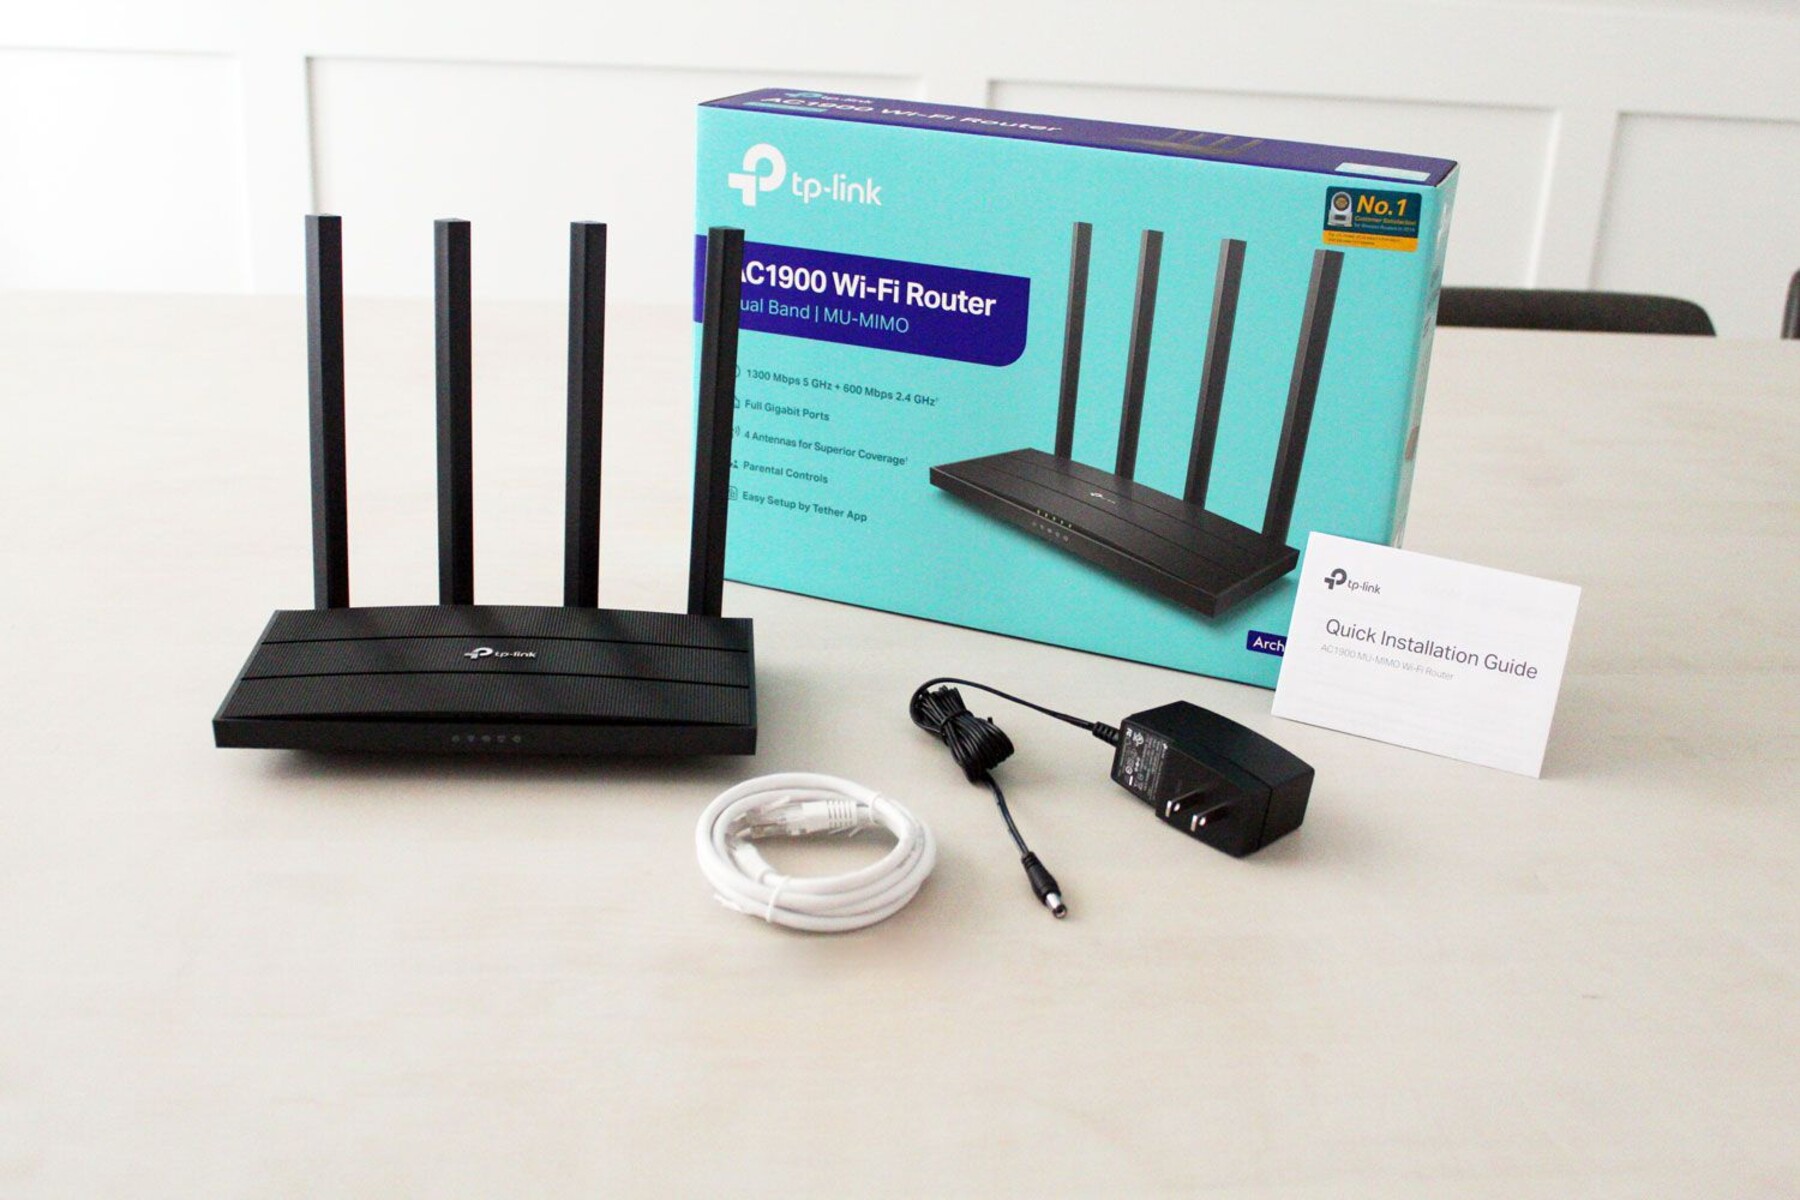
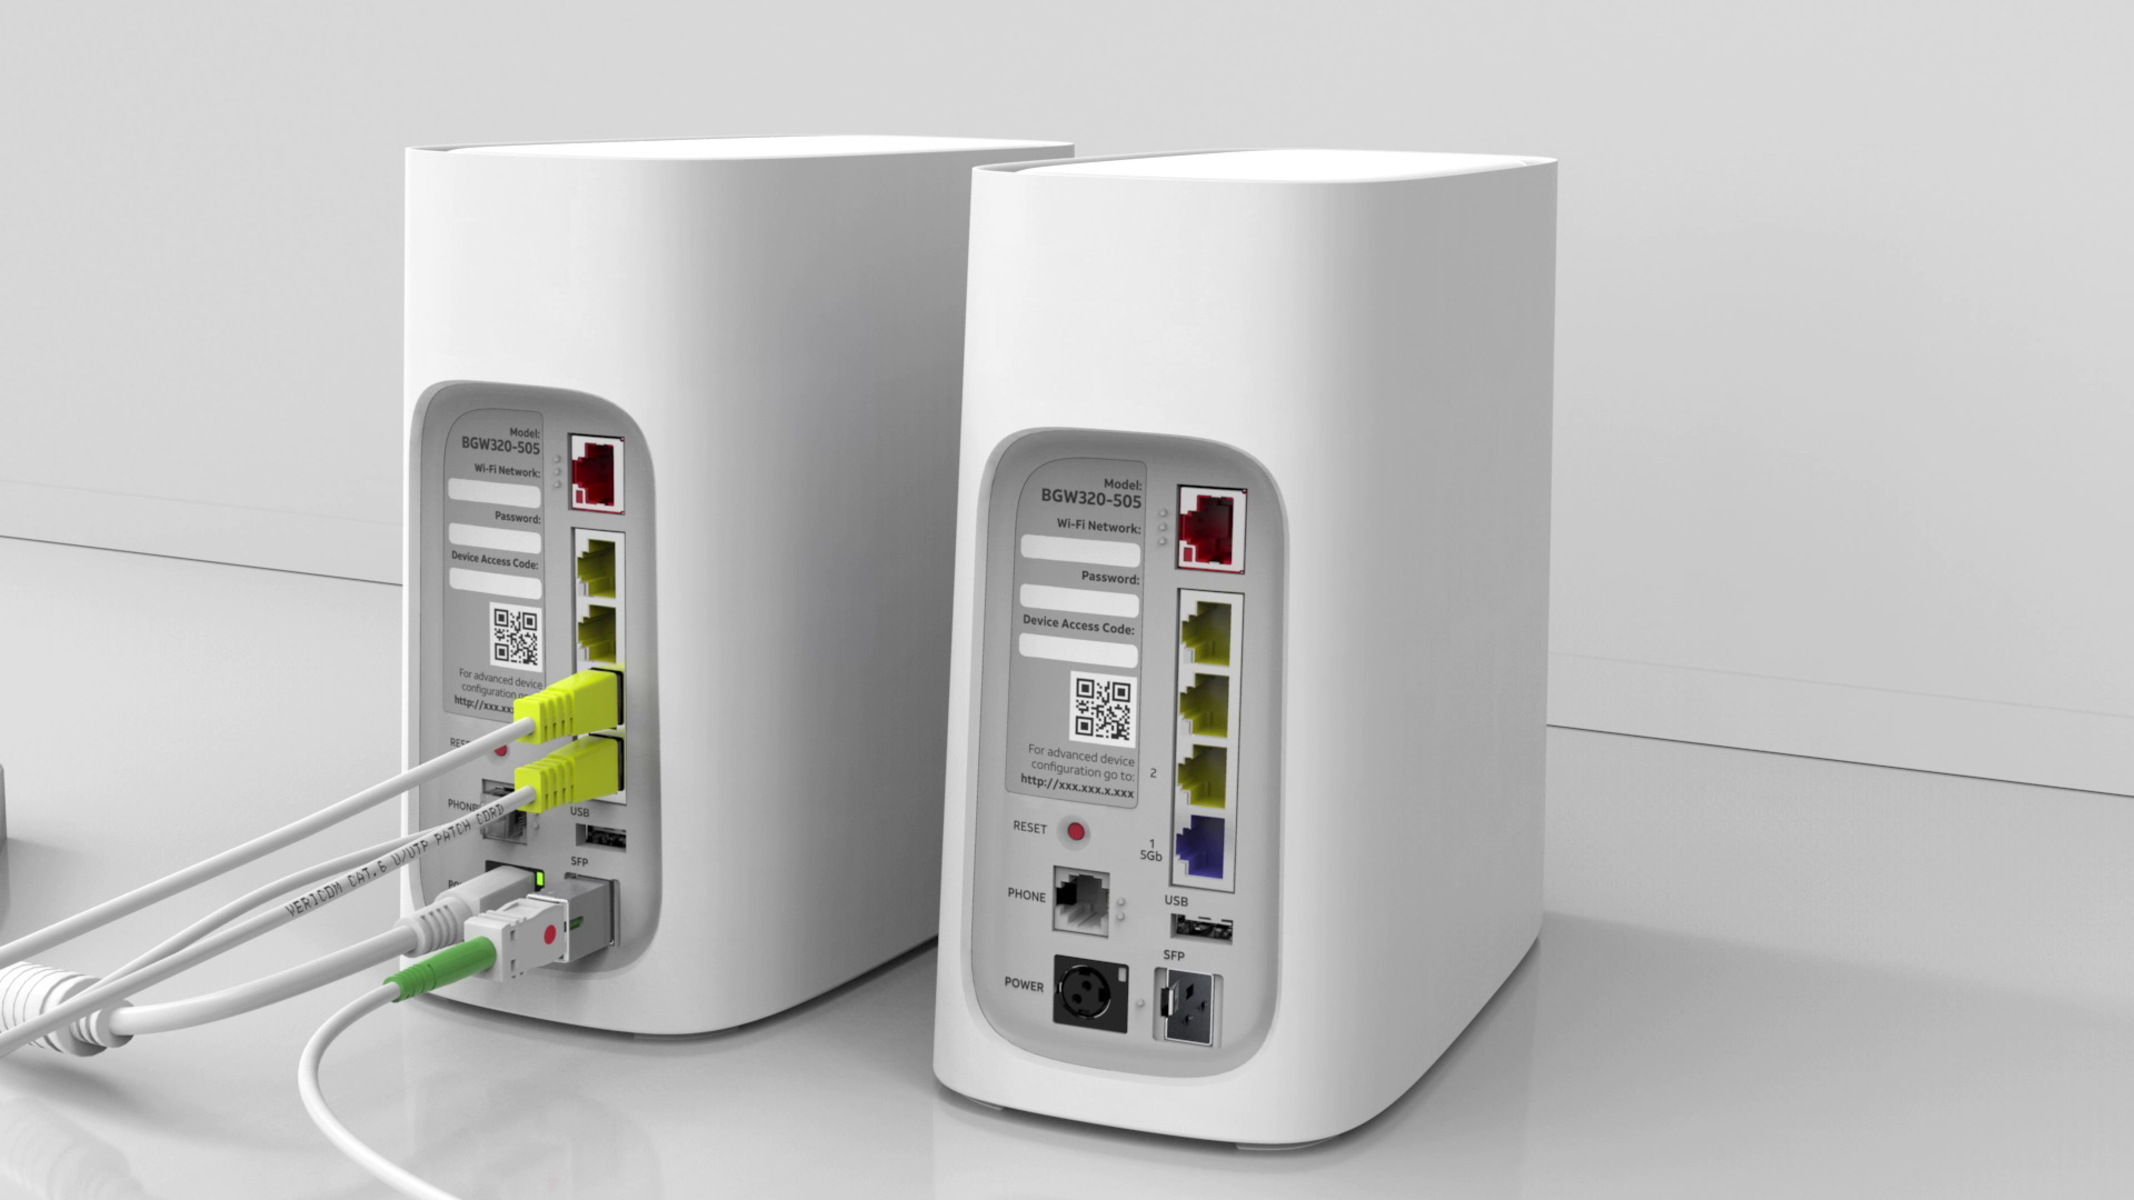
Before we delve into the process of changing the channel, let’s take a moment to understand what an AT&T wireless router is and how it works. An AT&T wireless router is a device that enables you to connect your devices to the internet wirelessly. It uses a technology known as Wi-Fi (Wireless Fidelity) to transmit data signals between your devices and the router, providing you with access to the internet without the need for physical cables. The router creates a local network that allows multiple devices to connect and communicate with each other.
You might be wondering why changing the channel on your AT&T wireless router is necessary. The primary reason is that Wi-Fi operates on different channels, and these channels can overlap or experience interference from nearby Wi-Fi networks, electronic devices, or physical obstructions. This interference can lead to decreased signal strength, slower internet speeds, and even disconnections. By changing the channel, you can avoid or minimize these issues, ensuring a more stable and efficient Wi-Fi connection.
Understanding your AT&T wireless router
Before we proceed with the steps to change the channel on your AT&T wireless router, it’s essential to have a basic understanding of the device itself. So, let’s explore some key features of an AT&T wireless router.
AT&T provides different models of wireless routers, each with its own specifications and capabilities. However, most AT&T wireless routers share common features that are important to understand:
- Wireless standards: AT&T wireless routers typically support different wireless standards, such as 802.11n, 802.11ac, or the newer 802.11ax (also known as Wi-Fi 6). These standards determine the speed, range, and compatibility of your wireless connection.
- SSID: The Service Set Identifier (SSID) is the unique name of your wireless network. It is what you see when you search for available Wi-Fi networks on your devices. AT&T routers usually have a default SSID, but you have the option to customize it.
- Security: Wi-Fi security is of utmost importance to protect your network from unauthorized access. AT&T wireless routers offer various security protocols such as WEP, WPA, WPA2, or the newer WPA3. It is crucial to enable a strong security protocol and set a unique password to safeguard your network.
- Channel: In the context of Wi-Fi, a channel is a specific frequency range within the wireless spectrum. AT&T wireless routers typically have multiple channels available. By default, the router selects the best channel, but sometimes interference can occur, requiring manual channel selection.
- Admin interface: AT&T wireless routers have an admin interface that allows you to access and configure various settings. You can access the admin interface through a web browser by entering the router’s IP address. This interface provides you with control over settings like the channel, SSID, security, and more.
Understanding these features will empower you to make informed decisions when it comes to optimizing your AT&T wireless router’s settings, including changing the channel. With a grasp of the router’s capabilities, you can now proceed to the next section, where we will provide you with step-by-step instructions on how to change the channel on your AT&T wireless router.
Why change the channel on your AT&T wireless router
Changing the channel on your AT&T wireless router can have a significant impact on your Wi-Fi performance and overall internet experience. Let’s explore some of the reasons why you might consider changing the channel:
1. Wi-Fi interference: Wi-Fi operates on different channels within the wireless spectrum. However, neighboring Wi-Fi networks or other electronic devices using similar frequencies can cause interference, leading to degraded signal quality and slower speeds. By changing to a less congested channel, you can minimize interference and improve your Wi-Fi performance.
2. Overlapping networks: In densely populated areas or apartment buildings, multiple Wi-Fi networks can overlap on the same channel, causing interference. This interference can result in reduced speeds and connection drops. By changing the channel, you can select a less crowded frequency, reducing the chances of overlapping networks and improving Wi-Fi stability.
3. Physical obstructions: Physical obstructions such as walls, floors, and large objects can weaken Wi-Fi signals. Different channels may have varying levels of penetration capability. By experimenting with different channels, you may find one that better penetrates obstacles in your home, resulting in improved signal strength.
4. Optimizing channel capacity: Each Wi-Fi channel has a specific capacity that determines the number of devices it can support simultaneously. By changing the channel, you can distribute the devices across different channels, reducing congestion and ensuring a smoother and more reliable connection for all devices.
5. Overcoming signal degradation: Wi-Fi signals can degrade over distance, especially in larger homes or buildings. Changing the channel can help you find a frequency that provides better coverage in different areas of your home, minimizing signal degradation and improving overall connectivity.
It’s important to note that the best channel for your AT&T wireless router may vary depending on your specific environment and the nearby Wi-Fi networks. The optimal channel for one location may not be the same for another. Therefore, it’s worth experimenting with different channels to find the one that offers the best performance in your specific setup.
By understanding the reasons to change the channel on your AT&T wireless router, you can now proceed to the next section, where we will guide you through the step-by-step process of changing the channel.
Step-by-step guide: How to change the channel on your AT&T wireless router
Changing the channel on your AT&T wireless router is a straightforward process. Follow these step-by-step instructions to adjust the channel settings:
1. Access your router’s admin interface: Connect to your AT&T wireless router’s network using a computer or mobile device. Open a web browser and enter the router’s IP address in the address bar. This IP address is typically mentioned in the router’s user manual or can be found on the back of the router itself.
2. Login to the admin interface: Enter your router’s administrator username and password when prompted. If you haven’t changed them, the default login credentials should be mentioned in the user manual or on the router itself.
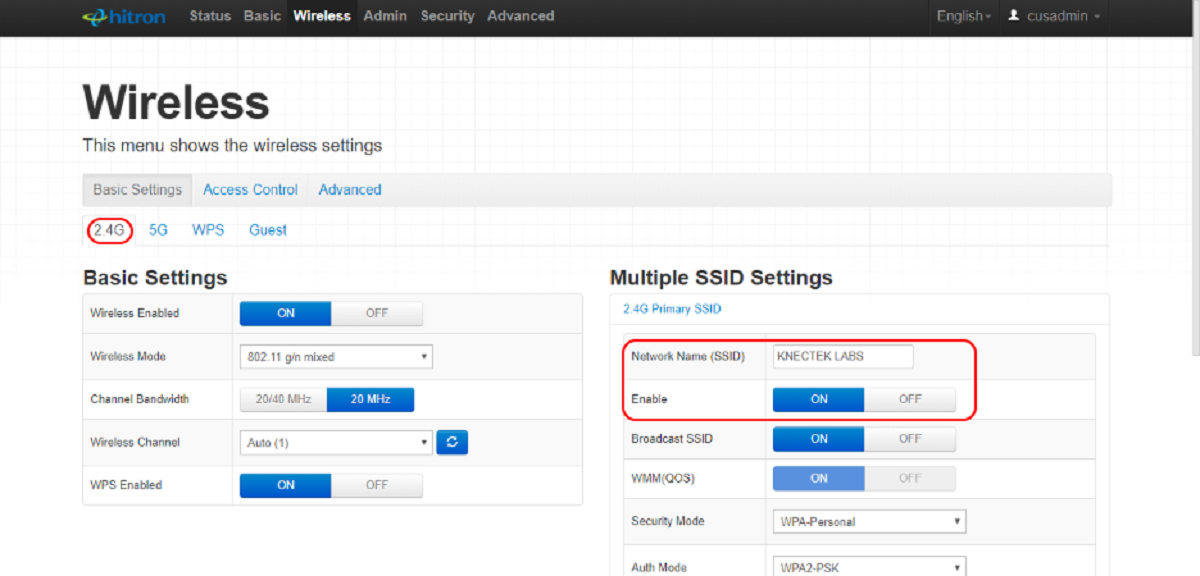
3. Navigate to the wireless settings: Once logged in, locate the wireless settings section in the admin interface. This section may be named differently depending on your router’s firmware but should be easily recognizable. Look for options related to “wireless,” “network settings,” or “Wi-Fi settings.”
4. Select the channel option: Within the wireless settings section, you should find an option to change the channel. The wording may differ based on your router model, but it typically includes “channel” or “frequency.” Click on this option to proceed.
5. Choose a new channel: You will now see a list of available channels. Select a channel that is less congested or has fewer overlapping networks. The recommended channels are usually 1, 6, or 11, as they are non-overlapping and commonly used. However, you can experiment with different channels to find the one that works best for your specific environment.
6. Save and apply the changes: After selecting the new channel, click the “Save” or “Apply” button to save the changes and implement the new channel settings on your AT&T wireless router.
7. Restart the router: To ensure that the new channel settings take effect, it is recommended to restart your router. This can usually be done by unplugging the power cable, waiting for a few seconds, and then plugging it back in. Allow the router to reboot fully before testing your Wi-Fi connection.
Congratulations! You have successfully changed the channel on your AT&T wireless router. Your Wi-Fi network should now operate on the new channel, potentially improving signal strength, reducing interference, and enhancing your overall internet experience.
Remember to periodically monitor the performance of your Wi-Fi network and make adjustments to the channel settings if necessary. Factors such as neighboring networks and device usage patterns can change over time, impacting the optimal channel for your router.
In the next section, we will discuss some common issues that might arise when changing channels on your AT&T wireless router and how to troubleshoot them.
Troubleshooting common issues when changing channels
While changing the channel on your AT&T wireless router can improve your Wi-Fi performance, you may encounter some common issues during the process. Here are a few troubleshooting tips to help you overcome these potential hurdles:
1. Signal loss or weak connection: If you experience signal loss or a weak connection after changing the channel, try moving closer to the router. Physical distance can impact signal strength. If the issue persists, consider reverting to the previous channel or selecting a different channel with better coverage in your location.
2. Interference from neighboring networks: If you still encounter interference from neighboring networks even after changing channels, try adjusting the channel width. Most routers offer options for channel width, such as 20 MHz or 40 MHz. Choosing a narrower channel width can help reduce interference from nearby networks.
3. Compatibility issues: Some older devices may have compatibility issues with certain Wi-Fi channels or channel widths. If a specific device is unable to connect to the Wi-Fi network after changing the channel, check if there are firmware updates available for that device. Updating the device’s firmware can often resolve compatibility issues.
4. Router firmware update: Make sure that your AT&T wireless router has the latest firmware installed. Router manufacturers often release firmware updates that address various performance issues, including channel selection. Visit the manufacturer’s website or the AT&T support page to check for available firmware updates specific to your router model.
5. Reset to factory settings: If you encounter persistent issues or complications when changing channels, you may consider resetting your AT&T wireless router to its factory settings. This will revert all settings, including the Wi-Fi channel, back to their original configurations. Be aware that resetting your router will erase any customized settings, so make sure to take note of any specific configurations before proceeding.
If you continue to experience difficulties or have specific concerns regarding your AT&T wireless router, it is advisable to consult the manufacturer’s support documentation or contact their support team for further assistance. They will have the expertise to help diagnose and resolve any complex issues you may encounter.
By troubleshooting these common issues, you can ensure a smoother transition when changing channels on your AT&T wireless router and enjoy a more reliable and improved Wi-Fi connection. In the next section, we will explore the benefits of changing the channel and how it can optimize your AT&T wireless router’s performance.
Benefits of changing the channel on your AT&T wireless router
Changing the channel on your AT&T wireless router offers several benefits that can enhance your Wi-Fi experience. Let’s explore the advantages of this adjustment:
1. Improved signal strength: By selecting a less congested channel, you can minimize interference from neighboring Wi-Fi networks and electronic devices. This reduction in interference leads to stronger and more stable Wi-Fi signals throughout your home or office.
2. Reduced network congestion: Wi-Fi channels have a limited capacity, and multiple devices competing for bandwidth can lead to network congestion. Changing the channel helps distribute devices across different frequencies, reducing congestion and ensuring a smoother online experience for all connected devices.
3. Enhanced internet speeds: A congested Wi-Fi channel can result in slower internet speeds, especially during peak usage times. By choosing a less crowded channel, you can improve data transfer rates, allowing for faster downloads, smooth streaming, and seamless online gaming.
4. Minimized connection drops: Interference from neighboring networks or physical obstructions can cause unwanted connection drops. Changing the channel can alleviate these issues, reducing the chances of frequent disconnections and providing a more consistent and reliable Wi-Fi connection.
5. Optimized range and coverage: Different Wi-Fi channels have different ranges and penetration capabilities. By experimenting with channels, you can find the one that provides better coverage in different areas of your home or office, ensuring a stronger Wi-Fi signal throughout the entire space.
6. Customized network optimization: Changing the Wi-Fi channel allows you to personalize your network configuration based on your specific environment. You can adapt to the unique conditions of your home or office, minimizing interference and maximizing the performance of your AT&T wireless router.
7. Better performance for specific devices: Some devices may perform better on certain Wi-Fi channels due to compatibility or range limitations. Changing the channel can help optimize performance for these specific devices, ensuring they receive the strongest and most reliable signal possible.
Remember, the benefits of changing the channel may vary depending on your specific circumstances, such as the surrounding Wi-Fi networks and the number of connected devices. Regularly monitoring and adjusting your AT&T wireless router’s channel settings can help maintain optimal performance over time.
Now that you understand the advantages of changing the Wi-Fi channel on your AT&T wireless router, you can effectively optimize your network and enjoy an improved Wi-Fi experience. In the next section, we will wrap up our guide and provide a summary of the key points discussed throughout the article.
Conclusion
In this guide, we have explored the process of changing the channel on your AT&T wireless router to optimize your Wi-Fi performance. By following the step-by-step instructions, you can easily adjust the channel settings and potentially overcome issues such as interference, signal strength, and network congestion.
Understanding your AT&T wireless router’s features, such as wireless standards, SSID, security, and admin interface, is crucial in making informed decisions when it comes to optimizing your network settings. By knowing the reasons to change the channel, including minimizing interference, overcoming overlapping networks, and optimizing channel capacity, you can make the most out of your Wi-Fi connection.
We provided troubleshooting tips to help you resolve common issues that may arise during the channel change process. From signal loss to compatibility issues, these tips can assist in resolving potential hurdles and ensuring a smoother transition to a new channel.
By changing the channel on your AT&T wireless router, you can enjoy a range of benefits, including improved signal strength, reduced network congestion, enhanced speeds, minimized connection drops, optimized range and coverage, and customized network optimization. These advantages contribute to a more reliable and efficient Wi-Fi experience, allowing you to seamlessly connect all your devices and enjoy online activities without interruptions.
Remember to periodically monitor your Wi-Fi performance and make adjustments to the channel settings as needed. Factors such as neighboring networks, physical obstructions, and device usage patterns can change over time, affecting the optimal channel for your router.
We hope this guide has been helpful in empowering you to change the channel on your AT&T wireless router and optimize your Wi-Fi experience. Enjoy a smoother, faster, and more reliable connection, and make the most out of your internet browsing, streaming, gaming, and other online activities.