Introduction
Having a reliable and fast Wi-Fi connection at home has become a necessity in today’s digital age. Whether you need it for browsing the web, streaming movies and TV shows, or connecting multiple devices, having access to free Wi-Fi can save you a significant amount of money on mobile data plans. In this article, we will explore some practical tips and tricks on how to get free Wi-Fi at home.
Before we dive into the methods, it’s important to understand what Wi-Fi is. Wi-Fi, short for Wireless Fidelity, is a technology that allows wireless devices to connect to the internet or communicate with each other over a wireless network. It utilizes radio waves to transmit data between devices and a wireless router.
Now, let’s move on to the practical steps you can take to get free Wi-Fi at home. Keep in mind that some methods may require a bit of effort and time, but the benefits of having free Wi-Fi will be well worth it.
Understanding Wi-Fi
Before we delve into the various ways to get free Wi-Fi at home, it’s important to have a basic understanding of how Wi-Fi works. Wi-Fi is a wireless networking technology that allows devices to connect to the internet without the need for physical cables.
Wi-Fi operates within the unlicensed radio frequency spectrum, meaning that anyone can use it without needing a special license. It works by transmitting data through radio waves, which are then received by a wireless router and converted into internet signals.
A wireless router serves as the central hub for your Wi-Fi network. It connects to your internet service provider (ISP) through a wired connection and broadcasts the internet signal wirelessly to devices within its range. The range of a Wi-Fi signal can vary depending on factors such as the router’s power and antenna strength, physical obstructions, and interference from other devices.
When a device wants to connect to a Wi-Fi network, it searches for available networks and displays a list of options. The user can then select the desired network and enter the password if necessary. Once connected, the device can access the internet and communicate with other devices on the same network.
It’s important to note that Wi-Fi networks are susceptible to interference from other devices that operate on the same frequency, such as cordless phones, microwaves, and Bluetooth devices. Additionally, the speed and performance of a Wi-Fi network can be affected by the number of devices connected to it, the distance between the device and the router, and the internet speed provided by the ISP.
By understanding these basics of Wi-Fi technology, you can make more informed decisions when it comes to optimizing your home Wi-Fi network and finding ways to get free Wi-Fi.
Check Your Internet Plan
Before exploring methods to get free Wi-Fi at home, it’s important to review your current internet plan. Different internet service providers (ISPs) offer various plans with different data allowances and speeds. Understanding the details of your plan will help you make informed decisions about optimizing your Wi-Fi usage and potentially save money.
Start by checking your monthly data allowance. Some ISPs impose data caps, which means you are limited to a certain amount of data each month. If you exceed that limit, you may face additional charges or slower speeds. Knowing your data limit will help you gauge your internet usage and make adjustments accordingly.
Next, assess the speed of your internet connection. ISPs often offer different speed tiers, so it’s important to know what speed you are currently paying for. If you find that your connection is consistently slow, reaching out to your ISP to troubleshoot or consider upgrading to a higher speed plan might be necessary.
Additionally, if you have been a long-time customer, it might be worth checking for any promotions or discounts that your ISP may offer. ISPs frequently have special offers for new customers, but they may also have loyalty rewards or discounted plans for existing customers. It never hurts to inquire about potential discounts that could lower your monthly costs.
Lastly, it’s crucial to understand the terms and conditions of your internet plan. Some ISPs have clauses that prohibit sharing your connection with others or using it for commercial purposes. Make sure you are aware of any limitations or restrictions that might be in place to avoid violations and potential service disruptions.
By familiarizing yourself with the specifics of your internet plan, you can optimize your Wi-Fi usage and potentially find ways to get more value from your existing plan without incurring additional costs.
Position Your Router Strategically
The placement of your Wi-Fi router plays a crucial role in the strength and coverage of your Wi-Fi signal. By strategically positioning your router, you can maximize its range and ensure the best possible Wi-Fi experience throughout your home.
Here are some tips for positioning your router:
- Central Location: Place your router in a central location in your home. This helps to distribute the Wi-Fi signal more evenly and reduces the chances of dead zones or areas with weak signal strength.
- Avoid Obstacles: Keep your router away from physical obstructions such as walls, furniture, and appliances. These objects can block or interfere with Wi-Fi signals, leading to weaker signal strength and slower speeds.
- Elevated Position: Position your router at an elevated location, such as on a shelf or a wall-mounted bracket. This can help improve the range and coverage of the Wi-Fi signal by minimizing interference from objects on the ground and providing a clear line-of-sight for the signal.
- Avoid Interference: Keep your router away from devices that may cause interference, such as cordless phones, baby monitors, and microwave ovens. These devices operate on similar frequencies as Wi-Fi and can disrupt the signal strength and quality.
- Adjust Antennas: If your router has adjustable antennas, experiment with different positions to find the optimal configuration. Sometimes, angling the antennas or orienting them vertically or horizontally can enhance the signal strength.
Remember that every home is unique, and the ideal placement for your router may vary depending on the layout and construction of your house. It may be helpful to do a Wi-Fi survey, using apps or software that can display signal strength and coverage, to identify areas with weak signals and adjust the router placement accordingly.
By strategically positioning your Wi-Fi router, you can improve signal strength, minimize dead zones, and enhance the overall Wi-Fi coverage in your home.
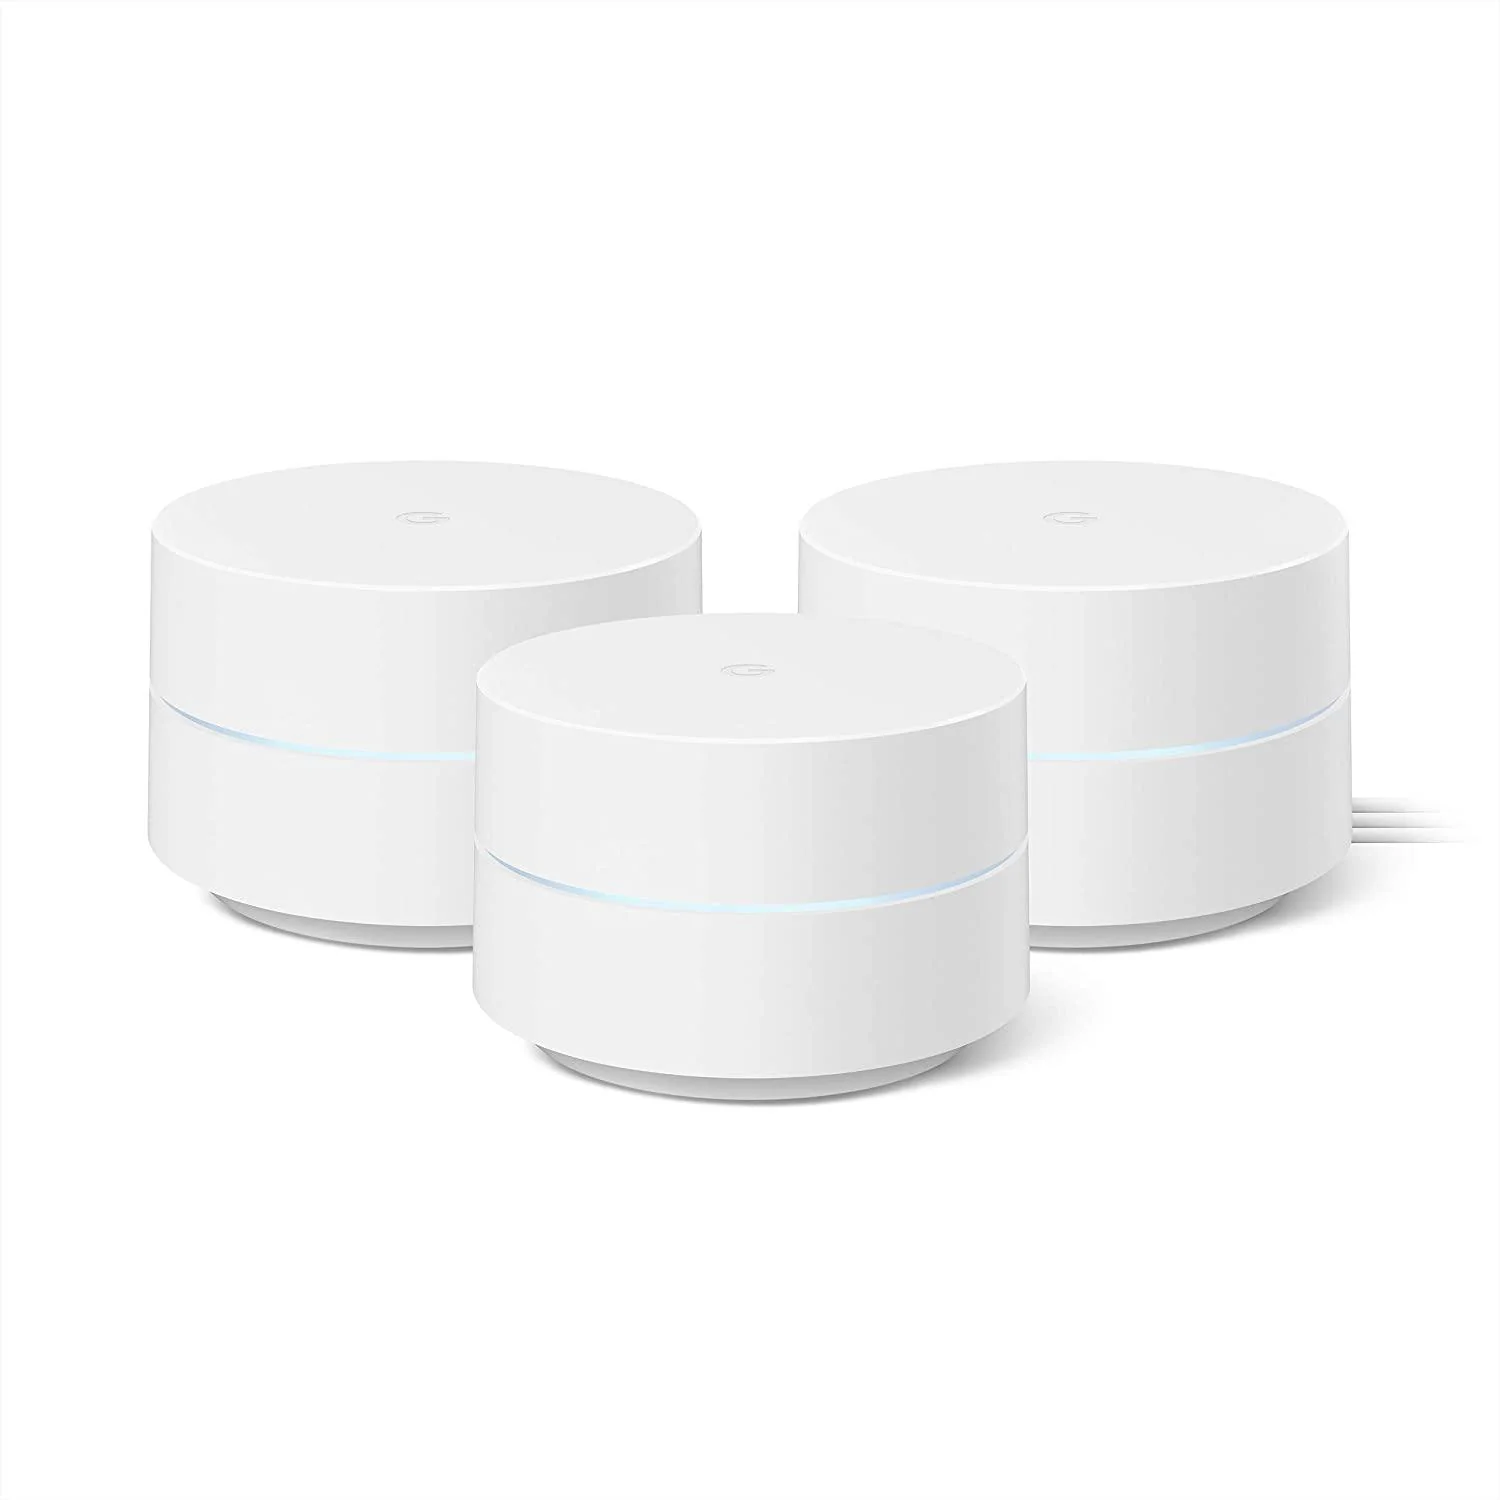
Use a Wi-Fi Range Extender
If you find that certain areas of your home have weak Wi-Fi signals or dead zones, using a Wi-Fi range extender can help extend the coverage of your network and improve signal strength in those areas.
A Wi-Fi range extender, also known as a repeater or booster, works by receiving the existing Wi-Fi signal from your router and rebroadcasting it at a higher power. This effectively expands the range of your Wi-Fi network and provides a stronger signal in areas that were previously out of reach.
Here’s how to use a Wi-Fi range extender:
- Placement: Position the range extender in a location where it can still receive a strong Wi-Fi signal from your router. Typically, it’s best to place it somewhere between your router and the area with weak signal or dead zones.
- Configuration: Most range extenders come with a setup process that involves connecting to the extender’s own Wi-Fi network using a computer or smartphone. Follow the manufacturer’s instructions to connect the range extender to your existing Wi-Fi network and complete the setup process.
- Optimization: Once the range extender is configured, it will rebroadcast the Wi-Fi signal using its own network name (SSID). You can connect your devices to the range extender’s network to have a stronger and more reliable Wi-Fi connection in the previously weak areas of your home.
- Testing: After setting up the range extender, it’s a good idea to test the signal strength and performance in the areas where you had weak signals or dead zones. Use a Wi-Fi analyzer app or software to determine if the signal has indeed improved and if there are any remaining areas that may require additional adjustments.
While a Wi-Fi range extender can improve coverage, keep in mind that it’s important to find a balance between the number of devices connected to each network (your router and the extender) and the overall performance. If you have multiple range extenders, ensure that they are strategically placed to provide seamless coverage throughout your home.
By using a Wi-Fi range extender, you can effectively extend the range of your Wi-Fi network and eliminate areas with weak signals or dead zones, providing a better overall Wi-Fi experience in your home.
Secure Your Wi-Fi Network
One of the most important steps in maximizing your Wi-Fi usage at home is to ensure the security of your network. Securing your Wi-Fi network not only protects your personal information and devices but also prevents unauthorized users from accessing your internet connection.
Here are some essential tips for securing your Wi-Fi network:
- Change the Default Password: When setting up your router, make sure to change the default username and password. Leaving the default login credentials makes it easier for hackers to gain access to your network.
- Enable Encryption: Use WPA2 (Wi-Fi Protected Access 2) encryption for your network. WPA2 is the strongest and most secure encryption protocol available for Wi-Fi networks, and it helps protect your data from being intercepted or accessed by unauthorized users.
- Use a Strong Password: Create a strong and unique password for your Wi-Fi network. A strong password should be at least 12 characters long and include a combination of uppercase and lowercase letters, numbers, and special characters.
- Disable Remote Management: Disable remote management of your router, as it can be a potential security risk. Remote management allows someone to access and control your router’s settings from outside your home network.
- Enable Firewall: Enable the built-in firewall on your router to add an extra layer of protection against unauthorized access and potential security threats.
- Change Network SSID: By changing the default network name (SSID) of your Wi-Fi, you can make it more difficult for hackers to identify and target your network.
- Enable MAC Filtering: MAC (Media Access Control) filtering allows you to create a list of specific devices that are allowed to connect to your network. By enabling MAC filtering, you can block unauthorized devices from accessing your Wi-Fi.
- Regularly Update Firmware: Keep your router’s firmware up to date. Manufacturers often release firmware updates that address security vulnerabilities and improve the overall performance of the router.
By following these security tips, you can significantly reduce the risk of unauthorized access to your Wi-Fi network and ensure a safer and more secure internet experience at home.
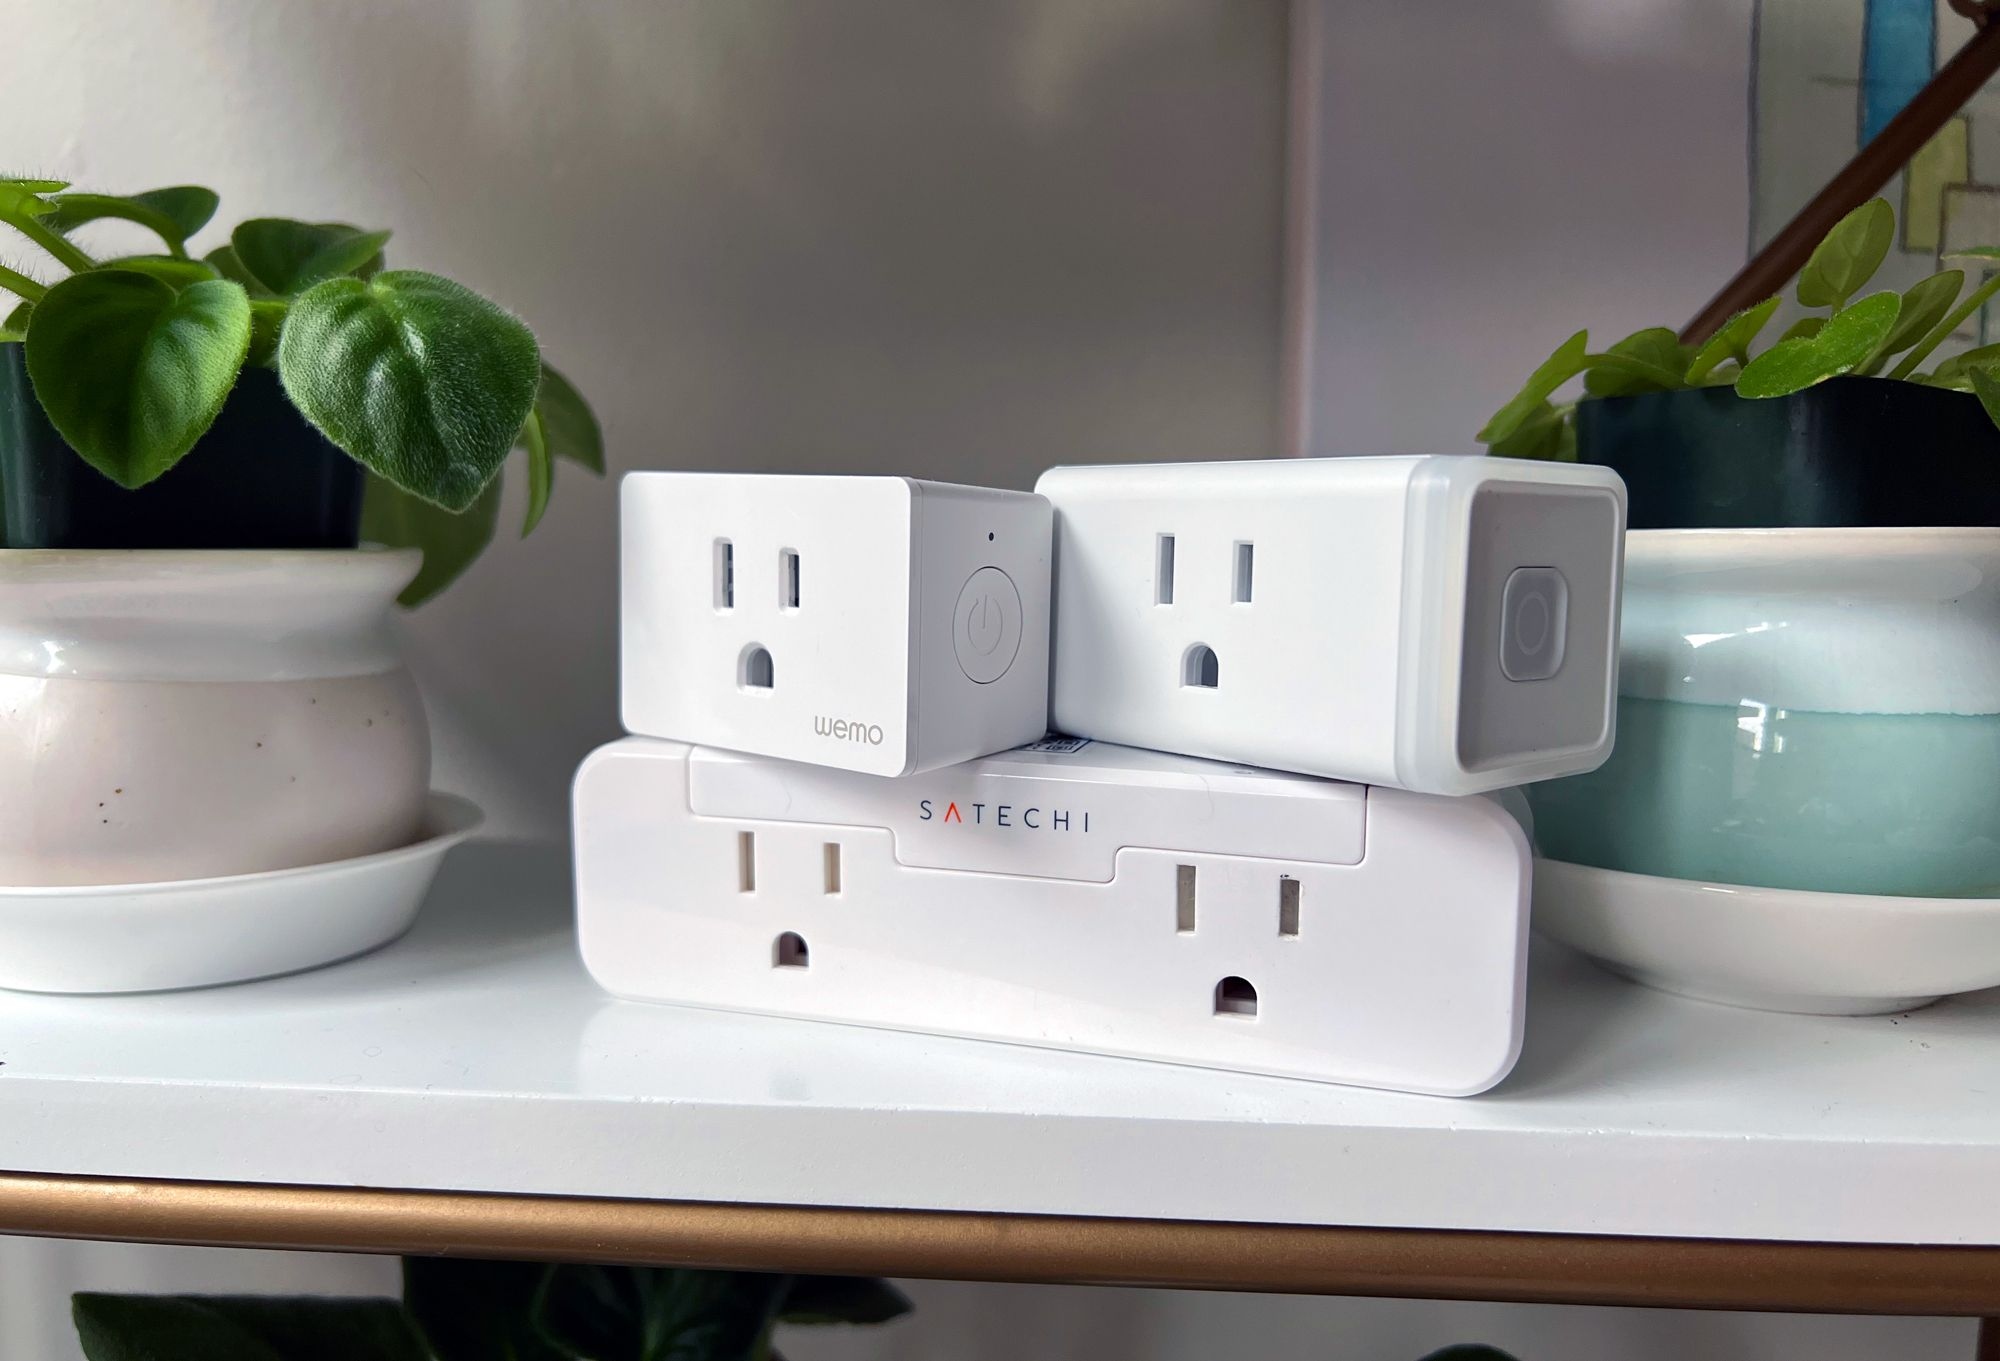
Disable Unused Devices
When it comes to optimizing your Wi-Fi network at home, one often overlooked aspect is the presence of unused devices that are still connected to the network. Disabling these devices can help improve overall network performance and ensure that your available bandwidth is allocated appropriately.
Here are some reasons why disabling unused devices is important:
- Bandwidth Allocation: Every device connected to your Wi-Fi network consumes a portion of your available bandwidth. If you have several unused devices connected, they can still consume bandwidth even if they are not actively being used. By disabling these devices, you free up bandwidth for other active devices and applications.
- Security: Unused devices that are connected to your network can pose a security risk. If these devices are not properly secured or maintained, they may become vulnerable to malware or hacking attempts. Disabling them removes the potential entry points for unauthorized access.
- Network Stability: Having multiple inactive devices connected to your network can potentially cause congestion and affect network stability. This can result in slower speeds and intermittent connectivity issues. By disabling these devices, you can ensure a smoother and more stable Wi-Fi experience.
- Device Management: Disabling unused devices allows for easier management and organization of your connected devices. It helps you maintain a clear overview of which devices are actively using the Wi-Fi network, making it simpler to troubleshoot and identify any connectivity issues.
To disable unused devices on your Wi-Fi network, follow these steps:
- Access Router Settings: Open a web browser and enter your router’s IP address in the address bar to access the router’s settings page. Consult your router’s manual or manufacturer’s website for the specific IP address.
- Log in to the Router: Enter the administrator username and password for your router. These credentials are usually provided with the router or can be found in the manual or on the manufacturer’s website.
- Navigate to Device Management: Locate the section in the router’s settings that allows you to manage connected devices. This section may be called “Connected Devices,” “Device List,” or something similar.
- Identify and Disable Unused Devices: Review the list of connected devices and identify those that are not in use or are no longer needed. Use the option provided to disable or remove these devices from the network.
- Save Settings: Once you have disabled the unused devices, save the changes in your router’s settings. The devices will no longer be able to connect to the Wi-Fi network unless re-enabled.
By disabling unused devices on your Wi-Fi network, you can optimize bandwidth allocation, enhance security, improve network stability, and simplify device management.
Optimize Your Router Settings
Configuring and optimizing your router settings is essential to ensure optimal performance and a reliable Wi-Fi connection. By adjusting various settings, you can customize your network, improve speed and stability, and enhance the overall Wi-Fi experience in your home.
Here are some key settings to consider when optimizing your router:
- Channel Selection: Routers operate on different channels, and interference from other devices on the same channel can degrade Wi-Fi performance. Use a Wi-Fi analyzer tool or the router’s web interface to determine which channel is least congested and manually set your router to that channel.
- Quality of Service (QoS): QoS settings allow you to prioritize certain devices or types of network traffic for better performance. For example, you can give priority to devices used for gaming or streaming to ensure a smooth experience. Enable QoS if your router supports it and configure it according to your needs.
- Wireless Mode: Make sure your router is set to the latest wireless mode compatible with your devices, such as 802.11ac or Wi-Fi 6 (802.11ax). This ensures you take full advantage of the latest Wi-Fi standards and faster connection speeds.
- Band Selection: If your router supports both 2.4GHz and 5GHz bands, consider using the 5GHz band for devices that require higher bandwidth, such as video streaming or online gaming. The 2.4GHz band is more prone to interference but has a longer range.
- Guest Network: Create a separate guest network for visitors to use. This network should have a different password and provide restricted access to your main network. It prevents guests from accessing your personal devices and data while still allowing them to connect to the internet.
- Firmware Updates: Ensure your router firmware is up to date. Manufacturers periodically release updates that improve performance, security, and compatibility with new devices. Check the manufacturer’s website or use the router’s web interface to download and install any available firmware updates.
Accessing router settings varies depending on the device and manufacturer. In most cases, you can access the router’s settings page through a web browser by entering the router’s IP address. Consult the router’s manual or the manufacturer’s website for specific instructions.
It’s important to note that modifying router settings should be done with caution, as incorrect changes can lead to connectivity issues. If you are unsure or uncomfortable with making changes, consult your ISP or a professional technician for assistance.
By optimizing your router settings, you can customize your network to suit your needs, improve Wi-Fi speed and stability, and enhance the Wi-Fi experience for all devices connected to your network.
Clear Your Wi-Fi Channel
If you’re experiencing slow Wi-Fi speeds or inconsistent connectivity, it’s possible that your Wi-Fi channel is congested with other nearby networks. Clearing your Wi-Fi channel can help improve signal quality and overall performance by reducing interference from neighboring networks.
Here are some steps to clear your Wi-Fi channel:
- Identify Interfering Networks: Use a Wi-Fi analyzer tool or app to identify nearby networks that may be operating on the same or overlapping channels as your router. These tools provide information about signal strength, channel congestion, and the Wi-Fi channels being used by the detected networks.
- Choose the Least Congested Channel: Based on the information gathered from the Wi-Fi analyzer, select a Wi-Fi channel that is least congested. Channels 1, 6, and 11 are typically recommended for the 2.4GHz band, as they are non-overlapping. For the 5GHz band, there are more non-overlapping channels available, so choose the least congested one.
- Access Router Settings: Open a web browser and enter your router’s IP address to access the router’s settings page. The IP address and login credentials can usually be found on the router or in the provided documentation.
- Navigate to Wi-Fi Settings: Locate the section in the router’s settings where you can modify the Wi-Fi channel and channel width. This section may be titled “Wireless Settings” or similar.
- Change the Wi-Fi Channel: Select the desired Wi-Fi channel from the available options and save the changes. In some cases, the router may have an “Auto” option, which will automatically select the least congested channel for you.
- Monitor the New Channel: After changing the Wi-Fi channel, monitor the signal strength and performance to ensure it has improved. Use the Wi-Fi analyzer tool to check for any remaining interference or congested channels.
It’s important to note that changing your Wi-Fi channel will only clear the channel within your network’s range. Interference from other networks located far away may still affect your signal quality. However, by choosing the least congested channel within your immediate vicinity, you can significantly reduce interference and improve the performance of your Wi-Fi network.
Remember to periodically check your Wi-Fi channel, as neighboring networks may change their channels over time. Regularly monitoring and clearing your Wi-Fi channel will help ensure the best possible Wi-Fi experience in your home.
Choose the Right Wi-Fi Network Name and Password
When setting up your Wi-Fi network, choosing the right network name (SSID) and password is crucial for both convenience and security. These choices not only reflect your personal preferences but also play a role in the overall usability and protection of your network.
Here are some tips for choosing the right Wi-Fi network name and password:
- Network Name (SSID):
- Keep it unique: Avoid using default or generic names, as they make it easier for others to identify your router model and potentially exploit any vulnerabilities.
- Avoid personal information: Refrain from using your name, address, or any other personal information as part of the network name to protect your privacy.
- Be creative: Choose a memorable and creative name for your network that reflects your personality or household. It can add a touch of fun and uniqueness to your Wi-Fi network.
- Password:
- Use a complex password: Create a strong password that includes a combination of uppercase and lowercase letters, numbers, and special characters. The more complex the password, the harder it is for others to guess or crack.
- Avoid common phrases: Stay away from using common phrases or easily guessable patterns, as these can be susceptible to brute force attacks or dictionary-based hacking attempts. The password should be unique and not easily associated with you or your household.
- Make it lengthy: Aim for a password length of at least 12 characters to enhance security. Longer passwords are generally more difficult to crack.
During the setup process, you’ll have the option to choose the network name and password. Access your router’s settings page through a web browser and navigate to the wireless settings section to make these changes.
Remember to regularly update your Wi-Fi network password to enhance security. Additionally, avoid sharing your Wi-Fi password with unknown or untrusted individuals to protect your network and prevent unauthorized access.
By choosing the right Wi-Fi network name and password, you can personalize your network and maintain the security and integrity of your home Wi-Fi connection.
Update Your Router’s Firmware
Keeping your router’s firmware up to date is essential for optimal performance, enhanced security, and improved compatibility with newer devices. Firmware updates often include bug fixes, security patches, and feature enhancements that can significantly improve the functionality and stability of your router.
Here’s how you can update your router’s firmware:
- Check for Updates: Visit the manufacturer’s website or access your router’s settings page to check for any available firmware updates. Look for a “Support” or “Downloads” section on the manufacturer’s website and locate your router’s model. The website should provide instructions and the latest firmware version available for download.
- Download the Firmware: Download the latest firmware version provided by the manufacturer. Make sure to select the firmware compatible with your router model to avoid any issues during the update process. Save the firmware file to your computer.
- Access Router Settings: Open a web browser and enter your router’s IP address to access the router’s settings page. Refer to the router’s manual or the manufacturer’s website for the specific IP address and login credentials required to access the settings.
- Locate Firmware Update: Navigate to the firmware update section within the router’s settings. This section may be labeled “Firmware Update,” “Maintenance,” or similar. Some routers have an automatic update feature that checks for and installs firmware updates automatically.
- Select and Install Firmware: Follow the instructions provided to locate the downloaded firmware file on your computer and initiate the update process. Be patient during the update, as it may take a few minutes for the installation to complete. Avoid interrupting the update or turning off the router, as this can cause issues or render the router unusable.
- Verify Successful Update: After the firmware update is complete, verify that the router is running the latest firmware version. Check the router’s settings page or use the manufacturer’s provided tool to confirm the firmware version. It should match the version you downloaded and installed.
It’s important to periodically check for firmware updates and install them as they become available. This ensures that your router remains up to date with the latest security patches and performance improvements.
Remember to consult the router’s manual or the manufacturer’s website for specific instructions and guidelines regarding firmware updates. Following the correct procedures will help avoid any potential issues and ensure a smooth update process.
By updating your router’s firmware, you can ensure that your router is operating with the latest features, improvements, and security enhancements, providing a more reliable and secure Wi-Fi experience in your home.
Utilize Wi-Fi Hotspots
Wi-Fi hotspots are public areas where you can connect to a wireless network and access the internet. Many businesses, libraries, airports, and coffee shops offer free or paid Wi-Fi hotspots for individuals to use. Taking advantage of these hotspots can help you get free Wi-Fi access outside of your home and reduce your reliance on mobile data.
Here are a few tips for utilizing Wi-Fi hotspots:
- Find Reliable Hotspots: Look for trusted Wi-Fi hotspots provided by reputable establishments. Hotels, restaurants, and cafes often have secure and reliable networks available for their customers and guests to use. Investigate the network’s security practices and ensure it is an encrypted connection, preferably using WPA2 or higher encryption.
- Protect Personal Information: When using public Wi-Fi hotspots, avoid accessing or sharing sensitive information such as banking details or personal login credentials. These networks are susceptible to potential security risks and may be monitored by malicious users. Stick to general browsing or use a virtual private network (VPN) to encrypt your connection and protect your privacy.
- Be Mindful of Data Usage: Some public Wi-Fi hotspots may have data restrictions or speed limitations. Be aware of the terms and conditions of the hotspot and use data-heavy applications sparingly to avoid overages or slow speeds. Additionally, it’s best to avoid large file downloads or streaming high-definition content on public networks to ensure fair usage for all users.
- Secure Your Device: Keep your device secure when connecting to Wi-Fi hotspots. Ensure that your device’s firewall and antivirus software are up to date. Disable file-sharing and enable a secure password or PIN lock on your device to prevent unauthorized access.
- Explore Wi-Fi Finder Apps: Use Wi-Fi finder apps or websites to locate nearby Wi-Fi hotspots. These tools can help you discover free or paid Wi-Fi networks available in your vicinity, making it easier to find reliable connections when you’re on the go.
- Consider Portable Wi-Fi Devices: If you frequently require Wi-Fi access outside of your home, you might consider investing in a portable hotspot. These devices use cellular data to create a Wi-Fi network that you can connect to from your devices. While this option may involve additional costs, it provides greater convenience and control over your Wi-Fi access.
When utilizing Wi-Fi hotspots, always prioritize your personal safety and security. Use networks from trusted sources, be cautious with your browsing activities, and safeguard your personal information to minimize the risks associated with public Wi-Fi usage.
By leveraging Wi-Fi hotspots, you can enjoy free or low-cost internet access while you’re on the move and reduce your reliance on mobile data.
Conclusion
In today’s connected world, having a reliable and fast Wi-Fi connection at home is essential. By implementing the strategies and tips outlined in this article, you can enhance your Wi-Fi experience and even enjoy free Wi-Fi access in certain situations.
Start by reviewing your internet plan to ensure it meets your needs and consider upgrading if necessary. Positioning your router strategically and using Wi-Fi range extenders can improve coverage and eliminate dead zones. Securing your network with strong passwords and regular firmware updates will protect your personal information and devices from potential threats.
Optimizing your router’s settings, such as selecting the right Wi-Fi channel and configuring quality of service (QoS) settings, can further improve performance. Clearing your Wi-Fi channel and choosing an appropriate network name adds another layer of optimization, reducing interference and enhancing usability.
Additionally, leveraging Wi-Fi hotspots in public areas and using them wisely can provide free or affordable access to the internet while you’re on the go.
By implementing these strategies and making smart choices, you can enhance your Wi-Fi connectivity, improve network performance, and make the most of your internet experience at home and beyond.