Introduction
Changing routers can be a daunting task, but it is a necessary step to ensure a fast and reliable internet connection. Whether you are upgrading to a faster router or simply need to replace a faulty one, this guide will walk you through the process of changing routers.
A router is a critical piece of hardware that connects your devices to the internet, allowing you to browse the web, stream videos, and communicate with others. Over time, routers can become outdated or experience technical issues, leading to slower speeds and frequent disconnections. Changing routers can help resolve these issues and improve your overall internet experience.
There are several reasons why you might need to change your router. One common reason is to take advantage of newer technologies, such as Wi-Fi 6, which offers faster speeds and better performance. Upgrading to a new router can also provide better coverage in your home or office, especially if you have added new devices or expanded your living space.
Another reason to change routers is to address security concerns. Older routers may have outdated firmware that leaves your network vulnerable to cyber attacks. By upgrading to a newer model, you can benefit from enhanced security features, such as built-in firewalls and regular firmware updates.
Before you dive into the process of changing routers, it is important to take some preliminary steps to ensure a smooth transition. This includes gathering necessary information about your current network setup, finding the right replacement router, and backing up your old router’s settings.
In this guide, we will walk you through the process of changing routers step by step. We will cover how to disconnect and remove your old router, as well as how to connect and configure your new router. Additionally, we will discuss how to test your new router and troubleshoot common issues that may arise.
Ready to take the plunge and change your router? Let’s get started!
Reasons to Change Routers
There are several compelling reasons why you might consider changing your router. Let’s explore some of the most common reasons below:
- Improved Performance: Over time, technology advances, and new routers offer better performance and faster speeds. Upgrading to a newer router can significantly enhance your internet experience by providing smoother streaming, quicker downloads, and reduced lag in online gaming.
- Greater Coverage: If you’ve noticed dead spots or weak Wi-Fi signals in certain areas of your home, it may be time to change your router. Newer models often have stronger antennas and improved range, ensuring that you have a solid connection throughout your entire living space.
- Enhanced Security: Security should always be a top priority when it comes to your network. Old routers may have outdated firmware or lack modern security features, making them more susceptible to malware and cyberattacks. Switching to a newer router with robust security features can help protect your sensitive data and provide peace of mind.
- Compatibility with New Devices: If you’ve recently added smart devices, gaming consoles, or other internet-connected gadgets to your home, they may require specific router features or the latest Wi-Fi standards to function optimally. Changing routers ensures that you can fully enjoy the capabilities of your new devices.
- Improved User Interface: Older routers often have outdated user interfaces that can be confusing and difficult to navigate. Upgrading to a new router can provide a more intuitive and user-friendly interface, making it easier to adjust settings, set up parental controls, and manage your network.
- Future-Proofing: Investing in a newer router with advanced features, such as support for emerging technologies like Wi-Fi 6, can future-proof your network. This ensures that you’ll be ready to take advantage of faster speeds and improved performance as new devices and technologies become available.
Keep in mind that these reasons may vary based on your specific needs and circumstances. It’s essential to evaluate your requirements and research the options available to find the best router that meets your needs.
Now that you understand the reasons why changing routers can be beneficial, let’s move on to the next section, where we’ll discuss the steps you should take to prepare for the router change.
Preparing to Change Routers
Before diving into the process of changing routers, it’s important to take some preliminary steps to ensure a smooth transition. By preparing ahead of time, you can minimize downtime and avoid any unnecessary complications. Here are the key steps to follow:
- Assess Your Current Network: Take stock of all the devices connected to your current router. Make a note of any custom configurations, such as port forwarding or static IP assignments, as you will need to replicate these settings on the new router. Additionally, note down your current network name (SSID) and password, as these will need to be reconfigured on the new device.
- Check Compatibility: Ensure that the new router you choose is compatible with your internet connection type (e.g., cable, DSL, fiber). Check with your internet service provider (ISP) or consult the specifications of the new router to verify compatibility. It’s also important to consider any specific requirements for your home network, such as the need for mesh networking or multiple Ethernet ports.
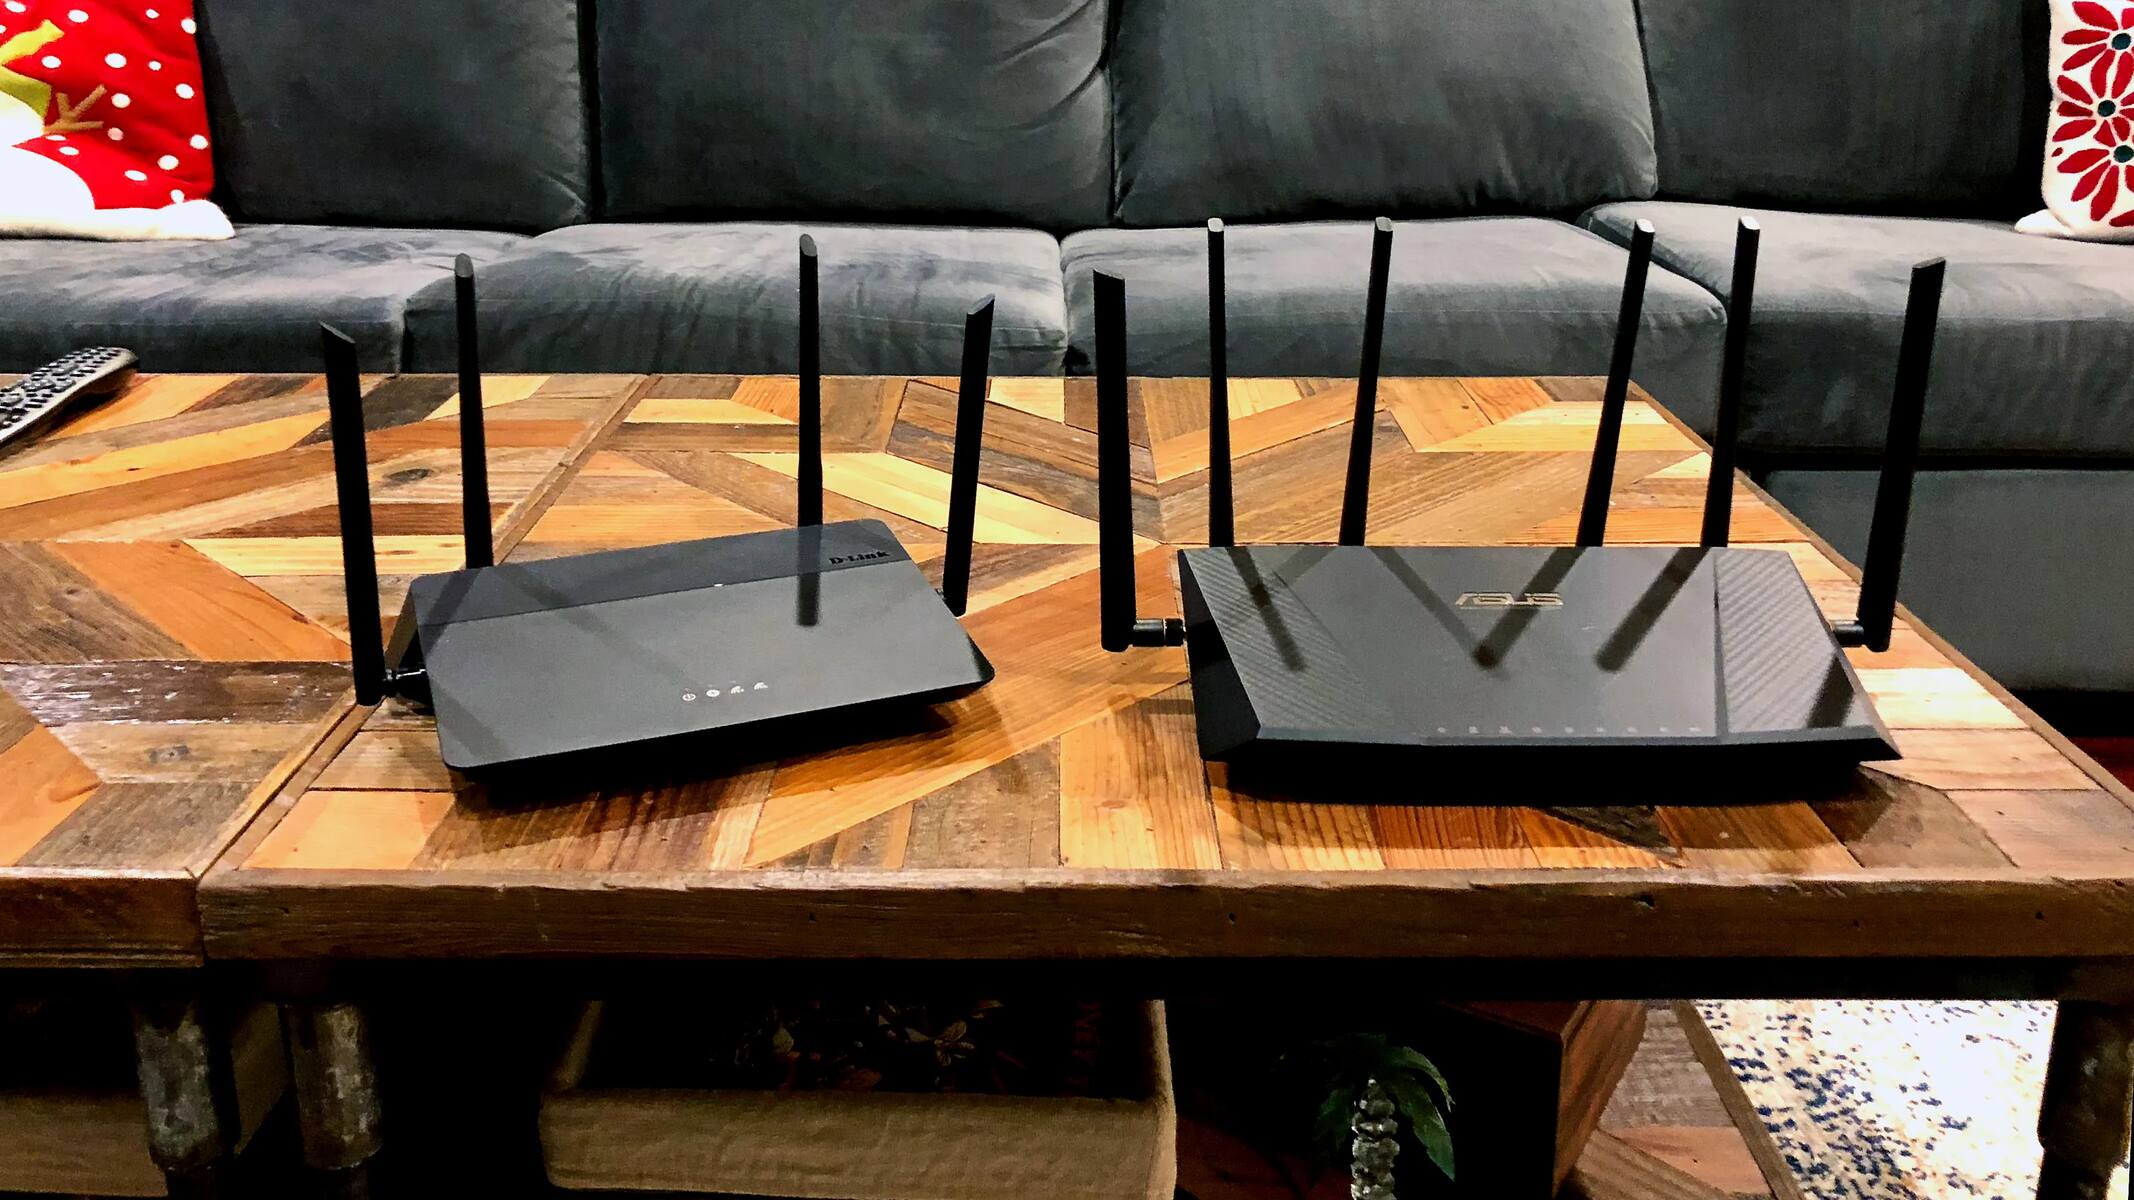
- Research and Compare Router Models: Take the time to research different router models and compare their features, performance, and user reviews. Look for routers that meet your specific needs, such as range, speed, and security features. Consider factors like parental controls, guest network capabilities, and ease of setup. Comparing multiple options will help you make an informed decision.
- Secure Your Network: Before disconnecting your old router, ensure that your network is secure. Update the firmware on your current router and change the default administrator password if you haven’t already. This will help protect your network from potential security vulnerabilities during the transition process.
- Back Up Router Settings: It is crucial to back up your old router’s settings before proceeding with the change. Many routers have an option to export or save the configuration settings as a backup file. This backup can be useful if you need to refer back to specific settings or restore your old router in case the new one doesn’t meet your expectations.
By taking these preparation steps, you’ll be better equipped to handle the router change smoothly and efficiently. In the next section, we’ll discuss how to find the right router that fits your needs. So, let’s move on!
Finding the Right Router
When it comes to changing routers, finding the right one that meets your specific needs is essential. With various brands and models available in the market, it’s important to consider several factors to ensure you make an informed decision. Here’s a guide to help you find the right router:
- Internet Connection Type: Consider your internet connection type, such as cable, DSL, or fiber. Different routers are designed to work with specific connection types, so it’s important to choose one that is compatible with your existing internet service.
- Speed and Performance: Look for routers that offer high-speed capabilities to handle your internet demands. Consider the maximum speed rating of each router and choose one that can accommodate the number of devices and the activities you typically engage in, such as streaming, gaming, or downloading large files.
- Wireless Standards: Check the wireless standards supported by the routers you are considering. The most common standards are 802.11ac and the newer 802.11ax (Wi-Fi 6). Wi-Fi 6 routers provide faster speeds, better performance, and increased capacity, especially in environments with multiple connected devices.
- Range and Coverage: Evaluate the coverage area of the routers you are interested in. Consider the size and layout of your home or office space and choose a router that offers sufficient range to ensure a strong and stable Wi-Fi signal throughout the premises. Look for routers with multiple antennas or mesh networking capabilities for extended coverage.
- Security Features: Pay attention to the security features offered by the routers. Look for routers with built-in firewalls, support for WPA3 encryption, and guest network capabilities. Advanced security features will help protect your network from potential threats and ensure the privacy of your data.
- User-Friendly Interface: Consider the user interface and management options provided by the routers. Look for devices with intuitive and easy-to-use interfaces that allow you to navigate settings, monitor network activity, and set up parental controls easily.
Additionally, read customer reviews and check for any known issues or limitations of the routers you are considering. This will give you valuable insights into their real-world performance and reliability.
Once you have gathered all the necessary information and compared different routers, you can make an informed decision based on your specific requirements and budget. In the next section, we will discuss how to back up your old router’s settings before migrating to the new one.
Backing Up Your Old Router’s Settings
Before you disconnect and remove your old router, it’s crucial to back up its settings. This ensures that you have a reference point for your network configuration and makes it easier to restore or replicate those settings on your new router. Here’s how you can back up your old router’s settings:
- Access Router Settings: Connect your computer or device to the old router via Ethernet cable or Wi-Fi. Open a web browser and enter the router’s default gateway IP address in the address bar. This address is usually provided in the router’s manual or can be found by doing a quick search online. Enter your router’s username and password when prompted to access the settings.
- Locate Backup or Export Option: Once you’ve accessed the router’s settings, navigate to the administration or maintenance section. Look for an option to backup, export, or save the configuration settings. The wording may vary depending on the router brand and model.
- Create the Backup File: Follow the instructions provided by the router’s interface to create the backup file. Choose a location on your computer or other storage device to save the file. It’s recommended to save it in a secure location, such as an external hard drive or cloud storage, for easy access and retrieval.
- Verify the Backup: After creating the backup file, take a moment to verify its integrity. Try opening the file and ensure that it contains all the necessary settings and configurations. You may want to refer to your router’s documentation or consult with its manufacturer’s support materials to confirm the backup procedure.
Remember to keep the backup file in a safe place, preferably separate from your regular data backups. Having a backup of your old router’s settings will provide an extra layer of protection and save you time and effort during the transition process. It will also serve as a reference if you need to restore specific settings or troubleshoot any issues that may arise with the new router.
With the backup of your old router’s settings ready, you can now proceed with disconnecting and removing the old router. This will be discussed in detail in the next section.
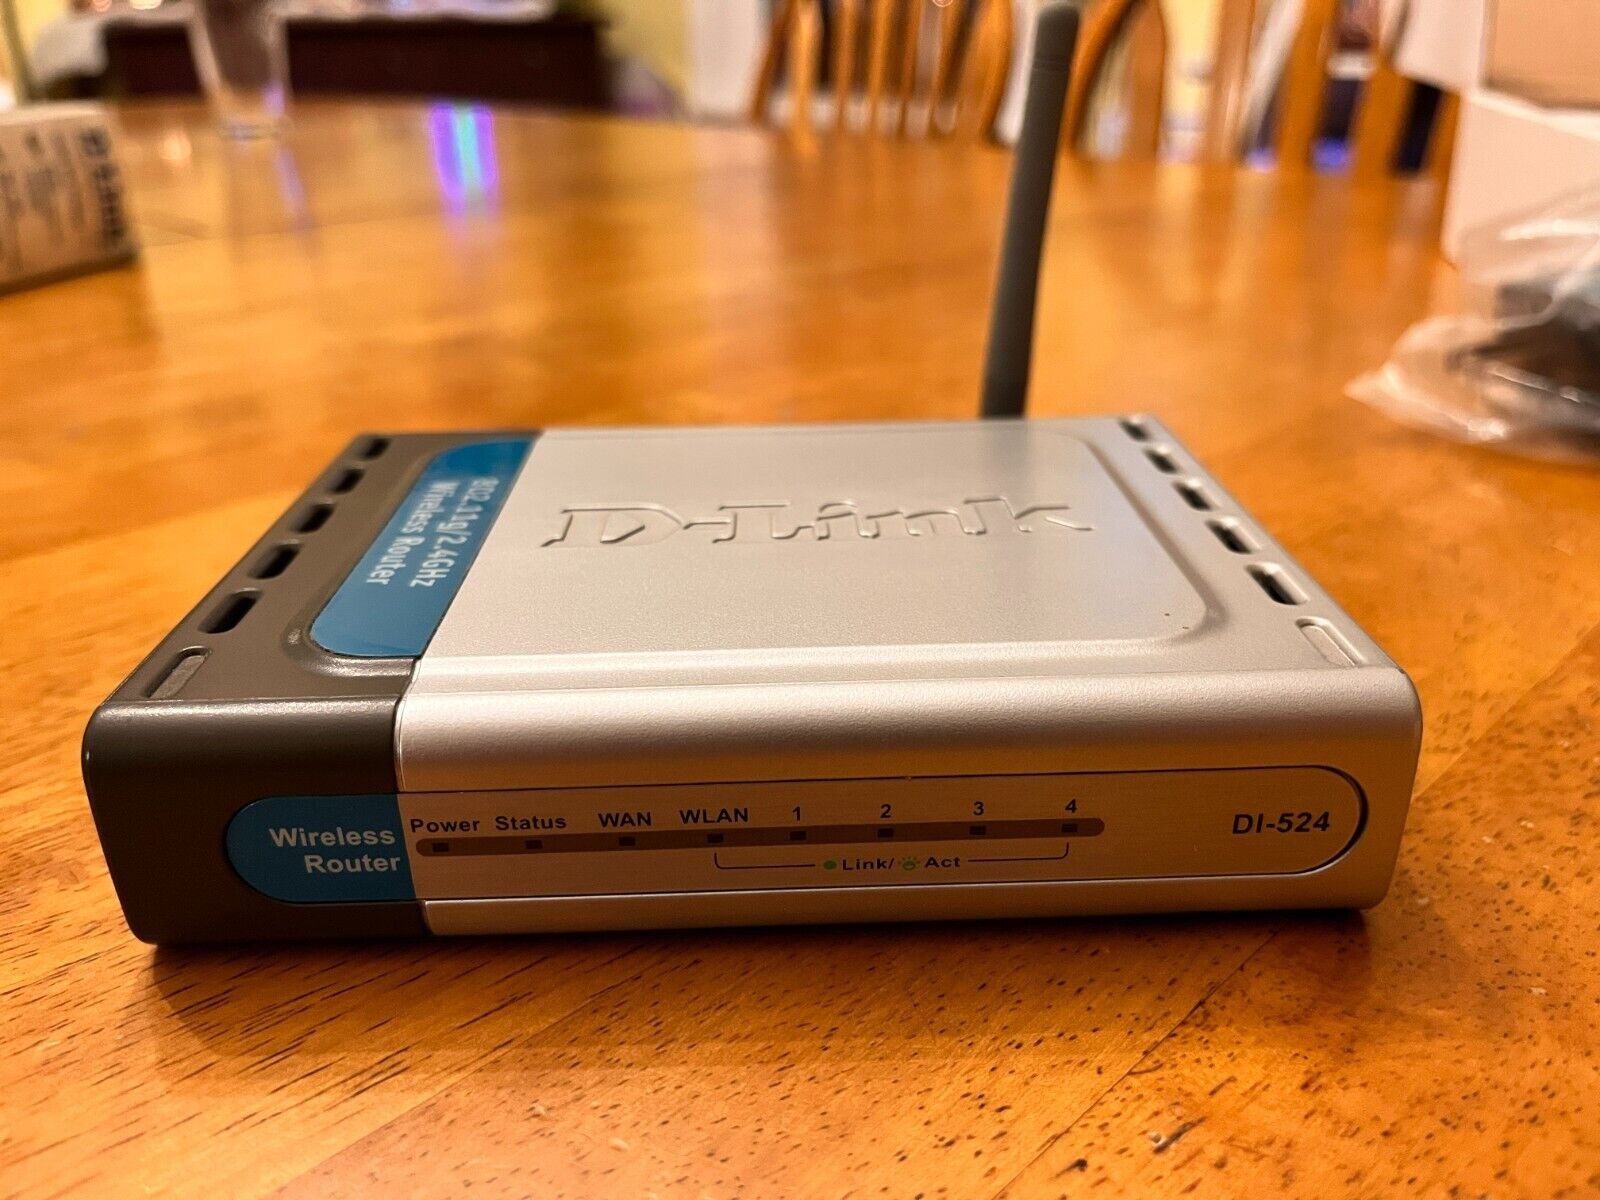
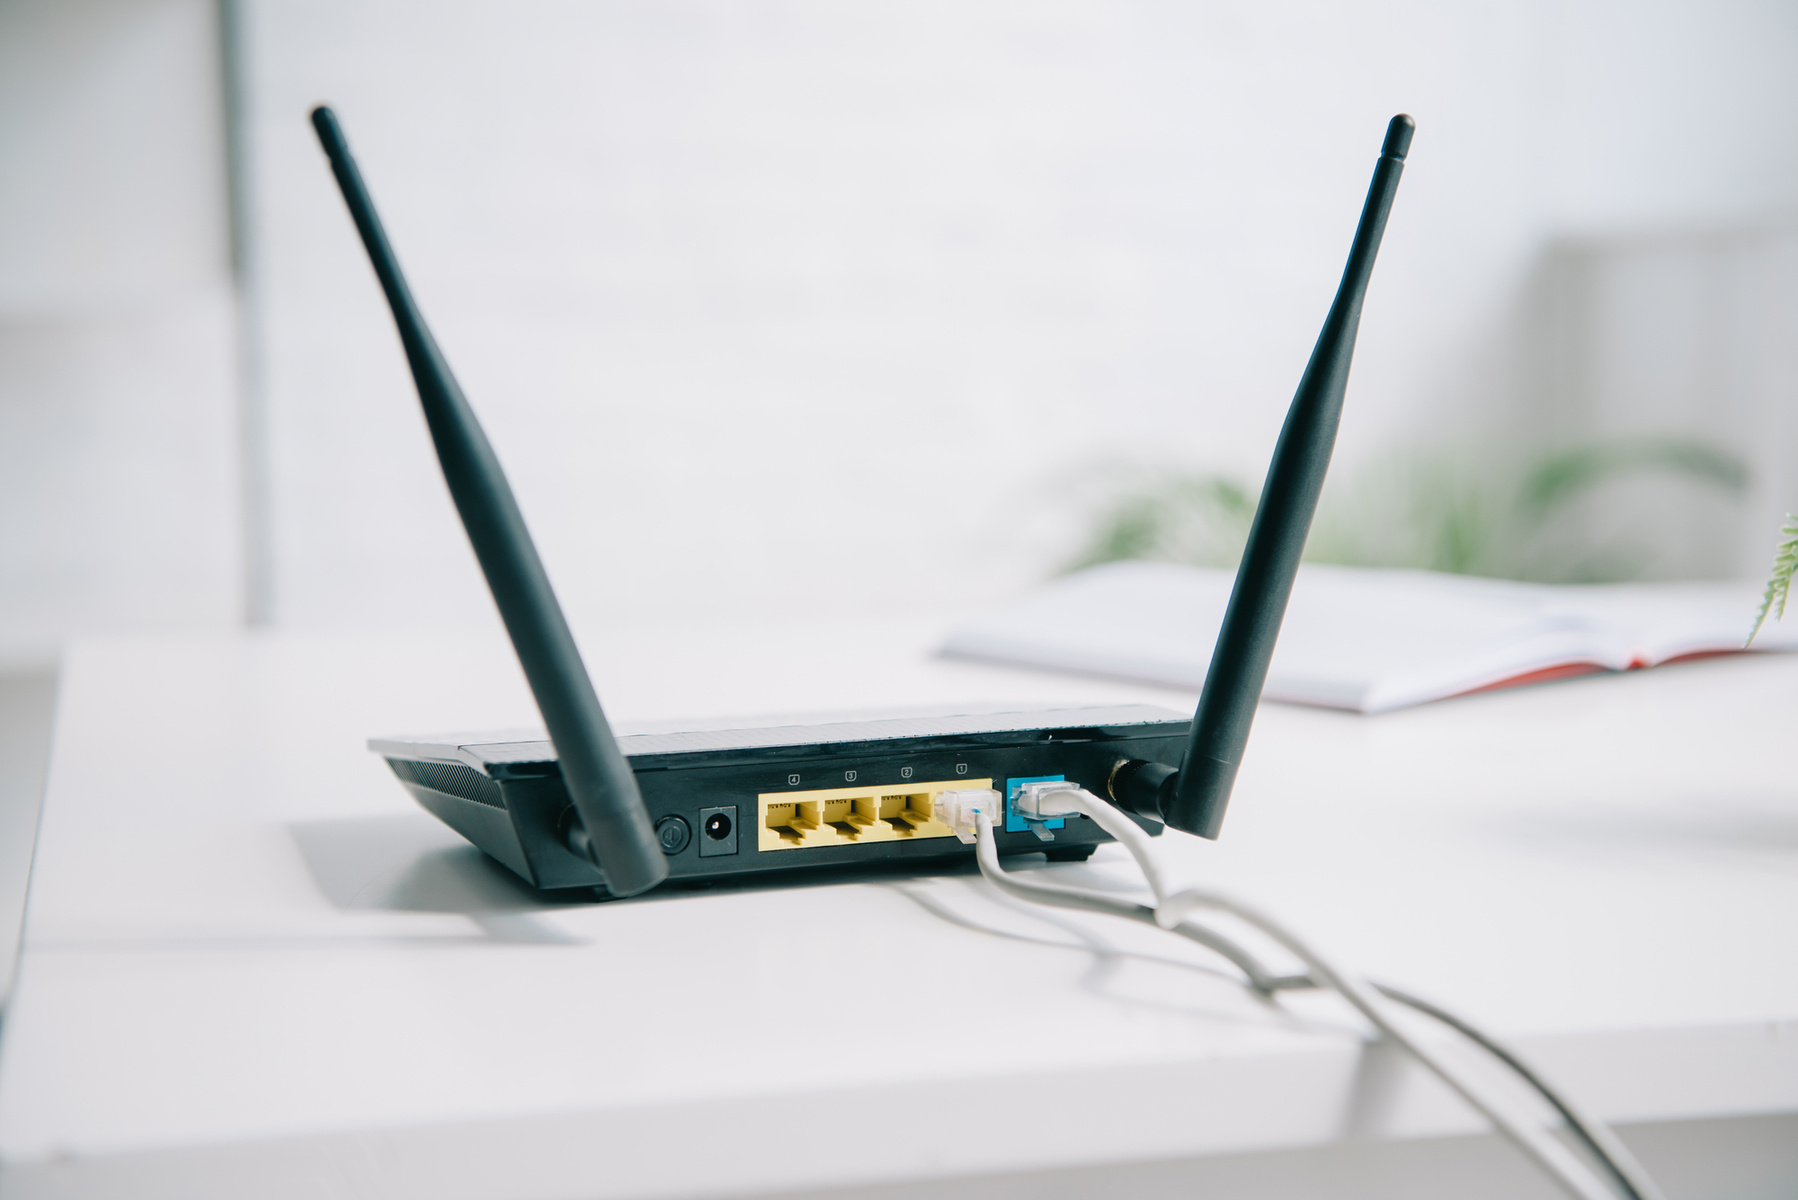
Disconnecting and Removing Your Old Router
Once you have backed up your old router’s settings, it’s time to disconnect and remove it from your network setup. Follow these steps to ensure a smooth removal process:
- Power Off: Begin by turning off and unplugging your old router from the power source. This will prevent any electrical issues or accidental power-on during the removal process.
- Disconnect Devices: Take note of all the devices connected to your old router and disconnect them. This includes devices connected via Ethernet cables and Wi-Fi. If you have many devices, it may be helpful to label the cables to ensure easy reconnection later.
- Record Cable Connections: Pay attention to how your old router is connected to your modem or internet source. Take a photo or make a note of the cable connections, including the Ethernet cable connecting the router to the modem. This will facilitate the setup process for your new router.
- Removing Wireless Extenders or Repeaters: If you have any wireless extenders or repeaters connected to your old router, make sure to disconnect them as well. These devices are typically connected to the old router via Wi-Fi, and they may need to be reconfigured or connected to the new router later.
- Physical Removal: Carefully remove the old router from its current location. Make sure to keep it in a safe place in case you need to refer back to it or return it to the manufacturer. Clear any cables or obstructions and make room for your new router.
With the old router successfully removed, you are now ready to move on to the next steps of setting up and configuring your new router. In the following section, we will guide you through the process of connecting and configuring the new device.
Connecting and Configuring Your New Router
With your old router disconnected and removed, it’s time to connect and configure your new router. This process involves setting up the physical connections and configuring the necessary settings to establish a secure and reliable internet connection. Follow these steps to connect and configure your new router:
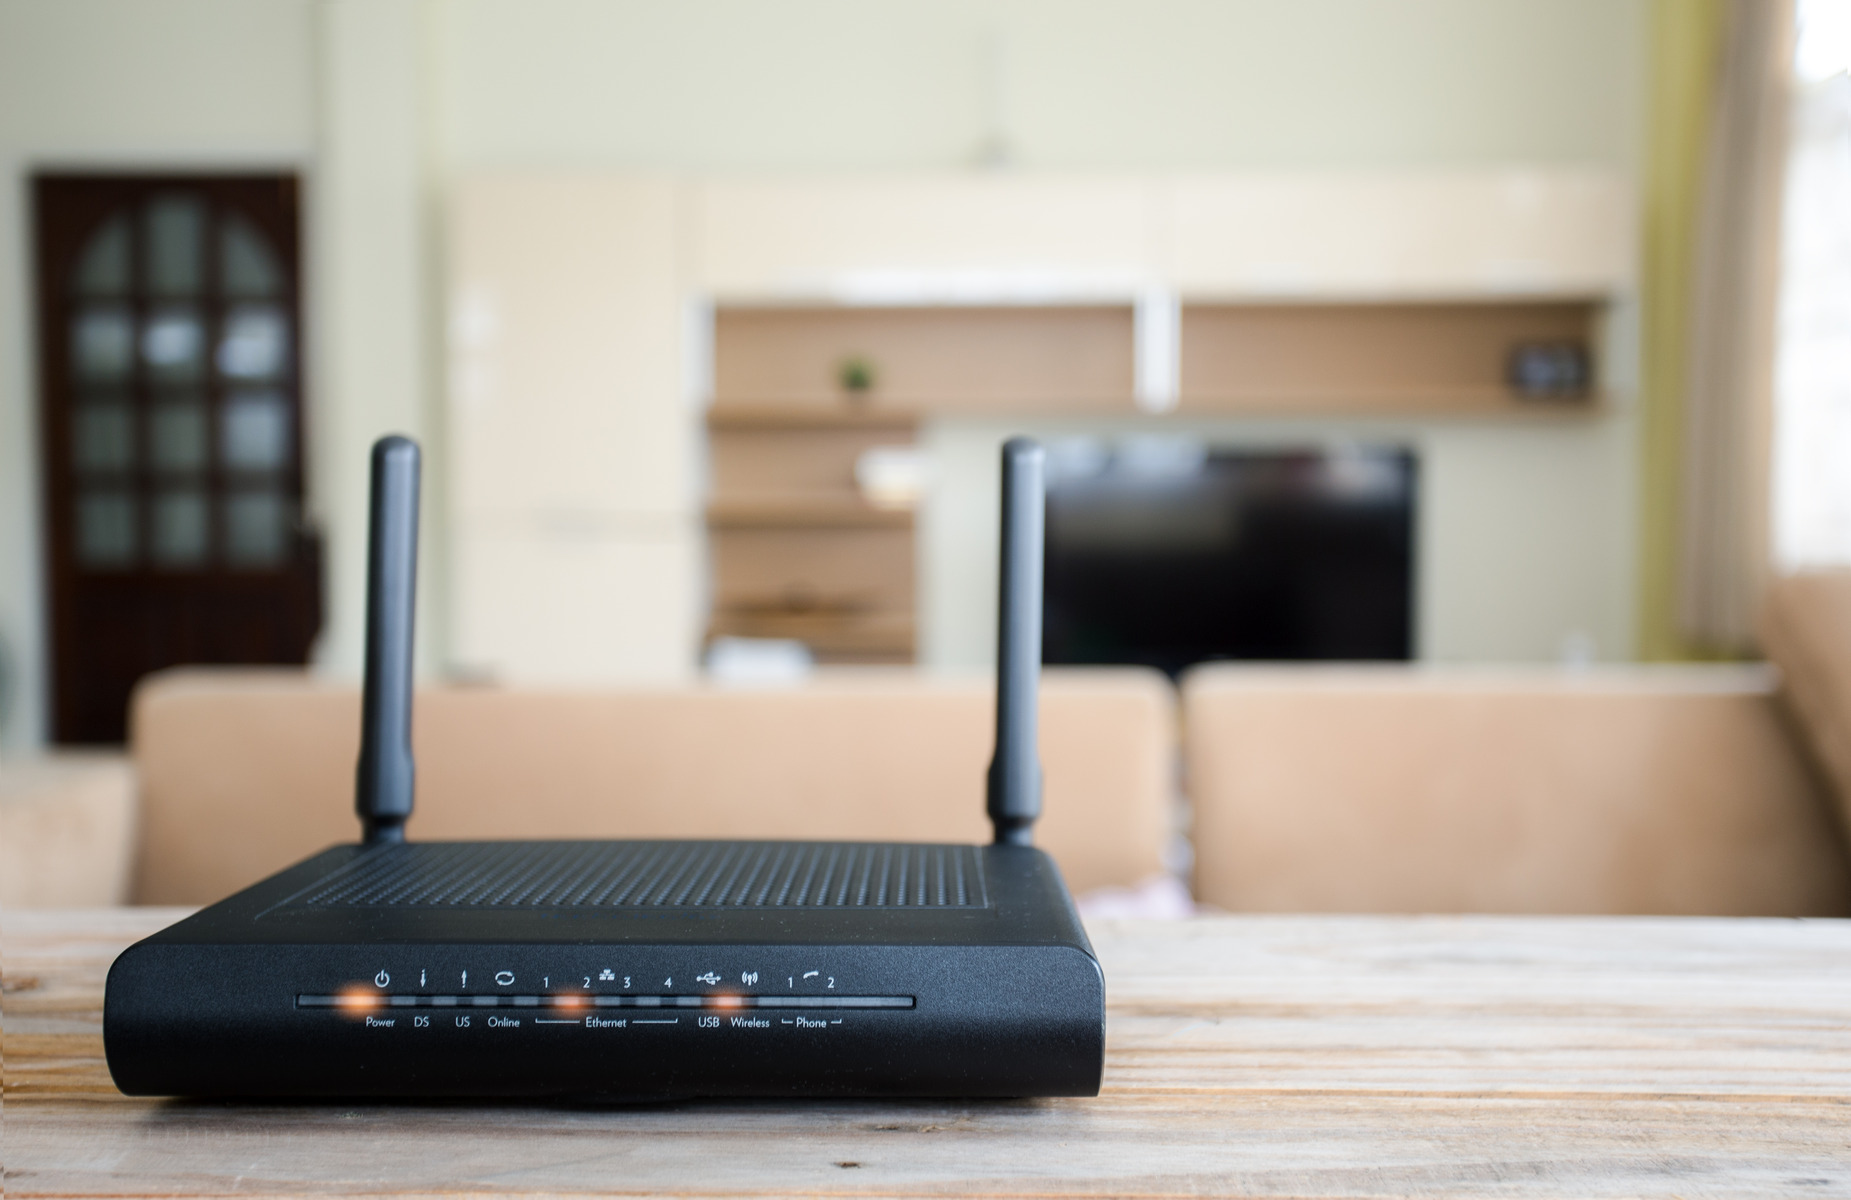
- Position the Router: Find an optimal location for your new router. Ideally, it should be placed in a central area to maximize Wi-Fi coverage throughout your home or office. Avoid placing it near other electronic devices or obstructions that may interfere with the signal.
- Connect the Modem: Take the Ethernet cable that was connected to your old router’s WAN or internet port and plug it into the WAN port of your new router. This port is usually labeled and distinct from the other LAN ports.
- Power On the Router: Plug the power adapter of your new router into an electrical outlet and turn it on. Allow a few moments for the router to boot up and establish a connection with your modem.
- Connect Devices: Using either Ethernet cables or Wi-Fi, reconnect your devices to the new router. For devices using Ethernet cables, plug them into the LAN ports on the new router. For wireless connections, search for your new network’s name (SSID) and enter the new network password.
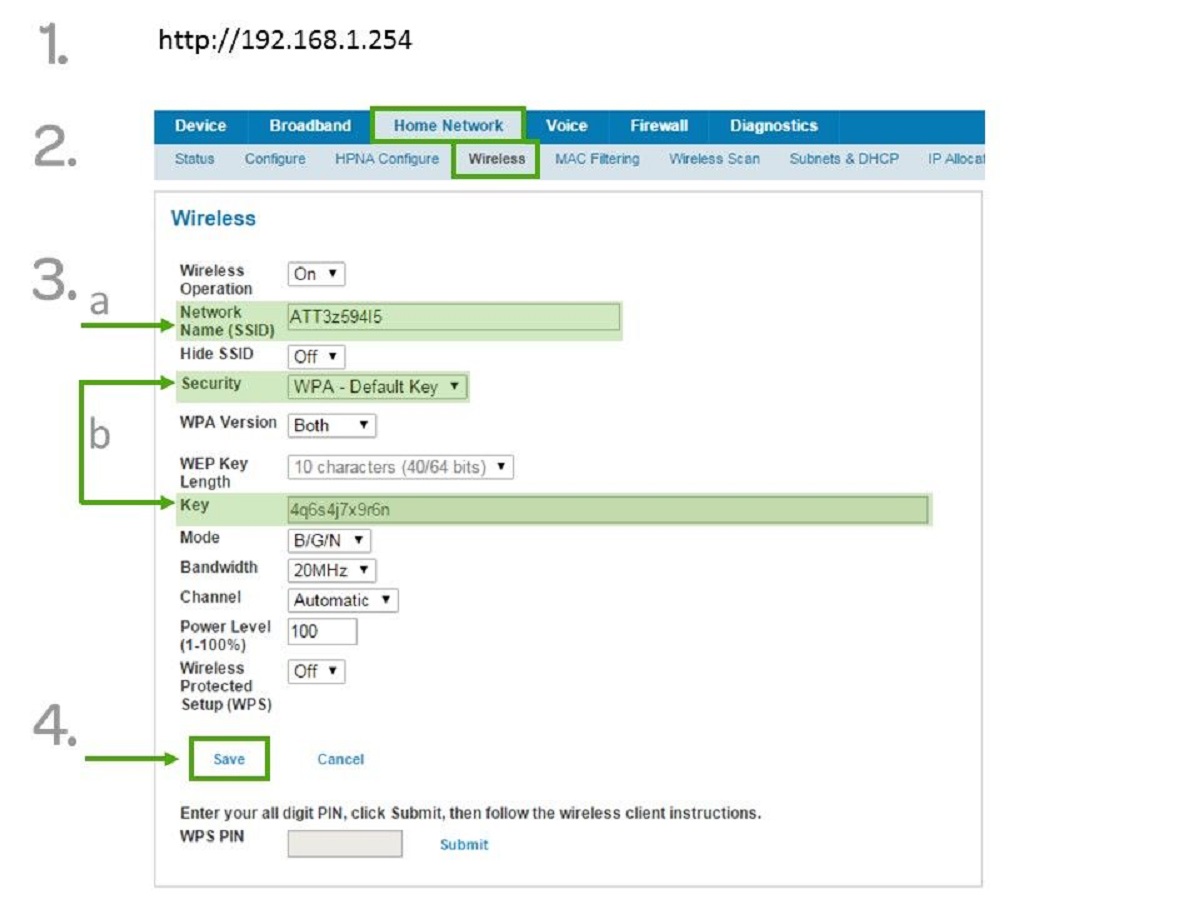
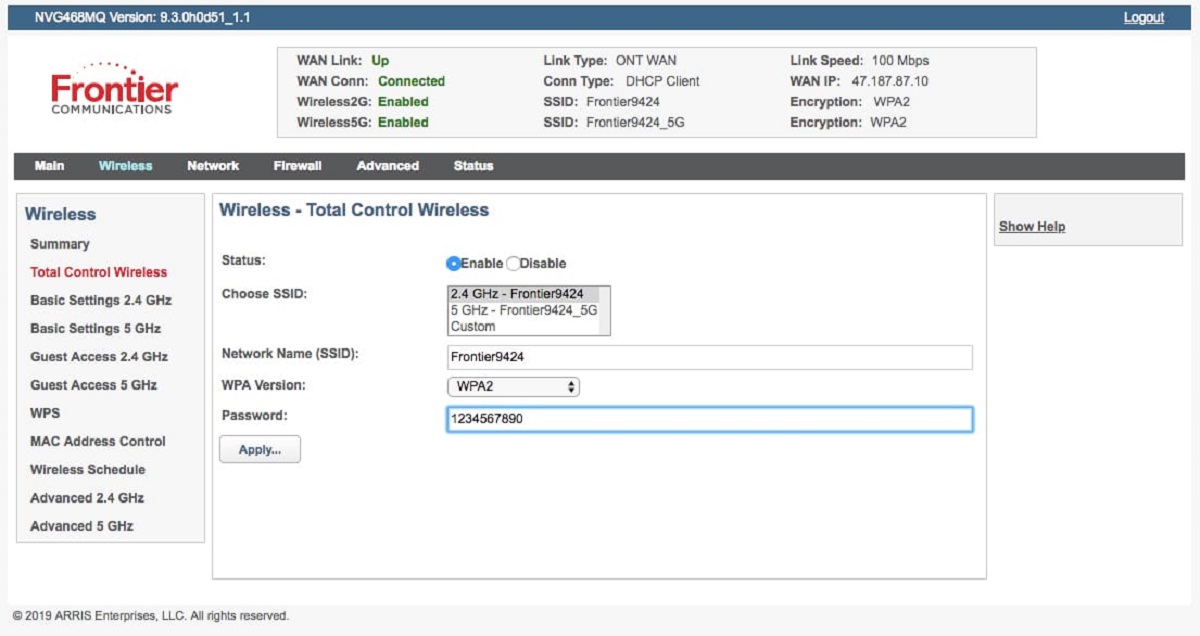
- Access Router Settings: Open a web browser on one of your connected devices and enter the router’s default gateway IP address in the address bar. This is typically provided in the new router’s documentation or can be found by doing an online search. Enter the default username and password provided by the manufacturer to login to the router’s settings interface.
- Run Setup Wizard: Most new routers have a setup wizard that will guide you through the initial configuration process. Follow the prompts provided by the wizard, which will typically include setting up a new Wi-Fi password, choosing a network name, and configuring additional security settings.
- Restore Router Settings (Optional): If you want to replicate the settings from your old router, you can import the backup file you created earlier. Look for an option to restore or import settings within the router’s settings interface and follow the on-screen instructions to complete the process.
- Update Firmware and Security: Once your new router is set up, check for any firmware updates provided by the manufacturer. Updating the firmware ensures that you have the latest features and security patches. Additionally, review the security settings and customize them to suit your needs, such as enabling encryption, setting up a guest network, or activating parental controls.
By following these steps, you will successfully connect and configure your new router. Remember to refer to your router’s documentation or manufacturer’s support materials for any specific instructions or troubleshooting assistance. In the next section, we will discuss how to test your new router to ensure it’s functioning correctly.
Testing Your New Router
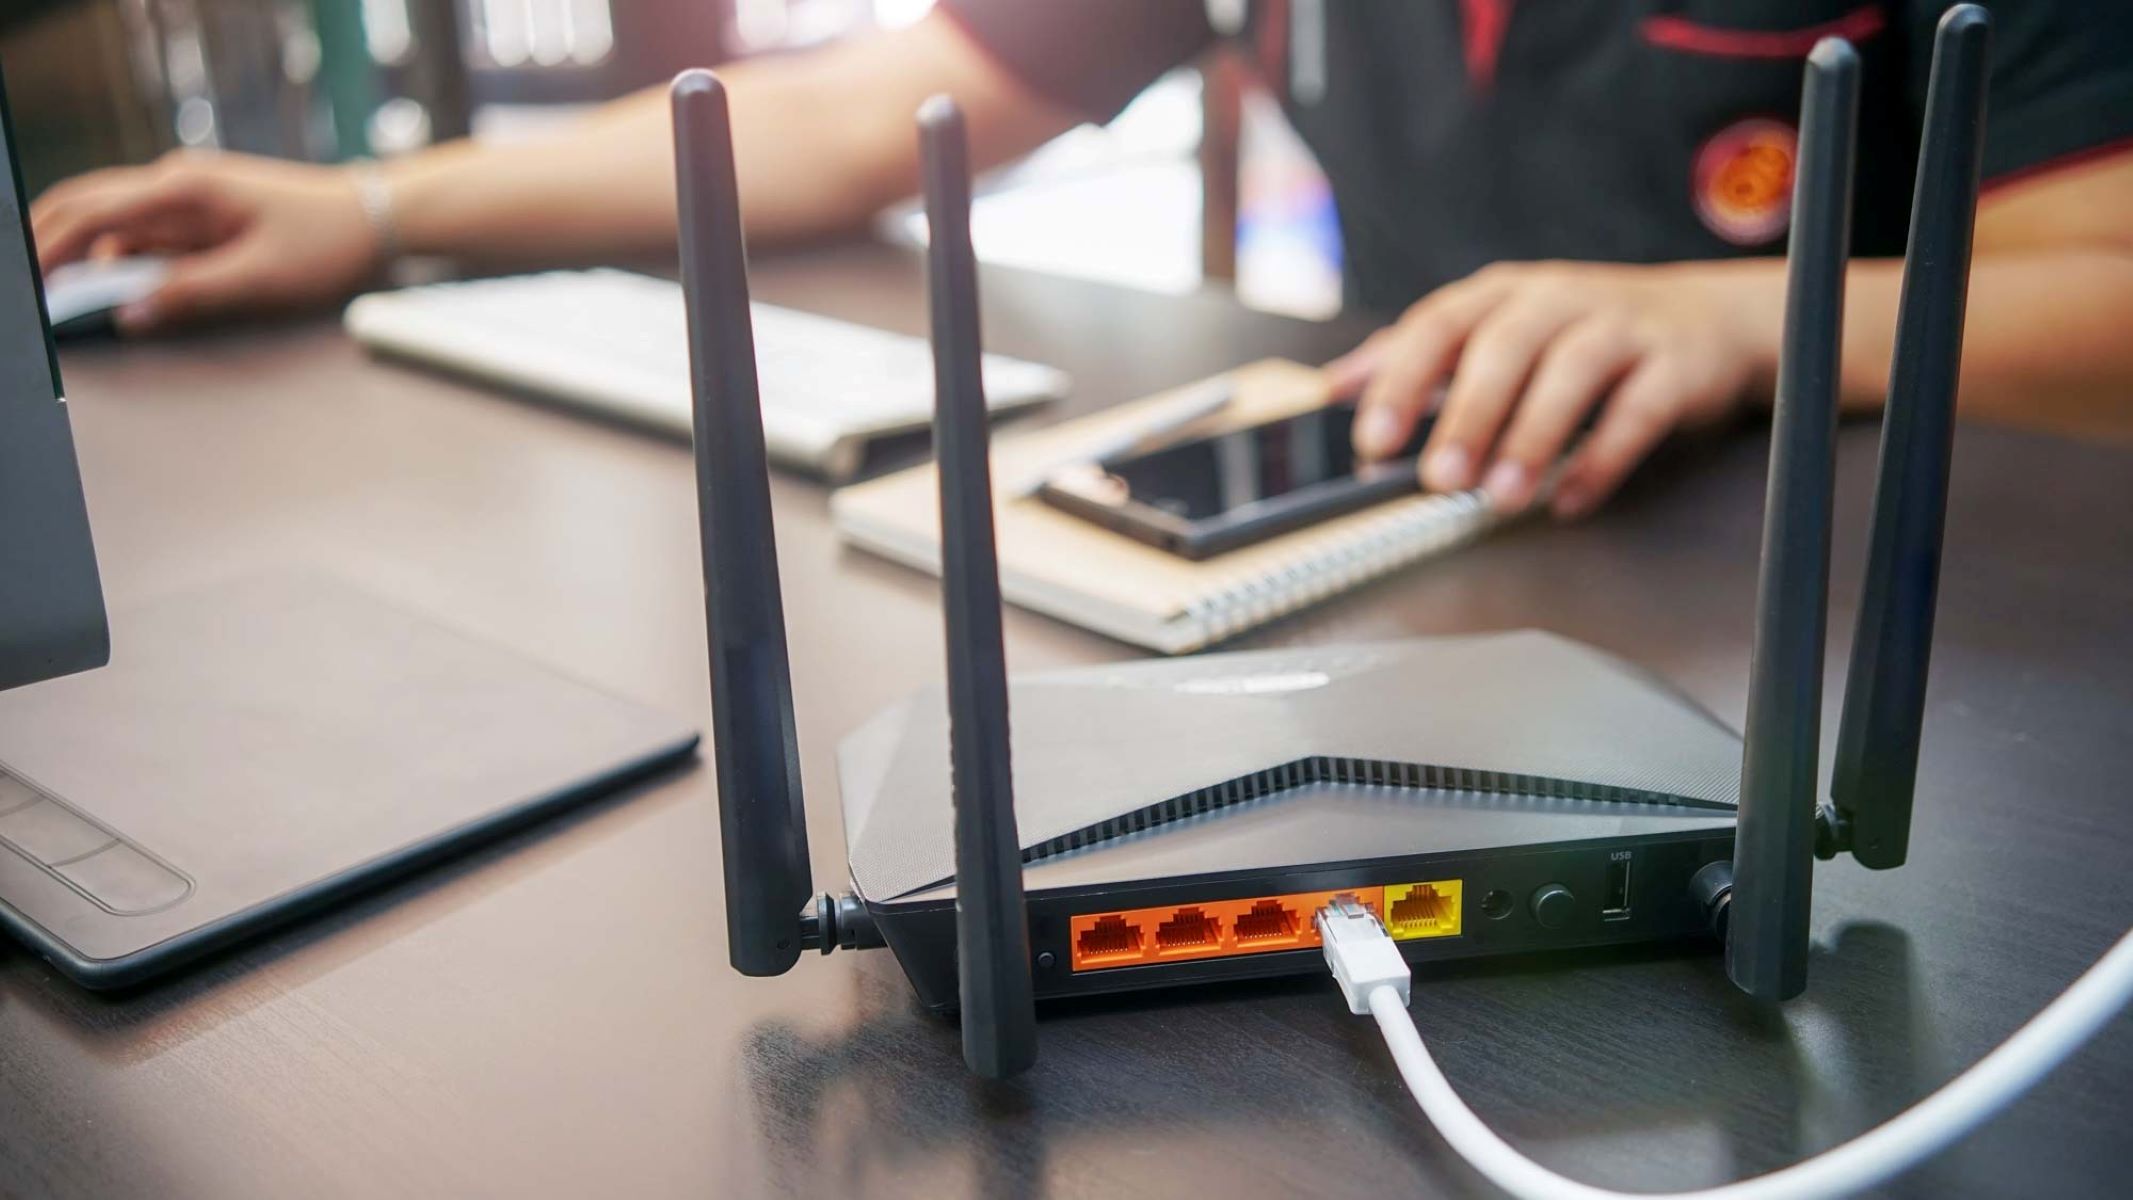
After connecting and configuring your new router, it’s important to test its functionality to ensure that it is working correctly and providing the desired internet performance. Here are some steps you can take to test your new router:
- Check Connectivity: Verify that your devices can connect to the new router without any issues. Use both wired and wireless connections to test the stability and speed of the internet connection. Ensure that all devices can access the internet and communicate with each other on the local network.
- Perform Speed Tests: Use online speed testing tools to measure the upload and download speeds of your internet connection. Compare the results to your internet plan’s advertised speeds to ensure they are in line with expectations. Repeat the speed tests at different times of the day to assess consistency.
- Test Wi-Fi Range: Move around your home or office to different areas and test the Wi-Fi signal strength and stability. Ensure that you have a strong and reliable connection in all areas where you typically use wireless devices. If you encounter weak spots or dead zones, consider repositioning the router or using Wi-Fi extenders to improve coverage.
- Check Network Stability: Run continuous ping tests to check for packet loss or latency issues. Open a command prompt or terminal window and use the “ping” command followed by a website’s IP address or domain name. Monitor the results for any significant disruptions or delays that may indicate network instability.
- Test Port Forwarding and Remote Access (if applicable): If you have specific network services or applications that require port forwarding or remote access, test them to ensure they are functioning properly. Verify that the required ports have been correctly forwarded in the router’s settings and that you can access the services remotely.
- Check for Firmware Updates: Regularly check for firmware updates for your router. Visit the manufacturer’s website or use the router’s settings interface to see if any new firmware versions are available. Keeping your router’s firmware up to date is crucial for security and performance enhancements.
If you encounter any issues during the testing phase, refer to your router’s documentation or consult the manufacturer’s support resources for troubleshooting tips. Don’t hesitate to reach out to technical support if necessary.
By thoroughly testing your new router, you can ensure that it is functioning optimally and providing the desired speed, stability, and coverage. In the next section, we will discuss common troubleshooting tips for addressing any issues that may arise with your new router.
Troubleshooting Common Issues
Even with careful setup and testing, you may still encounter some common issues when changing routers. Fortunately, many of these issues can be resolved with a few troubleshooting steps. Here are some common issues you may encounter and steps to resolve them:
- Slow or Unstable Connection: If you experience a slow or unstable internet connection, first verify that your devices are connected to the new router’s network. Check for any background downloads or streaming activities that may be consuming bandwidth. If the issue persists, try restarting both the router and the modem. Additionally, review the router’s settings for any congestion or interference from nearby routers, and adjust the Wi-Fi channel accordingly.
- Wi-Fi Range Issues: If you notice weak Wi-Fi signals or dead zones in certain areas of your home or office, consider repositioning the router to a more central location. Ensure that the antennas are correctly positioned for optimal coverage. If needed, you can also try using Wi-Fi extenders to boost the signal to those areas.
- Device Connectivity Problems: If some devices are unable to connect to the new router or experience frequent disconnects, check the device’s Wi-Fi settings. Verify that the correct Wi-Fi network name (SSID) and password are entered. You can also try forgetting the network on the device and reconnecting to it. If the issue persists, consider updating the device’s Wi-Fi drivers or firmware.
- Port Forwarding Issues: If you are experiencing difficulties with port forwarding or accessing specific services remotely, double-check that the correct ports are forwarded in the router’s settings. Ensure that the internal IP address of the device is correctly entered for port forwarding. If you are still encountering issues, check if the device has a firewall that may be blocking incoming connections.
- Router Firmware Updates: Regularly check for firmware updates for your router. If you encounter any issues or instabilities, ensure that you have the latest firmware installed. Visit the manufacturer’s website or use the router’s settings interface to check for updates and follow the instructions provided for the firmware update process.
- Factory Reset: If all else fails, you may need to resort to a factory reset of the router. This will reset all settings and configurations to their default values. Refer to the router’s documentation or manufacturer’s support resources for instructions on performing a factory reset. Keep in mind that a factory reset will erase any custom settings, so be prepared to reconfigure your network.
If you continue to experience issues or if the troubleshooting steps do not resolve the problem, it may be necessary to contact your router’s manufacturer for further assistance or consider consulting a professional IT technician.
By following these troubleshooting steps, you can address common issues and ensure the smooth functioning of your new router. In the final section, we will wrap up the guidelines for changing routers and summarize the key points discussed.
Conclusion
Changing routers can greatly improve your internet experience, providing faster speeds, better coverage, and enhanced security. Throughout this guide, we have covered the essential steps and considerations to help you successfully change routers. Let’s recap the key points:
We discussed the reasons why you might consider changing routers, such as improved performance, greater coverage, enhanced security, compatibility with new devices, improved user interface, and future-proofing your network.
We then explored the preparatory steps you should take, including assessing your current network, checking compatibility, researching and comparing router models, securing your network, and backing up your old router’s settings.
Next, we discussed the process of disconnecting and removing your old router, ensuring that you carefully unplugged devices, recorded cable connections, and safely removed the old router from its location.
We then moved on to connecting and configuring your new router, covering the steps of positioning the router, connecting it to the modem, powering it on, connecting devices, accessing router settings, running the setup wizard, and updating firmware and security settings.
We also highlighted the importance of testing your new router, including checking connectivity, performing speed tests, testing Wi-Fi range, checking network stability, and testing port forwarding and remote access.
Lastly, we addressed common issues that may arise when changing routers and provided troubleshooting steps to resolve slow or unstable connections, Wi-Fi range issues, device connectivity problems, port forwarding issues, firmware updates, and performing a factory reset.
Remember, changing routers may involve some initial effort, but taking the time to perform these steps will result in a faster, more reliable, and secure internet connection. If you encounter any challenges along the way, don’t hesitate to consult the manufacturer’s support resources or seek assistance from a professional.
Now that you are equipped with the knowledge and guidance to change routers, you can embark on this process confidently to enjoy the benefits of a robust and efficient network.