Introduction
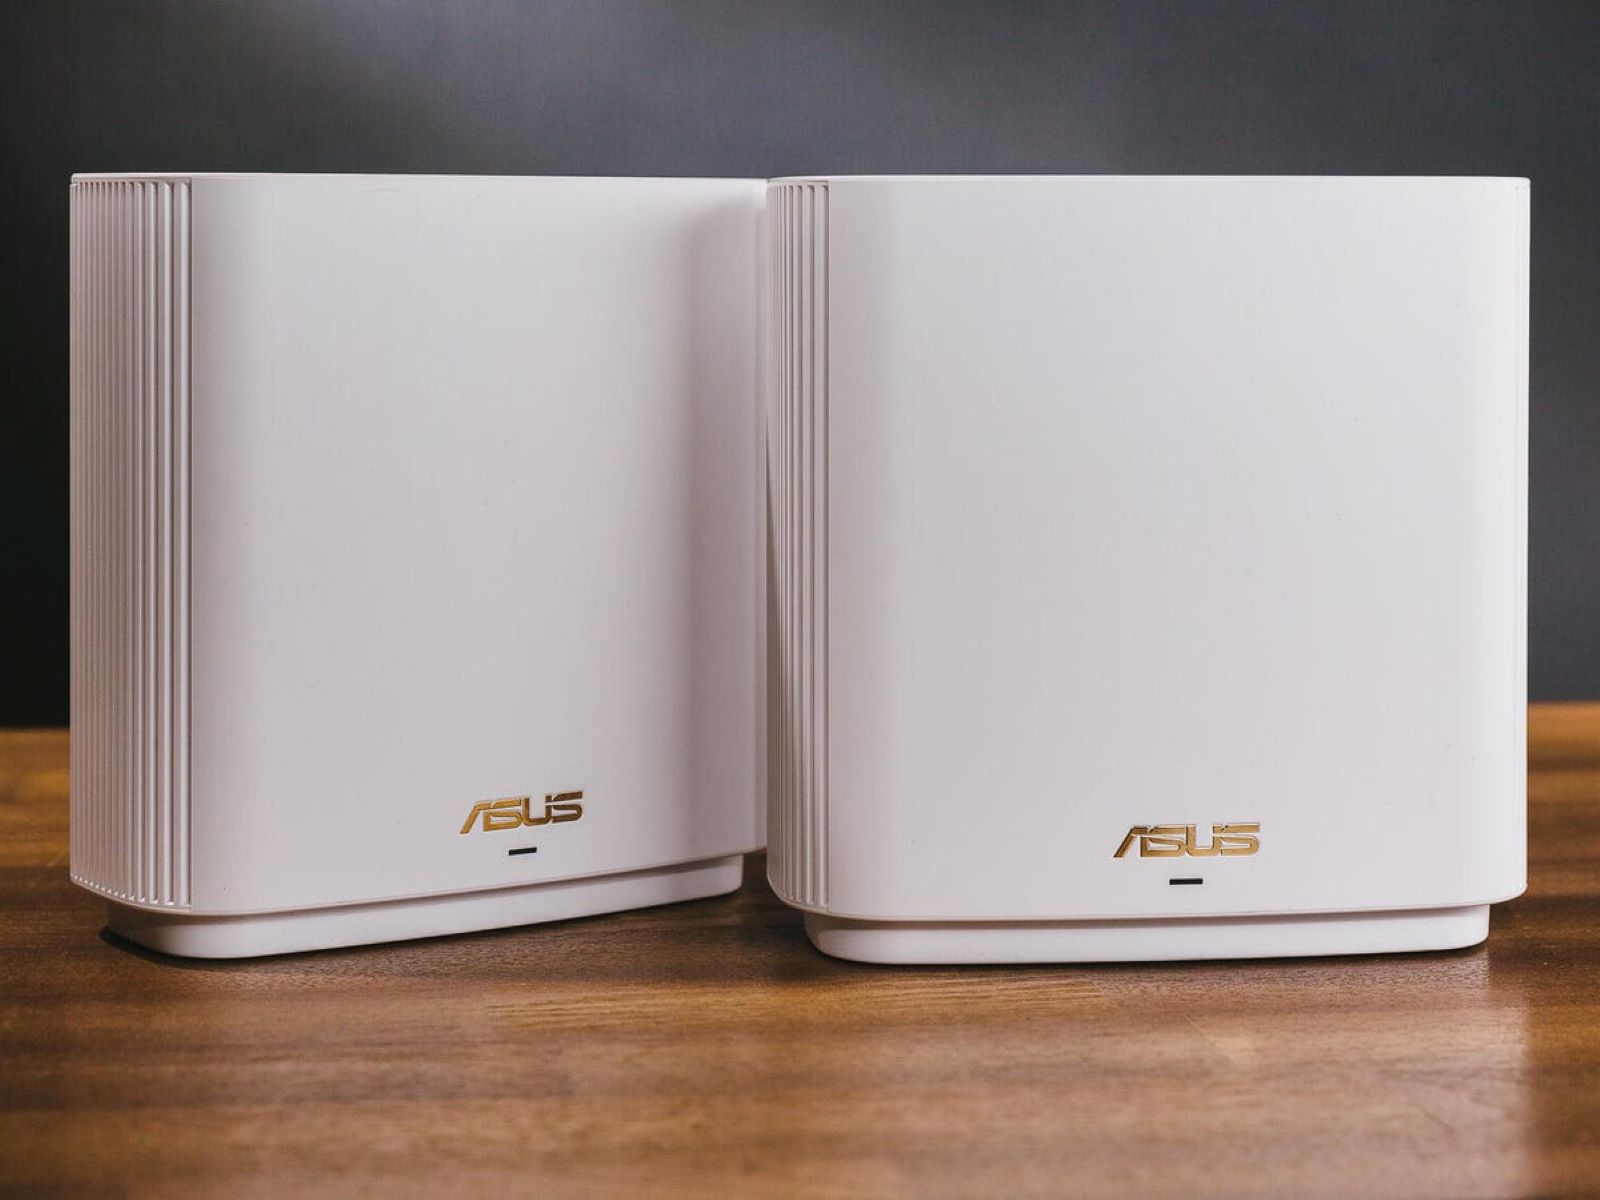
Welcome to our guide on how to mesh Asus routers. If you want to extend the Wi-Fi coverage in your home or office, mesh technology can be a game-changer. Asus routers with mesh capabilities allow you to create a seamless and robust network that eliminates dead spots and provides reliable connectivity throughout your space.
Mesh technology works by utilizing multiple routers, or nodes, to establish a network that shares the same SSID and password. This means that you can move around your home or office without experiencing any interruptions in your internet connection. Whether you’re streaming, gaming, or simply browsing the web, mesh routers ensure that you have a stable and fast connection wherever you are.
In this step-by-step guide, we will walk you through the process of setting up and configuring the mesh feature on your Asus routers. We will also discuss how to choose the right Asus router for your needs and provide troubleshooting tips for any connectivity issues you may encounter.
Before we dive into the setup process, it is important to note that this guide is specifically for Asus routers that support mesh technology. Make sure you have a compatible Asus router model before proceeding with the steps outlined in this guide.
Now, let’s get started and transform your Wi-Fi experience with mesh Asus routers!
Step 1: Understanding Mesh Technology
Before you embark on setting up a mesh network with your Asus routers, it’s important to have a clear understanding of how mesh technology works. Mesh networks differ from traditional single-router setups in that they utilize multiple routers, or nodes, to create a unified and expansive network.
The primary advantage of mesh technology is its ability to provide seamless Wi-Fi coverage throughout your home or office. Traditional routers often struggle to reach every corner of a large space, resulting in weak signals or dead spots. With mesh technology, each router acts as a node that seamlessly extends the network’s coverage, ensuring a strong and stable connection in every room.
The key components of a mesh network are the primary router and the secondary routers. The primary router acts as the main hub, connecting directly to your modem and serving as the gateway to the internet. The secondary routers, also known as nodes, are strategically placed throughout the space to amplify and extend the network coverage.
Mesh networks employ a technology called self-healing, which means that if one node fails or is experiencing connectivity issues, the other nodes automatically reroute the data to ensure uninterrupted connectivity. This self-healing feature contributes to the robustness and reliability of mesh networks.
Furthermore, mesh networks typically utilize a single SSID (Service Set Identifier) and password for all the routers in the network. This means that you don’t have to manually switch between different networks as you move around your space. Your devices seamlessly connect to the nearest router or node, enabling a smooth transition without any interruptions.
It’s worth noting that while mesh networks are an excellent solution for achieving whole-home or whole-office coverage, they may not be necessary or suitable for everyone. If you have a small apartment or a space where a single router provides adequate coverage, a mesh network may not be needed. However, for larger spaces or areas with obstacles that interfere with Wi-Fi signals, mesh technology can greatly enhance your internet experience.
Now that you have a solid understanding of mesh technology, let’s move on to the next step: choosing the right Asus router for your mesh network.
Step 2: Choosing the Right Asus Router
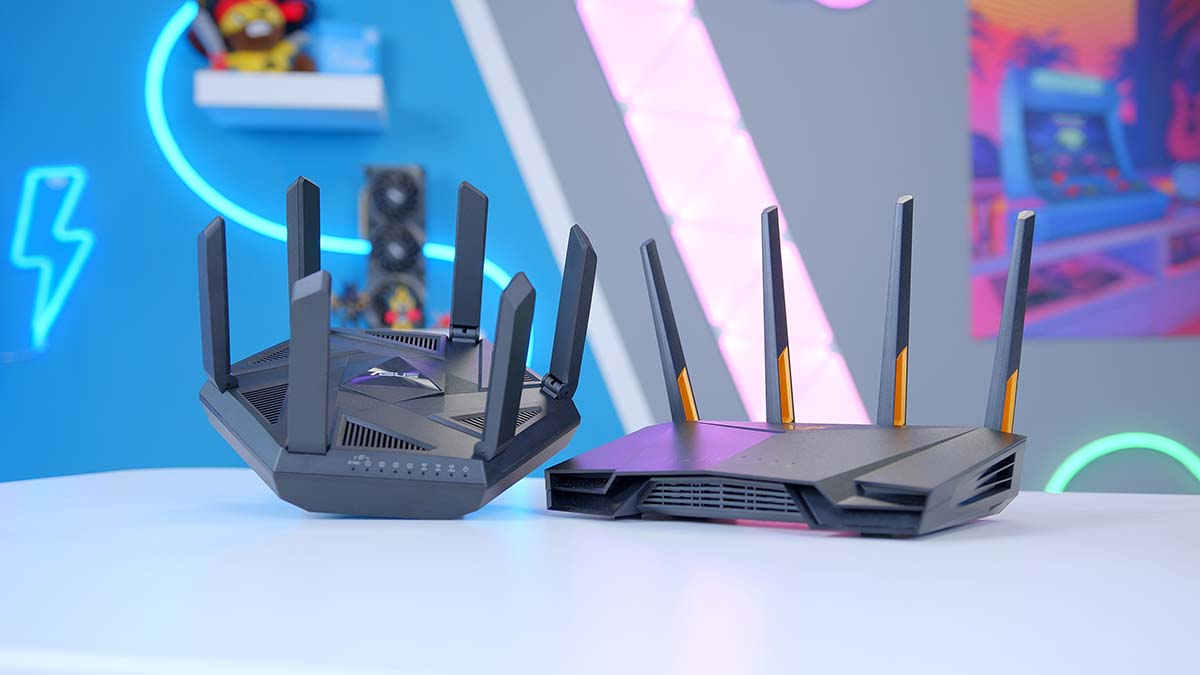
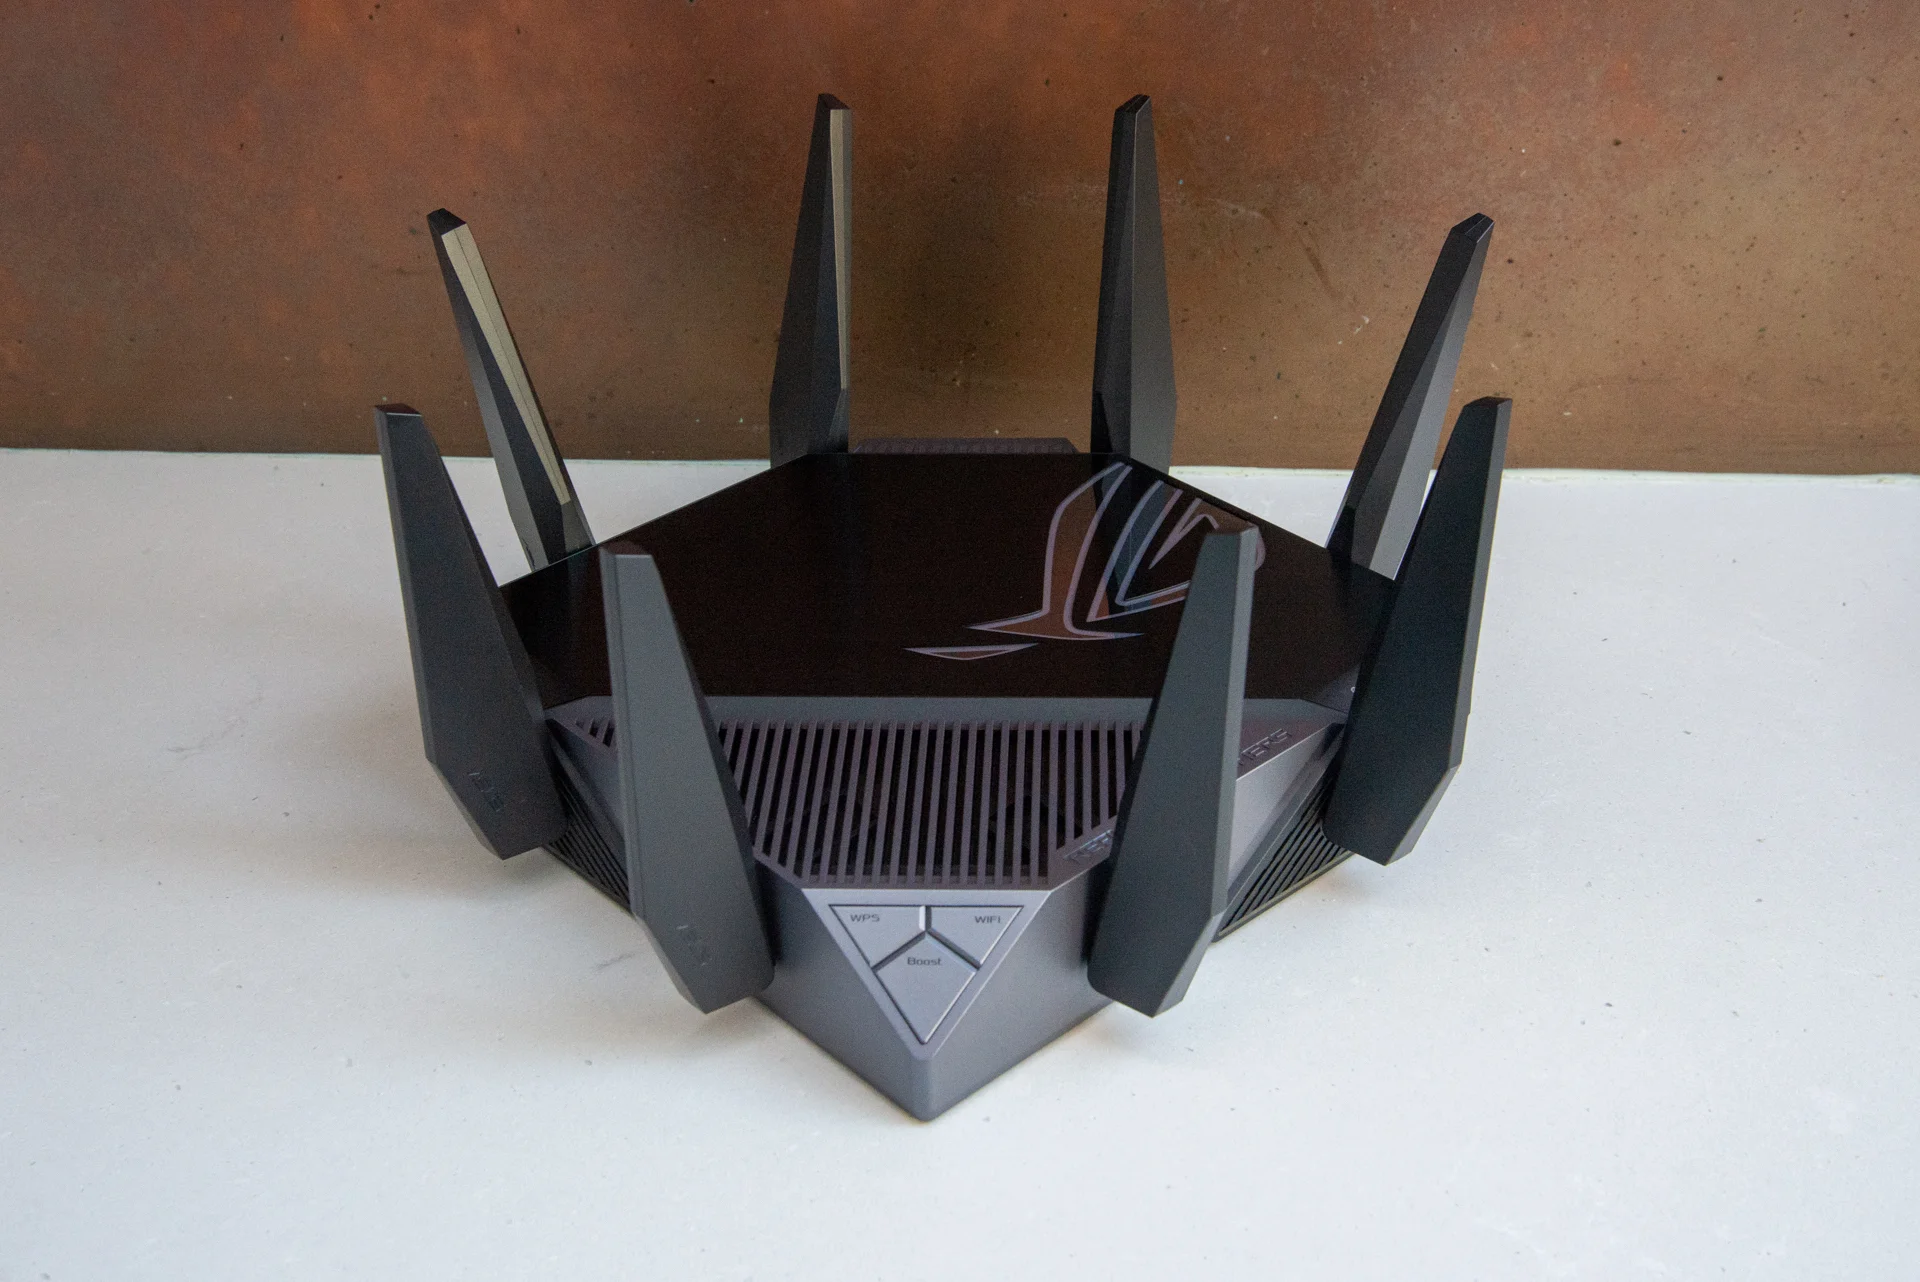
Choosing the right Asus router is crucial to ensure optimal performance and compatibility for your mesh network. With a wide range of Asus router models available, it’s important to consider a few key factors to make an informed decision.
The first consideration is the compatibility of the router with mesh technology. Not all Asus routers support mesh networking, so you need to look for models specifically labeled as mesh routers. These routers are designed to work seamlessly with the mesh feature and provide the best performance for your network.
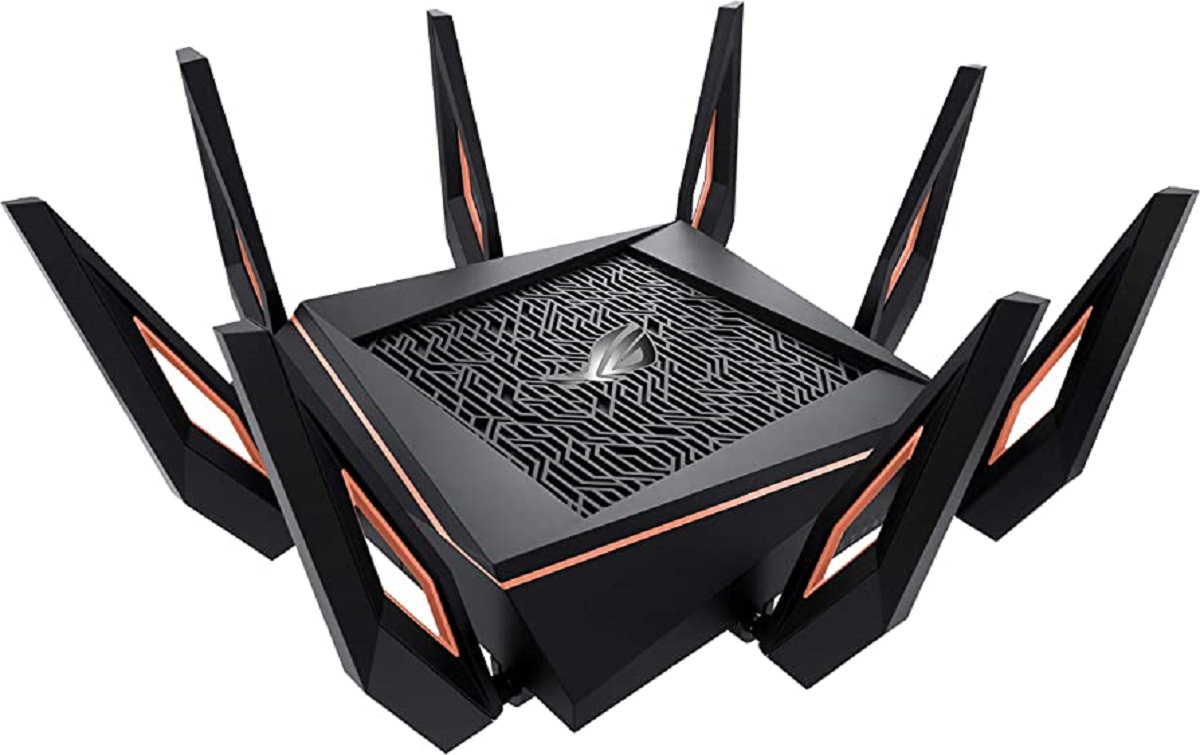
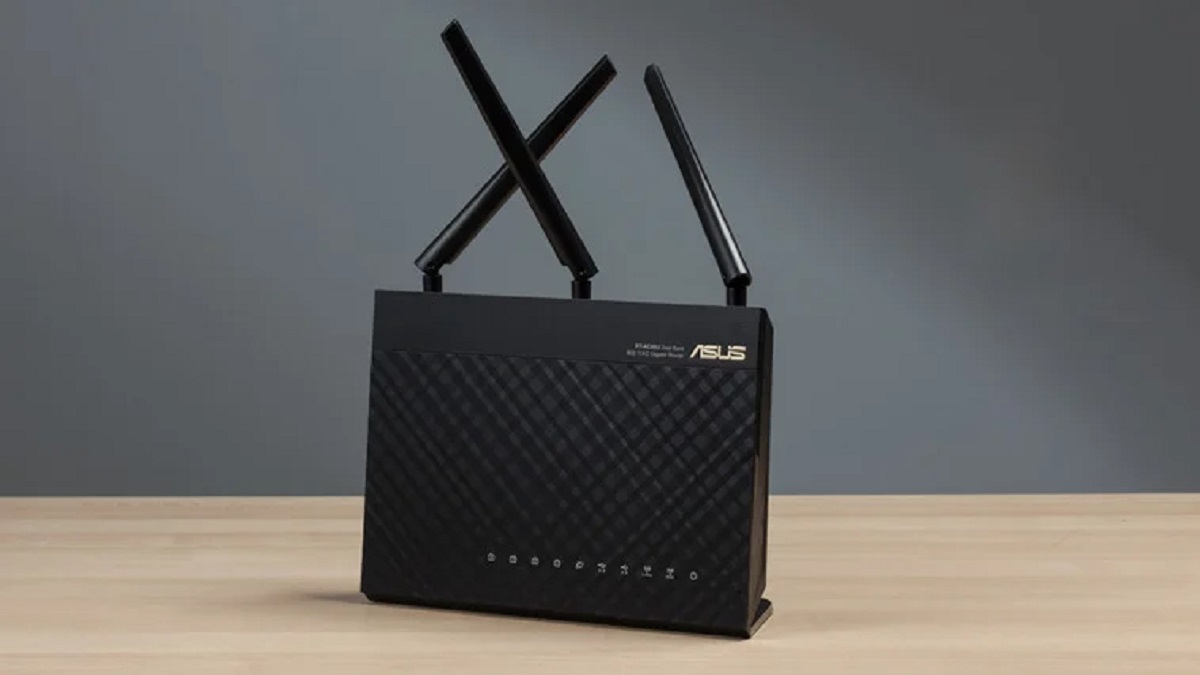
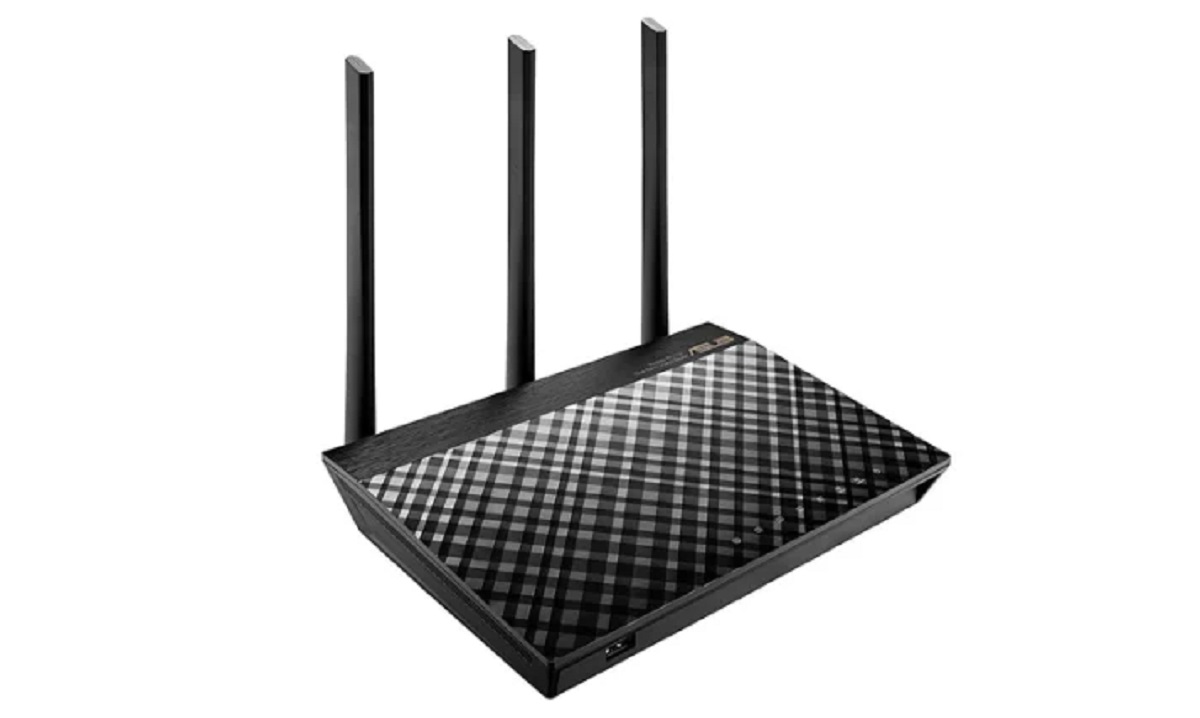
Next, assess your specific requirements in terms of Wi-Fi coverage, speed, and number of devices connected to the network. Asus offers routers with varying capabilities, such as different Wi-Fi standards (e.g., Wi-Fi 5 or Wi-Fi 6), multiple antennas, and different coverage ranges. Determine the size of your space and the number of devices that will be connected to help you select a router that can handle your needs.
Consider the available ports on the router as well. If you require wired connections for devices like gaming consoles, desktop computers, or network-attached storage (NAS) devices, ensure that the Asus router you choose has enough Ethernet ports to accommodate your requirements. Additionally, some routers offer USB ports for connecting external storage devices or printers.
Budget is another important factor when choosing an Asus router. Set a budget range and compare the features and performance that different models offer within that range. It’s important to strike a balance between affordability and functionality to ensure you get the best value for your investment.
Lastly, read reviews and user feedback online to gain insights into the reliability and performance of the routers you are considering. Look for positive reviews that highlight the ease of setup, stability of the network, and overall customer satisfaction.
By considering factors such as compatibility, coverage, ports, budget, and user feedback, you can confidently choose the right Asus router to meet your mesh networking needs. Once you’ve selected the router that fits your requirements, it’s time to move on to the next step: setting up the primary router.
Step 3: Setting Up the Primary Router
Setting up the primary router is the first step in creating your Asus mesh network. Here’s a step-by-step guide to help you through the process:
- Start by connecting your primary Asus router to the modem using an Ethernet cable. Plug one end of the cable into the WAN port of your router and the other end into the modem’s Ethernet port. Ensure that the connections are secure.
- Power on your router by connecting it to a power source. Wait for the router’s LED lights to stabilize, indicating that it’s ready for configuration.
- Open a web browser on your computer or mobile device and enter the default IP address of your Asus router in the address bar. The default IP address is typically “192.168.1.1” or “192.168.0.1”. If you’re unsure, check the router’s manual or the Asus website for the correct IP address.
- You will be prompted to enter the router’s login credentials. By default, the username and password are usually both “admin”. If you’ve previously changed the login credentials, input the updated information.
- Once logged in, you will be directed to the router’s administration interface. From here, navigate to the wireless settings section and configure your desired SSID (network name) and password. It’s recommended to use a strong and unique password to secure your network.
- Save the changes, and your primary router is now configured. You can test the Wi-Fi connectivity on your devices to ensure everything is working correctly.
With your primary router set up, you’ve completed a crucial step in establishing your Asus mesh network. Now, let’s move on to the next step: connecting the secondary routers.
Step 4: Connecting Secondary Routers
Once you have set up the primary router, the next step is to connect the secondary routers to expand your Asus mesh network. Follow these steps to seamlessly integrate the secondary routers:
- Choose the locations for your secondary routers strategically. These locations should be within reasonable proximity to the primary router and preferably placed in areas where Wi-Fi coverage is weak or non-existent.
- Power on the secondary router by connecting it to a power source. Wait for the router’s LED lights to stabilize, indicating that it’s ready for configuration.
- Using an Ethernet cable, connect one end to the LAN port of the primary router and the other end to the WAN port of the secondary router. This establishes the connection between the two routers.
- Repeat this process for each secondary router. Connect them one by one to the primary router using Ethernet cables.
- Once all the secondary routers are connected, power them on and wait for the LED lights to stabilize.
- The secondary routers will automatically connect to the primary router and establish the mesh network. You don’t need to configure any additional settings as the routers will synchronize and extend the network seamlessly.
It’s important to note that some Asus routers have a dedicated button or feature that allows for easier setup of secondary routers. Consult the user manual or the Asus website for specific instructions on how to utilize this feature, if available.
By following these steps, you will successfully connect the secondary routers to your Asus mesh network. The routers will work together to provide extended coverage and a seamless Wi-Fi experience throughout your space. Now, let’s move on to the next step: configuring the mesh settings.
Step 5: Configuring Mesh Settings
Once you have connected the secondary routers in your Asus mesh network, it’s time to configure the mesh settings to optimize performance and ensure seamless connectivity. Follow these steps to configure the mesh settings:
- Open a web browser on your computer or mobile device and enter the IP address of your primary router in the address bar. Use the same IP address you used to configure the primary router in Step 3.
- Enter the login credentials of your primary router to access the administration interface. If you’ve previously changed the login credentials, use the updated information.
- Navigate to the mesh settings section in the router’s interface. This section may be named differently depending on the router model, but it generally includes options related to mesh setup and management.
- From the mesh settings, you can customize various parameters. You can change the network name (SSID) and password, enable or disable mesh technology, configure guest networks, adjust channel settings, and more. Check the router’s manual or online documentation for specific details on the available options for your model.
- Make changes to the mesh settings as desired, and remember to save the changes to apply them to the network.
- After configuring the mesh settings, it’s recommended to reboot the routers to ensure the changes take effect. You can do this by powering off the routers, waiting for a few seconds, and then powering them back on.
- Once the routers are rebooted, test the Wi-Fi connectivity on your devices. Move around your space to ensure a smooth transition between the primary and secondary routers without any drop in connection.
By following these steps, you can configure the mesh settings on your Asus routers to optimize the performance and ensure seamless mesh connectivity. Now, let’s move on to the final step: troubleshooting mesh connectivity issues.
Step 6: Troubleshooting Mesh Connectivity Issues
While Asus mesh routers are designed to provide a seamless and reliable network experience, you may encounter connectivity issues from time to time. Here are some common troubleshooting steps to help you resolve mesh connectivity issues:
- Check the physical connections: Ensure that all the routers are properly connected to the power source and the Ethernet cables are securely plugged into the correct ports. A loose connection can cause disruptions in the mesh network.
- Restart the routers: Sometimes, a simple reboot can fix temporary network issues. Power off all the routers, wait for a few seconds, and then power them back on. Allow the routers to stabilize and check if the connectivity improves.
- Update firmware: Ensure that the firmware of each router is up to date. Manufacturers often release firmware updates to address known bugs and improve performance. Consult the Asus website or the router’s administration interface for instructions on how to update the firmware.
- Optimize router placement: Inadequate router placement can lead to weak signals and poor connectivity. Try repositioning the routers to achieve better coverage. Experiment with different locations to find the optimal placement for each router.
- Reduce interference: Wi-Fi signals can be affected by interference from other devices or neighboring networks. Avoid placing routers near electronic devices such as microwaves, cordless phones, or Bluetooth devices. Additionally, change the Wi-Fi channel on your primary router to minimize interference from nearby networks.
- Reset network settings: If all else fails, you can reset the network settings to factory defaults. This will erase all your configurations and settings, so make sure to note down any custom changes you have made. Consult the router’s manual for instructions on how to perform a factory reset.
- Contact Asus support: If you’re still experiencing persistent connectivity issues, reach out to Asus customer support for further assistance. They can provide guidance and help troubleshoot specific issues related to your Asus mesh routers.
By following these troubleshooting steps, you can effectively resolve common mesh connectivity issues and ensure a stable and reliable network. Remember to approach troubleshooting systematically and try one step at a time to identify the cause of the problem.
With these troubleshooting techniques, you are now equipped to tackle any connectivity issues that may arise in your Asus mesh network. Congratulations on successfully setting up and troubleshooting your Asus mesh routers!
Conclusion
Congratulations! You have successfully learned how to set up and configure Asus mesh routers to create an extensive and reliable Wi-Fi network. With mesh technology, you can eliminate dead spots and enjoy seamless connectivity throughout your home or office.
We began by understanding the basics of mesh technology, which utilizes multiple routers to create a unified network. This technology ensures that you have a strong and stable Wi-Fi connection in every corner of your space.
Next, we discussed the importance of choosing the right Asus router for your mesh network. Factors such as compatibility, coverage, ports, budget, and user feedback should be taken into consideration to make an informed decision.
After selecting the appropriate routers, we walked through the step-by-step process of setting up the primary router and connecting the secondary routers. These steps involved establishing physical connections and configuring the necessary settings to create a seamless and synchronized mesh network.
Once the mesh network was established, we explored the process of configuring the mesh settings to optimize performance and ensure smooth connectivity. This involved customizing parameters such as the network name, password, channel settings, and more.
Finally, we discussed troubleshooting steps to address any mesh connectivity issues that may arise. These steps included checking physical connections, restarting the routers, updating firmware, optimizing router placement, reducing interference, resetting network settings, and seeking assistance from Asus support if necessary.
By following these steps and utilizing the troubleshooting techniques, you can enjoy a robust and reliable mesh network with Asus routers. Remember to periodically check for firmware updates and perform routine maintenance to ensure the continued performance of your network.
Thank you for reading our comprehensive guide on how to mesh Asus routers. We hope this information has been helpful in enhancing your Wi-Fi experience. Enjoy the extended coverage and seamless connectivity provided by your Asus mesh network!


