Introduction
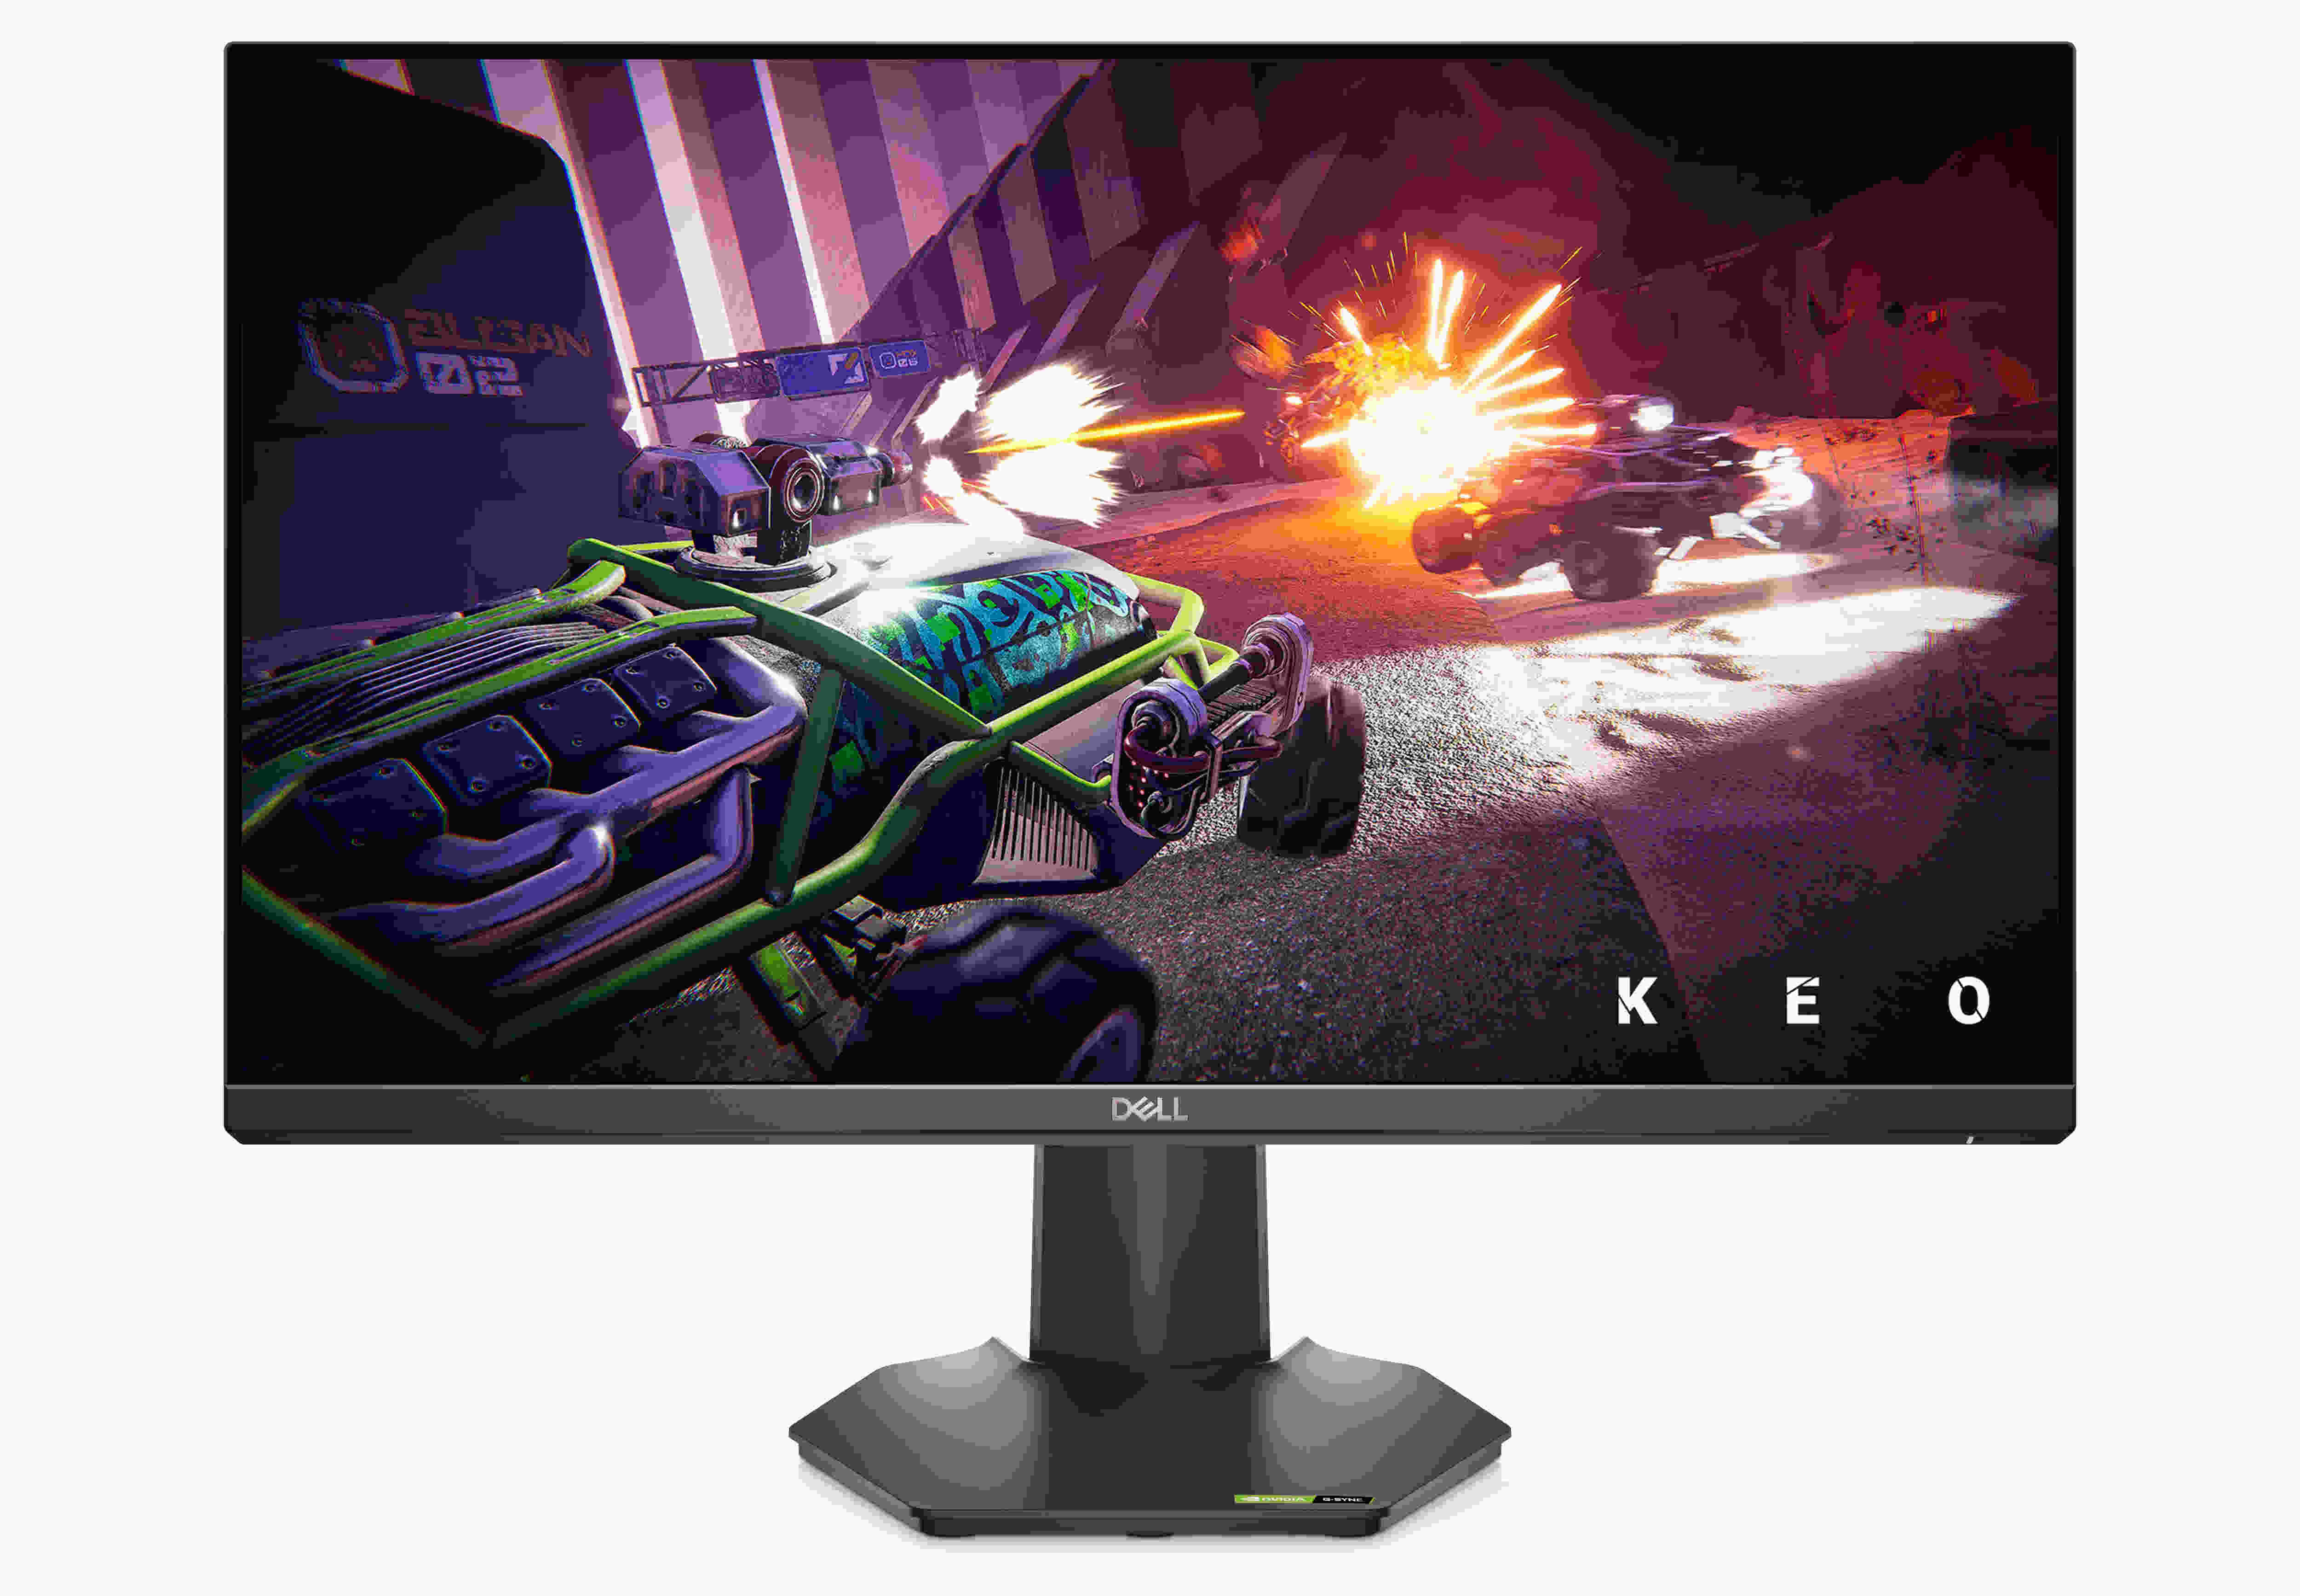
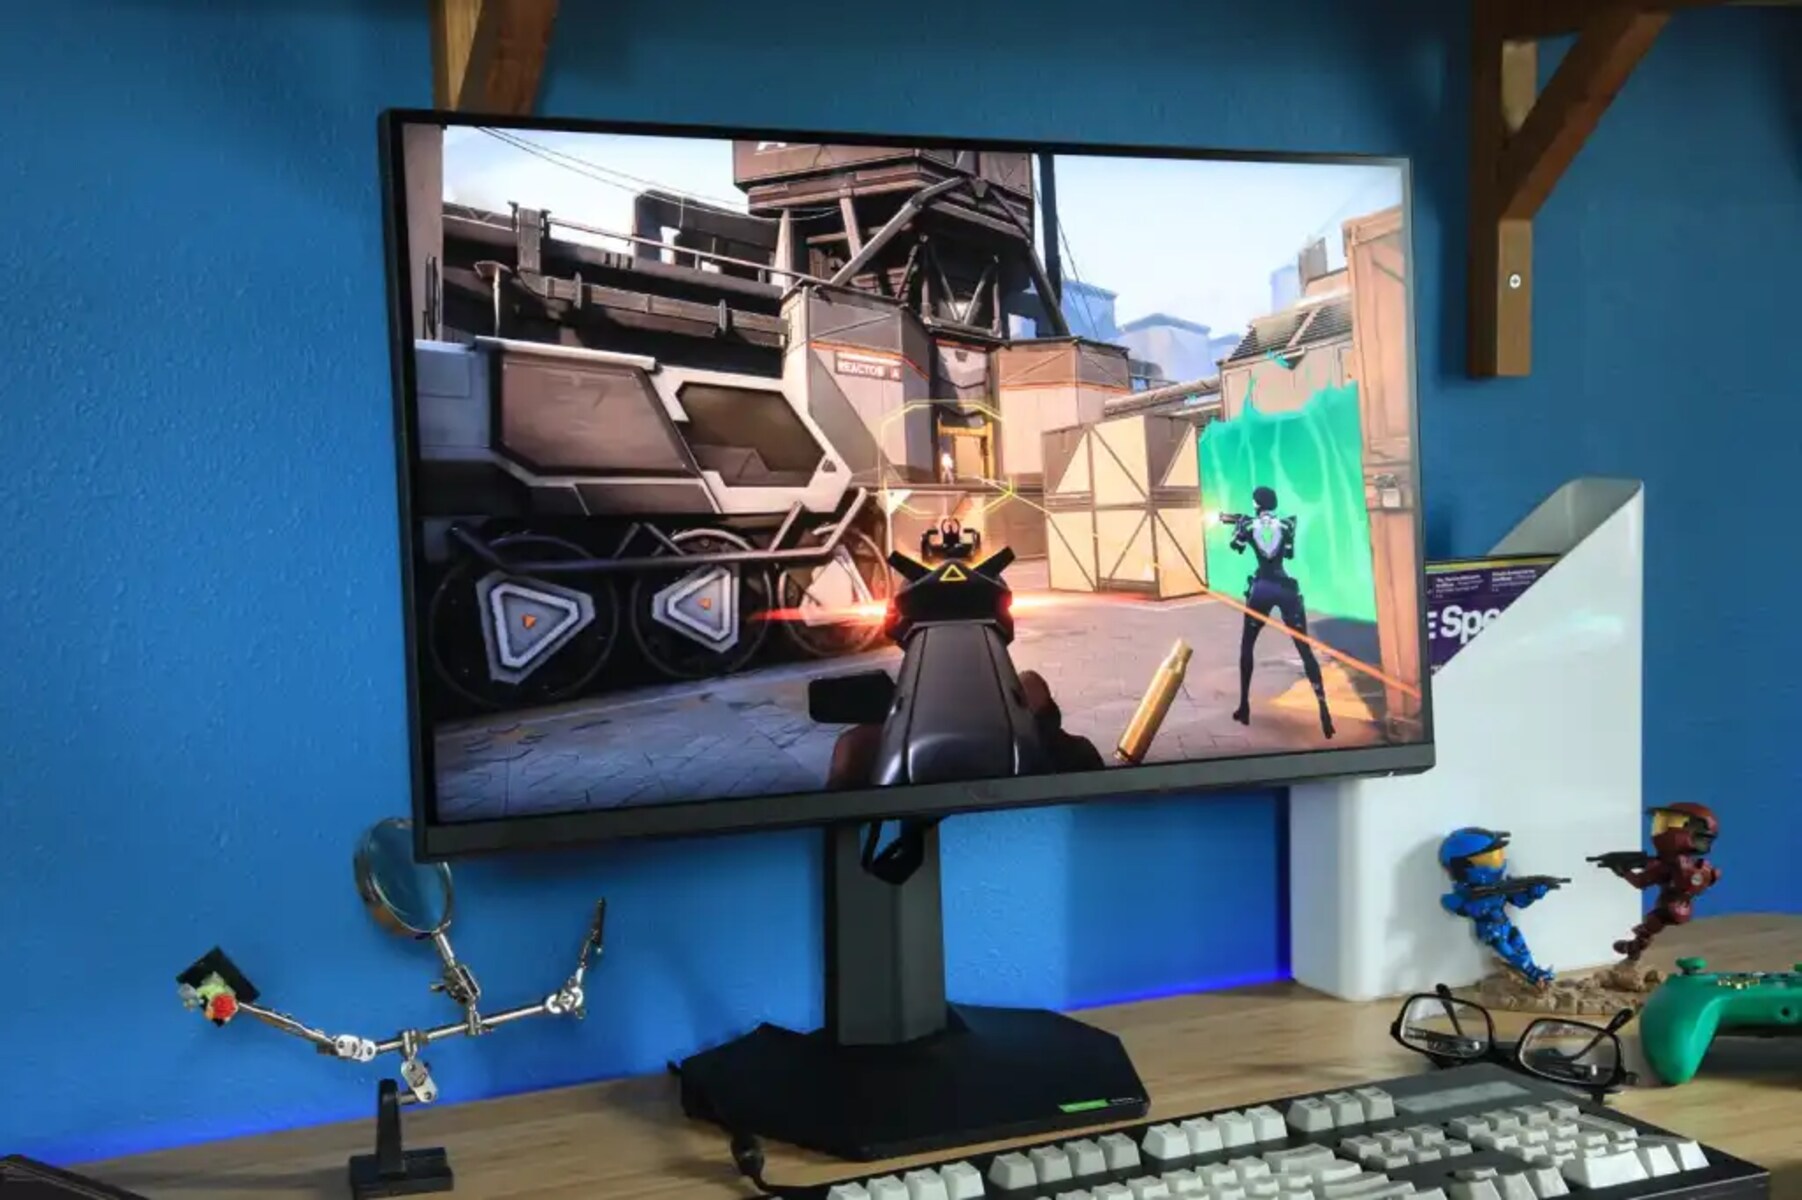
Welcome to the world of immersive gaming with the Dell 24 Gaming Monitor! If you’re a gaming enthusiast looking to elevate your gaming experience, this monitor is designed to meet all your needs. With its high-resolution display, fast refresh rate, and cutting-edge technology, the Dell 24 Gaming Monitor is the perfect companion for a smooth and visually stunning gaming session.
In this article, we will walk you through the process of setting up your Dell 24 Gaming Monitor to ensure you get the most out of your gaming experience. From unboxing the monitor to adjusting the settings and customizing the features, we will cover everything you need to know.
Before we dive into the setup process, let’s take a moment to appreciate the exceptional features of the Dell 24 Gaming Monitor. With its Full HD resolution and vibrant color reproduction, every detail of your favorite game will come to life on the screen. The fast 144Hz refresh rate ensures smooth motion and eliminates any blurring or ghosting, providing you with a seamless gaming experience. Additionally, the monitor’s quick response time minimizes input lag, keeping you in sync with the game and giving you a competitive edge.
One of the standout features of the Dell 24 Gaming Monitor is its compatibility with NVIDIA G-SYNC technology. G-SYNC synchronizes the monitor’s refresh rate with the frame rate of your graphics card, eliminating screen tearing and stuttering. This ensures that every frame is displayed without any interruptions, delivering a fluid and tear-free gaming experience.
Are you ready to embark on a journey of smooth gameplay and stunning visuals? Let’s begin by unboxing the Dell 24 Gaming Monitor and getting everything set up for an unforgettable gaming session.
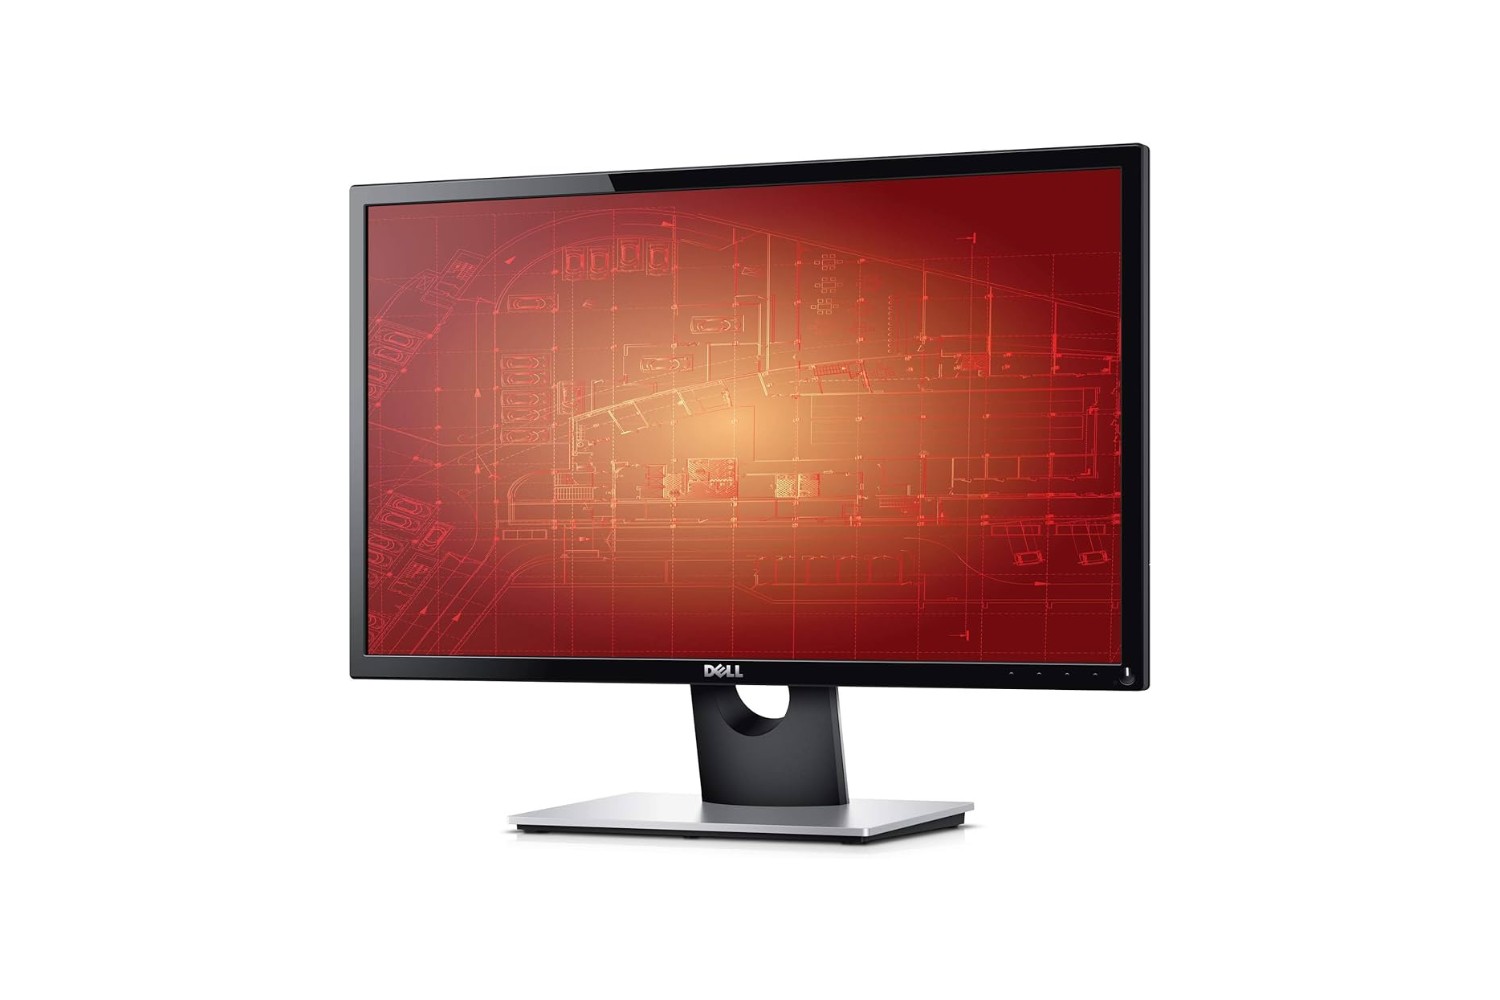
Unboxing the Dell 24 Gaming Monitor
Unboxing a new piece of tech is always an exciting experience, and the Dell 24 Gaming Monitor is no exception. Let’s walk through the unboxing process step by step to ensure you start off on the right foot.
The Dell 24 Gaming Monitor comes securely packaged to protect it during shipping. When you receive the package, carefully remove the outer packaging and set it aside. Inside, you will find a sturdy cardboard box that houses the monitor.
Open the box by removing the flaps, and you’ll see the Dell 24 Gaming Monitor nestled within foam or protective inserts. Slowly lift the monitor out of the box, being cautious not to apply pressure on the screen. Place the monitor on a clean and flat surface.
Once the monitor is out of the box, you’ll notice a range of accessories and cables included. These typically include an AC power cable, an HDMI cable, a DisplayPort cable, and a USB cable. Additionally, you may find a user manual, driver installation disc, or a quick setup guide. Make sure to keep these accessories safe for later use.
Before plugging in any cables, take a moment to inspect the monitor for any visible damage. Check the screen for scratches, cracks, or any other abnormalities. It’s important to do this before connecting the monitor to ensure that you can easily exchange or return it if necessary.
With the monitor successfully unboxed, it’s time to move on to the next step: connecting it to your computer. Stay tuned as we guide you through the process of establishing a seamless connection between the Dell 24 Gaming Monitor and your gaming setup.
Checking the Contents of the Package
Before diving into the setup process of the Dell 24 Gaming Monitor, it’s important to take a moment to check the contents of the package. This will ensure that you have all the necessary components to proceed with the setup smoothly.
When you unbox the Dell 24 Gaming Monitor, you will find several items included in the package. Let’s go through each item to ensure nothing is missing:
- Dell 24 Gaming Monitor: The star of the package, this is the main component that you will be setting up. Take a moment to inspect the monitor for any visible damage or defects, as mentioned in the previous section. If everything looks good, proceed to the next item.
- AC Power Cable: This cable is used to provide power to the monitor. It typically has a three-pronged plug that connects to a power outlet. Ensure that the power cable is included and in good condition.
- HDMI Cable: The HDMI cable is used to connect the monitor to your computer or gaming console. It enables the transmission of high-quality audio and video signals. Check that the HDMI cable is included and undamaged.
- DisplayPort Cable: Similar to the HDMI cable, the DisplayPort cable is an alternative option for connecting your monitor to your computer. It provides high-definition video and audio signals. Verify that the DisplayPort cable is present and in good condition.
- USB Cable: The USB cable is used for various purposes, such as connecting peripherals or updating the monitor’s firmware. Check that the USB cable is included in the package.
- User Manual or Quick Setup Guide: These documents provide important information about the monitor’s features, setup instructions, and troubleshooting tips. Ensure that you have either a user manual or a quick setup guide included in the package.
- Driver Installation Disc: Some monitors may include a driver installation disc. This disc contains software that may be required for optimal performance or additional features. Check if a driver installation disc is included.
By thoroughly checking the contents of the package, you can ensure that you have all the necessary components to proceed with the setup. If any items are missing or damaged, contact Dell customer support for assistance.
With everything accounted for, let’s move on to the next step: connecting the Dell 24 Gaming Monitor to your computer.
Connecting the Monitor to Your Computer
Now that you have unboxed the Dell 24 Gaming Monitor and checked the contents of the package, it’s time to connect the monitor to your computer. This step will establish the link between your gaming setup and the monitor, allowing you to enjoy your favorite games in stunning detail.
Before proceeding, ensure that your computer is turned off. This will prevent any potential damage to the monitor or the computer during the connection process.
There are two main methods of connecting the Dell 24 Gaming Monitor to your computer: using an HDMI cable or a DisplayPort cable. Depending on your computer’s available ports and your personal preference, choose the method that suits you best.
If you decide to use an HDMI cable, locate the HDMI port on both the monitor and your computer. It’s usually labeled as “HDMI” and has a distinctive shape. Insert one end of the HDMI cable into the HDMI port on the back of the monitor and the other end into the HDMI port on your computer.
Alternatively, if you prefer to use a DisplayPort cable, locate the DisplayPort port on both the monitor and your computer. Insert one end of the DisplayPort cable into the DisplayPort port on the back of the monitor and the other end into the DisplayPort port on your computer.
Once the cable is securely connected, tighten any screws or fastenings to ensure a stable connection. Double-check that all connections are secure and properly aligned.
Next, connect the AC power cable to the monitor and plug the other end into a power outlet. Ensure that the monitor is receiving power by checking for an illuminated power LED indicator.
With the Dell 24 Gaming Monitor successfully connected to your computer and powered on, it’s time to move on to the next step: adjusting the monitor settings to optimize your gaming experience. Stay tuned as we guide you through the process of fine-tuning the display for maximum visual impact.
Adjusting the Monitor Settings
Now that you have successfully connected the Dell 24 Gaming Monitor to your computer, it’s time to fine-tune the monitor settings to ensure optimal visuals for your gaming experience. By adjusting the display settings, you can enhance color accuracy, brightness, and contrast to match your personal preferences and the requirements of each game you play.
To access the monitor settings, locate the control buttons on the underside or side of the monitor. These buttons may be labeled with icons representing various functions such as brightness, contrast, color settings, and more.
Start by pressing the menu button to enter the monitor’s settings menu. Navigate through the different options using the up, down, left, and right buttons, and select the setting you wish to adjust. Once selected, use the increase and decrease buttons to modify the chosen setting.
Begin by adjusting the brightness and contrast levels. These settings determine the overall brightness of the display and the distinction between light and dark areas of the screen. Experiment with different levels to find a balance that provides clear visibility without causing eye strain or washout.
Next, consider adjusting the color settings. Many monitors offer preset color profiles such as “Standard,” “Vivid,” or “Game Mode.” These profiles are optimized for different use cases and can enhance color accuracy and vibrancy. Select the profile that best suits your preferences and the style of the game you are playing.
If you prefer a more customized experience, delve into the manual color settings. Here, you can adjust the individual color channels (red, green, and blue) to your liking. This allows you to fine-tune the colors to achieve accurate representations or create a particular aesthetic.
Furthermore, some monitors offer additional features like picture-in-picture, blue light filters, or refresh rate adjustments. Explore these options to maximize your gaming experience and improve comfort during long gaming sessions.
Remember to save your settings after making any adjustments to ensure they are applied every time you power on the monitor. The process for saving settings may vary depending on the monitor model, so refer to the user manual or on-screen instructions for guidance.
By adjusting the monitor settings to your liking, you can enjoy vibrant colors, crisp visuals, and a comfortable viewing experience while gaming. Now that you have optimized the display, let’s explore how NVIDIA G-SYNC can further enhance your gaming experience. Stay tuned!
Enhancing the Gaming Experience with NVIDIA G-SYNC
One of the key features that sets the Dell 24 Gaming Monitor apart is its compatibility with NVIDIA G-SYNC technology. G-SYNC works in conjunction with compatible NVIDIA graphics cards to synchronize the monitor’s refresh rate with the frame rate of your game, resulting in a smoother and more immersive gaming experience.
To take full advantage of NVIDIA G-SYNC, you will need a compatible NVIDIA graphics card installed in your computer. G-SYNC is designed to eliminate screen tearing and minimize input lag, providing a seamless and responsive gameplay experience.
Once you have ensured that you have a compatible graphics card, you can enable G-SYNC on the Dell 24 Gaming Monitor by following a few simple steps.
Firstly, open the NVIDIA Control Panel on your computer. You can typically access it by right-clicking on the desktop and selecting “NVIDIA Control Panel” from the context menu.
In the NVIDIA Control Panel, navigate to the “Display” section and select “Set up G-SYNC” from the options on the left-hand side.
Check the box next to “Enable G-SYNC, G-SYNC Compatible,” and ensure that your Dell 24 Gaming Monitor is selected from the drop-down menu underneath. Click “Apply” to save the changes.
Enabling G-SYNC may require a monitor restart, so follow any additional on-screen prompts to complete the setup process.
With G-SYNC enabled, your gaming experience will be more immersive and enjoyable. The technology seamlessly synchronizes the monitor’s refresh rate with the game’s frame rate, eliminating screen tearing and providing smoother animations.
It’s worth noting that not all games may support G-SYNC out of the box. Check the game settings to ensure that G-SYNC is enabled, and update your graphics card drivers to the latest version for optimal performance with G-SYNC.
Now that you have unlocked the power of NVIDIA G-SYNC, you can immerse yourself in your favorite games with stunning visuals and fluid gameplay. But there’s more to optimize! In the next section, we will explore calibrating the display for the best possible visuals. Keep reading!
Calibrating the Display for Optimal Visuals
To truly immerse yourself in the gaming experience, it’s essential to calibrate the display settings of your Dell 24 Gaming Monitor. While the default settings may be suitable for general use, calibrating the monitor will ensure accurate colors, proper contrast, and optimal visuals tailored to your preferences.
There are a few different methods you can use to calibrate your monitor, but the simplest approach is to use calibration tools available either through your graphics card software or online calibration websites.
Firstly, ensure that your monitor has been warm for at least 30 minutes before starting the calibration process. This ensures that the display is at its most stable state.
Next, access your graphics card’s control panel, such as the NVIDIA Control Panel for NVIDIA graphics cards. Look for color calibration options, which may vary depending on your graphics card model and software version.
Typically, the calibration process involves adjusting gamma, brightness, contrast, and color settings. Follow the on-screen instructions or use calibration tools to help guide you through the process. These tools usually present you with visual tests, allowing you to make adjustments until the desired visual results are achieved.
Another method to calibrate the monitor is by using online calibration websites. These websites provide step-by-step instructions and visual tests to help you optimize your monitor’s settings. They usually require you to adjust settings directly on the monitor itself.
During the calibration process, aim for a color temperature of around 6500K, which closely resembles daylight. Adjust the contrast and brightness levels to establish a balance that provides clarity without causing discomfort or eye strain.
You may also want to consider adjusting individual color settings to enhance accuracy or customize the visuals to your preference. Look for options to adjust the red, green, and blue color channels until you achieve the desired color balance.
Remember to save the changes after calibrating the monitor to ensure that the settings are applied every time you power on the monitor.
By taking the time to calibrate your Dell 24 Gaming Monitor, you can enjoy accurate colors, improved contrast, and optimal visuals that bring your games to life. With the display calibrated, let’s dive into the next section and explore how to set up and configure the game modes for an enhanced gaming experience. Keep reading!
Setting up and Configuring the Game Modes
The Dell 24 Gaming Monitor offers a range of pre-configured game modes designed to optimize the display settings for specific gaming genres or preferences. These game modes can enhance your gaming experience by adjusting the brightness, contrast, color saturation, and other settings to maximize visibility and immerse you in the gameplay.
To access and configure the game modes on your Dell 24 Gaming Monitor, follow these steps:
- Press the menu button on your monitor to enter the settings menu.
- Navigate through the menu using the up, down, left, and right buttons until you find the “Game Modes” or “Gaming Settings” option. Select it and press the OK or Enter button.
- You will typically be presented with a list of available game modes, such as “FPS,” “RTS,” “Racing,” or “Cinema.” Each mode is optimized for a specific gaming genre or viewing experience.
- Select the game mode that best suits the type of game you are playing or your personal preference. You can experiment with different modes to find the one that provides the best visuals for your gaming experience.
- Once you have chosen a game mode, you may have the option to further customize the settings. This can include adjusting the brightness, contrast, or color saturation within the selected game mode. Use the up, down, left, and right buttons to make these adjustments and find the perfect balance for your gaming sessions.
- After making the desired adjustments, save the settings and exit the menu. Your Dell 24 Gaming Monitor will now be configured with the selected game mode and customizations.
Keep in mind that the available game modes and customization options may vary depending on your monitor model and firmware version. Refer to the user manual for specific instructions and information about the game modes provided by your Dell 24 Gaming Monitor.
By utilizing the game modes and customizing the settings to your liking, you can tailor your gaming experience and enhance the visuals to match the specific requirements of each game. With the game modes set up and configured, let’s move on to the next section and explore how you can customize the physical features of the monitor for added convenience and comfort. Keep reading!
Customizing the Monitor’s Physical Features
The customization options of the Dell 24 Gaming Monitor extend beyond just the display settings. You can also personalize and adjust the physical features of the monitor to optimize your gaming setup for comfort and convenience.
Here are a few key physical features you can customize on the Dell 24 Gaming Monitor:
Ergonomic Stand
The Dell 24 Gaming Monitor is equipped with an adjustable stand that allows you to modify its height, tilt, swivel, and pivot. This enables you to find the most comfortable viewing angle and position for extended gaming sessions. Adjust the height to match your eye level, tilt the monitor to reduce glare or achieve the desired angle, swivel it to share your screen with others, or pivot it to switch between landscape and portrait modes.
Monitor Placement
Consider the placement of your Dell 24 Gaming Monitor on your desk. Ensure that it’s positioned at a comfortable distance from your eyes, typically around arm’s length away. Adjust the angle of the monitor to reduce any reflections or glare from surrounding light sources. Additionally, make sure that the monitor is positioned in a stable and secure manner to avoid any accidental falls or vibrations during gameplay.
Cable Management
Untidy cables can clutter your gaming setup and create a distracting environment. Take advantage of cable management features such as cable clips or routing channels on the monitor stand to keep your cables organized and neatly tucked away. This not only improves the aesthetics of your gaming area but also prevents accidental cable tugging or disconnections during gameplay.
Additional Accessories
Consider adding accessories to your monitor setup to further enhance your gaming experience. This could include a monitor hood to minimize glare, a privacy filter to protect your screen from prying eyes, or a gaming headset mount to keep your headset easily accessible when not in use.
By customizing the physical features of your Dell 24 Gaming Monitor, you can create a gaming setup that is tailored to your unique preferences and ergonomics. These adjustments improve comfort, reduce strain, and contribute to an immersive gaming experience.
With the physical features customized to your liking, you are now ready to enjoy seamless gameplay and visually stunning graphics. However, in the event of any setup issues, don’t worry! The next section will address some common troubleshooting tips. Keep reading!
Troubleshooting Common Setup Issues
Setting up a new monitor can occasionally come with its challenges. If you encounter any issues during the setup process of your Dell 24 Gaming Monitor, don’t fret! In this section, we will address some common troubleshooting tips to help you resolve these issues and get your monitor up and running smoothly.
No Display or Power
If your Dell 24 Gaming Monitor is not displaying anything or not powering on, check the following:
- Ensure that the AC power cable is securely plugged into both the monitor and a power outlet.
- Double-check that the power outlet is functioning correctly by testing it with another device.
- If the power LED indicator on the monitor is not lit, try connecting the power cable to a different outlet.
- Verify that the monitor’s power button is pressed or that any power-saving modes are deactivated.
No Signal or Connection Issues
If your Dell 24 Gaming Monitor is not receiving a signal from the computer or experiencing connection issues, consider the following troubleshooting steps:
- Ensure that the video cable (HDMI or DisplayPort) is securely connected to both the monitor and the computer.
- Check that your graphics card drivers are up to date. Outdated drivers can sometimes cause display connectivity issues.
- If using multiple displays, confirm that the correct input source is selected on the monitor.
- Try using a different video cable or connecting to a different port on the graphics card to rule out any cable or port issues.
Incorrect or Distorted Display
If you notice an incorrect or distorted display on your Dell 24 Gaming Monitor, try these troubleshooting tips:
- Check that all display cables are securely connected to both the monitor and the computer.
- Adjust the resolution and refresh rate settings on your computer to match the monitor’s specifications.
- Access the monitor settings menu and reset the display settings to their default values.
- If using multiple monitors, verify that the positioning and arrangement settings are properly configured in your operating system.
Audio Issues
If you are experiencing audio problems with your Dell 24 Gaming Monitor, consider these troubleshooting steps:
- Ensure that the audio cable is connected properly between the monitor and the computer.
- Check that the audio settings on your computer are configured to output audio through the monitor.
- If using HDMI for audio, ensure that the monitor is selected as the default audio output device in your computer’s sound settings.
If you have tried these troubleshooting tips and are still encountering issues, consult the user manual or reach out to Dell customer support for further assistance. Their technical team will be able to address specific concerns and provide additional troubleshooting steps tailored to your Dell 24 Gaming Monitor model.
By addressing common setup issues, you can overcome any initial obstacles and enjoy a seamless gaming experience with your Dell 24 Gaming Monitor. In the next section, we will wrap up our guide. Keep reading!
Conclusion
Congratulations! You have successfully set up and optimized your Dell 24 Gaming Monitor for the ultimate gaming experience. Starting from unboxing the monitor to adjusting the settings, customizing the physical features, and troubleshooting common setup issues, you are now ready to immerse yourself in the world of gaming.
With its high-resolution display, fast refresh rate, compatibility with NVIDIA G-SYNC, and a plethora of customization options, the Dell 24 Gaming Monitor is a powerful tool that elevates your gaming sessions to new heights. Whether you’re exploring vast virtual worlds, engaging in intense multiplayer battles, or enjoying immersive story-driven narratives, this monitor ensures that every detail is vividly displayed and every movement is smooth.
Remember to experiment with the various game modes to find the perfect balance for different gaming genres and personal preferences. Customize the monitor’s physical features to enhance comfort and maintain an organized gaming setup. Should you encounter any issues, follow the troubleshooting tips provided or reach out to Dell customer support for assistance.
Now that your Dell 24 Gaming Monitor is set up and optimized, it’s time to grab your controller or mouse and embark on endless gaming adventures. Get ready to experience stunning visuals, fluid gameplay, and unparalleled immersion as you lose yourself in your favorite games.
Thank you for following this guide, and happy gaming with your Dell 24 Gaming Monitor!