Introduction
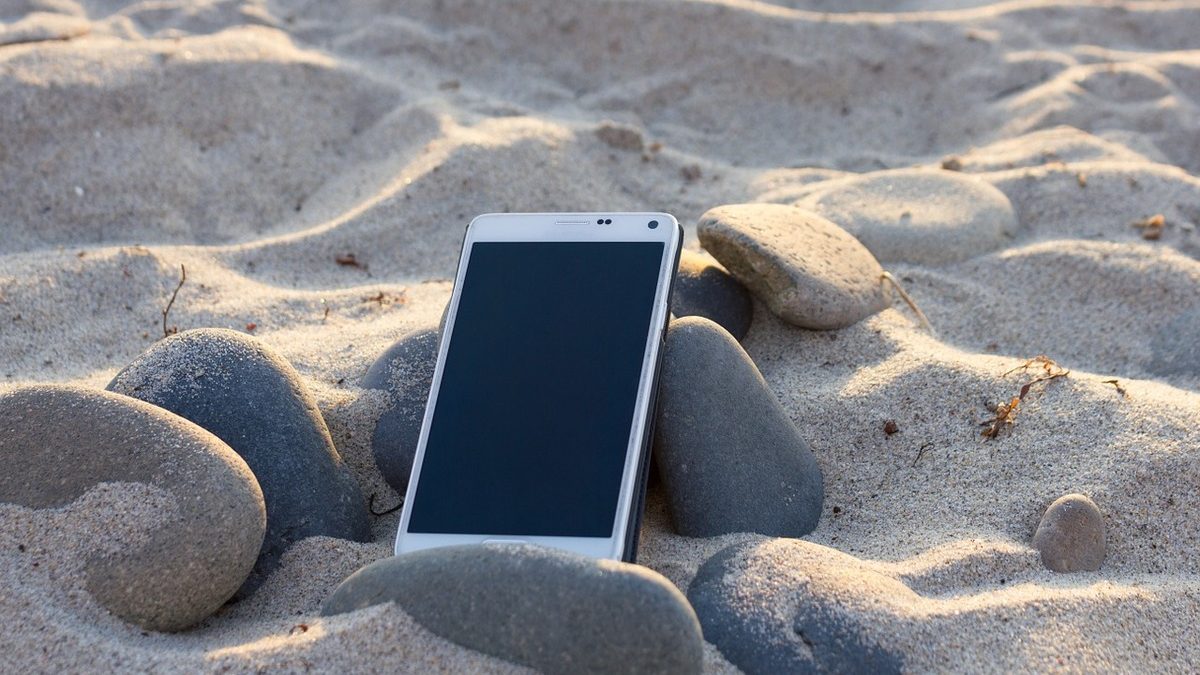
Welcome to this comprehensive tutorial on removing sand from your phone speaker. If you've ever experienced the frustration of muffled or distorted sound coming from your phone, it's possible that sand has found its way into the speaker. This can happen after a day at the beach, a hike in sandy terrain, or simply from carrying your phone in your pocket or bag. Sand in the speaker can significantly affect the audio quality and overall functionality of your device. However, fear not, as we will explore various effective methods for safely removing sand and restoring your phone's speaker to its optimal condition.
The speaker is a crucial component of your phone, allowing you to enjoy music, videos, calls, and other audio content. When sand infiltrates this delicate mechanism, it can impede the movement of the speaker diaphragm, leading to distorted sound or complete audio loss. Additionally, the abrasive nature of sand particles can cause damage if not promptly addressed. Fortunately, there are several methods you can employ to dislodge and remove the sand without causing harm to your device.
In the following sections, we will delve into the intricacies of each method, providing step-by-step instructions and tips for effectively clearing the sand from your phone's speaker. Whether you opt for the gentle approach of using compressed air, the precision of a vacuum cleaner, the adhesive properties of sticky tape, the meticulousness of a toothbrush, or the versatility of a cotton swab, you'll find a solution that suits your preferences and available resources.
By following this tutorial, you can safeguard your phone from potential damage caused by sand accumulation in the speaker, ensuring that you continue to enjoy clear and crisp audio output. Let's embark on this journey to restore your phone's speaker to its pristine state, free from the interference of stubborn sand particles.
Understanding the Issue
Before delving into the methods for removing sand from your phone speaker, it’s important to understand the potential ramifications of allowing the sand to remain lodged within this critical component. When sand infiltrates the speaker grille, it can obstruct the sound output and compromise the overall performance of the speaker. The small, intricate components within the speaker are vulnerable to damage when exposed to abrasive particles, such as sand. The movement of the speaker diaphragm can be impeded, resulting in muffled or distorted sound, or even complete audio loss.
Moreover, the presence of sand in the speaker can lead to long-term issues if not addressed promptly. The abrasive nature of sand particles can cause wear and tear on the delicate components, potentially affecting the longevity of the speaker and the overall functionality of the device. Additionally, if moisture is present alongside the sand, it can exacerbate the situation by creating a sludgy residue that further impedes the speaker’s performance.
It’s essential to address this issue as soon as possible to prevent any potential damage to the speaker and ensure that your phone continues to deliver high-quality audio output. By gaining insight into the potential consequences of neglecting the presence of sand in the speaker, you can appreciate the significance of taking proactive measures to resolve the issue.
Now that we’ve established the importance of addressing sand accumulation in the phone speaker, let’s explore the various methods that can effectively dislodge and remove the sand, restoring the speaker to its optimal state.
Methods for Removing Sand
When it comes to removing sand from your phone speaker, there are several effective methods that can be employed using common household items. Each method offers a unique approach to dislodging and extracting the sand, allowing you to choose the one that best suits your preferences and the resources at your disposal. Let’s explore these methods in detail, providing step-by-step instructions and insights into their effectiveness.
Whether you opt for the precision of compressed air, the suction power of a vacuum cleaner, the adhesive properties of sticky tape, the meticulousness of a toothbrush, or the versatility of a cotton swab, each method offers a viable solution for addressing the issue of sand accumulation in your phone speaker.
By familiarizing yourself with these methods, you’ll be equipped with the knowledge and techniques necessary to restore your phone’s speaker to its optimal condition. It’s important to approach the cleaning process with care and precision to avoid causing any damage to the delicate speaker components. With the right method and a gentle touch, you can effectively remove the sand and prevent any potential long-term issues associated with its presence.
Using Compressed Air
Using compressed air is a popular and effective method for dislodging sand from your phone speaker. This method is gentle and non-invasive, making it suitable for delicate electronic components. Here’s a step-by-step guide to using compressed air to remove sand from your phone speaker:
- Gather the Necessary Supplies: Start by obtaining a can of compressed air, which can be found at most electronics or office supply stores.
- Power Off Your Phone: Before proceeding, ensure that your phone is powered off to prevent any potential damage during the cleaning process.
- Position the Nozzle: Hold the can of compressed air upright and position the nozzle close to the speaker grille of your phone.
- Apply Short Bursts of Air: Gently press the trigger on the compressed air can to release short bursts of air into the speaker grille. Avoid prolonged or forceful bursts to prevent any potential damage to the speaker.
- Vary the Angle: While applying the compressed air, vary the angle of the can to ensure that the air reaches different areas within the speaker grille, dislodging the sand particles.
- Allow the Phone to Rest: After using the compressed air, allow the phone to rest for a few minutes to ensure that any dislodged sand particles settle before powering the device back on.
Using compressed air is a gentle and efficient method for removing sand from your phone speaker without causing damage. The controlled bursts of air dislodge the sand particles, allowing them to be expelled from the speaker grille. It’s important to exercise caution and avoid using excessive force when applying the compressed air to prevent any potential damage to the speaker components.
By following these steps, you can effectively clear the sand from your phone speaker, restoring its functionality and ensuring that you continue to enjoy clear and crisp audio output.
Using a Vacuum Cleaner
Another effective method for removing sand from your phone speaker involves using a vacuum cleaner. This method harnesses the suction power of a vacuum to dislodge and extract the sand particles from the speaker grille. Here’s a step-by-step guide to using a vacuum cleaner to remove sand from your phone speaker:
- Select the Appropriate Nozzle: Choose a small and narrow nozzle attachment for your vacuum cleaner to ensure precision and focused suction.
- Power Off Your Phone: Before proceeding, power off your phone to prevent any potential damage during the cleaning process.
- Position the Nozzle: Gently position the nozzle of the vacuum cleaner close to the speaker grille of your phone, ensuring a snug fit to create effective suction.
- Apply Gentle Suction: Turn on the vacuum cleaner and apply gentle, controlled suction to the speaker grille, allowing the sand particles to be drawn out.
- Vary the Position: As you apply the suction, slightly vary the position of the nozzle to cover the entire speaker grille and dislodge any stubborn sand particles.
- Inspect the Speaker: After using the vacuum cleaner, inspect the speaker grille to ensure that the sand particles have been effectively removed.
Using a vacuum cleaner provides a methodical and controlled approach to removing sand from your phone speaker. The focused suction power helps dislodge and extract the sand particles without causing damage to the delicate speaker components. It’s important to exercise caution and avoid using excessive force to prevent any potential harm to the speaker.
By following these steps, you can effectively clear the sand from your phone speaker using a vacuum cleaner, restoring its functionality and ensuring that you continue to enjoy clear and crisp audio output.
Using Sticky Tape
Employing sticky tape is a simple yet effective method for removing sand from your phone speaker. This method utilizes the adhesive properties of tape to lift and extract the sand particles from the speaker grille. Here’s a step-by-step guide to using sticky tape to clear the sand from your phone speaker:
- Prepare the Tape: Cut a small piece of clear adhesive tape, ensuring that it is slightly wider than the speaker grille of your phone.
- Power Off Your Phone: Before proceeding, power off your phone to prevent any potential damage during the cleaning process.
- Apply the Tape: Gently press the adhesive side of the tape against the speaker grille, ensuring that it makes contact with the sand particles.
- Lift the Tape: Carefully lift the tape from the speaker grille, taking with it the adhered sand particles. Repeat this process several times to ensure thorough removal.
- Inspect the Speaker: After using the tape, inspect the speaker grille to ensure that the majority of the sand particles have been lifted.
Using sticky tape provides a gentle and non-invasive method for removing sand from your phone speaker. The adhesive properties of the tape effectively lift and extract the sand particles without causing any damage to the delicate speaker components. It’s important to exercise patience and thoroughness when employing this method to ensure effective removal of the sand.
By following these steps, you can effectively clear the sand from your phone speaker using sticky tape, restoring its functionality and ensuring that you continue to enjoy clear and crisp audio output.
Using a Toothbrush
Utilizing a toothbrush is an effective and accessible method for removing sand from your phone speaker. This method allows for manual dislodging of the sand particles without the need for specialized tools. Here’s a step-by-step guide to using a toothbrush to clear the sand from your phone speaker:
- Choose a Soft-Bristled Toothbrush: Select a clean toothbrush with soft bristles to avoid causing any damage to the speaker grille or components.
- Power Off Your Phone: Before proceeding, power off your phone to prevent any potential damage during the cleaning process.
- Gently Brush the Speaker Grille: Using the soft-bristled toothbrush, gently brush the speaker grille in a back-and-forth motion to dislodge the sand particles.
- Vary the Brushing Angles: Change the angle of the toothbrush to ensure that all areas of the speaker grille are thoroughly brushed, dislodging the sand particles effectively.
- Inspect the Speaker: After brushing, inspect the speaker grille to ensure that the majority of the sand particles have been dislodged.
Using a toothbrush provides a manual and controlled approach to removing sand from your phone speaker. The soft bristles allow for gentle dislodging of the sand particles without causing damage to the delicate speaker components. It’s important to exercise care and avoid using excessive force when employing this method.
By following these steps, you can effectively clear the sand from your phone speaker using a toothbrush, restoring its functionality and ensuring that you continue to enjoy clear and crisp audio output.
Using a Cotton Swab
Employing a cotton swab is a precise and gentle method for removing sand from your phone speaker. This method allows for targeted cleaning of the speaker grille, effectively dislodging and absorbing the sand particles. Here’s a step-by-step guide to using a cotton swab to clear the sand from your phone speaker:
- Prepare the Cotton Swab: Take a clean cotton swab and ensure that it is free of any loose fibers or debris.
- Power Off Your Phone: Before proceeding, power off your phone to prevent any potential damage during the cleaning process.
- Gently Swab the Speaker Grille: Using the cotton swab, gently swab the speaker grille, focusing on areas where sand particles are visibly lodged.
- Rotate the Swab: As you swab the speaker grille, periodically rotate the cotton swab to access different areas and ensure thorough cleaning.
- Inspect the Speaker: After swabbing, inspect the speaker grille to ensure that the majority of the sand particles have been effectively removed.
Using a cotton swab provides a precise and controlled approach to removing sand from your phone speaker. The soft and absorbent nature of the cotton swab allows for gentle cleaning without causing damage to the delicate speaker components. It’s important to exercise care and avoid applying excessive pressure when employing this method.
By following these steps, you can effectively clear the sand from your phone speaker using a cotton swab, restoring its functionality and ensuring that you continue to enjoy clear and crisp audio output.
Conclusion
Removing sand from your phone speaker is a crucial task to ensure the optimal functionality and longevity of your device. The presence of sand in the speaker grille can impede sound quality and potentially lead to long-term damage if left unaddressed. By employing the methods outlined in this tutorial, you can effectively dislodge and remove the sand particles, restoring your phone’s speaker to its pristine state.
Each method offers a unique approach to clearing the sand, catering to different preferences and the resources available. Whether you opt for the precision of compressed air, the suction power of a vacuum cleaner, the adhesive properties of sticky tape, the meticulousness of a toothbrush, or the targeted cleaning with a cotton swab, you have a variety of options to choose from based on your specific needs.
It’s important to approach the cleaning process with care and precision, ensuring that no damage is caused to the delicate speaker components. By following the step-by-step instructions for each method, you can effectively remove the sand without compromising the functionality of your phone.
After clearing the sand from your phone speaker, take a moment to power on your device and test the audio output. You should notice a significant improvement in sound quality, indicating that the sand has been successfully removed. By addressing this issue promptly, you can continue to enjoy clear and crisp audio output without the interference of stubborn sand particles.
By incorporating these methods into your maintenance routine, you can safeguard your phone’s speaker from the detrimental effects of sand accumulation, ensuring that it continues to deliver high-quality audio for your enjoyment.
With the knowledge and techniques acquired from this tutorial, you are well-equipped to address the issue of sand in your phone speaker, preserving its functionality and enhancing your overall user experience.