Introduction
Accidents happen, and if you've accidentally spilled oil on your phone, you may be concerned about the impact on your device's speaker. The good news is that with a few simple steps, you can effectively remove oil from your phone's speaker without causing any damage. Whether it's cooking oil, essential oil, or any other type of oil, the process for cleaning your phone's speaker remains the same.
In this comprehensive guide, we'll walk you through the step-by-step process of removing oil from your phone's speaker. By following these instructions, you can restore your phone's audio quality and ensure that it continues to function at its best. From gathering the necessary supplies to testing your speaker after cleaning, we've got you covered with all the essential tips and techniques.
So, if you're ready to tackle the challenge of cleaning oil from your phone's speaker, let's dive into the process and get your device back in top-notch condition. With a little patience and the right approach, you can effectively eliminate oil from your phone's speaker and enjoy crystal-clear sound once again. Let's get started!
Step 1: Turn Off Your Phone
The first and most crucial step in cleaning oil from your phone’s speaker is to turn off your device immediately. This is essential to prevent any potential damage to the internal components and to ensure your safety throughout the cleaning process. By powering off your phone, you reduce the risk of electrical issues and protect the delicate circuitry from any potential harm.
To turn off your phone, simply press and hold the power button until the shutdown prompt appears on the screen. Follow the on-screen instructions to power down your device completely. If your phone has a removable battery, carefully remove it to ensure that the device is completely powered off.
It’s important to avoid using your phone while cleaning the speaker, as any residual oil or moisture could lead to further complications if the device is powered on. By taking this precautionary step, you set the stage for a safe and effective cleaning process, allowing you to address the oil buildup without risking any damage to your phone’s internal components.
Once your phone is powered off, you can proceed with the subsequent steps to remove the oil from the speaker and restore your device’s audio quality. With your phone safely turned off, you’re ready to move on to the next phase of the cleaning process and ensure that your phone’s speaker functions optimally once again.
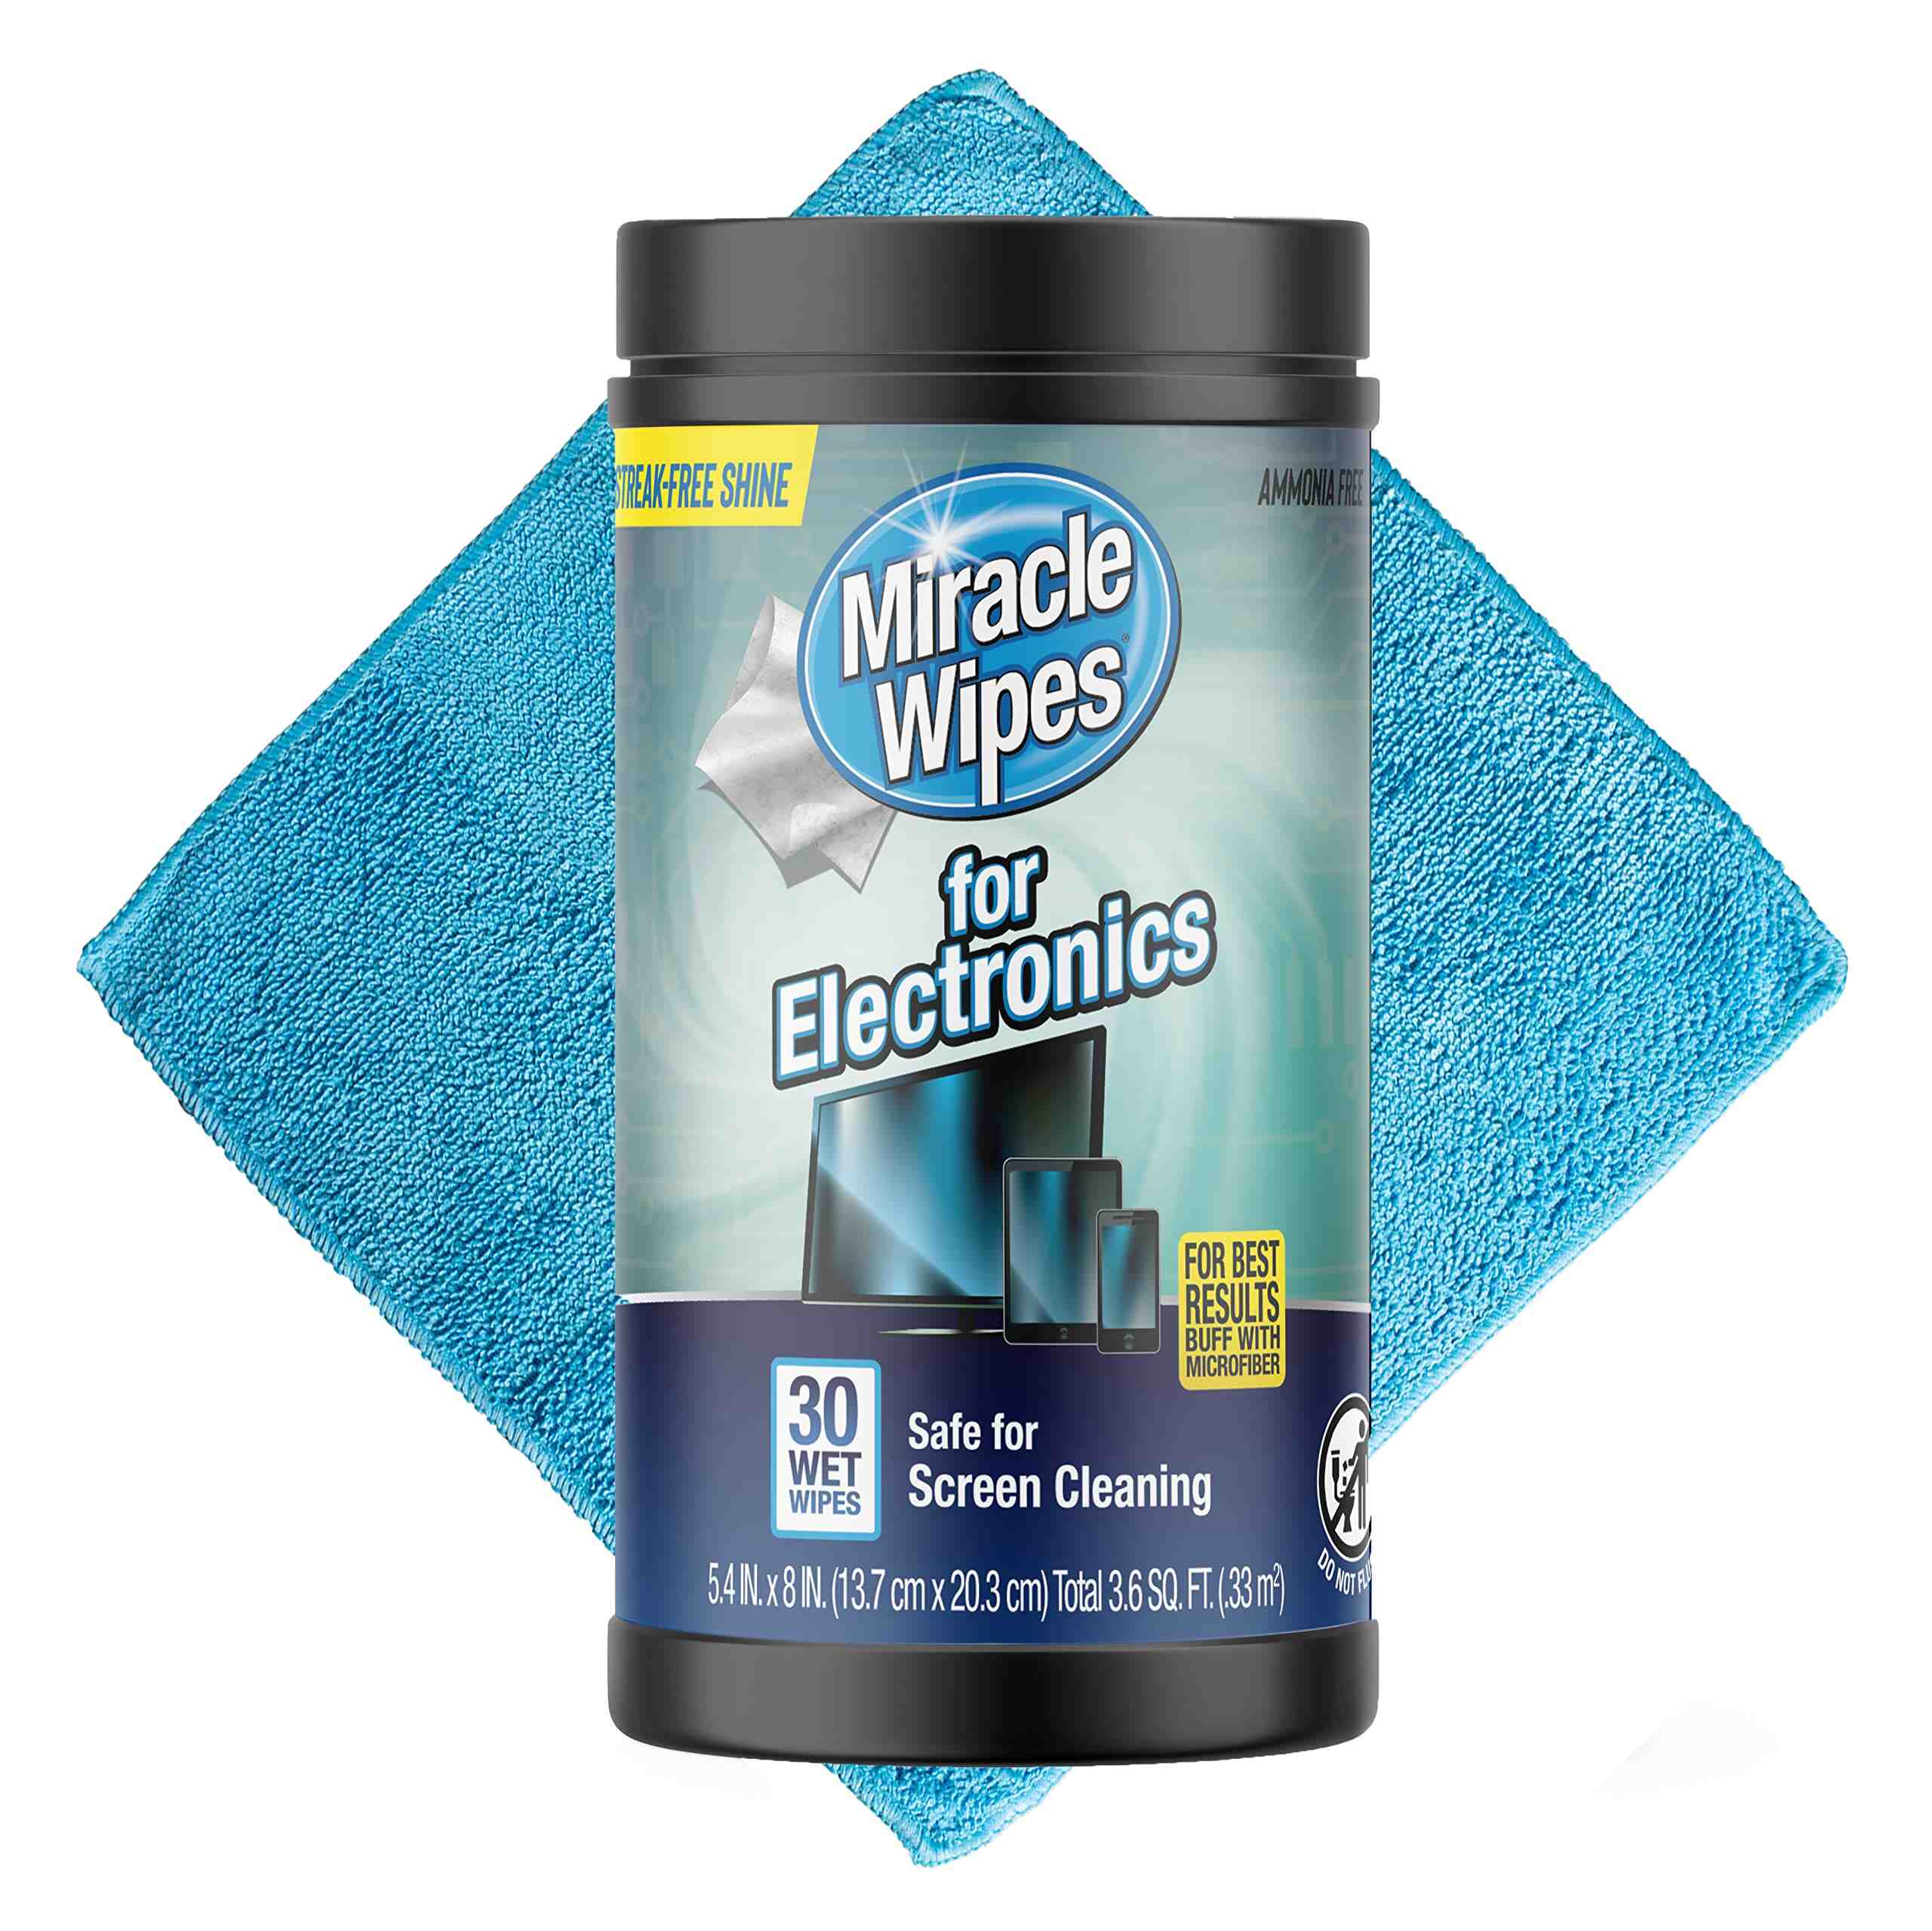
Step 2: Gather Supplies
Before you begin the process of cleaning the oil from your phone’s speaker, it’s essential to gather the necessary supplies to ensure a thorough and effective cleaning. Here’s a list of items you’ll need to have on hand:
- Compressed Air: This will help dislodge any loose particles or oil residue from the speaker grill.
- Cotton Swabs: These are useful for reaching small crevices and absorbing excess oil from the speaker.
- Isopropyl Alcohol: A small amount of isopropyl alcohol can aid in breaking down and removing the oil from the speaker components.
- Vacuum Cleaner with a Soft Brush Attachment: This will assist in gently removing any remaining oil or debris from the speaker grill.
- Microfiber Cloth: Use a soft, lint-free cloth to wipe down the exterior of your phone after cleaning the speaker.
Once you have these supplies assembled, you’ll be well-equipped to address the oil buildup in your phone’s speaker effectively. Having the right tools at your disposal will streamline the cleaning process and help you achieve optimal results without causing any damage to your device.
With the necessary supplies in hand, you’re ready to proceed to the next steps and begin the process of removing oil from your phone’s speaker. By being prepared with the appropriate cleaning materials, you can ensure that your device’s audio quality is restored to its full potential.
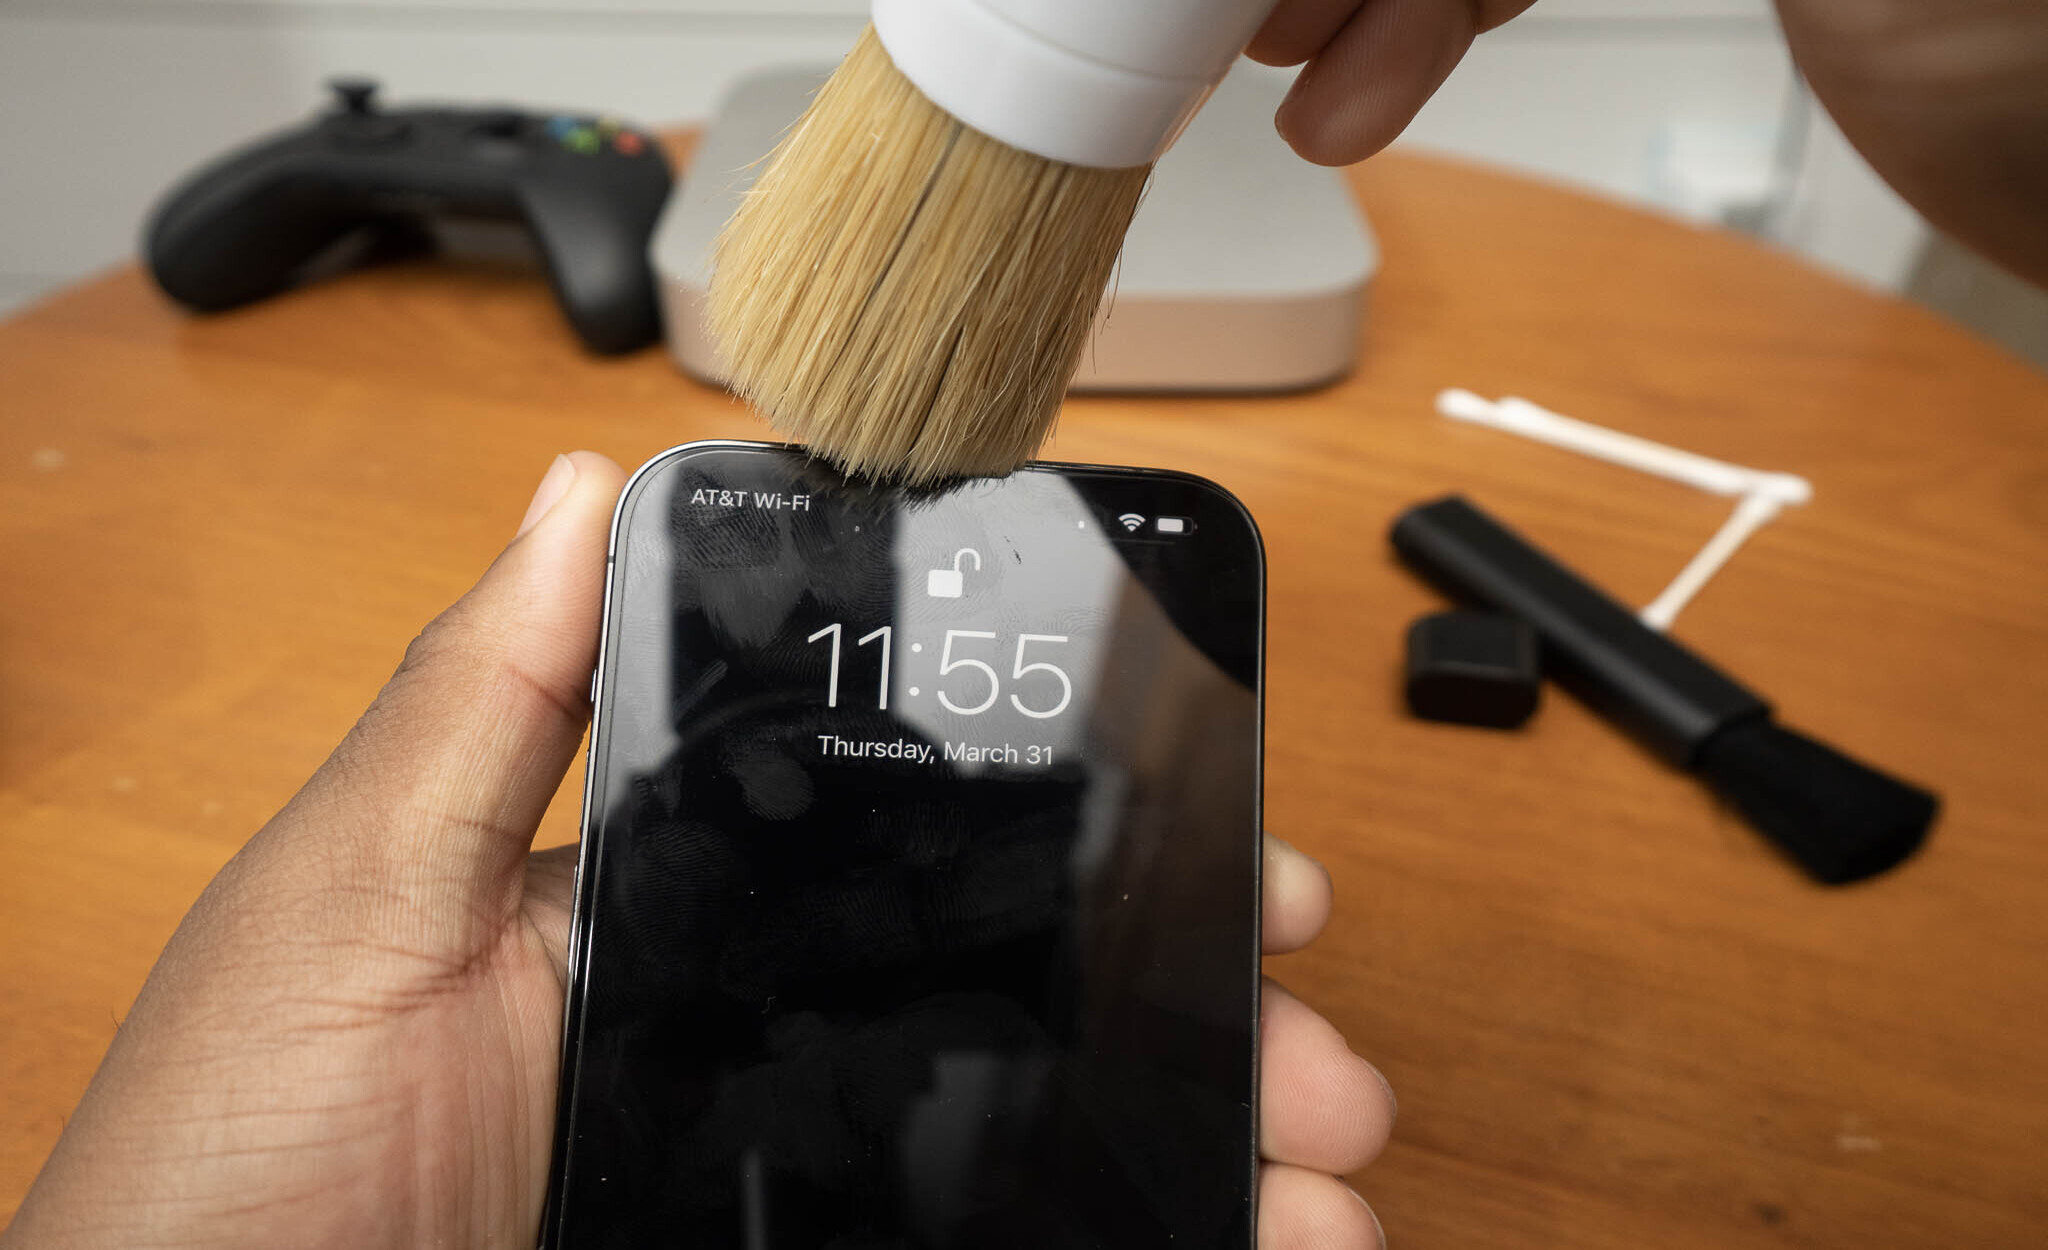
Step 3: Use Compressed Air
Using compressed air is an effective method for dislodging any loose particles or oil residue from your phone’s speaker grill. This step is crucial in preparing the speaker for more targeted cleaning and can significantly improve the overall effectiveness of the cleaning process.
To begin, carefully position the nozzle of the compressed air canister near the speaker grill of your phone. Ensure that the nozzle is at a safe distance from the device to prevent any potential damage from the force of the compressed air. Then, gently press the trigger to release short bursts of air into the speaker grill.
As the compressed air flows through the grill, it will help dislodge any trapped oil or debris, allowing it to be expelled from the speaker. Be sure to approach this step with patience and precision, as excessive force from the compressed air can potentially damage the speaker components.
Repeat this process several times, adjusting the angle of the nozzle as needed to target different areas of the speaker grill. By thoroughly using compressed air to clear the speaker grill, you can effectively remove the initial layer of oil and debris, setting the stage for more detailed cleaning in the subsequent steps.
Once you’ve completed this step, you’ll have successfully cleared the speaker grill of any loose particles and oil residue, laying the groundwork for a more thorough cleaning process. With the speaker grill prepared, you’re ready to move on to the next step and continue the process of restoring your phone’s speaker to its optimal condition.
Step 4: Use a Cotton Swab
Using a cotton swab is a precise and effective method for targeting the removal of oil from your phone’s speaker components. The small size and soft texture of the cotton swab make it ideal for reaching the intricate crevices of the speaker grill and absorbing excess oil without causing any damage to the device.
To begin, gently insert the tip of the cotton swab into the speaker grill, taking care not to apply excessive pressure that could potentially damage the speaker components. With a delicate touch, maneuver the cotton swab within the grill, ensuring that it comes into contact with any areas affected by the oil buildup.
As you navigate the cotton swab within the speaker grill, you’ll notice it gradually absorbing the residual oil, effectively lifting it from the speaker components. Be thorough in your approach, maneuvering the cotton swab to address all areas of the speaker grill affected by the oil. If necessary, use multiple cotton swabs to ensure comprehensive coverage of the affected areas.
Throughout this process, it’s important to exercise patience and precision, taking the time to methodically address the oil buildup within the speaker grill. By doing so, you can effectively remove the oil and restore the speaker to its optimal functionality without risking any damage to your device.
Once you’ve completed this step, you’ll have successfully utilized a cotton swab to target and absorb the oil from your phone’s speaker, setting the stage for a more thorough cleaning process. With the excess oil effectively removed, you’re ready to proceed to the next step and continue the process of restoring your phone’s speaker to its optimal condition.
Step 5: Use a Vacuum
Using a vacuum with a soft brush attachment is an effective method for gently removing any remaining oil or debris from your phone’s speaker grill. This step aims to further clean the speaker components and ensure that any residual oil is safely and thoroughly eliminated.
Begin by attaching the soft brush accessory to your vacuum cleaner, ensuring that it’s securely in place and free of any debris that could potentially affect the cleaning process. With the vacuum prepared, carefully position the soft brush attachment near the speaker grill of your phone, ensuring that it’s at a safe distance from the device.
Switch on the vacuum cleaner and use the soft brush attachment to gently draw out any remaining oil or debris from the speaker grill. Move the brush across the grill in a methodical manner, covering all areas affected by the oil buildup. The gentle suction of the vacuum, combined with the soft brush, will effectively lift any lingering particles from the speaker components.
Exercise caution and patience during this process, ensuring that the vacuum is used with a delicate touch to avoid causing any damage to the speaker grill or internal components of your phone. By approaching this step with care, you can effectively remove any remaining oil from the speaker grill, preparing the speaker for optimal functionality.
Once you’ve completed this step, you’ll have successfully used a vacuum with a soft brush attachment to gently remove any remaining oil or debris from your phone’s speaker grill. With the speaker components thoroughly cleaned, you’re ready to proceed to the next step and continue the process of restoring your phone’s speaker to its optimal condition.
Step 6: Test Your Speaker
After completing the cleaning process, it’s essential to test your phone’s speaker to ensure that it functions optimally and that the oil residue has been effectively removed. Testing the speaker will allow you to assess the audio quality and confirm that the cleaning process has been successful.
To begin, power on your phone and navigate to a media application that allows you to play audio, such as a music player or video. Select a piece of audio content and play it through the phone’s speaker at a moderate volume. Listen carefully to the audio output, paying attention to the clarity and quality of the sound.
During the testing phase, assess whether there are any distortions, muffled sounds, or disruptions in the audio output. If the speaker produces clear and undistorted sound, it indicates that the cleaning process has been effective in removing the oil buildup, and the speaker is functioning optimally.
If you notice any lingering issues with the audio quality, such as residual distortions or muffled sound, it may indicate that further cleaning is required. In such cases, consider revisiting the earlier steps in the cleaning process to address any remaining oil or debris that could be affecting the speaker’s performance.
Additionally, you can test the speaker by making a voice call and engaging in a conversation to gauge the clarity of the audio during phone calls. This will provide a comprehensive assessment of the speaker’s functionality across various audio outputs and ensure that it meets your expectations in terms of quality and clarity.
By testing your phone’s speaker after the cleaning process, you can confirm that the oil residue has been effectively removed, and the speaker is performing at its best. This final step allows you to verify the success of the cleaning process and enjoy the restored audio quality on your device.