Introduction
Welcome to the world of web browsing, where the power of the internet is just a click away. Google Chrome, a popular web browser known for its speed, simplicity, and security features, has become a go-to choice for millions of users worldwide. If you're using Windows 11, you might want to streamline your browsing experience by pinning Chrome to the taskbar for quick and easy access.
By pinning Chrome to the taskbar, you can bypass the need to open the Start menu or search for the browser icon on your desktop. This simple yet effective action can save you valuable time and make your browsing sessions more efficient. Whether you're a casual user or a productivity enthusiast, having Chrome readily available on your taskbar can enhance your overall computing experience.
In this guide, we'll walk you through the process of pinning Chrome to the taskbar on Windows 11. Additionally, we'll explore how you can customize the Chrome taskbar icon to suit your preferences. By the end of this tutorial, you'll have a personalized and easily accessible Chrome shortcut right on your Windows 11 taskbar, ready to launch your browsing adventures with a single click. Let's dive in and make your browsing experience even more seamless!
Step 1: Open Chrome
To begin the process of pinning Chrome to your Windows 11 taskbar, you first need to open the Chrome browser. Here's a step-by-step guide to help you get started:
-
Locate the Chrome Icon: Look for the Google Chrome icon on your desktop, taskbar, or in the Start menu. The icon typically features the distinctive red, yellow, and green Google Chrome logo.
-
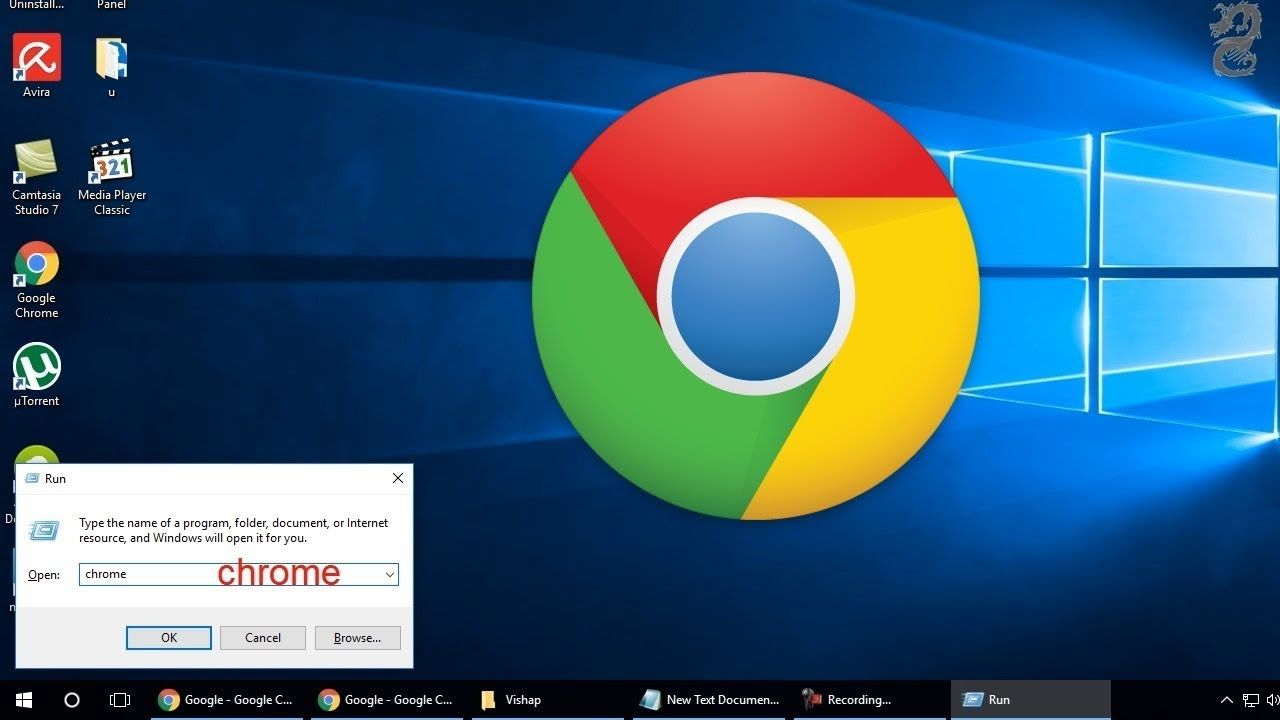
Double-Click the Chrome Icon: Once you've located the Chrome icon, simply double-click on it to launch the browser. Alternatively, you can single-click the icon if it's already pinned to your taskbar or accessible from the Start menu.
-
Wait for Chrome to Open: After clicking the Chrome icon, the browser will begin to load. Depending on your computer's speed and performance, Chrome should open within a few seconds, revealing the familiar interface that you know and love.
-
Verify the Browser Window: Once Chrome has opened, you should see the browser window displayed on your screen. Take a moment to ensure that Chrome has fully loaded and is ready for use.
By following these simple steps, you can easily open the Chrome browser on your Windows 11 system. With Chrome up and running, you're now ready to proceed to the next step of pinning it to your taskbar for convenient access. Let's move on to the next stage and make Chrome a permanent fixture on your Windows 11 taskbar.
Step 2: Pin Chrome to Taskbar
Now that you have Chrome open on your Windows 11 system, it's time to pin it to the taskbar for quick and effortless access. Follow these straightforward steps to make Chrome a permanent fixture on your taskbar:
-
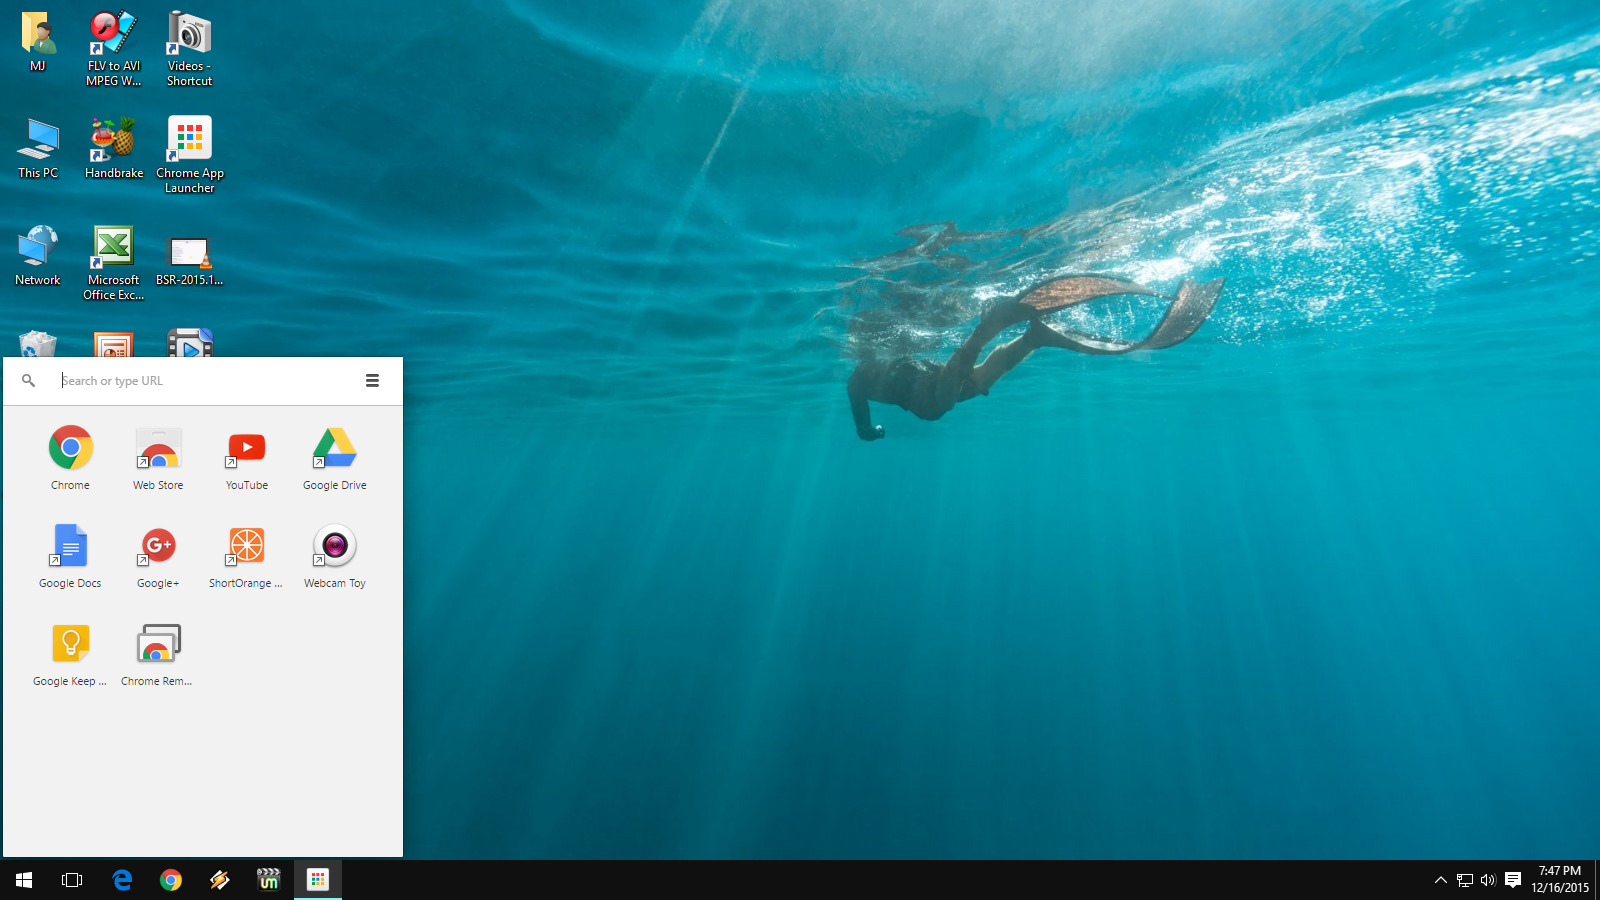
Locate the Chrome Icon on the Taskbar: Look at the taskbar at the bottom of your screen. If Chrome is already open, you should see its icon displayed among your other active applications. If Chrome isn't open, you can locate its icon by clicking on the Start button and finding it in the list of installed applications.
-
Right-Click the Chrome Icon: Once you've located the Chrome icon on the taskbar, right-click on it to reveal a context menu of options related to Chrome.
-
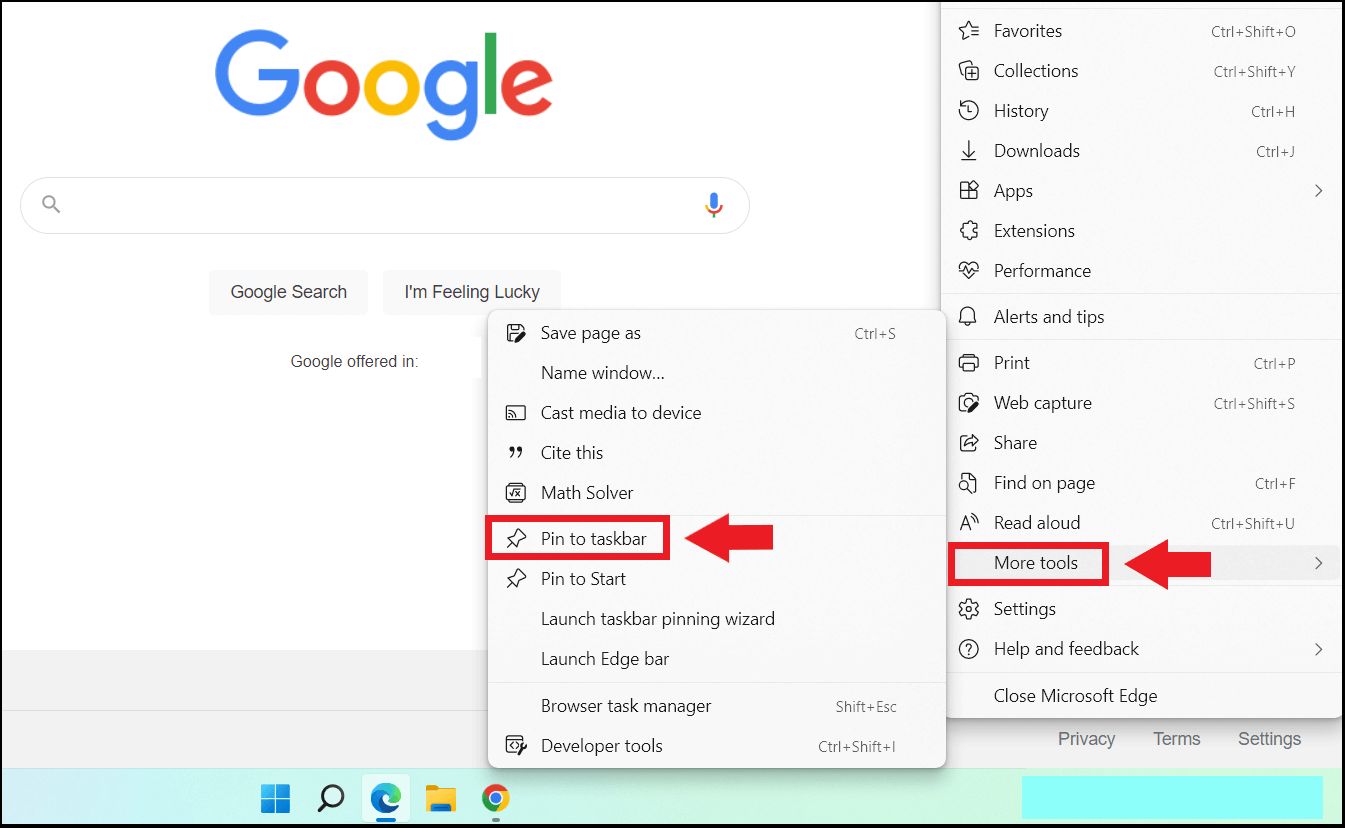
Select "Pin to Taskbar": In the context menu that appears after right-clicking the Chrome icon, look for the "Pin to Taskbar" option and left-click on it. This action will pin Chrome to the taskbar, ensuring that its icon remains visible and easily accessible even when the browser is closed.
-
Verify the Pinned Icon: After selecting "Pin to Taskbar," take a moment to ensure that the Chrome icon now appears as a permanent fixture on your taskbar. You should see the familiar Google Chrome icon alongside your other pinned applications.
By following these simple steps, you have successfully pinned Chrome to your Windows 11 taskbar. This means that you can now launch Chrome with a single click, without the need to search for it in the Start menu or on your desktop. With Chrome readily available on your taskbar, you can streamline your browsing experience and access your favorite websites and online resources with ease.
Now that you've pinned Chrome to your taskbar, you may also want to customize the Chrome taskbar icon to make it more visually appealing or distinctive. If you're interested in personalizing the appearance of the Chrome icon on your taskbar, continue to the next section for optional steps on customizing the Chrome taskbar icon.
With Chrome now pinned to your taskbar, you're all set to enjoy a more efficient and seamless browsing experience on your Windows 11 system. Whether you're a casual user or a productivity enthusiast, having Chrome readily accessible on your taskbar can enhance your overall computing experience.
Step 3: Customize Chrome Taskbar Icon (Optional)
While the default Chrome icon serves its purpose, you may want to personalize it to better suit your preferences or make it stand out on your taskbar. Customizing the Chrome taskbar icon is entirely optional but can add a touch of personalization to your Windows 11 experience. Here's how you can customize the Chrome taskbar icon to make it uniquely yours:
Method 1: Change the Icon Image
-
Find a New Icon Image: Begin by searching for a new icon image that you'd like to use for Chrome. You can explore online icon libraries or create your own custom icon using graphic design software.
-
Save the Icon Image: Once you've found or created the desired icon image, save it to a location on your computer where you can easily access it.
-
Right-Click the Chrome Taskbar Icon: Locate the Chrome icon on your taskbar, right-click on it, and then right-click on "Google Chrome" in the context menu that appears.
-
Select "Properties": In the properties dialog box that opens, navigate to the "Shortcut" tab.
-
Browse for the New Icon Image: Within the properties dialog box, click on the "Change Icon" button. Browse to the location where you saved the new icon image and select it.
-
Apply the Changes: After selecting the new icon image, click "OK" to apply the changes. You should now see the Chrome taskbar icon updated with the new image.
Method 2: Create a Shortcut with a Custom Icon
-
Create a Shortcut: Right-click on an empty area of your desktop, select "New," and then choose "Shortcut" from the context menu.
-
Set the Location of the Item: In the "Create Shortcut" window, enter the location of the Chrome executable file. This is typically "C:\Program Files\Google\Chrome\Application\chrome.exe."
-
Name the Shortcut: Give the shortcut a name, such as "Custom Chrome," and click "Finish."
-
Customize the Shortcut Icon: Right-click on the newly created shortcut on your desktop, select "Properties," and proceed to change the icon as described in Method 1.
By customizing the Chrome taskbar icon using these methods, you can add a personal touch to your Windows 11 desktop and make Chrome stand out among your other pinned applications. Whether you opt for a sleek, minimalist icon or a vibrant, eye-catching design, customizing the Chrome taskbar icon allows you to express your individual style and enhance the visual appeal of your taskbar.
With Chrome now pinned to your taskbar and optionally customized to your liking, you're all set to enjoy a personalized and efficient browsing experience on your Windows 11 system.
Conclusion
Congratulations! By following the simple steps outlined in this guide, you have successfully pinned Google Chrome to your Windows 11 taskbar, streamlining your browsing experience and making your favorite websites just a click away. This straightforward process allows you to bypass the need to search for Chrome in the Start menu or on your desktop, saving you valuable time and effort whenever you want to access the web.
With Chrome now prominently displayed on your taskbar, you can seamlessly transition from other tasks to browsing, enhancing your overall productivity and efficiency. Whether you're a student conducting research, a professional managing multiple projects, or a casual user exploring the vast expanse of the internet, having Chrome readily available on your taskbar can significantly improve your computing experience.
Furthermore, the optional customization of the Chrome taskbar icon adds a personal touch to your Windows 11 desktop. By choosing a custom icon image or creating a shortcut with a distinct appearance, you can make Chrome stand out among your other pinned applications, reflecting your individual style and preferences. This level of personalization not only enhances the visual appeal of your taskbar but also adds a touch of creativity to your computing environment.
By pinning Chrome to your taskbar and, if desired, customizing its icon, you have taken a simple yet impactful step toward optimizing your browsing experience on Windows 11. With Chrome just a click away, you can effortlessly access your favorite websites, online tools, and resources, allowing you to make the most of your time spent on the web.
As you continue to explore the capabilities of Windows 11 and make the most of its features, remember that simple actions such as pinning Chrome to your taskbar can have a significant impact on your daily computing routine. By leveraging the convenience and accessibility of the taskbar, you can streamline your workflow, stay organized, and enjoy a more seamless browsing experience.
So go ahead, launch Chrome with a single click, and embark on your online adventures with ease. With Chrome pinned to your taskbar, the possibilities are endless, and the web is at your fingertips. Enjoy your enhanced browsing experience on Windows 11, and may your digital journeys be as exciting as they are effortless!