Introduction
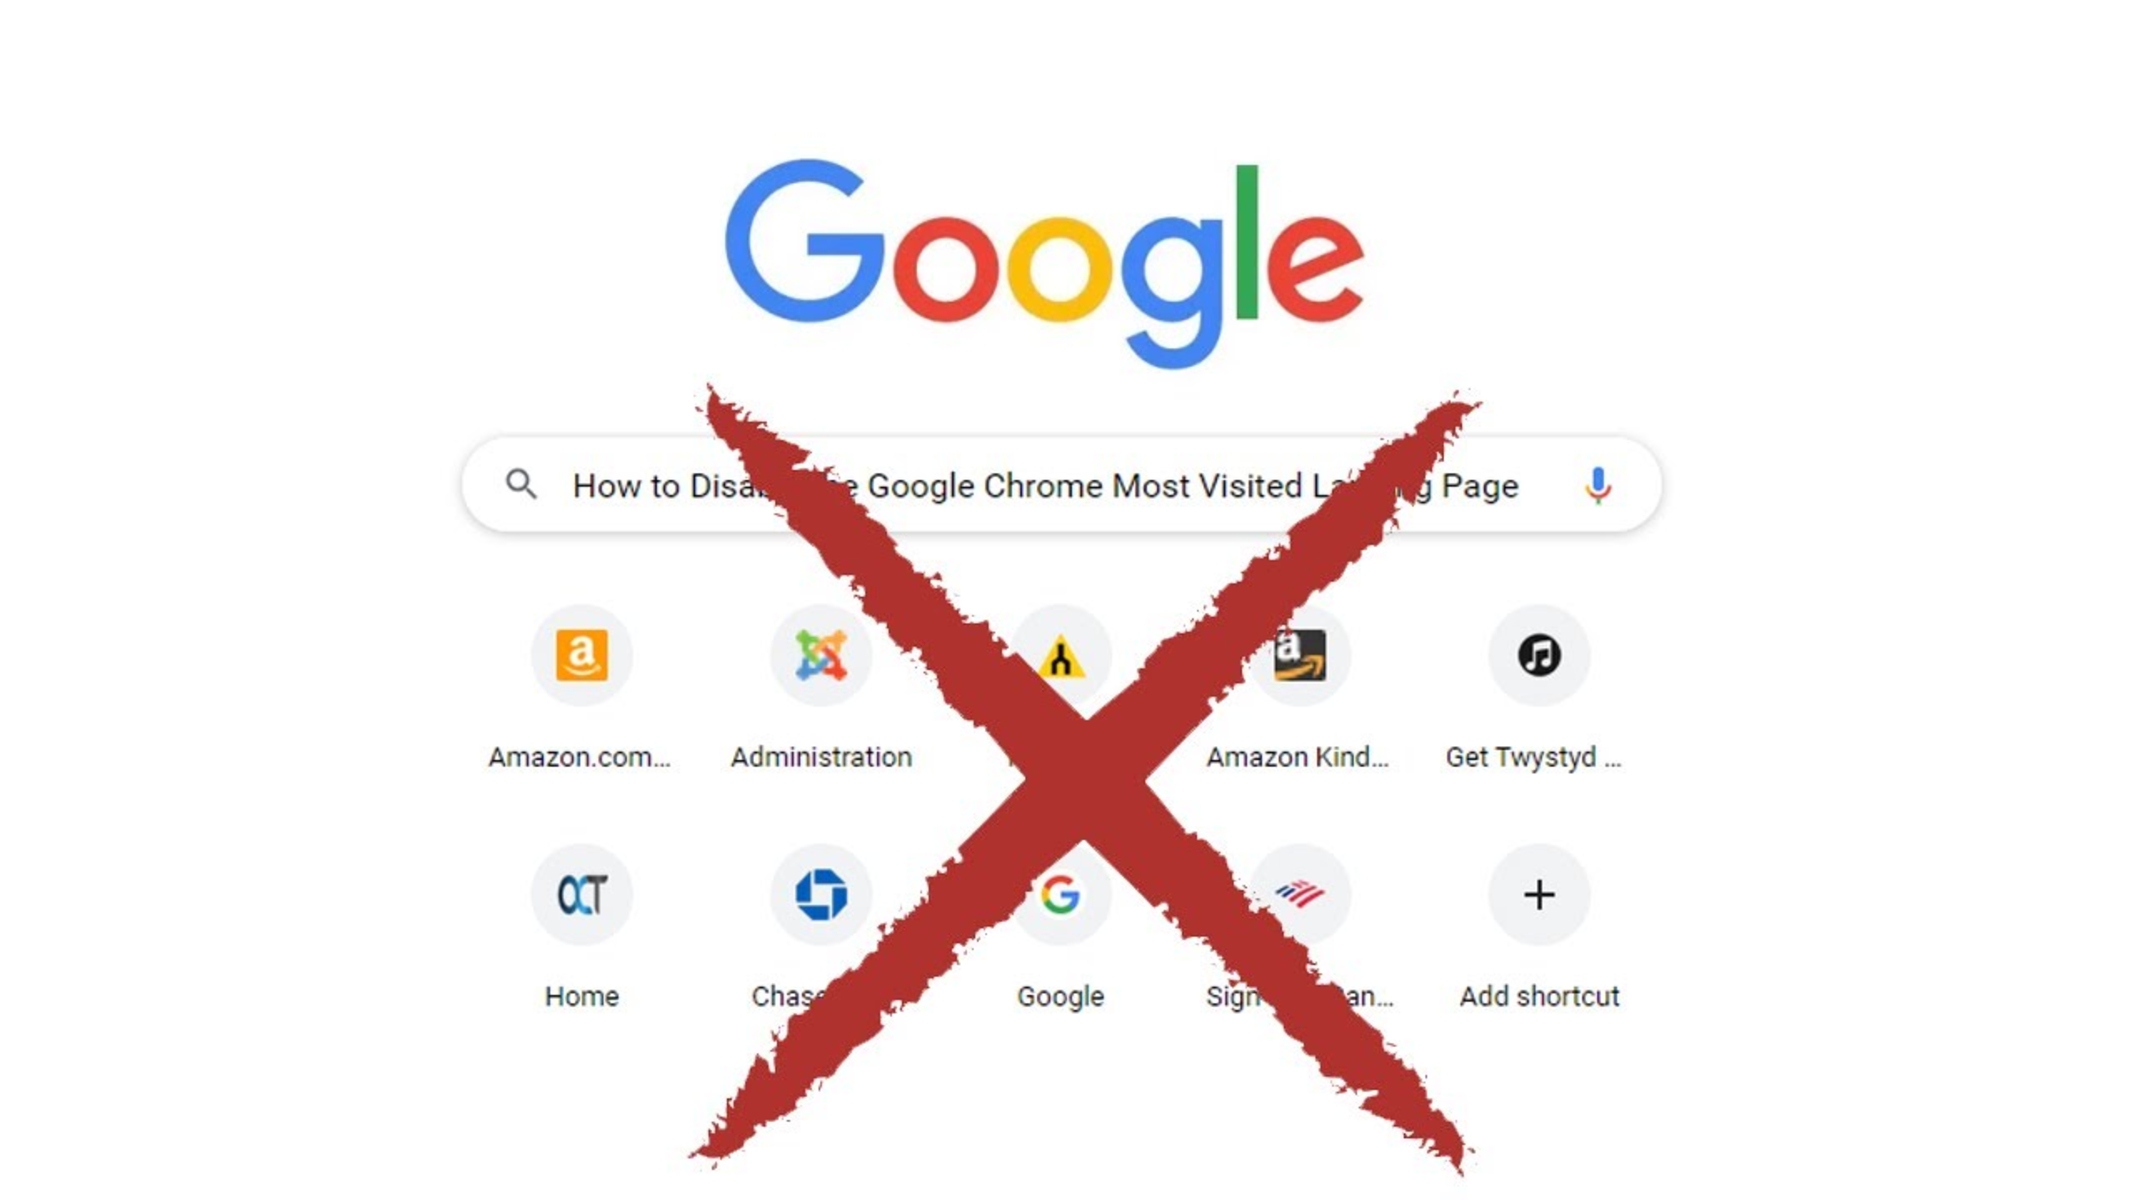
Google Chrome is a powerful and versatile web browser that offers a seamless and feature-rich browsing experience. However, like any software, it may encounter issues that can affect its performance. One common problem that users may encounter is the presence of unwanted tiles on the browser's homepage or new tab page. These tiles can be a result of various factors, such as cached data, corrupted settings, or even potentially unwanted programs.
If you find yourself facing this issue, fear not! There are several methods you can employ to get rid of these pesky tiles and restore your Google Chrome browser to its pristine state. In this article, we will explore three effective methods to help you declutter your browser and regain control of your browsing experience.
Whether you're a casual user or a seasoned tech enthusiast, understanding how to address this issue can significantly enhance your browsing experience. By following the steps outlined in this guide, you can bid farewell to unwanted tiles and enjoy a clutter-free browsing environment. Let's dive into the methods and reclaim the clean, streamlined interface that Google Chrome is known for.
Method 1: Clearing Cache and Cookies
Clearing the cache and cookies in Google Chrome can effectively address the issue of unwanted tiles on the browser's homepage or new tab page. Cache and cookies are temporary files and data stored by websites on your computer to enhance browsing speed and provide a personalized experience. However, over time, these files can accumulate and lead to various browsing issues, including the appearance of unwanted tiles.
To clear the cache and cookies in Google Chrome, follow these simple steps:
-
Open Google Chrome Settings:
- Click on the three-dot menu icon located in the top-right corner of the browser window.
- From the dropdown menu, select "Settings" to access the browser's settings page.
-
Access Privacy and Security Settings:
- In the Settings menu, scroll down and click on "Privacy and security" in the left-hand sidebar.
-
Clear Browsing Data:
- Under the "Privacy and security" section, click on "Clear browsing data."
- A new tab will open with the "Clear browsing data" menu.
-
Choose Data to Clear:
- In the "Clear browsing data" menu, select the time range for which you want to clear the data. You can choose to clear data from the past hour, day, week, month, or all time.
- Ensure that "Cookies and other site data" and "Cached images and files" are selected.
-
Clear Data:
- Once you have selected the data to clear, click on the "Clear data" button to initiate the process.
-
- After clearing the cache and cookies, close and reopen Google Chrome to allow the changes to take effect.
By following these steps, you can effectively clear the cache and cookies in Google Chrome, potentially resolving the issue of unwanted tiles on the browser's interface. This process helps in refreshing the browser's data and removing any stored information that may be contributing to the appearance of unwanted tiles.
Clearing the cache and cookies is a fundamental maintenance task that can not only address the issue at hand but also improve the overall performance and stability of the browser. It is recommended to periodically clear the cache and cookies to ensure a smooth and optimized browsing experience.
In the next section, we will explore another method to address the issue of unwanted tiles in Google Chrome.
Method 2: Resetting Google Chrome Settings
Resetting Google Chrome settings can serve as a powerful solution to address the presence of unwanted tiles on the browser's homepage or new tab page. Over time, the browser's settings and preferences may become corrupted or misconfigured, leading to various issues, including the appearance of unwanted elements such as tiles. By resetting the browser settings, you can effectively restore Chrome to its default state, eliminating any problematic configurations that may be contributing to the issue.
To reset Google Chrome settings, follow these steps:
-
Open Google Chrome Settings:
- Click on the three-dot menu icon located in the top-right corner of the browser window.
- From the dropdown menu, select "Settings" to access the browser's settings page.
-
Access Advanced Settings:
- In the Settings menu, scroll down and click on "Advanced" to reveal additional settings options.
-
Reset Settings to Default:
- Scroll down to the "Reset and clean up" section.
- Click on "Restore settings to their original defaults."
-
Confirm Reset:
- A confirmation dialog will appear, outlining the changes that will occur by resetting the browser settings.
- Click on "Reset settings" to proceed with the reset process.
-
Restart Google Chrome:
- After resetting the browser settings, close and reopen Google Chrome to allow the changes to take effect.
By following these steps, you can effectively reset Google Chrome settings, potentially resolving the issue of unwanted tiles on the browser's interface. This process essentially reverts the browser to its original state, undoing any problematic changes that may have led to the appearance of unwanted elements.
It's important to note that resetting Chrome settings will result in the loss of certain customizations and preferences, such as homepage settings, search engine preferences, and pinned tabs. However, it can be a valuable troubleshooting step to address persistent issues affecting the browser's interface.
Resetting Google Chrome settings is a powerful tool to restore the browser to a clean and functional state, making it an effective method to tackle the presence of unwanted tiles and other interface-related issues.
In the next section, we will explore another method to address the issue of unwanted tiles in Google Chrome.
Method 3: Uninstalling and Reinstalling Google Chrome
Uninstalling and reinstalling Google Chrome can serve as a comprehensive approach to address persistent issues, including the presence of unwanted tiles on the browser's homepage or new tab page. This method involves completely removing the existing installation of Google Chrome from your computer and then reinstalling the browser from a fresh source, ensuring that any underlying issues or corrupted files are effectively eliminated.
To uninstall and reinstall Google Chrome, follow these steps:
-
Uninstall Google Chrome:
-
On Windows:
- Open the Control Panel and navigate to "Programs" or "Programs and Features."
- Locate Google Chrome in the list of installed programs, right-click on it, and select "Uninstall."
- Follow the on-screen prompts to complete the uninstallation process.
-
On Mac:
- Open Finder and navigate to the "Applications" folder.
- Locate Google Chrome, drag it to the Trash, and then empty the Trash to complete the uninstallation.
-
-
Download the Latest Version of Google Chrome:
- Visit the official Google Chrome website or trusted software repositories to download the latest version of the browser compatible with your operating system.
-
Install Google Chrome:
- Once the download is complete, run the installation file to install Google Chrome on your computer.
- Follow the on-screen instructions to complete the installation process.
-
Customize Settings (Optional):
- After reinstalling Google Chrome, you can customize the browser settings, including homepage preferences, search engine choices, and extensions, to tailor the browsing experience to your preferences.
By uninstalling and reinstalling Google Chrome, you effectively remove any underlying issues that may have been contributing to the appearance of unwanted tiles on the browser's interface. This method provides a clean slate for the browser, ensuring that any corrupted files or misconfigurations are eradicated, potentially resolving persistent interface-related issues.
It's important to note that uninstalling and reinstalling Google Chrome will result in the loss of certain browser data, including browsing history, bookmarks, and saved passwords. If you wish to retain this data, consider backing it up before proceeding with the uninstallation.
Uninstalling and reinstalling Google Chrome is a robust troubleshooting method that can effectively address complex and persistent issues, providing a fresh start for the browser and restoring it to a clean and functional state.
In summary, by employing the method of uninstalling and reinstalling Google Chrome, you can effectively tackle the presence of unwanted tiles and other interface-related issues, ensuring a seamless and optimized browsing experience.
Conclusion
In conclusion, addressing the issue of unwanted tiles on Google Chrome's homepage or new tab page is essential for maintaining a clutter-free and optimized browsing experience. By exploring the methods outlined in this guide, users can effectively tackle this issue and restore their browser to a pristine state.
Clearing the cache and cookies in Google Chrome serves as a fundamental maintenance task that not only addresses the presence of unwanted tiles but also enhances the overall performance and stability of the browser. By periodically clearing cached data and cookies, users can ensure a smooth and optimized browsing experience while mitigating potential interface-related issues.
Resetting Google Chrome settings provides a powerful solution to address the appearance of unwanted tiles, allowing users to revert the browser to its default state and eliminate any problematic configurations that may be contributing to the issue. While this method may result in the loss of certain customizations, it serves as a valuable troubleshooting step to restore the browser to a clean and functional state.
Uninstalling and reinstalling Google Chrome offers a comprehensive approach to tackle persistent issues, including the presence of unwanted tiles. By completely removing the existing installation and reinstalling the browser from a fresh source, users can effectively eliminate underlying issues or corrupted files, providing a clean slate for the browser and ensuring a seamless browsing experience.
In essence, the methods presented in this guide empower users to take control of their browsing environment and address interface-related issues effectively. Whether it's clearing cached data and cookies, resetting browser settings, or opting for a complete reinstall, users have a range of strategies at their disposal to restore Google Chrome to its optimal state.
By understanding and implementing these methods, users can navigate the digital landscape with confidence, knowing that they have the tools to maintain a clutter-free and efficient browsing experience. Embracing these troubleshooting techniques not only resolves immediate issues but also contributes to a more seamless and enjoyable interaction with the web, reflecting the true essence of Google Chrome's capabilities.