Introduction
Removing Firefox from your Windows 10 computer may become necessary for various reasons, such as troubleshooting issues, freeing up disk space, or switching to a different web browser. While uninstalling the application itself is a straightforward process, completely removing all associated data and settings requires a more thorough approach. This article will guide you through the steps to completely remove Firefox from your Windows 10 system, ensuring that no residual files or registry entries are left behind.
By following the steps outlined in this guide, you can effectively eliminate all traces of Firefox from your computer, thereby optimizing its performance and ensuring a clean slate for future installations or usage of alternative web browsers. Whether you're a tech-savvy user looking to perform a meticulous cleanup of your system or a novice seeking clear instructions, this comprehensive tutorial will equip you with the knowledge and tools needed to accomplish the task with confidence.
Uninstalling Firefox from Windows 10 is just the first step in the process. To ensure that all remnants of the browser are eradicated, it's essential to delve deeper into your system and eliminate any residual data and settings. This meticulous approach not only frees up valuable storage space but also prevents potential conflicts or errors that may arise from incomplete removal. Additionally, cleaning up any lingering registry entries associated with Firefox is crucial for maintaining the overall stability and performance of your Windows 10 system.
In the following sections, we will explore the step-by-step process of uninstalling Firefox from Windows 10, removing its data and settings, and cleaning up any remaining registry entries. By meticulously following these instructions, you can achieve a thorough and effective removal of Firefox, leaving your Windows 10 system pristine and ready for your next browsing adventure.
Uninstalling Firefox from Windows 10
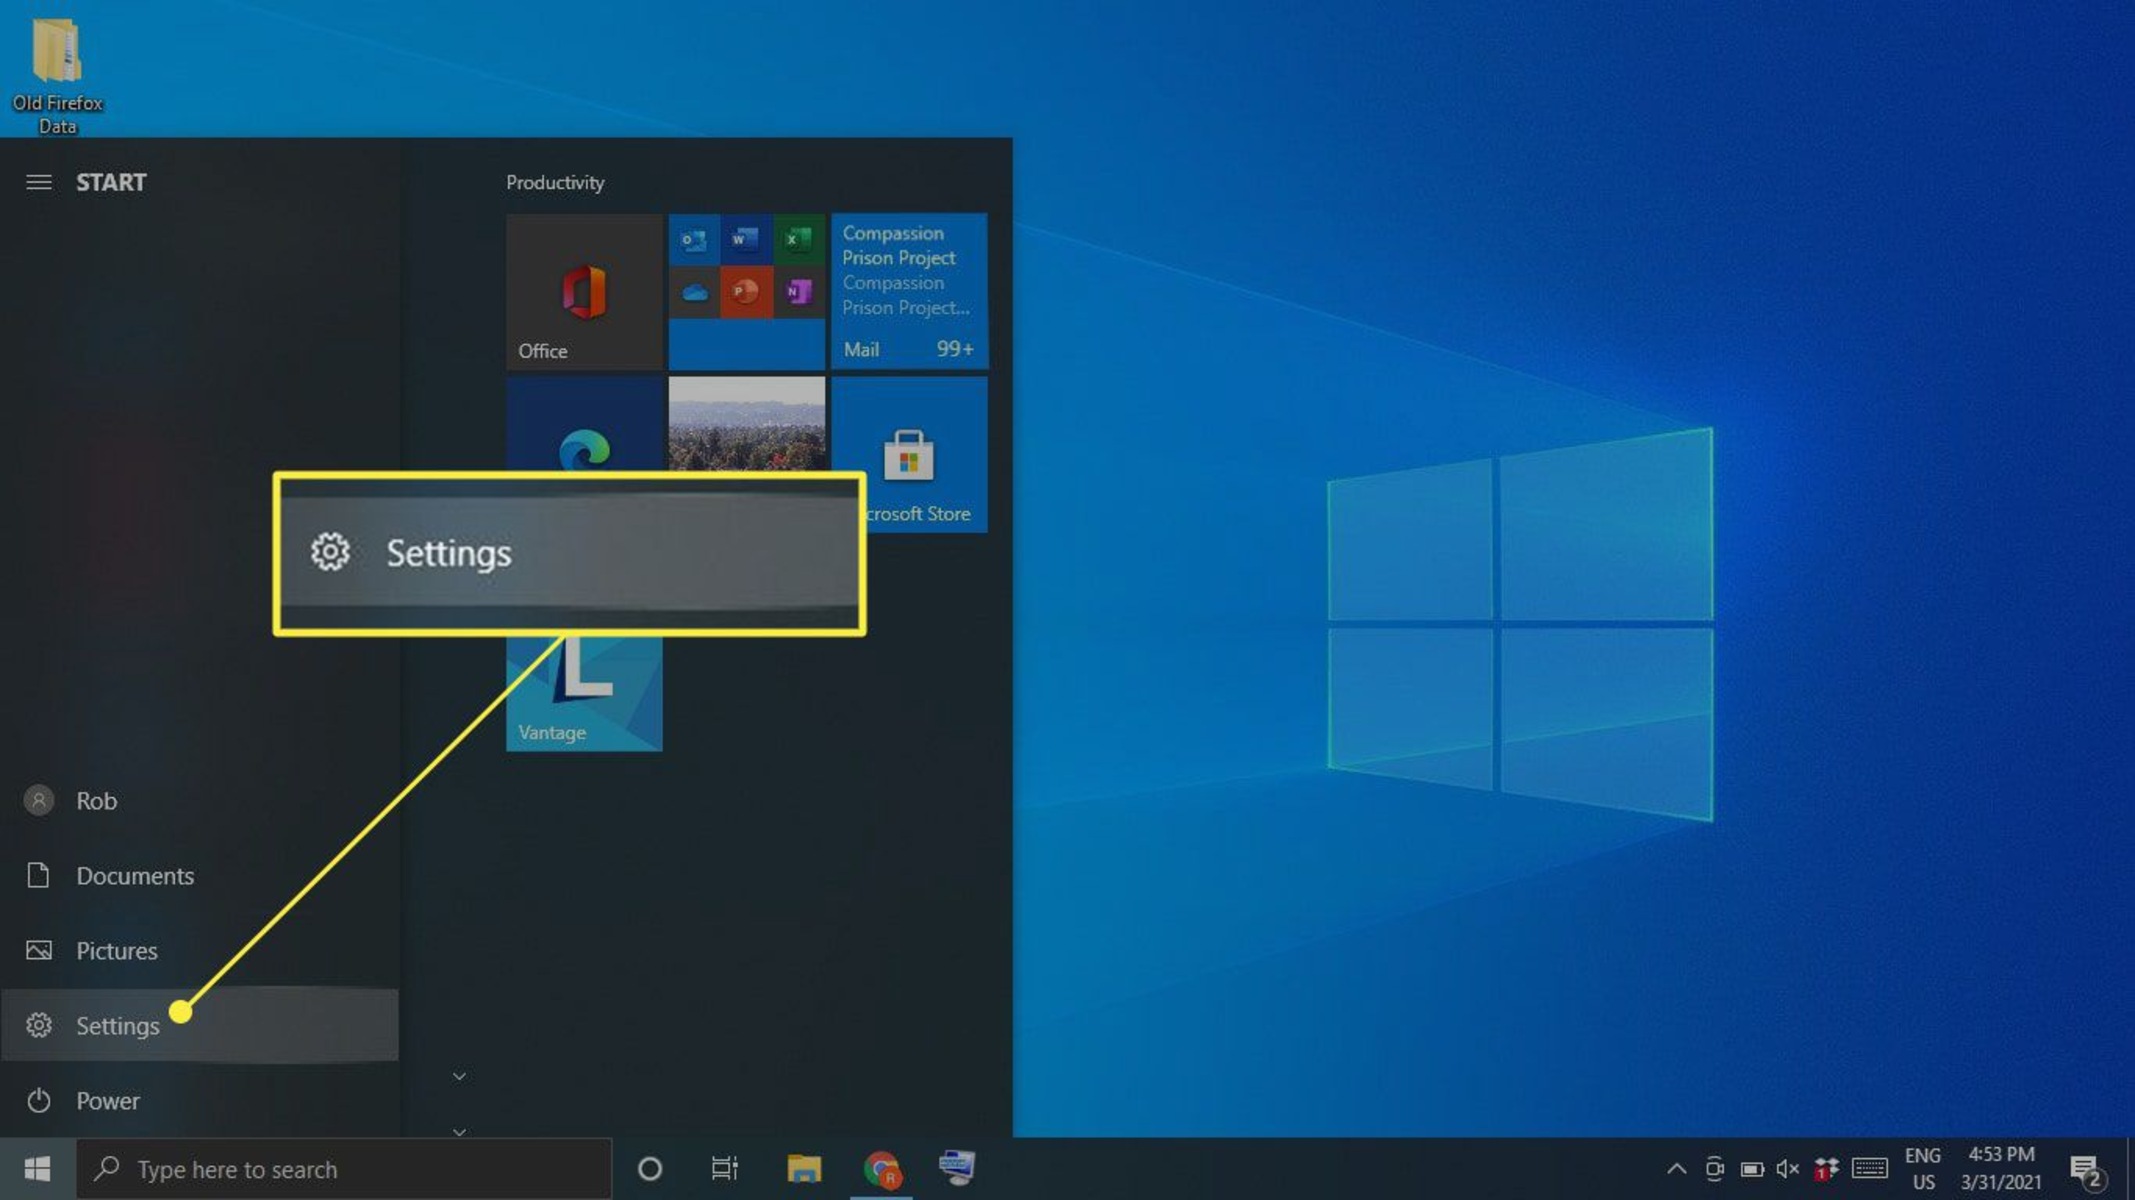
Uninstalling Firefox from your Windows 10 computer is a relatively simple process that can be accomplished through the built-in Windows settings. To begin, navigate to the "Settings" app by clicking on the Start menu and selecting the gear icon. From the Settings menu, choose "Apps" to access the list of installed applications on your system.
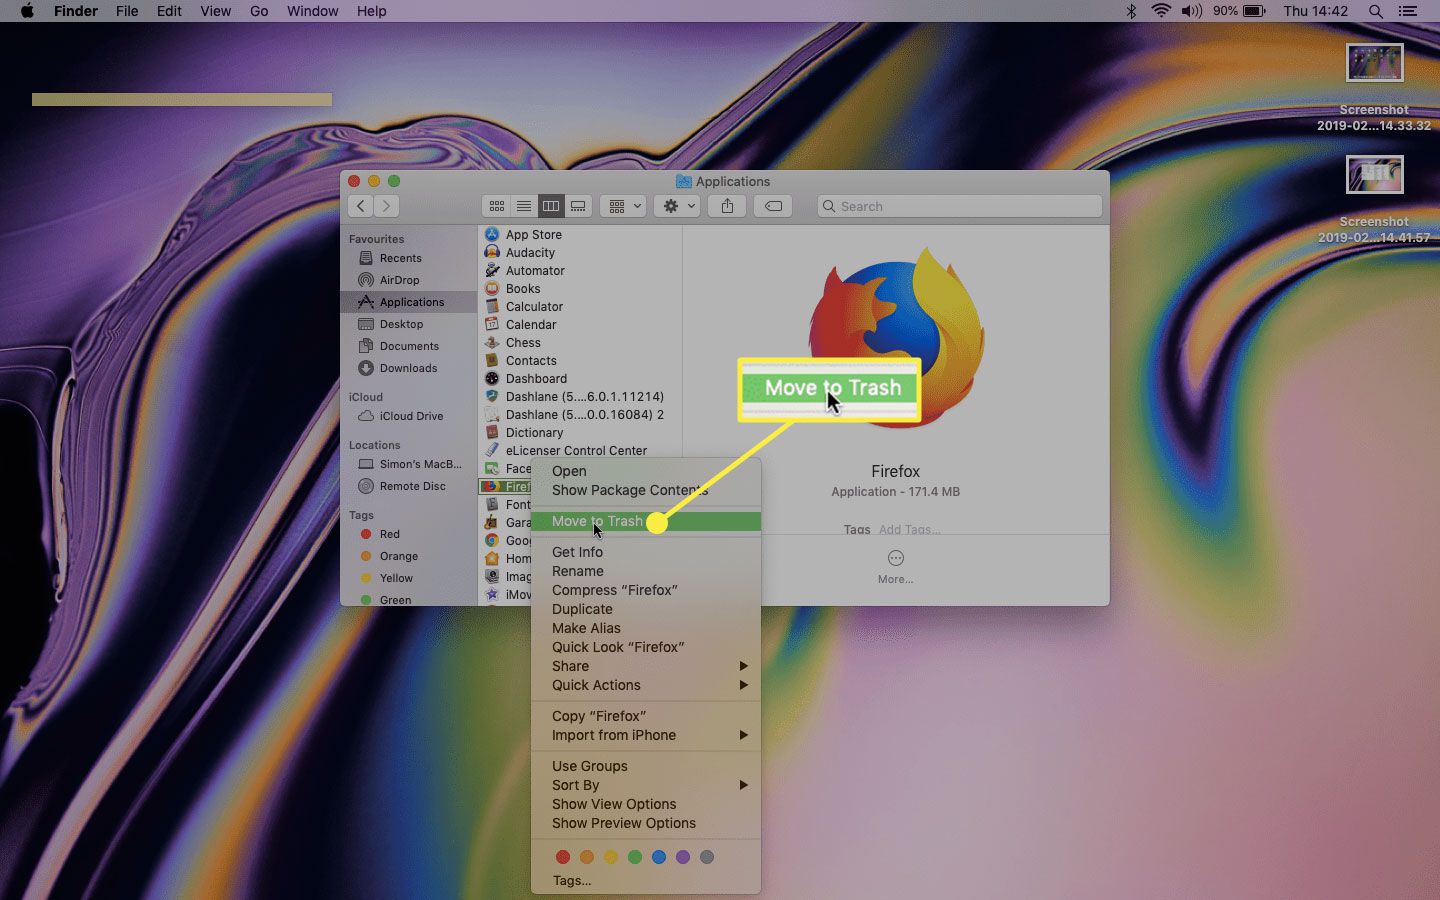
Scroll through the list of installed apps to locate "Mozilla Firefox." Once you've found it, click on the entry to reveal the "Uninstall" button. Clicking "Uninstall" will initiate the removal process, prompting a confirmation dialog to ensure that you want to proceed with uninstalling Firefox.
Upon confirming the uninstallation, Windows will begin removing Firefox from your system. This process may take a few moments, depending on the speed of your computer and the amount of data associated with the application. Once the uninstallation is complete, you will receive a notification indicating that Firefox has been successfully removed from your Windows 10 computer.
It's important to note that uninstalling Firefox through the Windows settings primarily removes the application itself, but it may not eliminate all associated data and settings. To ensure a thorough removal of Firefox from your system, including its residual files and settings, it's essential to proceed with the subsequent steps outlined in this guide.
By following these instructions, you can confidently uninstall Firefox from your Windows 10 computer, paving the way for a more comprehensive cleanup process. With the application successfully uninstalled, you are now ready to proceed to the next crucial steps of removing Firefox's data and settings, as well as cleaning up any remaining registry entries to achieve a complete eradication of the browser from your Windows 10 system.
Removing Firefox Data and Settings
Once you have uninstalled Firefox from your Windows 10 system, it's essential to address the residual data and settings that may still linger on your computer. This step is crucial for achieving a thorough removal of Firefox and ensuring that no remnants of the browser impact your system's performance or interfere with future installations.
Clearing AppData and LocalAppData
To begin the process of removing Firefox's data and settings, you'll need to navigate to the AppData and LocalAppData folders on your Windows 10 computer. These folders contain application-specific data and settings, including those associated with Firefox. To access these folders, press the Windows key + R to open the Run dialog, then type "%appdata%" and "%localappdata%" (without quotes) and press Enter.
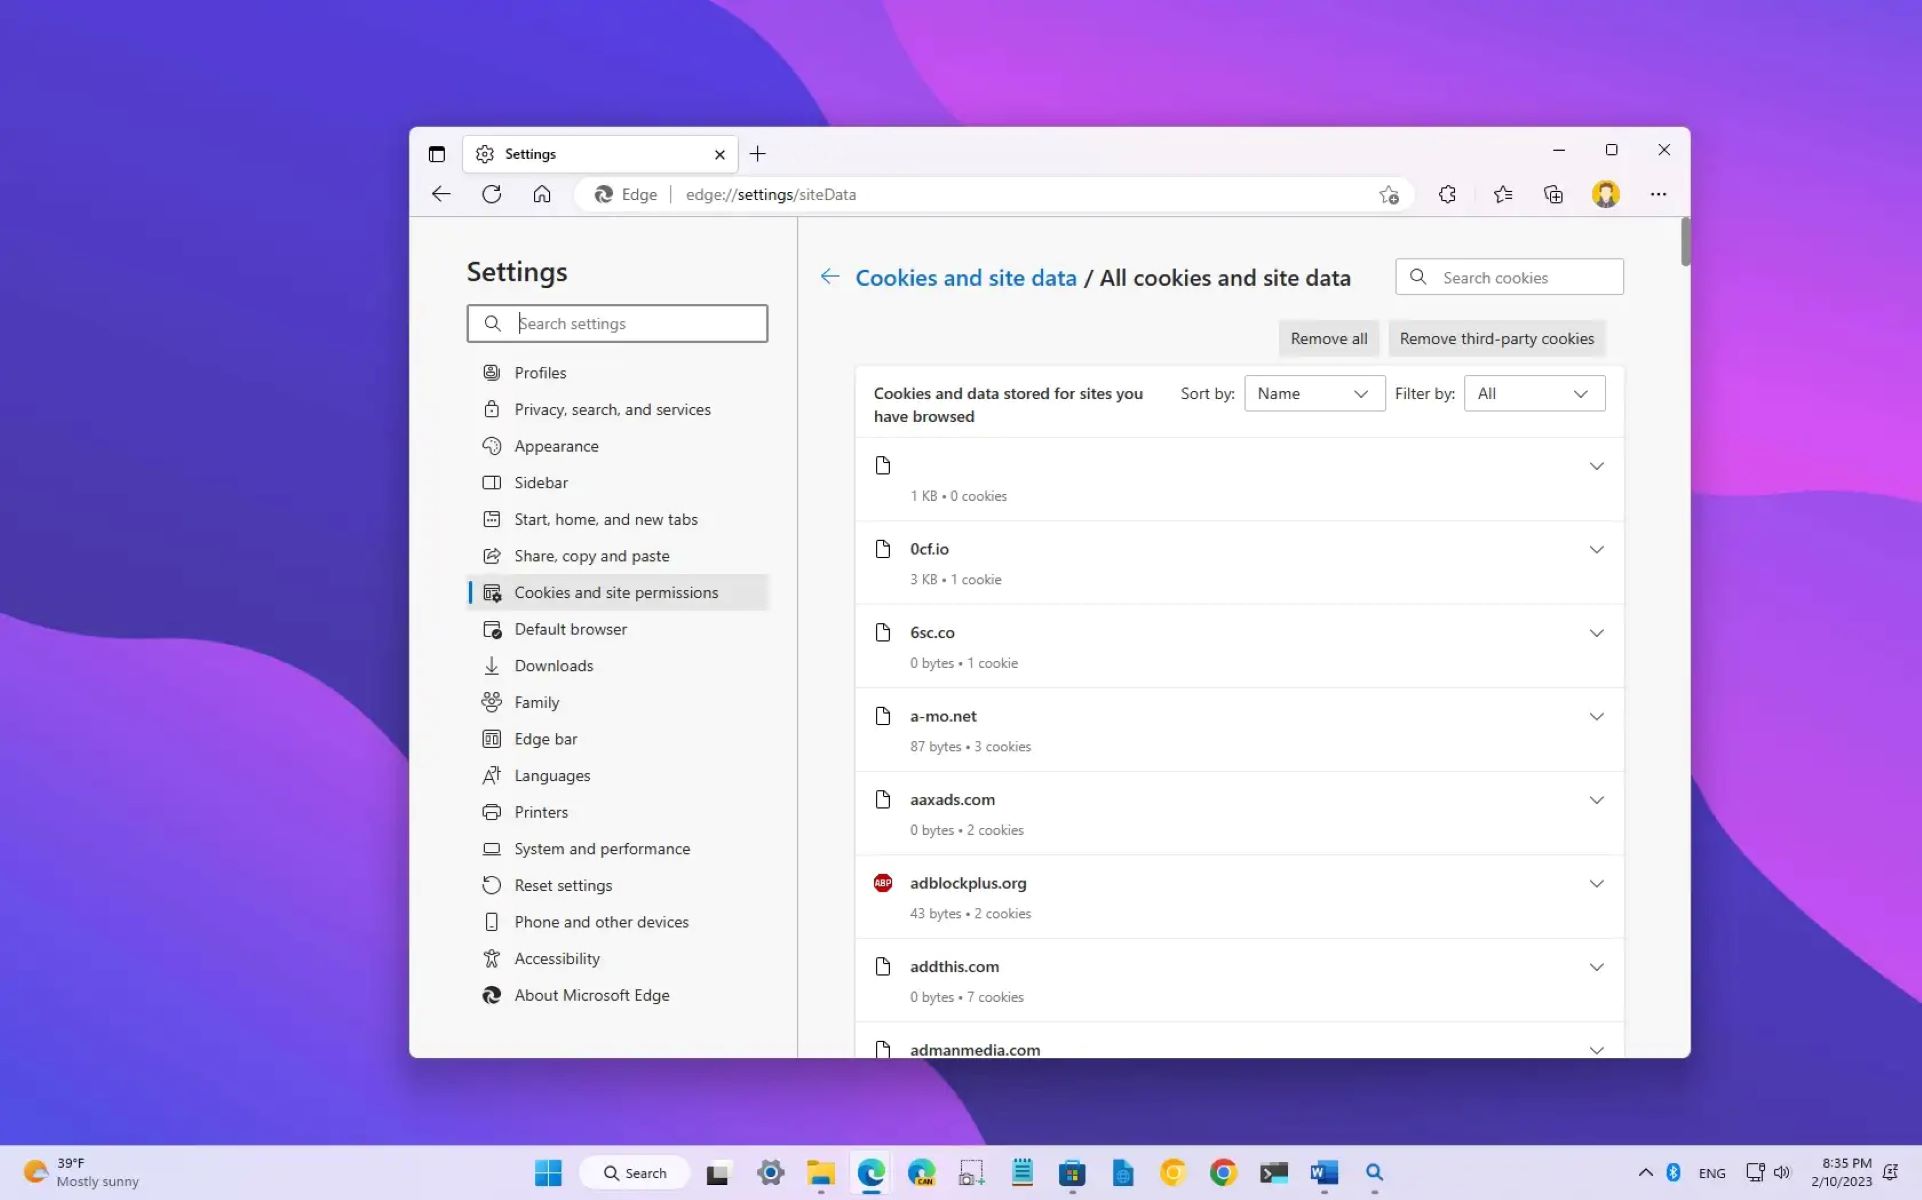
Within the AppData and LocalAppData folders, locate the Mozilla folder and delete it to remove any remaining Firefox data and settings. This action ensures that no residual configuration files or user data from Firefox are left behind, contributing to a more thorough cleanup of your system.
Removing Profile Data
Firefox stores user-specific data, such as bookmarks, browsing history, and preferences, within individual profiles. To completely remove this data, open File Explorer and navigate to the following directory: C:\Users\YourUsername\AppData\Roaming\Mozilla\Firefox\Profiles. Within the Profiles folder, delete any remaining profile folders associated with Firefox to eliminate all user-specific data and settings.
By removing the profile data, you effectively erase any personalized information and configurations linked to Firefox, further enhancing the completeness of the browser's removal from your Windows 10 system.
Cleaning Up Registry Entries
In addition to clearing out the application and user data, it's important to address any registry entries associated with Firefox. While the Windows Registry is a sensitive area of the operating system, removing obsolete or leftover entries related to Firefox can contribute to a more pristine system environment.
To clean up registry entries, you can utilize reputable third-party registry cleaning tools or manually navigate to the Windows Registry using the regedit command. Exercise caution when modifying the registry, as improper changes can adversely affect your system's stability.
By meticulously following these steps to remove Firefox's data and settings, you can achieve a comprehensive eradication of the browser from your Windows 10 system. This meticulous approach not only ensures a clean slate for future browser usage but also contributes to the overall optimization and stability of your computer.
With Firefox's data and settings effectively removed, your Windows 10 system is now primed for a fresh start, devoid of any lingering traces of the browser.
Cleaning Up Registry Entries
Cleaning up registry entries associated with Firefox is a crucial step in ensuring a thorough removal of the browser from your Windows 10 system. The Windows Registry serves as a centralized database that stores configuration settings and options for the operating system, installed applications, and user preferences. While the registry is a sensitive component of the Windows environment, addressing obsolete or residual entries related to Firefox can contribute to a cleaner and more optimized system.
To begin the process of cleaning up registry entries, you can utilize reputable third-party registry cleaning tools that are designed to scan for and remove redundant or invalid entries. These tools offer a convenient and automated approach to identifying and addressing registry issues, including those associated with uninstalled applications such as Firefox. By leveraging the capabilities of these tools, you can streamline the cleanup process and mitigate the risk of manual errors when modifying the registry.
Alternatively, if you prefer a more hands-on approach, you can manually navigate to the Windows Registry using the regedit command. It's important to exercise caution and precision when modifying the registry, as inadvertent changes can potentially impact the stability and functionality of your Windows 10 system. Before making any modifications, it's advisable to create a backup of the registry to safeguard against unforeseen complications.
Once within the Windows Registry, you can navigate to specific registry hives and keys associated with Firefox. This may include entries related to the application's installation path, settings, file associations, and other configurations. By identifying and removing these obsolete entries, you can effectively declutter the registry and eliminate any remnants of Firefox that may persist after the application's uninstallation.
It's worth noting that while cleaning up registry entries can contribute to a more streamlined and organized registry, the impact on system performance may be marginal. However, from a maintenance and housekeeping perspective, addressing residual registry entries aligns with best practices for optimizing the overall health of your Windows 10 system.
By meticulously following these steps to clean up registry entries, you can complement the thorough removal of Firefox from your Windows 10 system, contributing to a more pristine and well-maintained computing environment. This meticulous approach not only ensures a clean slate for future installations and system operations but also aligns with proactive measures to uphold the integrity and efficiency of your Windows 10 system.
Conclusion
In conclusion, the process of completely removing Firefox from a Windows 10 system involves more than just uninstalling the application through the standard Windows settings. By following the comprehensive steps outlined in this guide, you can ensure a thorough eradication of Firefox, including its associated data, settings, and registry entries. This meticulous approach not only contributes to a cleaner and more optimized system but also sets the stage for a fresh start, whether you intend to switch to a different web browser or perform a system cleanup.
Uninstalling Firefox from Windows 10 is just the initial step in the process. Once the application is uninstalled, it's essential to address the residual data and settings that may linger on the system. This includes clearing out the AppData and LocalAppData folders, removing profile data, and addressing any lingering registry entries associated with Firefox. By meticulously following these steps, you can achieve a comprehensive removal of the browser, leaving your Windows 10 system free from any remnants that could potentially impact its performance or stability.
Furthermore, the meticulous cleanup of Firefox from your Windows 10 system not only ensures a clean slate for future browser usage but also aligns with best practices for system maintenance and optimization. By eliminating obsolete data and registry entries, you contribute to a more streamlined and organized computing environment, potentially mitigating the risk of conflicts or errors that may arise from incomplete removal.
It's important to note that while the steps outlined in this guide offer a thorough approach to removing Firefox from Windows 10, exercising caution and precision is paramount, particularly when modifying the Windows Registry. Always ensure that you have a backup of critical data and settings before making any modifications, and consider leveraging reputable third-party tools for registry cleanup to streamline the process and minimize the risk of errors.
By following the guidance provided in this tutorial, you can confidently navigate the process of completely removing Firefox from your Windows 10 system, empowering you to maintain a pristine and well-optimized computing environment. Whether you're seeking to troubleshoot issues, reclaim disk space, or transition to a different web browser, the meticulous removal of Firefox ensures that your Windows 10 system is ready for the next chapter in its digital journey.