To find NAS IP address Windows 10, the fastest route is usually a dedicated discovery tool from your NAS manufacturer, but you can also use Command Prompt or your router’s admin page. The IP address is the unique identifier Windows 10 uses to reach your Network Attached Storage, so having it lets you open the device’s web interface, map drives, or troubleshoot why the NAS is missing from File Explorer.
Before you start: Turn on network discovery
Network discovery is the Windows 10 setting that lets your PC see other devices on the same private network. If it’s off, your NAS might be completely invisible in File Explorer even though it has a valid IP address. To enable it, go to Settings > Network & internet > Advanced network settings > Advanced sharing settings, then turn on network discovery for your current network profile (usually “Private”). This is a quick prerequisite that prevents the most common reason a NAS doesn’t show up, and it also makes the other methods below work more reliably.
The easiest way: Use your manufacturer’s discovery tool
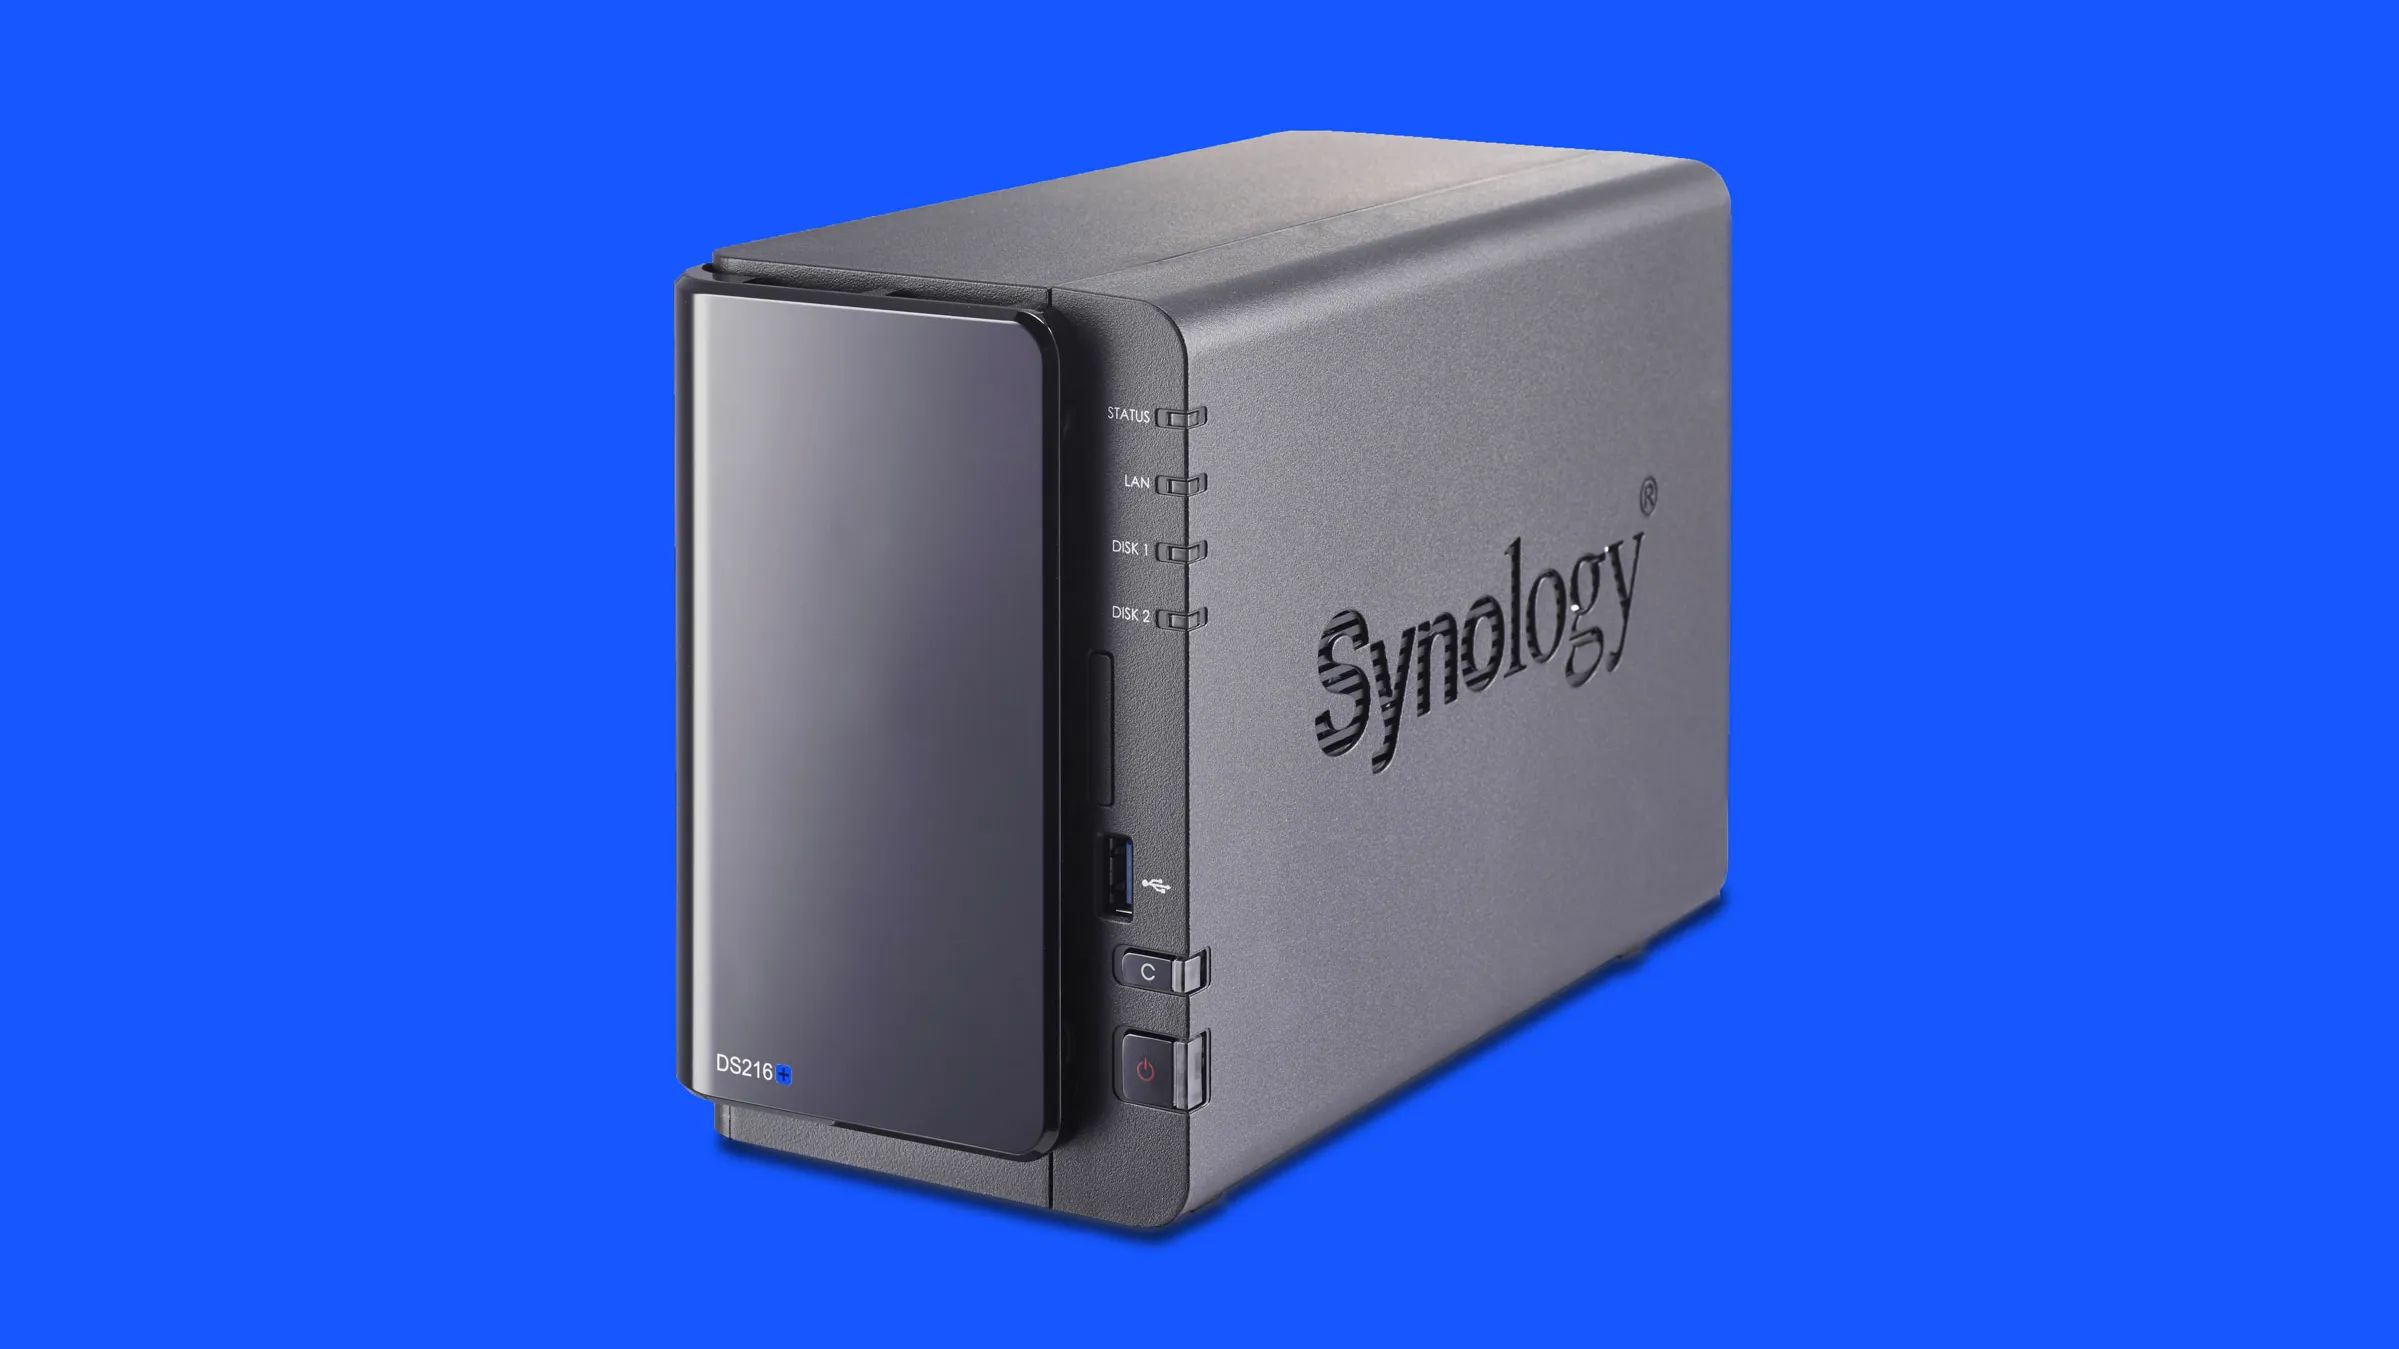
Every major NAS vendor ships a free utility that scans your local network and lists all of their devices with their current IP addresses. These tools are purpose-built for this task and are more reliable than generic Windows network browsing. For Synology, download and install Synology Assistant from the Synology Download Center, then run it to scan your local network for the device and its IP address. For QNAP, download and install QNAP Qfinder Pro from the official QNAP website; it automatically finds QNAP devices on the same local area network and displays their IP addresses. For Western Digital My Cloud devices, the My Cloud Access app or WD Discovery software can help find the IP address. If you have a different brand, check the manufacturer’s support page for its equivalent tool, this is the most direct way to find a NAS IP address because the utility talks directly to the device’s firmware, bypassing Windows networking quirks entirely.
Find the IP with Command Prompt (no download needed)
If you don’t want to install anything, Command Prompt can resolve the NAS IP address in two ways. First, if you know the NAS hostname (for example, “diskstation” or “mycloud”), open Command Prompt (press Windows Key + R, type cmd, press Enter) and type ping [hostname] then press Enter. Windows will show the IP address it resolves to in the first reply line. If you don’t know the hostname, type arp -a and press Enter; this lists IP and MAC addresses for every device your PC has recently communicated with. Look for entries that aren’t your router or your own computer, the NAS will typically have a vendor-specific MAC prefix (you can cross-check the first six characters of the MAC address against an OUI lookup if needed). Note that ipconfig alone shows only your computer’s IP and your router’s default gateway, not the IP of other devices like a NAS, so don’t rely on it for this purpose.
Check your router’s DHCP client list
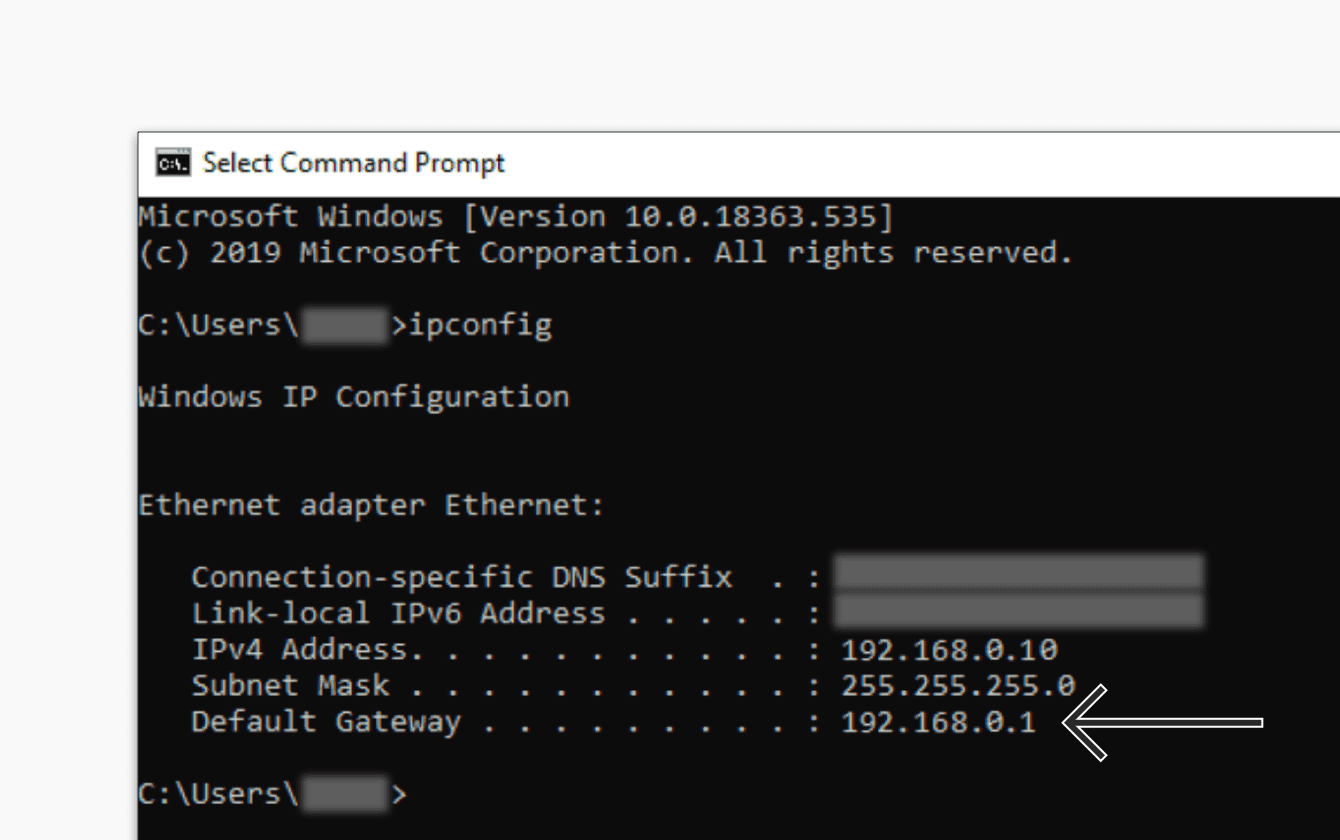
Your router assigns IP addresses to every device on your network, so its admin page is the authoritative source for what’s connected. To get there, open Command Prompt and type ipconfig, then press Enter. Look for the “Default Gateway” entry, that’s your router’s IP address. Type that address into a web browser and log in with your router’s admin credentials. Once inside, find the DHCP client list (often under “Attached Devices,” “Connected Devices,” or “LAN Status”). This list shows every device that has received an IP address from the router, including your NAS. The NAS will usually appear with its hostname, MAC address, and the IP address it’s currently using. This method works even if Windows network discovery is broken, because the router sees all traffic on the network regardless of your PC’s settings.
Why your NAS IP might change (and how to fix it)
NAS IP addresses are typically assigned dynamically by a DHCP server (usually the router) and can change. That means the IP you find today might be different tomorrow, especially after a reboot of the NAS or the router. If you rely on a fixed IP for mapped drives, scheduled backups, or port forwarding, a change can break those connections. To prevent this, log into your router’s admin page, find the DHCP reservation or static lease section, and bind your NAS’s MAC address to a specific IP. This ensures the router always gives the NAS the same IP address, so you can bookmark the web interface and map network drives without worrying about the address shifting. Setting a static IP reservation is a one-time configuration that gives you permanent, reliable access to your NAS on Windows 10.
\nRelated reading: How To Use HP Thunderbolt Dock, How To Find A 3D Printer IP Address, and How To Find Default Gateway IP Address.