Introduction
Do you have an old Wi-Fi router gathering dust in a corner? Instead of letting it sit idly, you can breathe new life into it by repurposing it as a network switch. This simple yet practical transformation can expand the connectivity options in your home or office without requiring a significant investment. In this guide, we will explore the step-by-step process of repurposing your old Wi-Fi router as a network switch, allowing you to maximize its utility and minimize electronic waste.
Repurposing your old Wi-Fi router as a network switch not only provides a cost-effective alternative to purchasing a new switch but also contributes to a more sustainable approach to technology usage. By repurposing existing devices, you can reduce electronic waste and make the most of the resources at your disposal. So, if you're ready to embark on this DIY networking project, let's dive into the process of transforming your old Wi-Fi router into a valuable network switch.
Repurposing your old Wi-Fi router as a network switch is a practical and eco-friendly solution that can enhance your network's capabilities without breaking the bank. Whether you're looking to expand your wired network connections or seeking an affordable way to optimize your existing hardware, repurposing an old Wi-Fi router as a network switch offers a range of benefits. So, let's roll up our sleeves and explore the steps to breathe new life into your old router.
What is a Network Switch?
A network switch is a fundamental component of a computer network that enables the seamless transfer of data between devices. Unlike a hub, which broadcasts data to all connected devices, a switch intelligently forwards data only to the intended recipient, optimizing network performance and reducing congestion.
At its core, a network switch functions as a central point of connection for various devices within a local area network (LAN). It facilitates the efficient transmission of data packets between devices, such as computers, printers, and servers, by creating a dedicated communication channel for each connection. This direct and targeted approach enhances network efficiency and minimizes data collisions, making it an essential tool for modern networking environments.
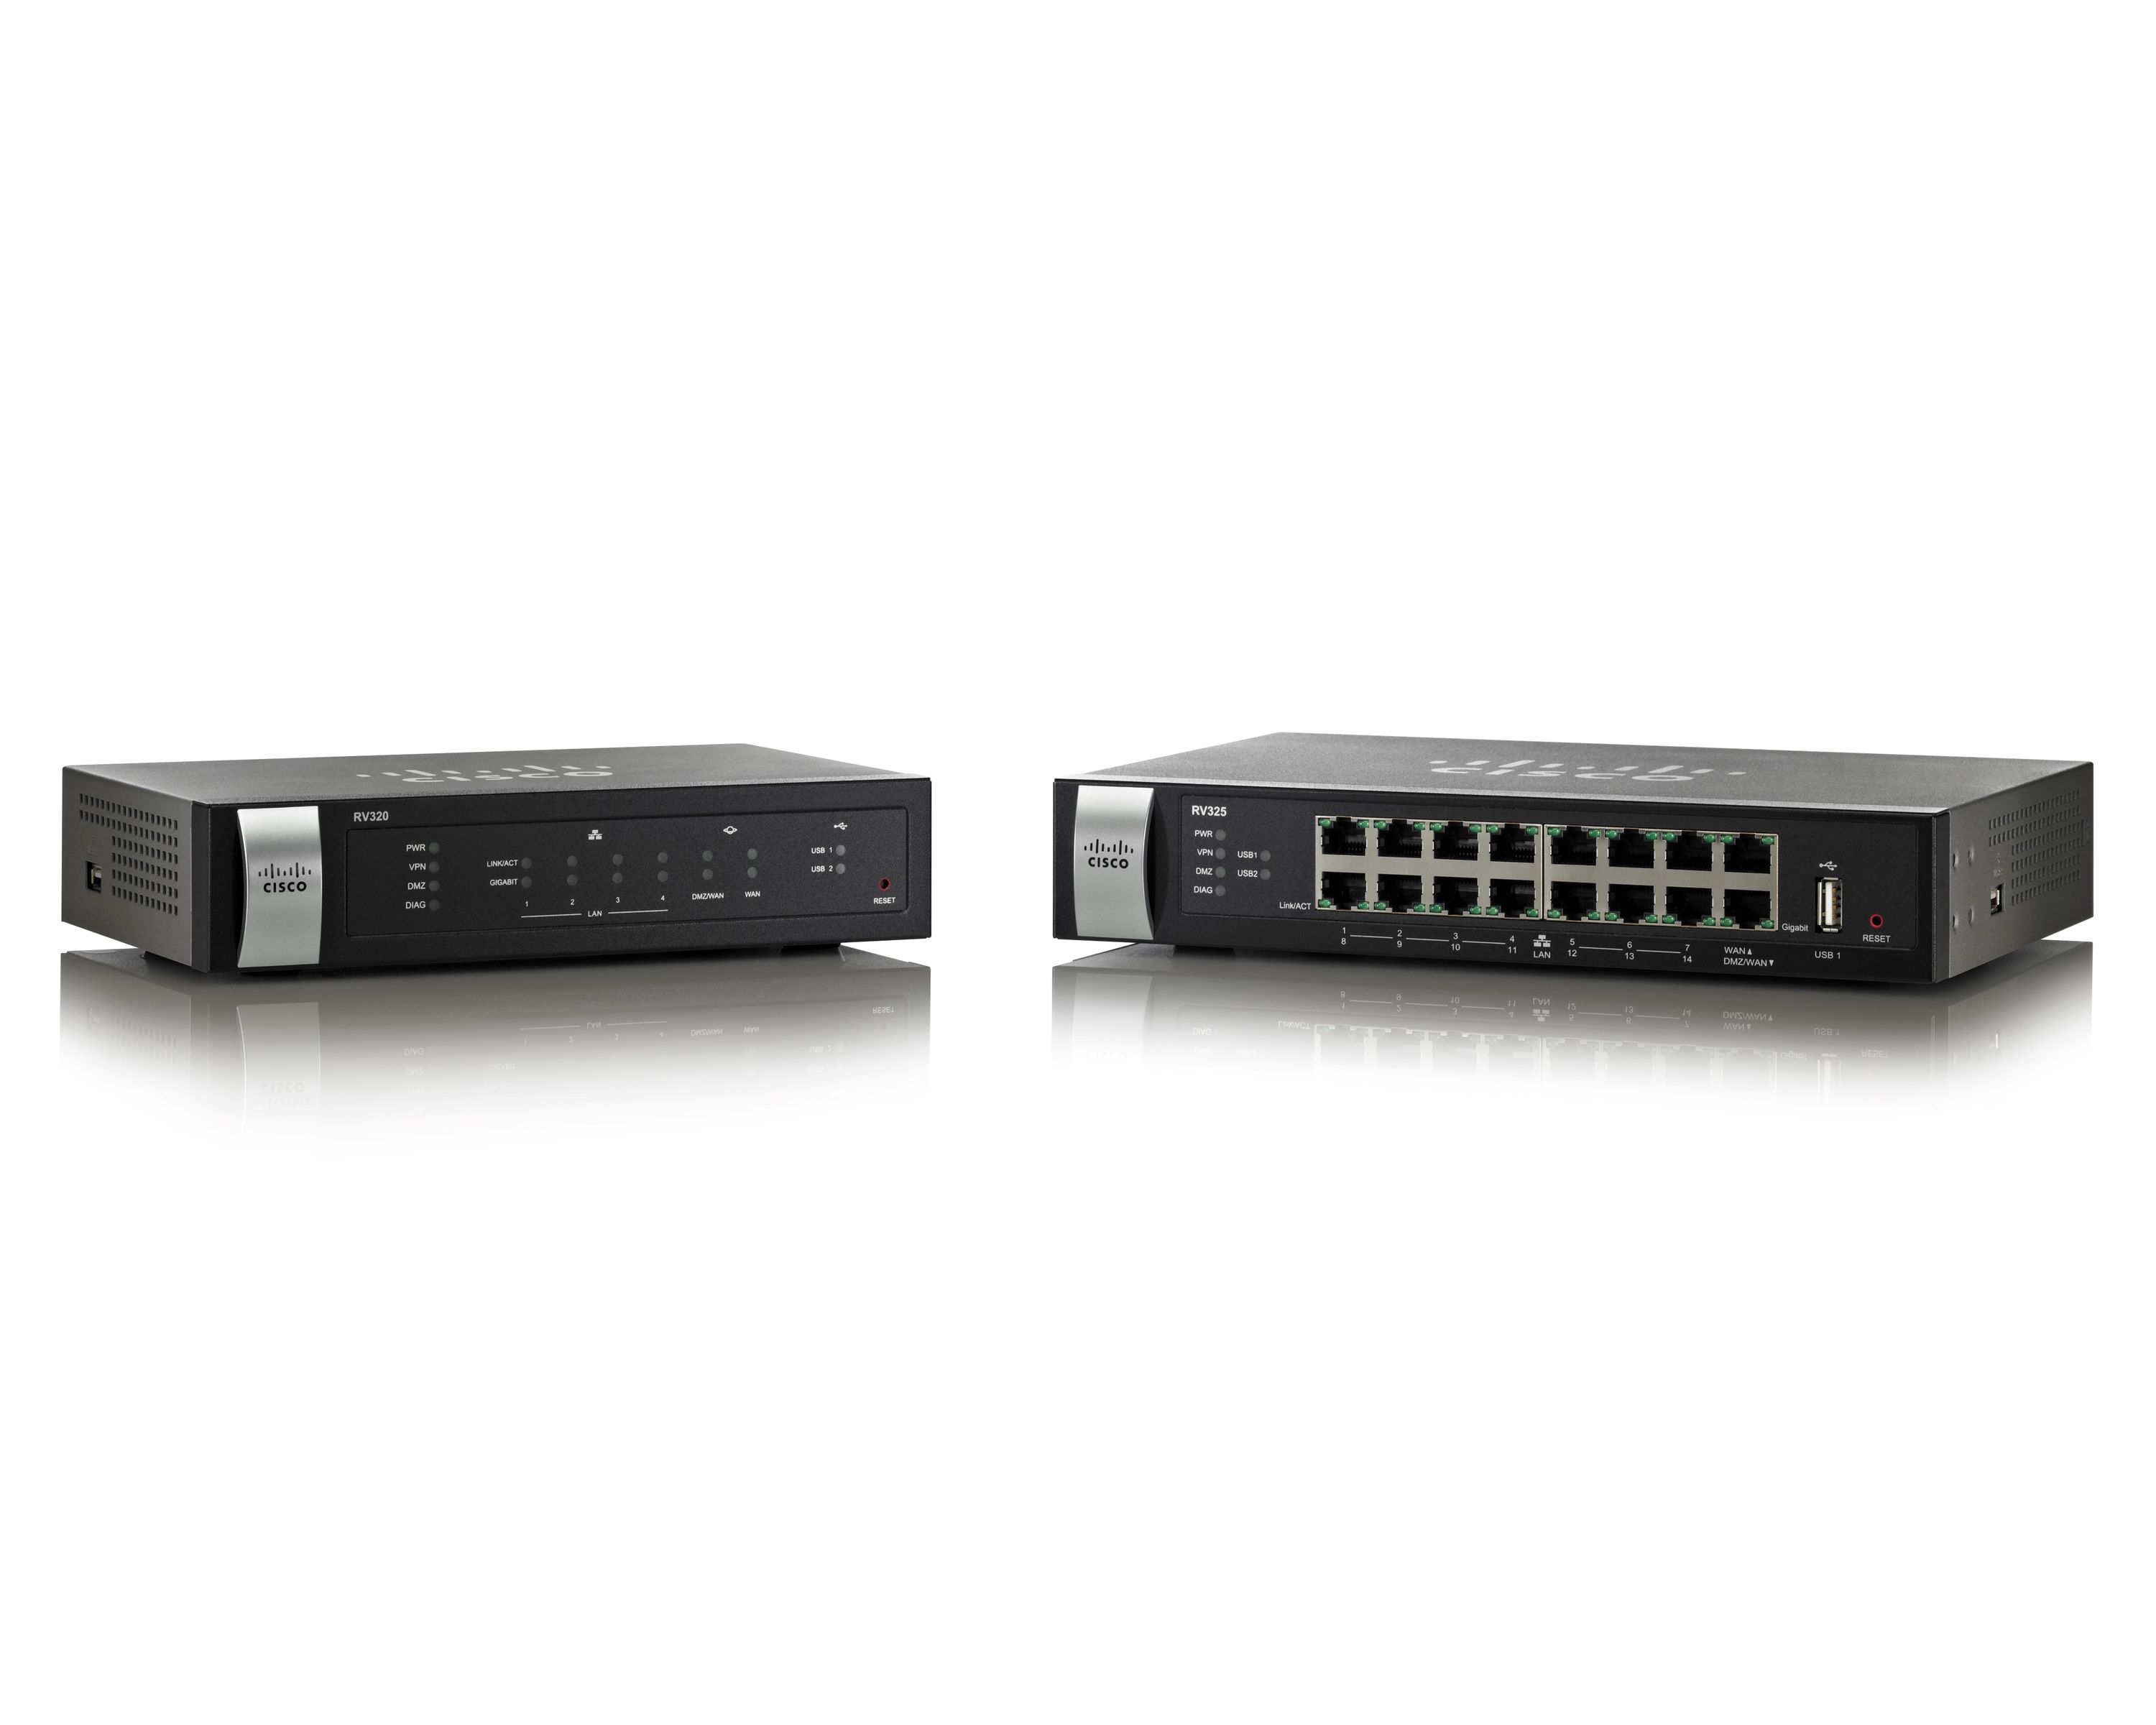
Network switches come in various sizes and configurations, ranging from small, unmanaged switches suitable for home networks to large, enterprise-grade managed switches capable of supporting extensive network infrastructures. Managed switches offer advanced features, including virtual LAN (VLAN) support, Quality of Service (QoS) capabilities, and network monitoring, providing administrators with greater control and flexibility over their network operations.
One of the key advantages of a network switch is its ability to facilitate wired connections between devices, offering high-speed and reliable data transfer. This is particularly beneficial for devices that require a stable and fast network connection, such as desktop computers, gaming consoles, and network-attached storage (NAS) devices. Additionally, network switches often include a combination of Ethernet ports, allowing multiple devices to be connected simultaneously, expanding the network’s connectivity options.
In summary, a network switch serves as a pivotal component in modern networking infrastructure, enabling efficient data transmission, minimizing network congestion, and providing a reliable platform for wired device connectivity. Its role in directing data traffic to specific destinations within a network contributes to improved network performance and seamless communication between connected devices.
How to Repurpose Your Old Wi-Fi Router as a Network Switch
Repurposing your old Wi-Fi router as a network switch involves a series of straightforward steps that can unlock its potential for enhancing your network infrastructure. By following these steps, you can effectively transform your old router into a valuable network switch, expanding your connectivity options without the need for additional hardware purchases.
Before diving into the repurposing process, it’s important to understand that repurposing the old Wi-Fi router as a network switch essentially disables its wireless functionality, converting it into a wired-only device. This means that the old router will no longer provide Wi-Fi connectivity but will instead serve as a hub for wired network connections, similar to a traditional network switch.
Now, let’s explore the step-by-step process of repurposing your old Wi-Fi router as a network switch:
- Step 1: Reset the Router to Factory Settings
Begin by resetting the old Wi-Fi router to its factory default settings. This typically involves pressing the reset button on the router for a specified duration, as outlined in the router’s user manual. By doing so, you will clear any existing configurations and prepare the router for the repurposing process. - Step 2: Disable the DHCP Function
Access the router’s administration interface through a web browser and disable the Dynamic Host Configuration Protocol (DHCP) function. This step ensures that the old router does not interfere with the main router’s DHCP assignment, preventing network conflicts. - Step 3: Connect the Old Router to the Main Router
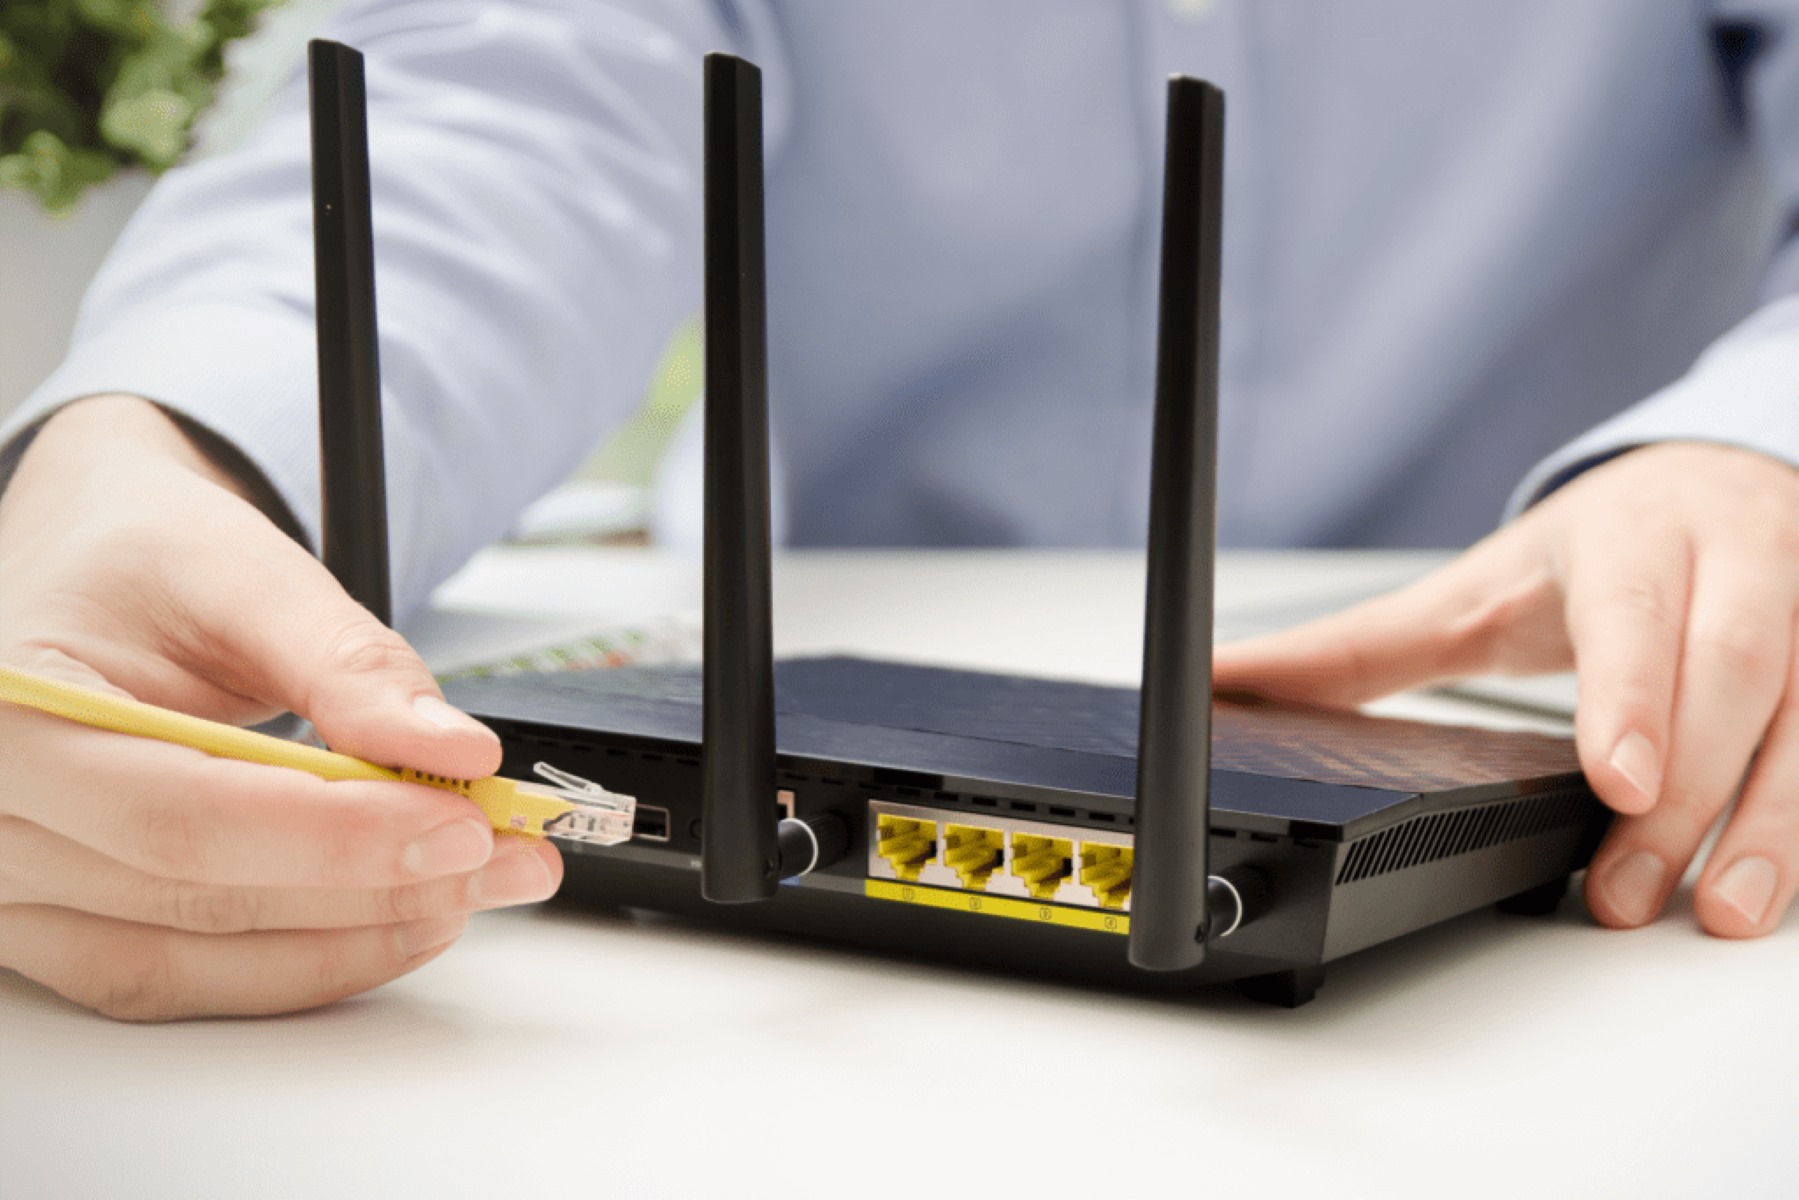
Use an Ethernet cable to connect one of the old router’s LAN (Local Area Network) ports to a LAN port on the main router. This establishes a physical connection between the two devices, allowing the old router to function as a network switch within the network infrastructure. - Step 4: Connect Devices to the Old Router
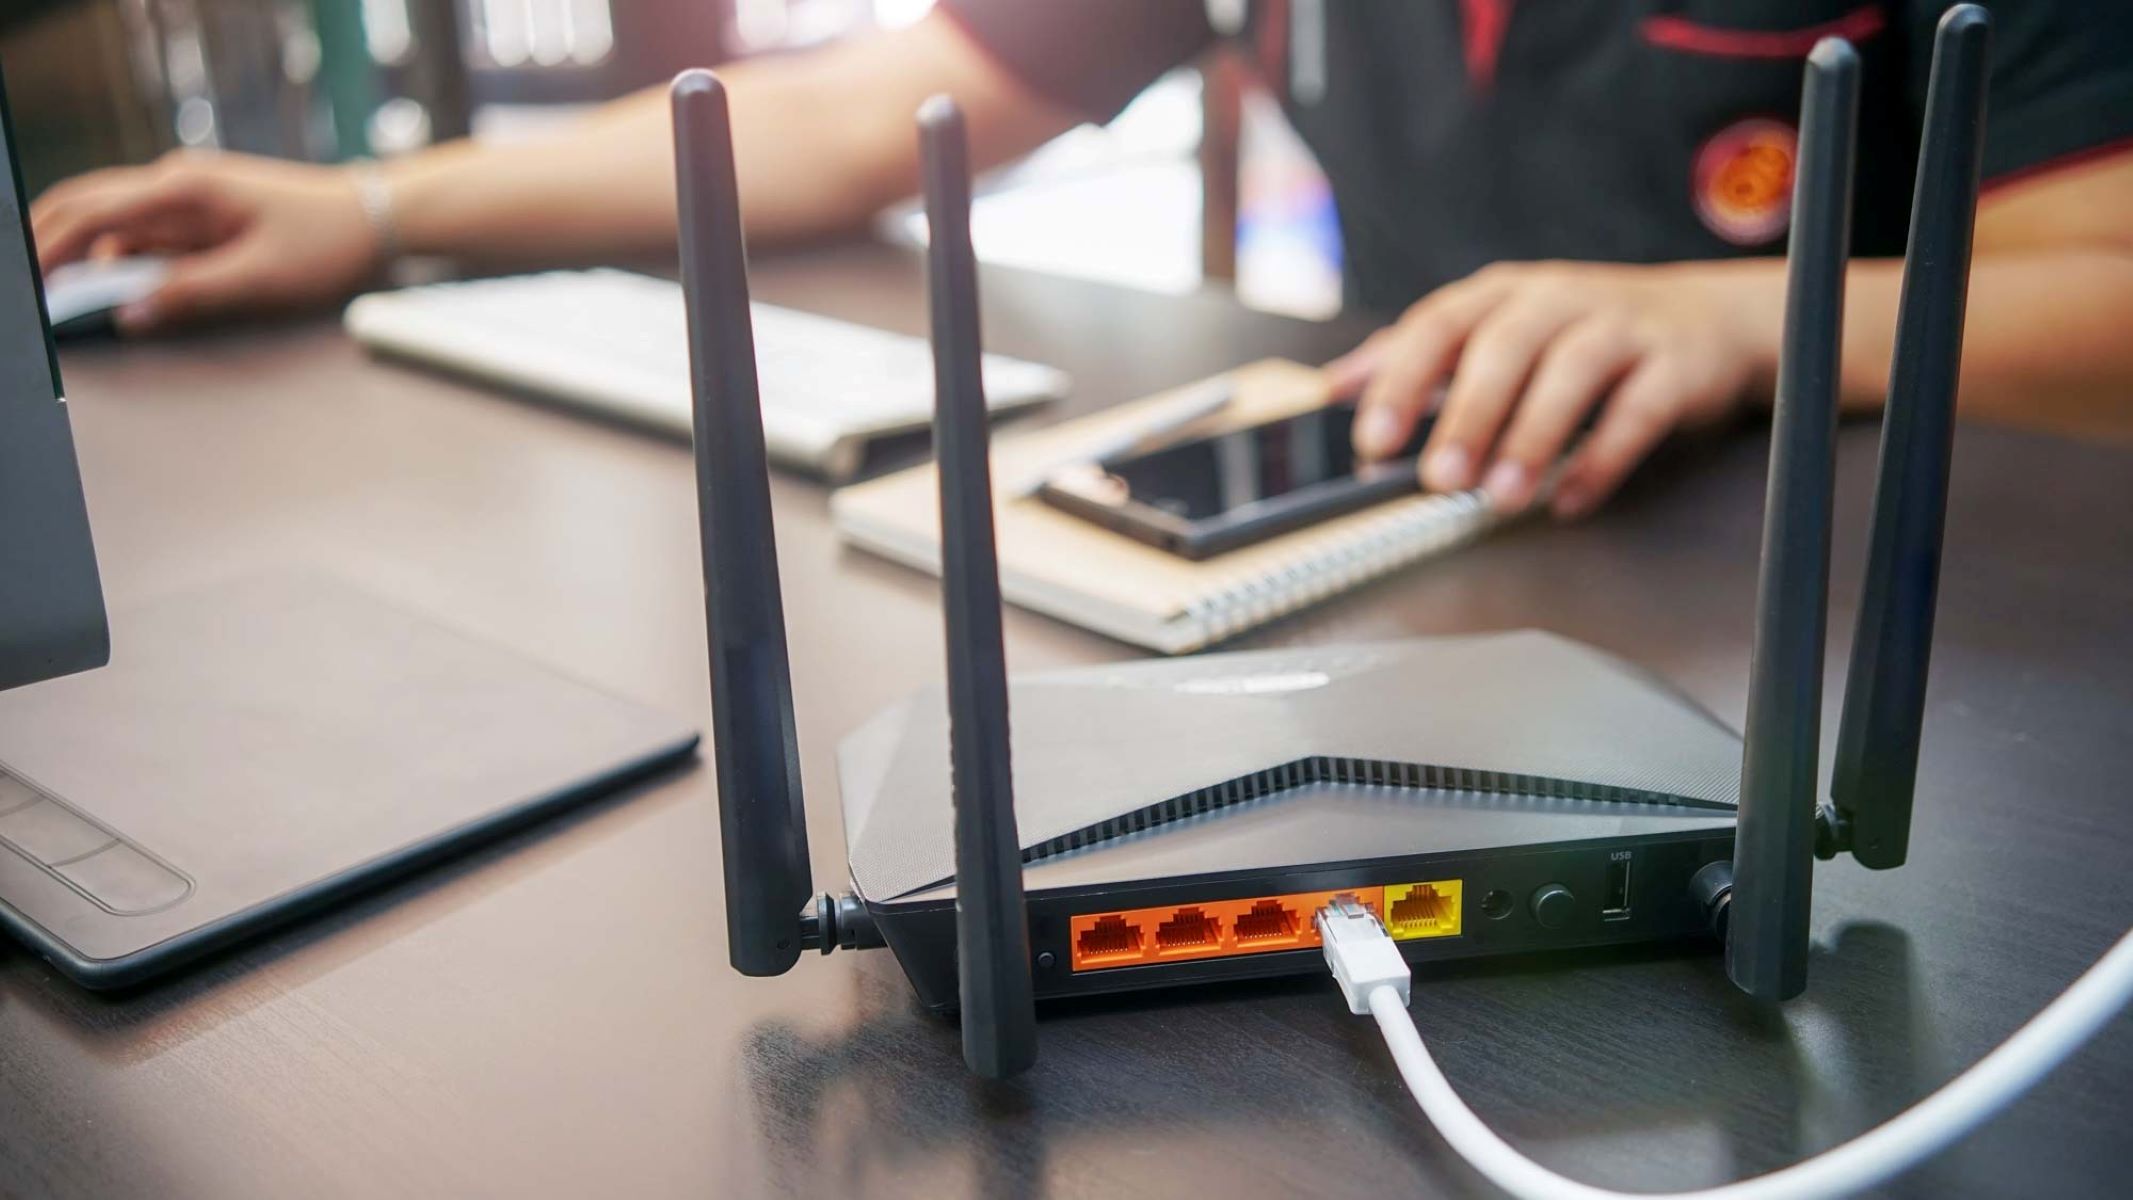
Utilize the remaining LAN ports on the old router to connect wired devices, such as computers, printers, or other network-enabled equipment. The old router, now repurposed as a network switch, will facilitate the communication between these devices and the main router, extending the network’s wired connectivity.
By following these steps, you can effectively repurpose your old Wi-Fi router as a network switch, leveraging its existing hardware to expand your network’s wired connectivity options. This DIY approach not only reduces electronic waste but also provides a cost-effective solution for enhancing your network infrastructure.
Step 1: Reset the Router to Factory Settings
Resetting your old Wi-Fi router to its factory default settings is the initial and crucial step in repurposing it as a network switch. This process clears any existing configurations and prepares the router for its new role within the network infrastructure. Here’s a detailed guide on how to reset the router:
1. Locate the Reset Button: The reset button on the router is typically a small, recessed button that may require a pointed object, such as a paperclip, to press. Refer to the router’s user manual or manufacturer’s website to identify the precise location of the reset button.
2. Power Off the Router: Before initiating the reset process, ensure that the router is powered on. If it is currently connected to a power source, disconnect the power cable to switch it off.
3. Press and Hold the Reset Button: Use a paperclip or a similar tool to press and hold the reset button on the router. The duration for which the button needs to be held may vary depending on the router model, so consult the user manual for specific instructions. Typically, holding the button for 10-15 seconds is sufficient to initiate the reset process.
4. Release the Reset Button: After holding the reset button for the required duration, release it. The router will undergo a reset process, indicated by various LED lights flashing or changing patterns. This signifies that the router is reverting to its factory default settings.
5. Wait for the Reset to Complete: Allow the router a few minutes to complete the reset process. During this time, it is advisable to keep the router powered on and avoid interrupting the reset procedure. Once the reset is complete, the router will be restored to its original factory settings.
By resetting the old Wi-Fi router to its factory settings, you effectively clear any previous configurations, including wireless network settings, administrative passwords, and network preferences. This prepares the router for its new role as a network switch, devoid of its previous Wi-Fi functionality. With the router reset, you can proceed to the next steps in repurposing it as a valuable network switch within your network infrastructure.
Step 2: Disable the DHCP Function
After resetting your old Wi-Fi router to its factory default settings, the next crucial step in repurposing it as a network switch involves disabling the Dynamic Host Configuration Protocol (DHCP) function. DHCP is responsible for automatically assigning IP addresses to devices within a network, and by deactivating this function, you ensure that the old router does not conflict with the main router’s DHCP assignment. Here’s a detailed guide on how to disable the DHCP function:
1. Access the Router’s Administration Interface: Using a web browser on a connected device, enter the default IP address of the router in the address bar. The default IP address, along with the administrative login credentials, can typically be found in the router’s user manual or on the manufacturer’s website. Once entered, you will be prompted to log in to the router’s administration interface.
2. Log in to the Router: Enter the administrative username and password when prompted. If you have not changed these credentials, the default login information can often be found in the router’s documentation. Upon successful authentication, you will gain access to the router’s settings and configuration options.
3. Navigate to the DHCP Settings: Within the router’s administration interface, locate the DHCP settings or configuration section. This may be listed under a “LAN settings,” “Network settings,” or “DHCP server” category, depending on the router’s interface design. Click on the corresponding menu option to access the DHCP settings.
4. Disable the DHCP Server: Within the DHCP settings, locate the option to disable the DHCP server function. This option may be presented as a checkbox or a toggle switch, allowing you to turn off the DHCP server. By disabling the DHCP function, the old router will no longer assign IP addresses to devices connected to its LAN ports, effectively relinquishing this responsibility to the main router.
5. Save the Changes: After disabling the DHCP function, remember to save the changes within the router’s administration interface. This typically involves clicking a “Save” or “Apply” button to ensure that the updated settings take effect. Once saved, the router will deactivate its DHCP server function and operate solely as a network switch within the network infrastructure.
By disabling the DHCP function on the old Wi-Fi router, you prevent it from conflicting with the main router’s DHCP assignment, ensuring a seamless integration within the network as a repurposed network switch. This step paves the way for connecting the old router to the main router and facilitating wired network connections for additional devices, expanding the network’s connectivity options without the need for purchasing a new switch.
Step 3: Connect the Old Router to the Main Router
Once you have reset the old Wi-Fi router to its factory settings and disabled the DHCP function, the next pivotal step in repurposing it as a network switch involves physically connecting it to the main router. This establishes a direct link between the two devices, enabling the old router to function as a network switch within the existing network infrastructure. Here’s a detailed guide on how to connect the old router to the main router:
1. Gather Necessary Equipment: To establish the connection, you will need an Ethernet cable long enough to span the distance between the old router’s location and the main router. Ensure that the Ethernet cable is in good condition and has the appropriate connectors to fit the LAN ports on both routers.
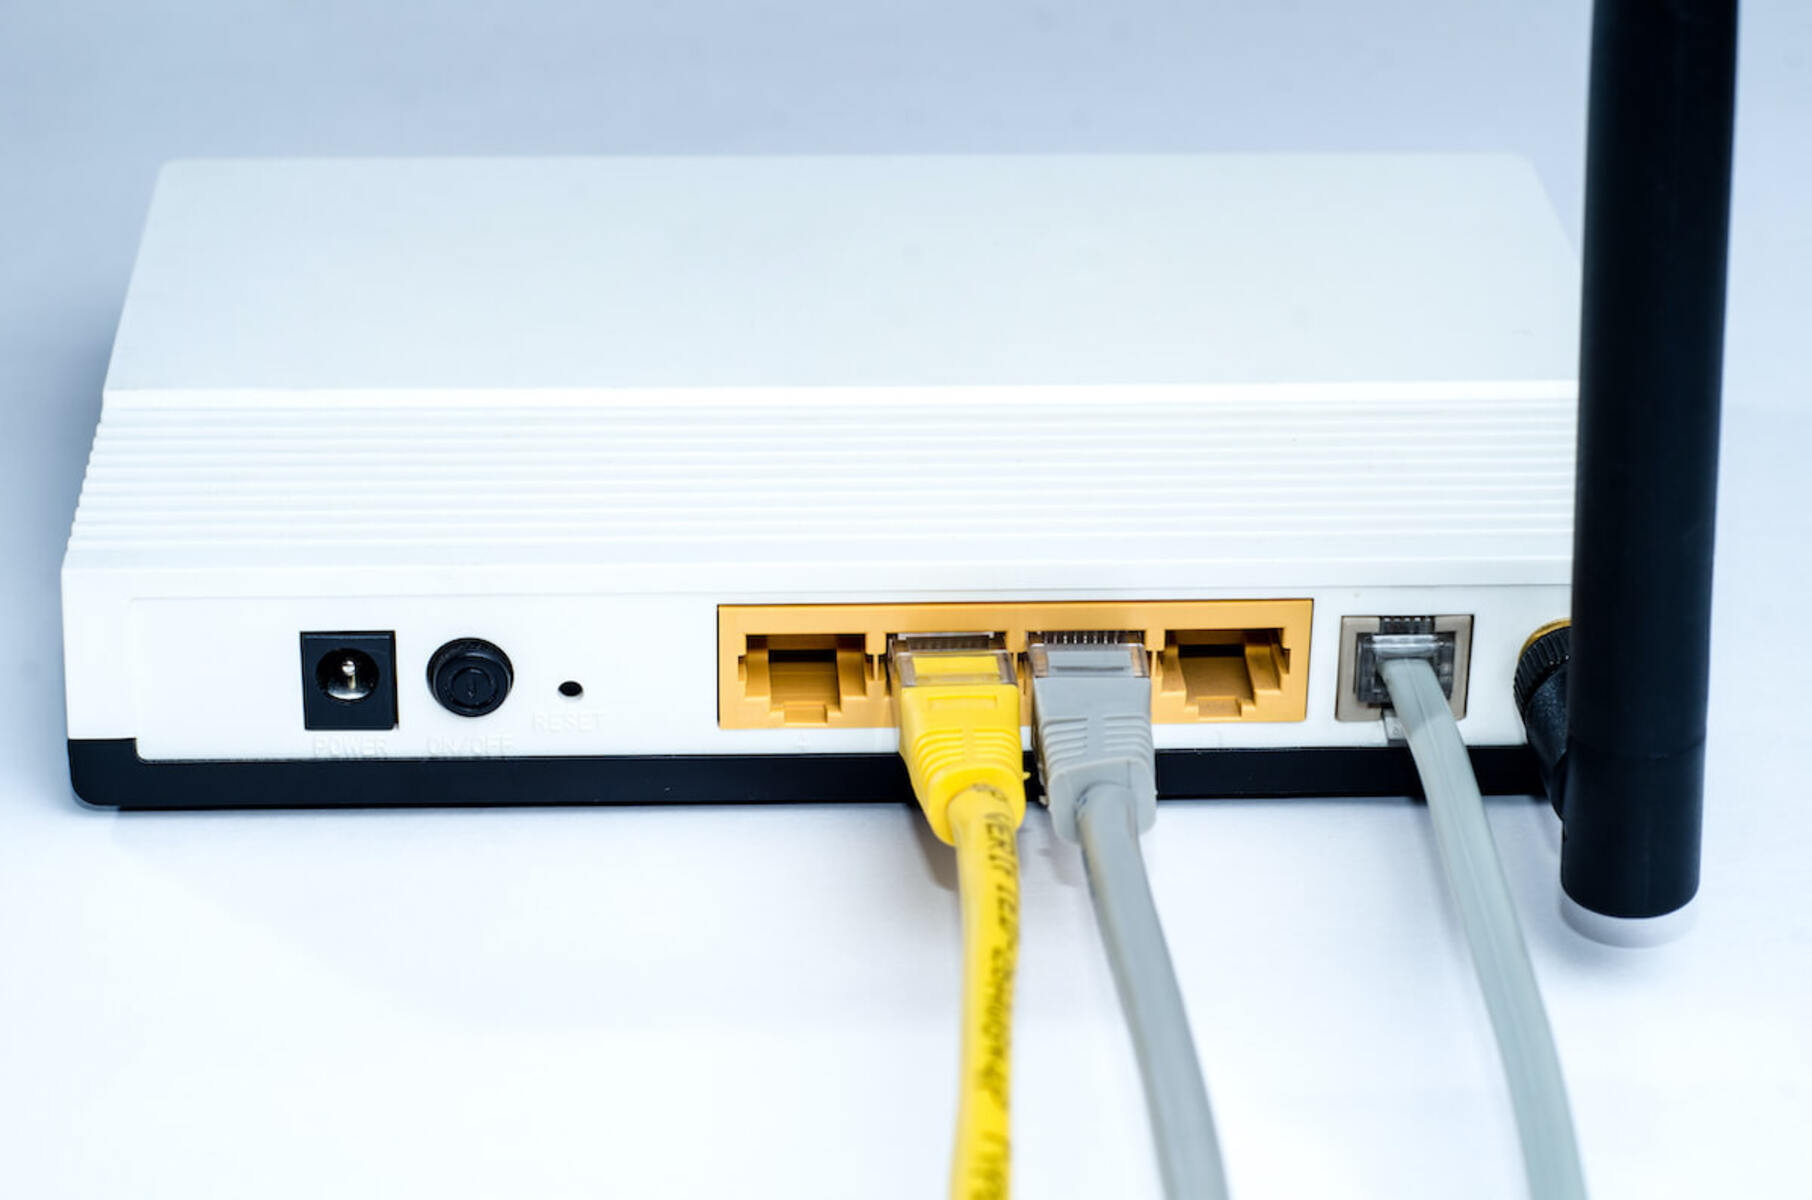
2. Locate Available LAN Ports: Identify an available LAN (Local Area Network) port on the main router and the old Wi-Fi router. These ports are typically labeled as “LAN” and are used for connecting devices via Ethernet cables. It’s important to avoid using the WAN (Wide Area Network) port on the old router, as this is dedicated to the internet connection and not suitable for inter-router connections.
3. Establish the Physical Connection: Using the Ethernet cable, connect one end to an available LAN port on the main router and the other end to an available LAN port on the old Wi-Fi router. Ensure that the connection is secure and that the cable is firmly inserted into both routers’ LAN ports to establish a reliable physical link between the two devices.
4. Power On the Old Router: If the old router is not already powered on, connect it to a power source and switch it on. This activates the old router, allowing it to interface with the main router and function as a network switch within the network infrastructure.
5. Verify the Connection: Once the physical connection is established, verify that the old router’s LAN ports are now operational as switch ports. You can do this by connecting a device, such as a computer or printer, to one of the old router’s LAN ports and ensuring that it successfully communicates with the main router and other network devices.
By connecting the old Wi-Fi router to the main router, you effectively integrate it into the network as a repurposed network switch, expanding the wired connectivity options and enhancing the overall network infrastructure. This physical connection sets the stage for the next step, which involves utilizing the old router’s LAN ports to connect additional devices and extend the network’s reach without the need for purchasing a new switch.
Step 4: Connect Devices to the Old Router
With the old Wi-Fi router repurposed as a network switch and connected to the main router, the final step involves utilizing its LAN ports to connect devices and expand the network’s wired connectivity. By leveraging the repurposed router’s switch functionality, you can seamlessly integrate additional devices into the network without the need for a standalone network switch. Here’s a detailed guide on how to connect devices to the old router:
1. Identify Devices for Connection: Determine which devices within your network environment require a wired connection. This may include desktop computers, printers, network-attached storage (NAS) devices, gaming consoles, or any other network-enabled equipment that can benefit from a stable and high-speed wired connection.
2. Utilize the Old Router’s LAN Ports: The old Wi-Fi router, now repurposed as a network switch, features multiple LAN ports that can be used to connect devices. These ports function as switch ports, allowing you to establish wired connections without the need for additional networking hardware.
3. Connect Devices to the LAN Ports: Using Ethernet cables, connect the devices requiring a wired connection to the available LAN ports on the repurposed old router. Ensure that the connections are secure and that the Ethernet cables are firmly inserted into both the devices and the old router’s LAN ports.
4. Verify Connectivity: Once the devices are connected to the old router’s LAN ports, verify that they successfully establish a network connection and communicate with other devices within the network. You can do this by accessing network resources, sharing files, or performing network-related tasks to ensure that the wired connections are operational.
5. Expand Network Reach: By utilizing the repurposed old router’s LAN ports, you effectively expand the network’s reach and connectivity options without the need for investing in a separate network switch. This DIY approach not only minimizes electronic waste but also provides a cost-effective solution for enhancing your network infrastructure.
By connecting devices to the old Wi-Fi router, now repurposed as a network switch, you maximize its utility and contribute to a more sustainable approach to technology usage. This step marks the successful completion of repurposing your old Wi-Fi router as a valuable network switch, providing an eco-friendly and budget-conscious solution for expanding your network’s wired connectivity.
Conclusion
Repurposing your old Wi-Fi router as a network switch offers a practical and eco-friendly solution for expanding your network’s connectivity options without the need for additional hardware purchases. By following the step-by-step process outlined in this guide, you can effectively transform your old router into a valuable network switch, contributing to a more sustainable approach to technology usage while enhancing your network infrastructure.
Through the process of resetting the router to factory settings, disabling the DHCP function, connecting it to the main router, and connecting devices to its LAN ports, you have repurposed your old Wi-Fi router into a functional network switch. This DIY approach not only reduces electronic waste but also provides a cost-effective solution for maximizing the utility of existing hardware.
By repurposing existing devices, such as old Wi-Fi routers, you can minimize electronic waste and make the most of the resources at your disposal. This sustainable practice aligns with the principles of environmental consciousness and responsible technology usage, contributing to a greener and more efficient approach to networking.
Furthermore, repurposing your old Wi-Fi router as a network switch allows you to expand your network’s wired connectivity, providing a reliable platform for devices that require stable and high-speed network connections. This DIY networking project empowers you to optimize your existing hardware and explore innovative ways to enhance your network infrastructure.
In conclusion, repurposing your old Wi-Fi router as a network switch not only offers practical benefits in terms of network expansion and cost savings but also reflects a proactive commitment to sustainability and resource optimization. By breathing new life into your old router, you have unlocked its potential to serve as a valuable component within your network, aligning with a more conscientious and eco-friendly approach to technology utilization.