Introduction
Connecting a network switch to a wireless network is a valuable skill in today's technology-driven world. By integrating a network switch into a wireless network, you can expand the number of devices that can connect to the network, improve network performance, and enhance overall connectivity. Whether you are setting up a small home network or managing a business network, the process of connecting a network switch to a wireless network is relatively straightforward with the right guidance.
In this guide, we will walk through the step-by-step process of connecting a network switch to a wireless network, from gathering the necessary equipment to testing the connection. By following these steps, you can effectively integrate a network switch into your wireless network and optimize the connectivity of your devices.
Understanding the fundamentals of networking and the components involved in this process is essential for a successful setup. This guide will provide clear and concise instructions, making the process accessible to both beginners and those with some networking experience. So, let's dive in and explore the steps to connect a network switch to a wireless network, empowering you to expand and enhance your network infrastructure.
Step 1: Gather the Necessary Equipment
Before you begin the process of connecting a network switch to a wireless network, it is crucial to gather all the necessary equipment. Having the right tools at hand will streamline the setup process and ensure that you can proceed without interruptions. Here’s a list of the essential equipment you will need:
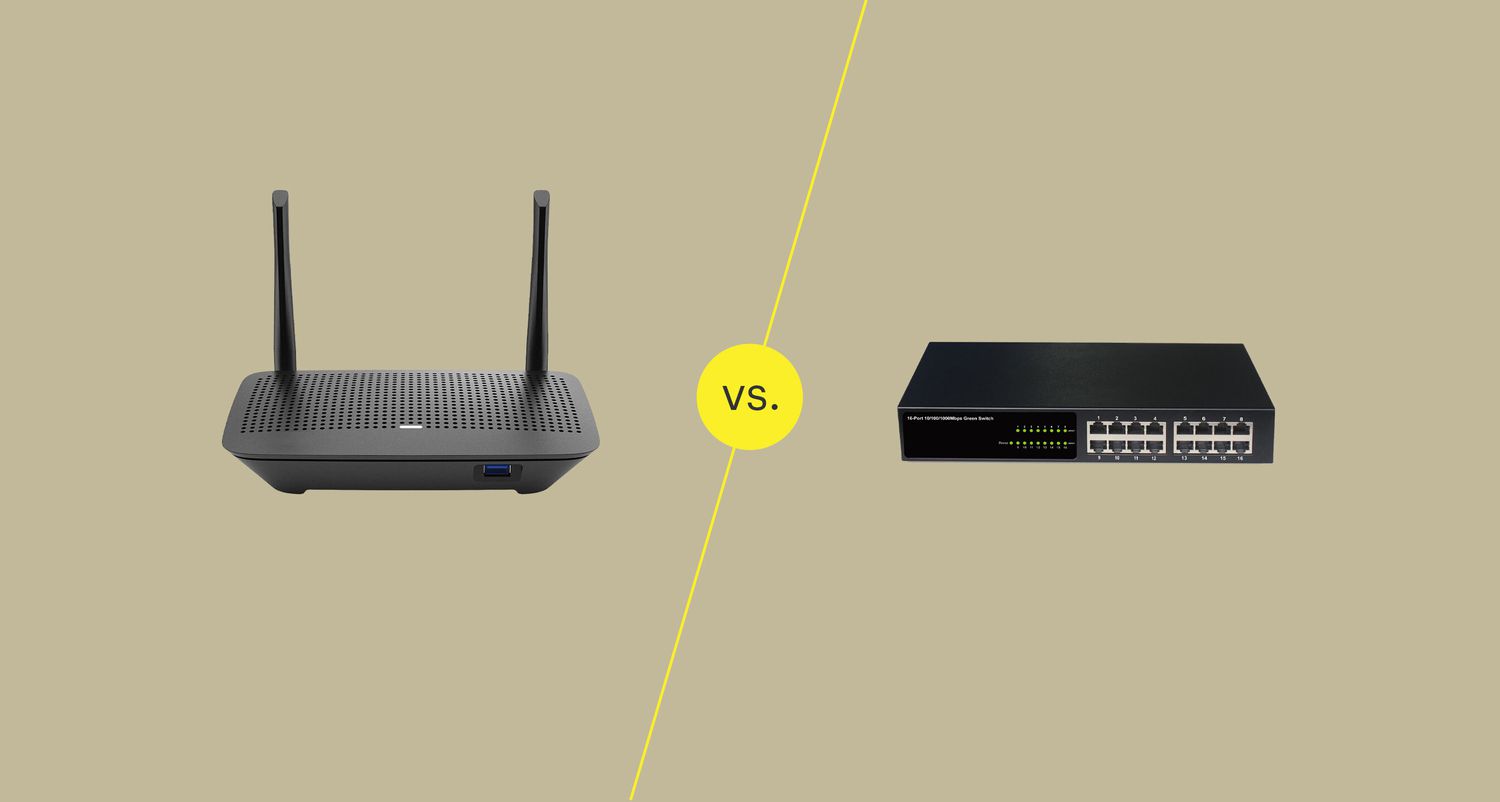
- Network Switch: Select a network switch that suits your network requirements. Consider the number of devices you intend to connect and the desired network speed when choosing a network switch.
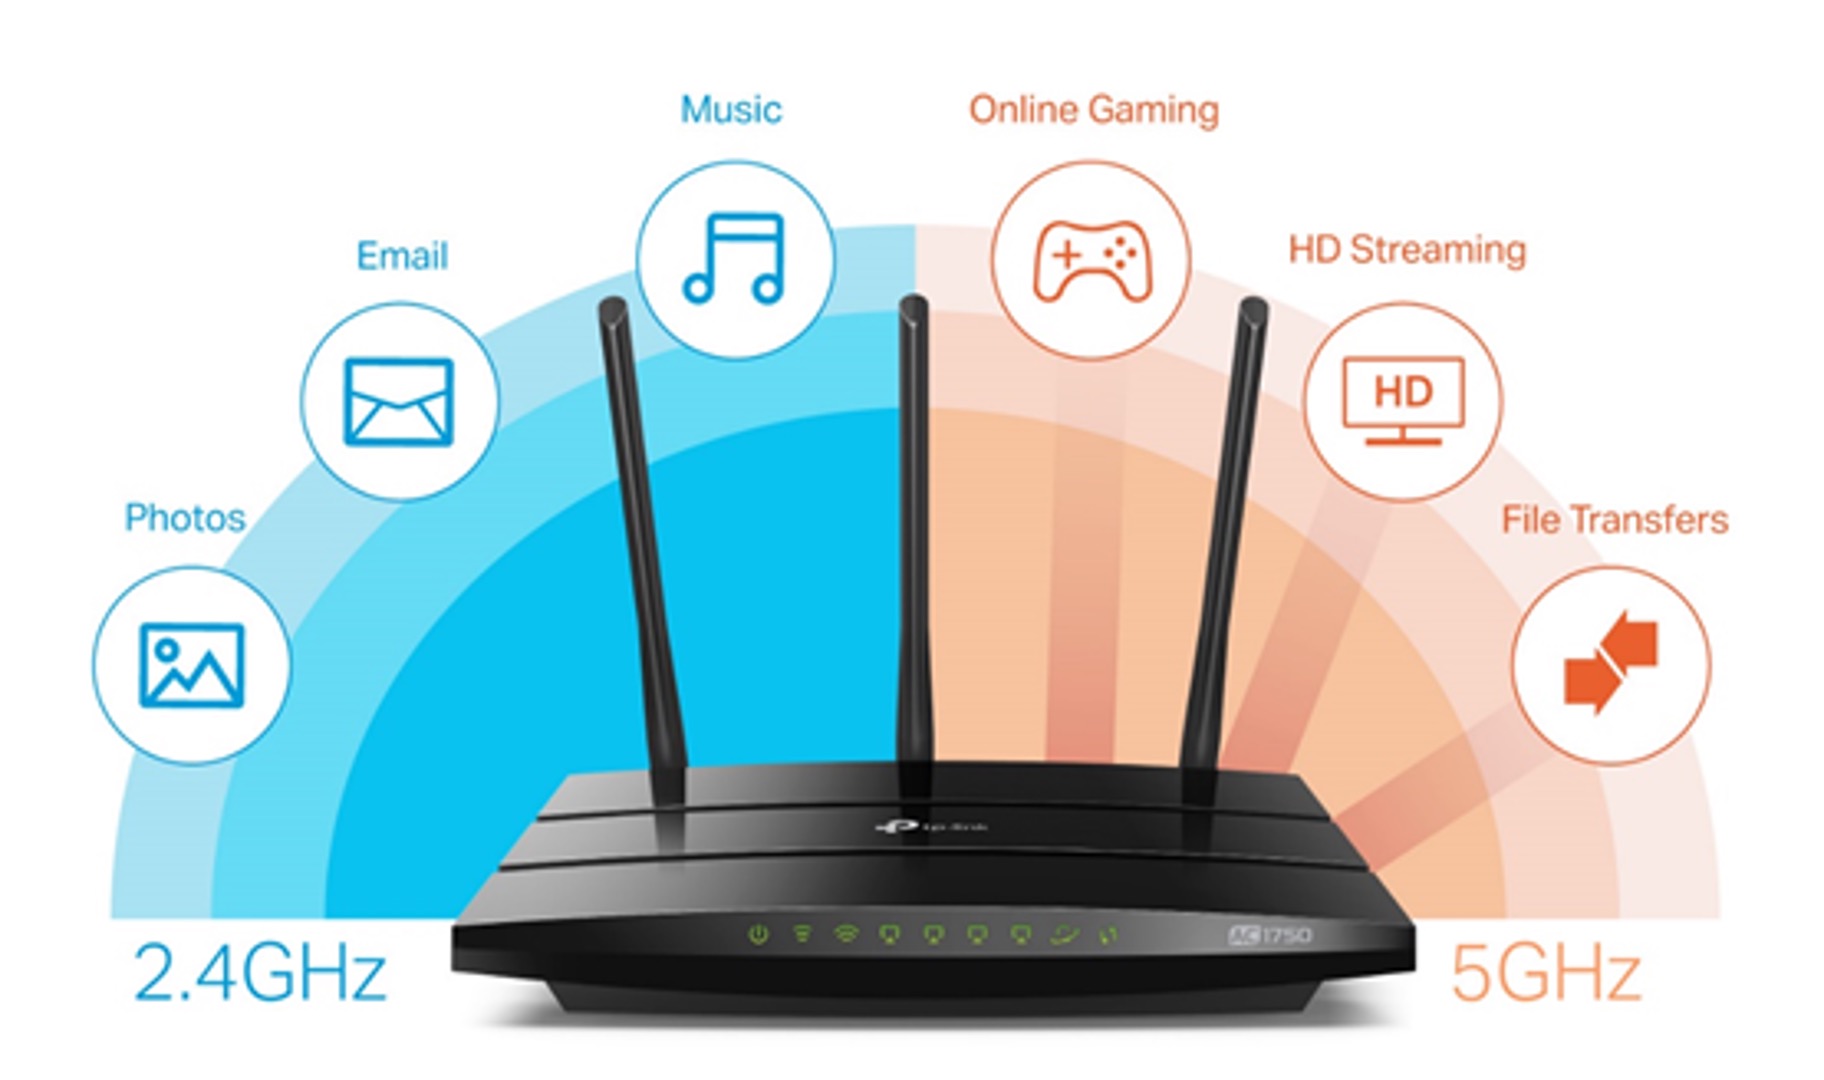
- Wireless Router: Ensure that you have a functioning wireless router that is already set up and operational. The wireless router will serve as the central hub for your wireless network.
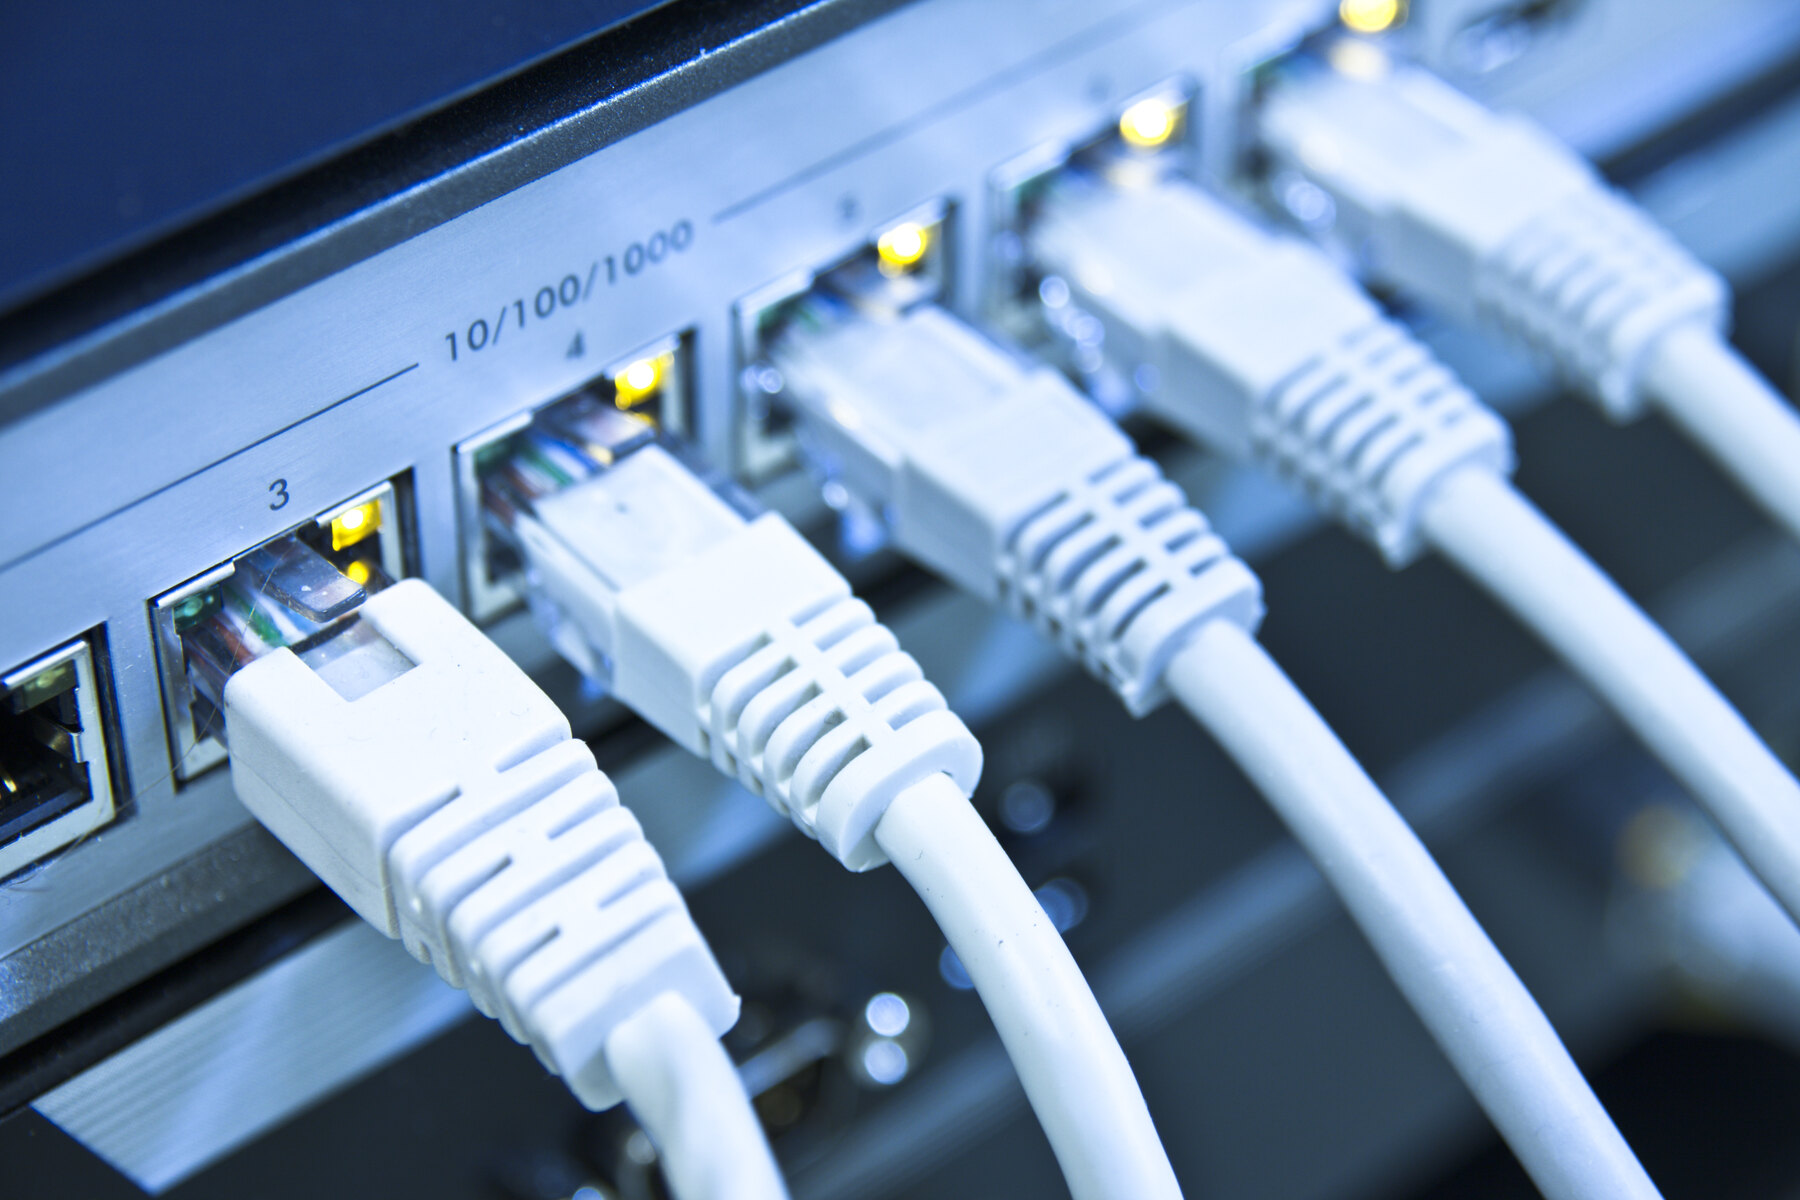
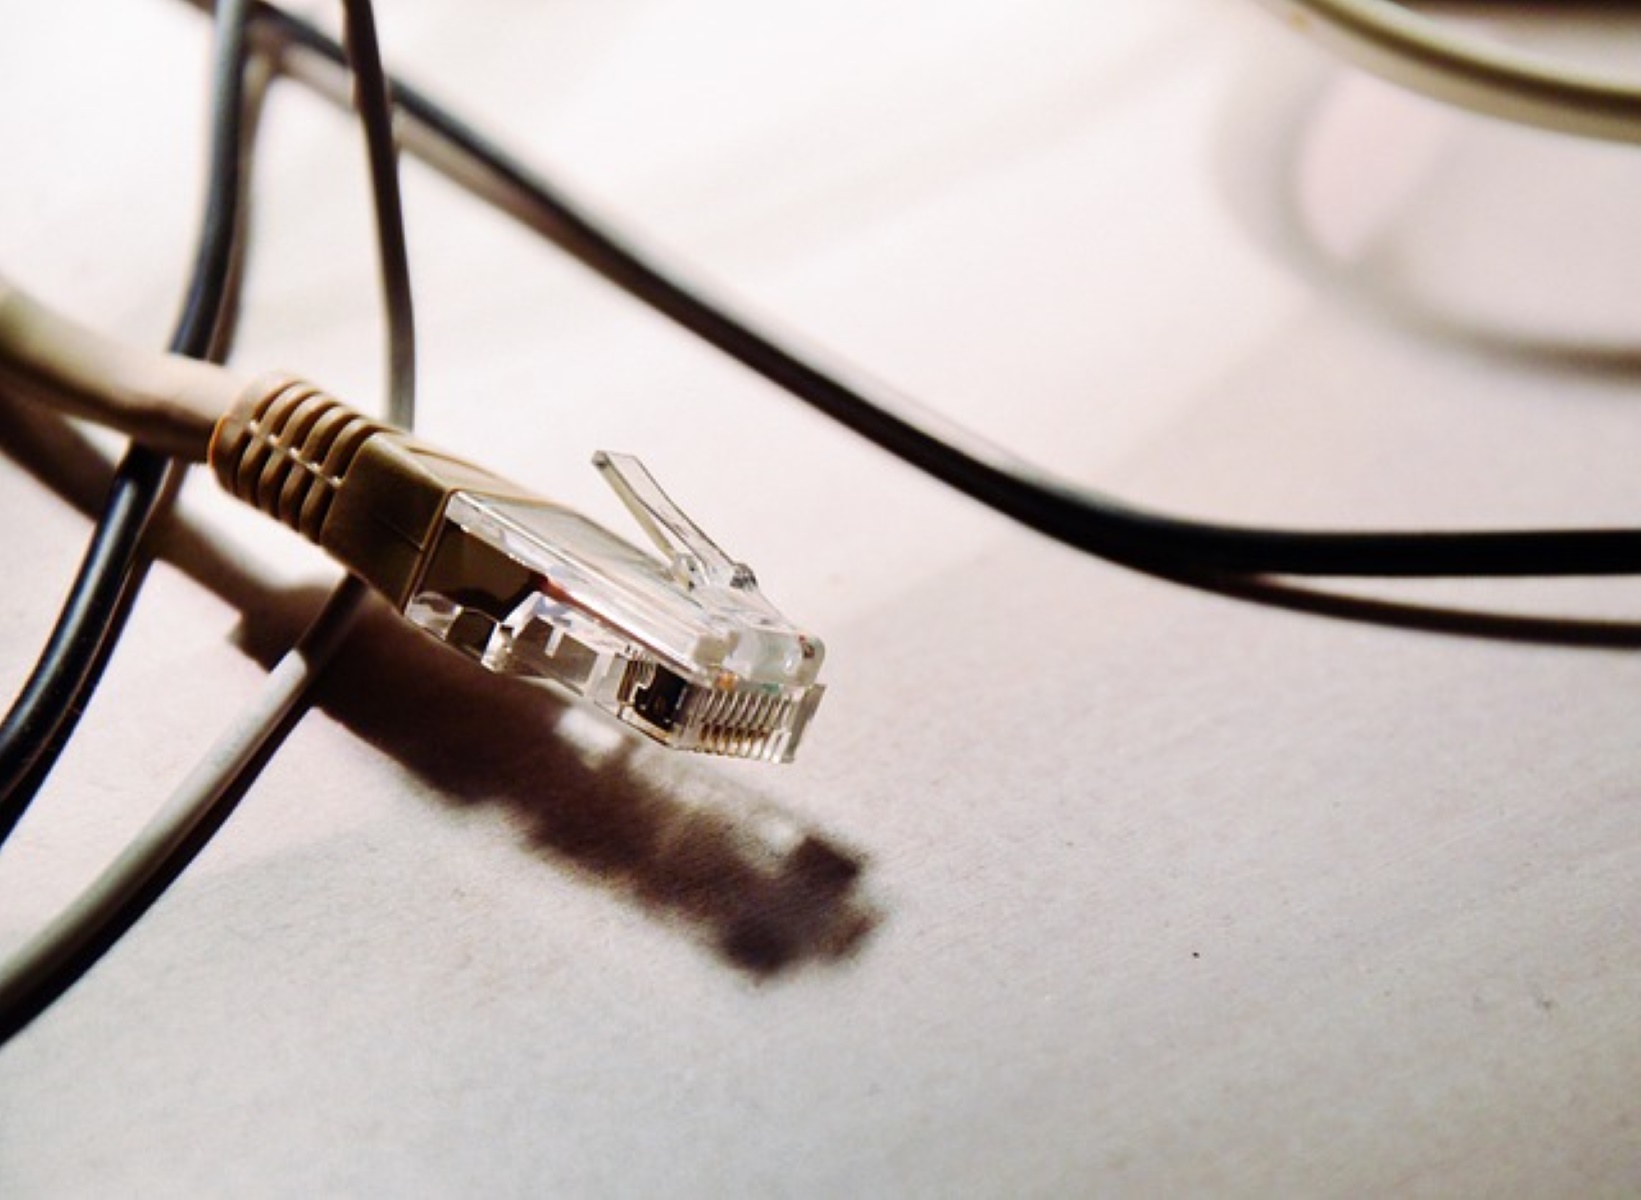
- Ethernet Cables: Have an adequate number of Ethernet cables on hand to establish connections between the network switch, wireless router, and devices.
- Power Source: Make sure you have access to a power outlet near the location where you plan to install the network switch.
- Devices to Connect: Identify the devices that you intend to connect to the network switch. This could include computers, printers, smart home devices, and other network-enabled equipment.
- Network Configuration Details: If you have specific network configuration details, such as IP addresses or DHCP settings, ensure that you have this information available for the setup process.
By gathering these essential pieces of equipment, you can set the stage for a smooth and efficient setup process. Having a clear understanding of the equipment required will help you prepare adequately and avoid unnecessary delays during the setup.
Step 2: Connect the Network Switch to a Power Source
Once you have gathered the necessary equipment, the next step is to connect the network switch to a power source. This is a fundamental requirement to ensure that the network switch functions properly and facilitates seamless connectivity within the wireless network. Follow these steps to connect the network switch to a power source:
- Locate a Suitable Power Outlet: Identify a nearby power outlet where you can plug in the power adapter for the network switch. Ensure that the power outlet is easily accessible and can provide a stable source of electricity.
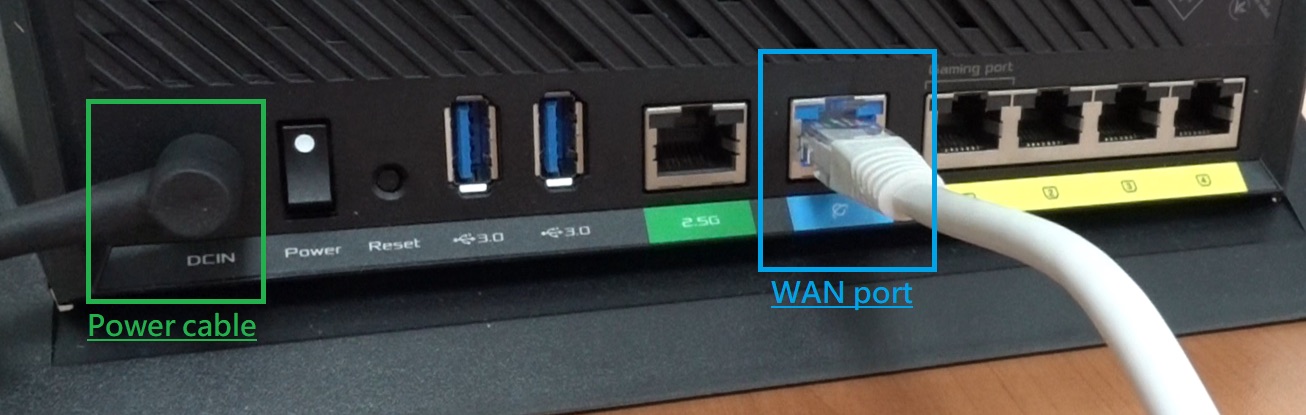
- Connect the Power Adapter: Take the power adapter that came with the network switch and plug it into the power outlet. Then, connect the other end of the power adapter to the power input port on the network switch.
- Verify Power Indicator: Once the network switch is connected to the power source, check for a power indicator light on the switch. This light indicates that the switch is receiving power and is ready to be configured.
By connecting the network switch to a reliable power source, you ensure that the switch is operational and ready to be integrated into the wireless network. This foundational step sets the stage for the subsequent connections and configurations that will enable the network switch to effectively manage network traffic and connectivity.
Step 3: Connect the Network Switch to the Wireless Router
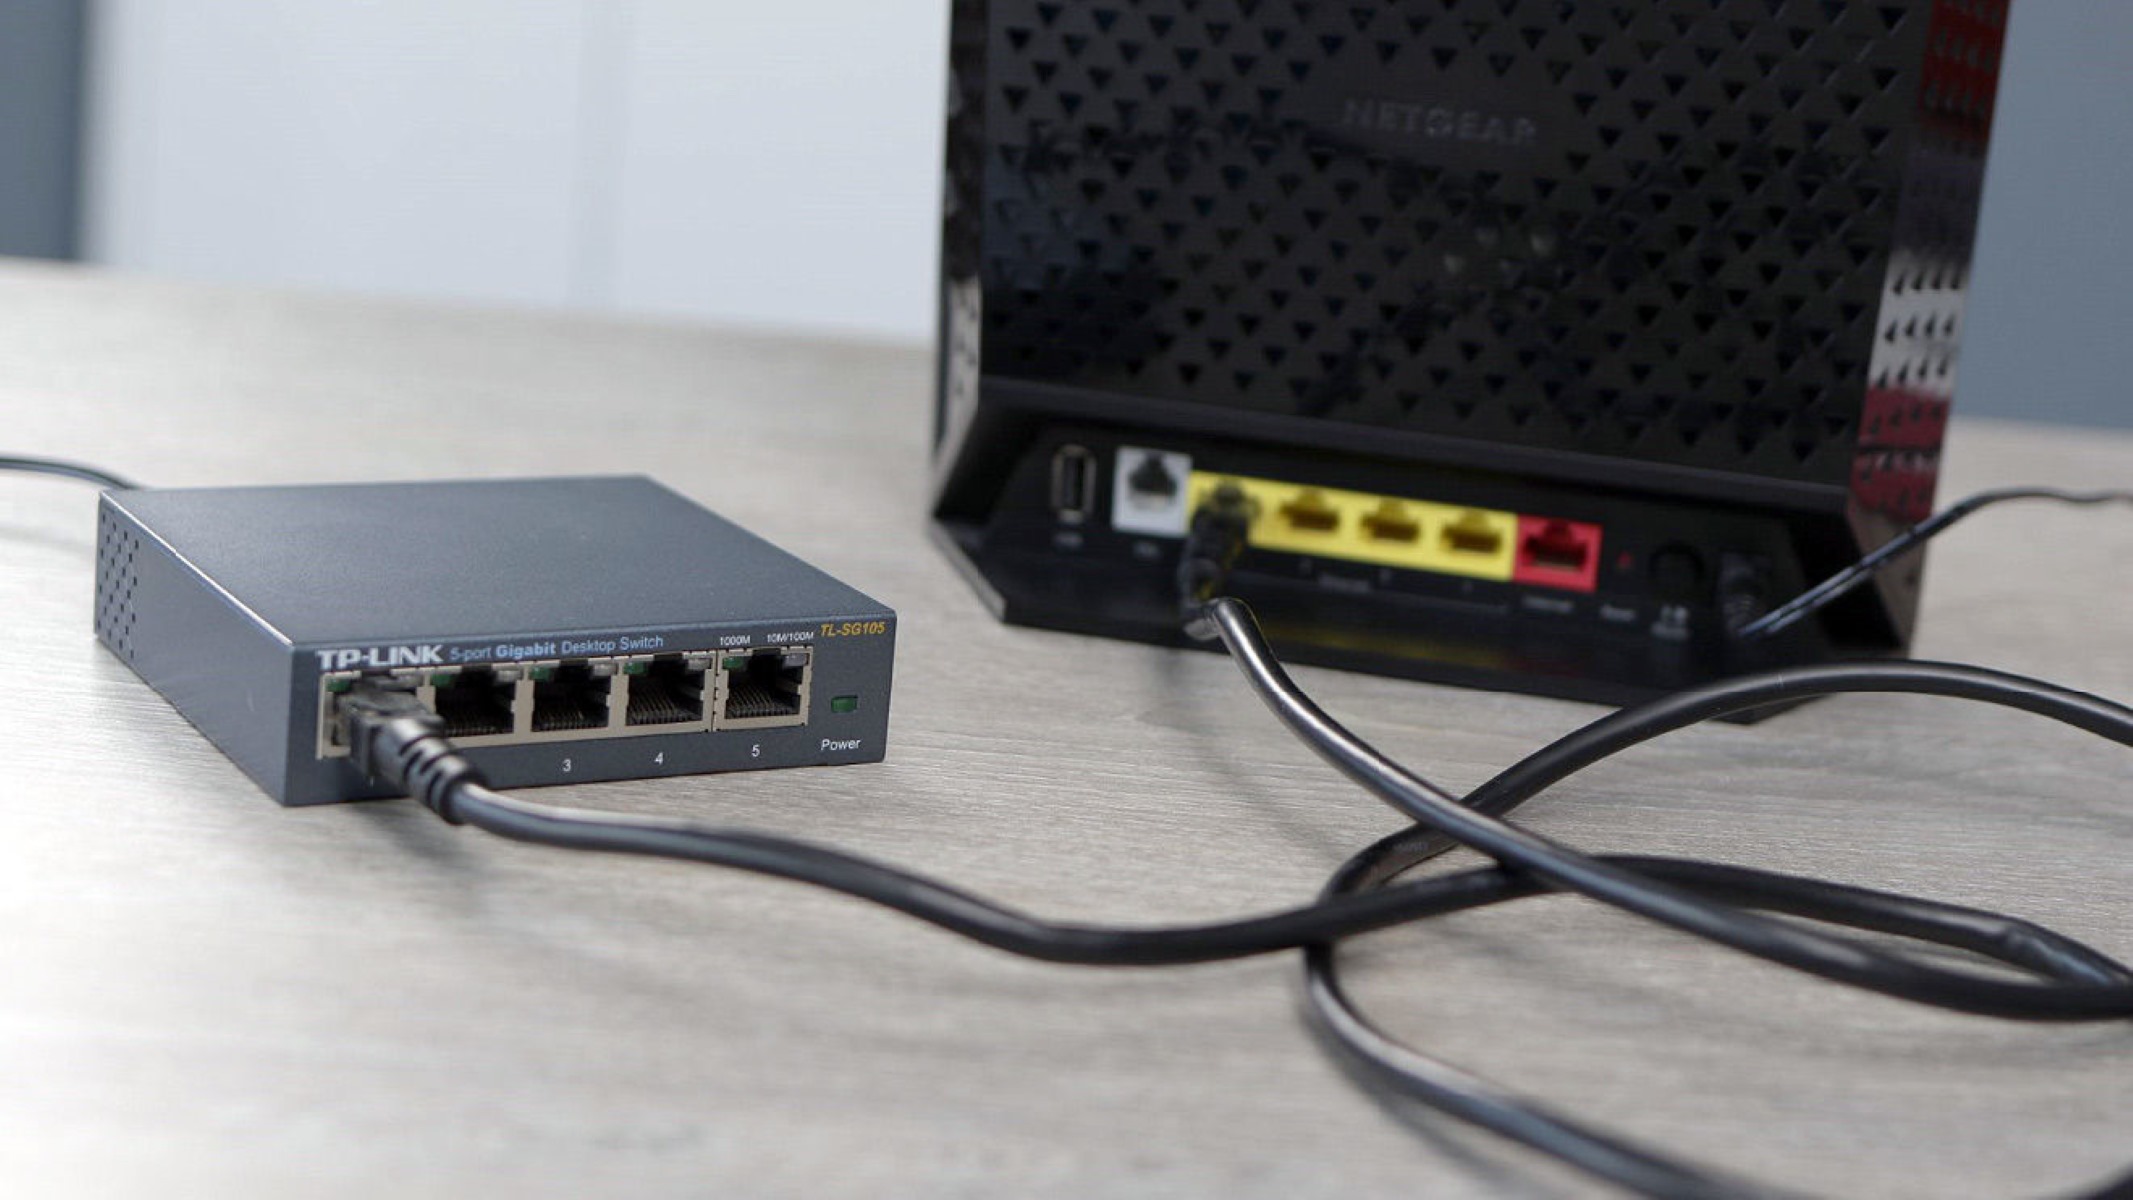
After powering the network switch, the next crucial step is to establish a physical connection between the network switch and the wireless router. This connection forms the backbone of the network infrastructure, allowing the network switch to communicate with the wireless router and facilitate seamless connectivity for the connected devices. Follow these steps to connect the network switch to the wireless router:
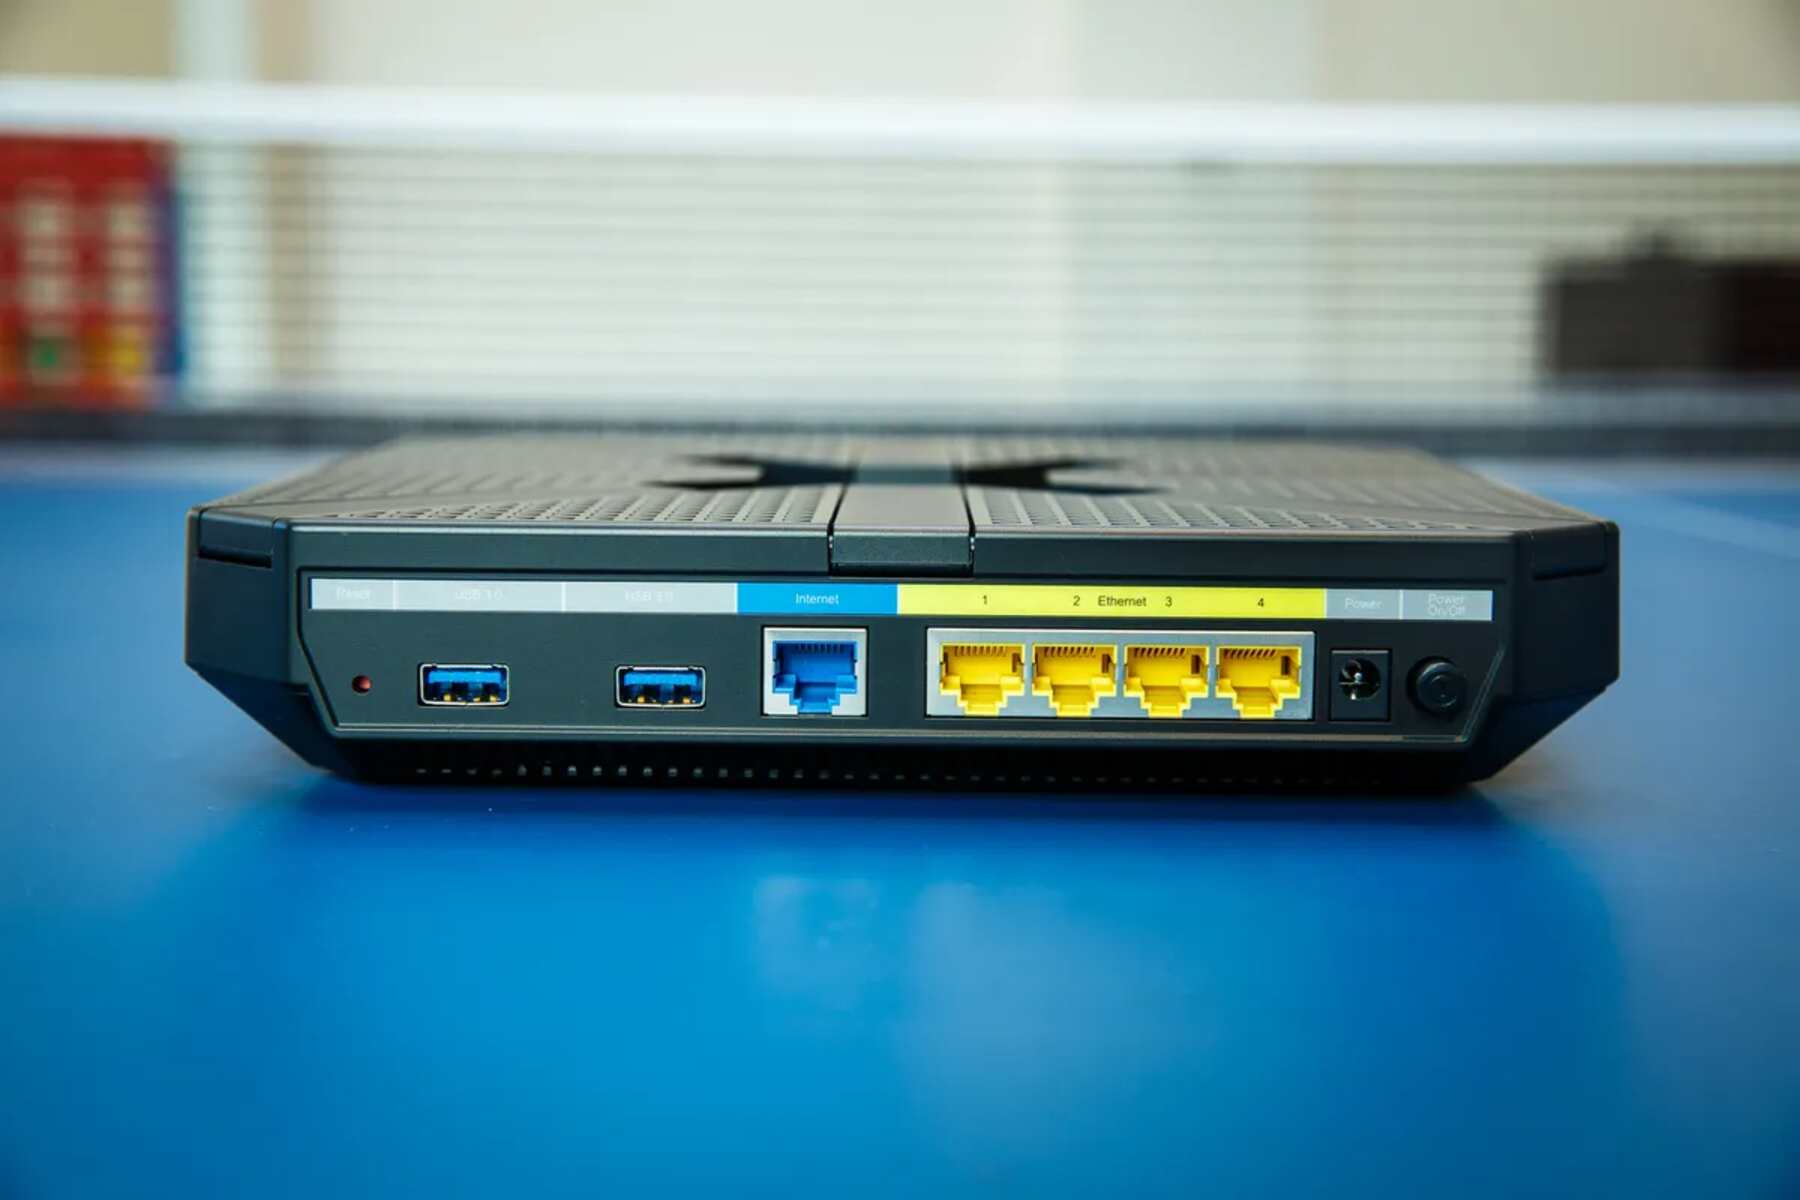
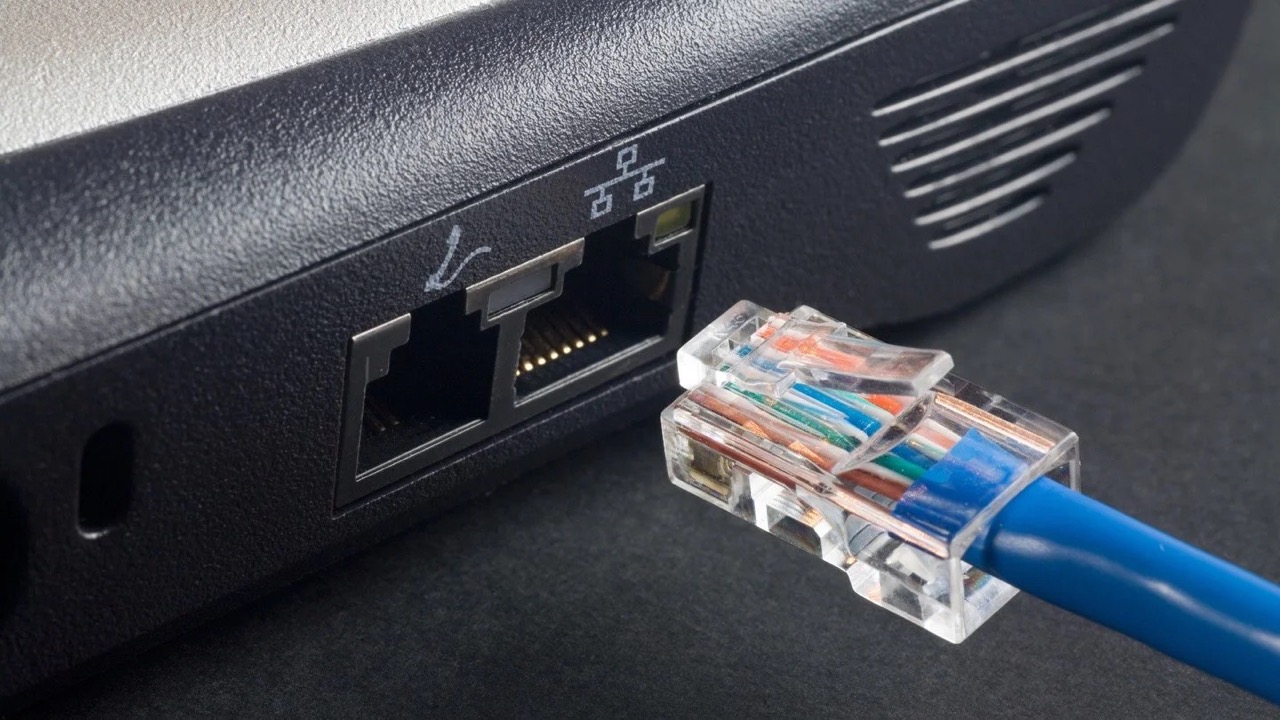
- Locate Available Ethernet Ports: Identify an available Ethernet port on the wireless router. Most wireless routers have multiple Ethernet ports, typically labeled as LAN ports.
- Use an Ethernet Cable: Take an Ethernet cable and connect one end to an available Ethernet port on the network switch. Then, connect the other end of the Ethernet cable to an available Ethernet port on the wireless router.
- Secure the Connection: Ensure that the Ethernet cable is securely plugged into both the network switch and the wireless router. A snug connection minimizes the risk of disconnections that could disrupt network communication.
- Verify Link Status: Check the link status indicators on both the network switch and the wireless router. These indicators typically show whether a connection has been successfully established between the devices.
By connecting the network switch to the wireless router, you create a direct pathway for network traffic to flow between the devices connected to the network switch and the wireless network. This physical connection forms the basis for seamless data transmission and network management within the wireless network environment.
Step 4: Configure the Network Switch Settings
Once the physical connections are established, configuring the network switch settings is essential to ensure that it operates effectively within the wireless network. Proper configuration enables the network switch to manage network traffic, allocate resources, and optimize connectivity. Follow these steps to configure the network switch settings:
- Access the Configuration Interface: Using a computer or a device connected to the network, open a web browser and enter the IP address of the network switch in the address bar. This IP address is typically provided in the user manual or can be obtained from the manufacturer’s website.
- Log In to the Configuration Interface: Enter the appropriate login credentials to access the configuration interface of the network switch. This may include a username and password, which are often provided in the user manual or set to default values by the manufacturer.
- Configure Basic Settings: Once logged in, navigate to the basic settings section of the configuration interface. Here, you can set the device name, IP address, subnet mask, and default gateway for the network switch. Ensure that these settings align with the parameters of your wireless network.
- Set Up VLANs (if applicable): If your network requires virtual LAN (VLAN) configuration, navigate to the VLAN settings within the configuration interface. Create and assign VLANs to specific ports on the network switch to segment network traffic and enhance network security.
- Apply Quality of Service (QoS) Settings: If your network demands prioritization of certain types of traffic, configure the Quality of Service settings on the network switch. This allows you to prioritize specific types of data for efficient network performance.
- Save and Apply Changes: Once all the desired settings are configured, apply the changes within the configuration interface and save the settings. This ensures that the network switch operates according to the defined parameters.
Configuring the network switch settings according to the requirements of your wireless network is crucial for seamless integration and optimal performance. Proper configuration empowers the network switch to effectively manage network traffic and contribute to a robust and efficient wireless network infrastructure.
Step 5: Test the Connection
After completing the physical connections and configuring the network switch settings, it is essential to test the connection to ensure that the network switch is seamlessly integrated into the wireless network. Testing the connection allows you to verify the functionality of the network switch and address any potential issues that may arise. Follow these steps to test the connection:
- Verify Device Connectivity: Check the connectivity of devices connected to the network switch. Ensure that the devices can successfully communicate with the wireless network and access network resources.
- Test Data Transfer: Transfer data between devices connected to the network switch and devices on the wireless network. This verifies the ability of the network switch to facilitate data transmission within the network environment.
- Check Network Performance: Assess the network performance to ensure that the integration of the network switch has not caused any degradation in network speed or reliability. Monitor network latency and data transfer speeds to identify any potential issues.
- Verify VLAN Segmentation (if applicable): If VLANs were configured on the network switch, verify that the segmentation of network traffic is functioning as intended. Ensure that devices within the same VLAN can communicate while being isolated from devices in other VLANs.
- Test Quality of Service (QoS) Prioritization: If Quality of Service settings were applied, test the prioritization of network traffic to confirm that critical data types receive the appropriate level of priority within the network.
By testing the connection, you can validate the successful integration of the network switch into the wireless network and ensure that it operates in alignment with the network requirements. Addressing any connectivity or performance issues at this stage allows for a seamless and reliable network environment.
Conclusion
Connecting a network switch to a wireless network is a process that empowers you to expand the capabilities of your network infrastructure and enhance connectivity for a diverse range of devices. By following the step-by-step guide outlined in this article, you have gained the knowledge and skills necessary to seamlessly integrate a network switch into your wireless network environment.
From gathering the essential equipment to testing the connection, each step plays a crucial role in ensuring the successful integration and operation of the network switch within the wireless network. By adhering to these steps, you can effectively manage network traffic, optimize connectivity, and create a robust foundation for your wireless network.
As technology continues to evolve, the ability to connect and manage a network switch within a wireless network becomes increasingly valuable. Whether in a home environment, a small business, or a larger enterprise setting, the principles outlined in this guide provide a solid framework for expanding and enhancing network capabilities.
By embracing the process of connecting a network switch to a wireless network, you contribute to the seamless flow of data, efficient resource allocation, and the overall reliability of your network infrastructure. This endeavor not only expands the potential of your network but also equips you with valuable networking skills that can be applied to various technological scenarios.
With the knowledge gained from this guide, you are well-positioned to navigate the complexities of network integration and contribute to the optimization of wireless network environments. Embrace the opportunities that arise from this newfound expertise and continue to explore the ever-expanding horizons of network connectivity and management.