Introduction
Configuring a network switch using Windows Server 2012 R2 can significantly enhance network performance and security. Windows Server 2012 R2 offers a robust set of features and tools to streamline the process of configuring network switches, making it an ideal choice for network administrators. By leveraging the capabilities of Windows Server 2012 R2, organizations can ensure seamless communication, efficient data transfer, and a secure network environment.
In this comprehensive guide, we will walk through the step-by-step process of configuring a network switch using Windows Server 2012 R2. Whether you are setting up a new network switch or optimizing an existing one, this guide will provide you with the knowledge and tools necessary to accomplish this task effectively.
Configuring a network switch is a critical aspect of network management, as it directly impacts the flow of data within an organization's infrastructure. With Windows Server 2012 R2, administrators can leverage advanced networking features and intuitive management tools to ensure that the network switch is optimized for performance, security, and reliability.
Throughout this guide, we will cover essential steps, including installing Windows Server 2012 R2, configuring the network adapter, installing the Remote Server Administration Tools, and finally, the detailed process of configuring the network switch using Windows Server 2012 R2. By following these steps, network administrators can ensure that the network switch is properly configured to meet the organization's specific requirements.
Whether you are a seasoned network administrator or just getting started in the field of network management, this guide will equip you with the knowledge and practical insights needed to configure a network switch using Windows Server 2012 R2 effectively. Let's dive into the step-by-step process and unleash the full potential of your network infrastructure.
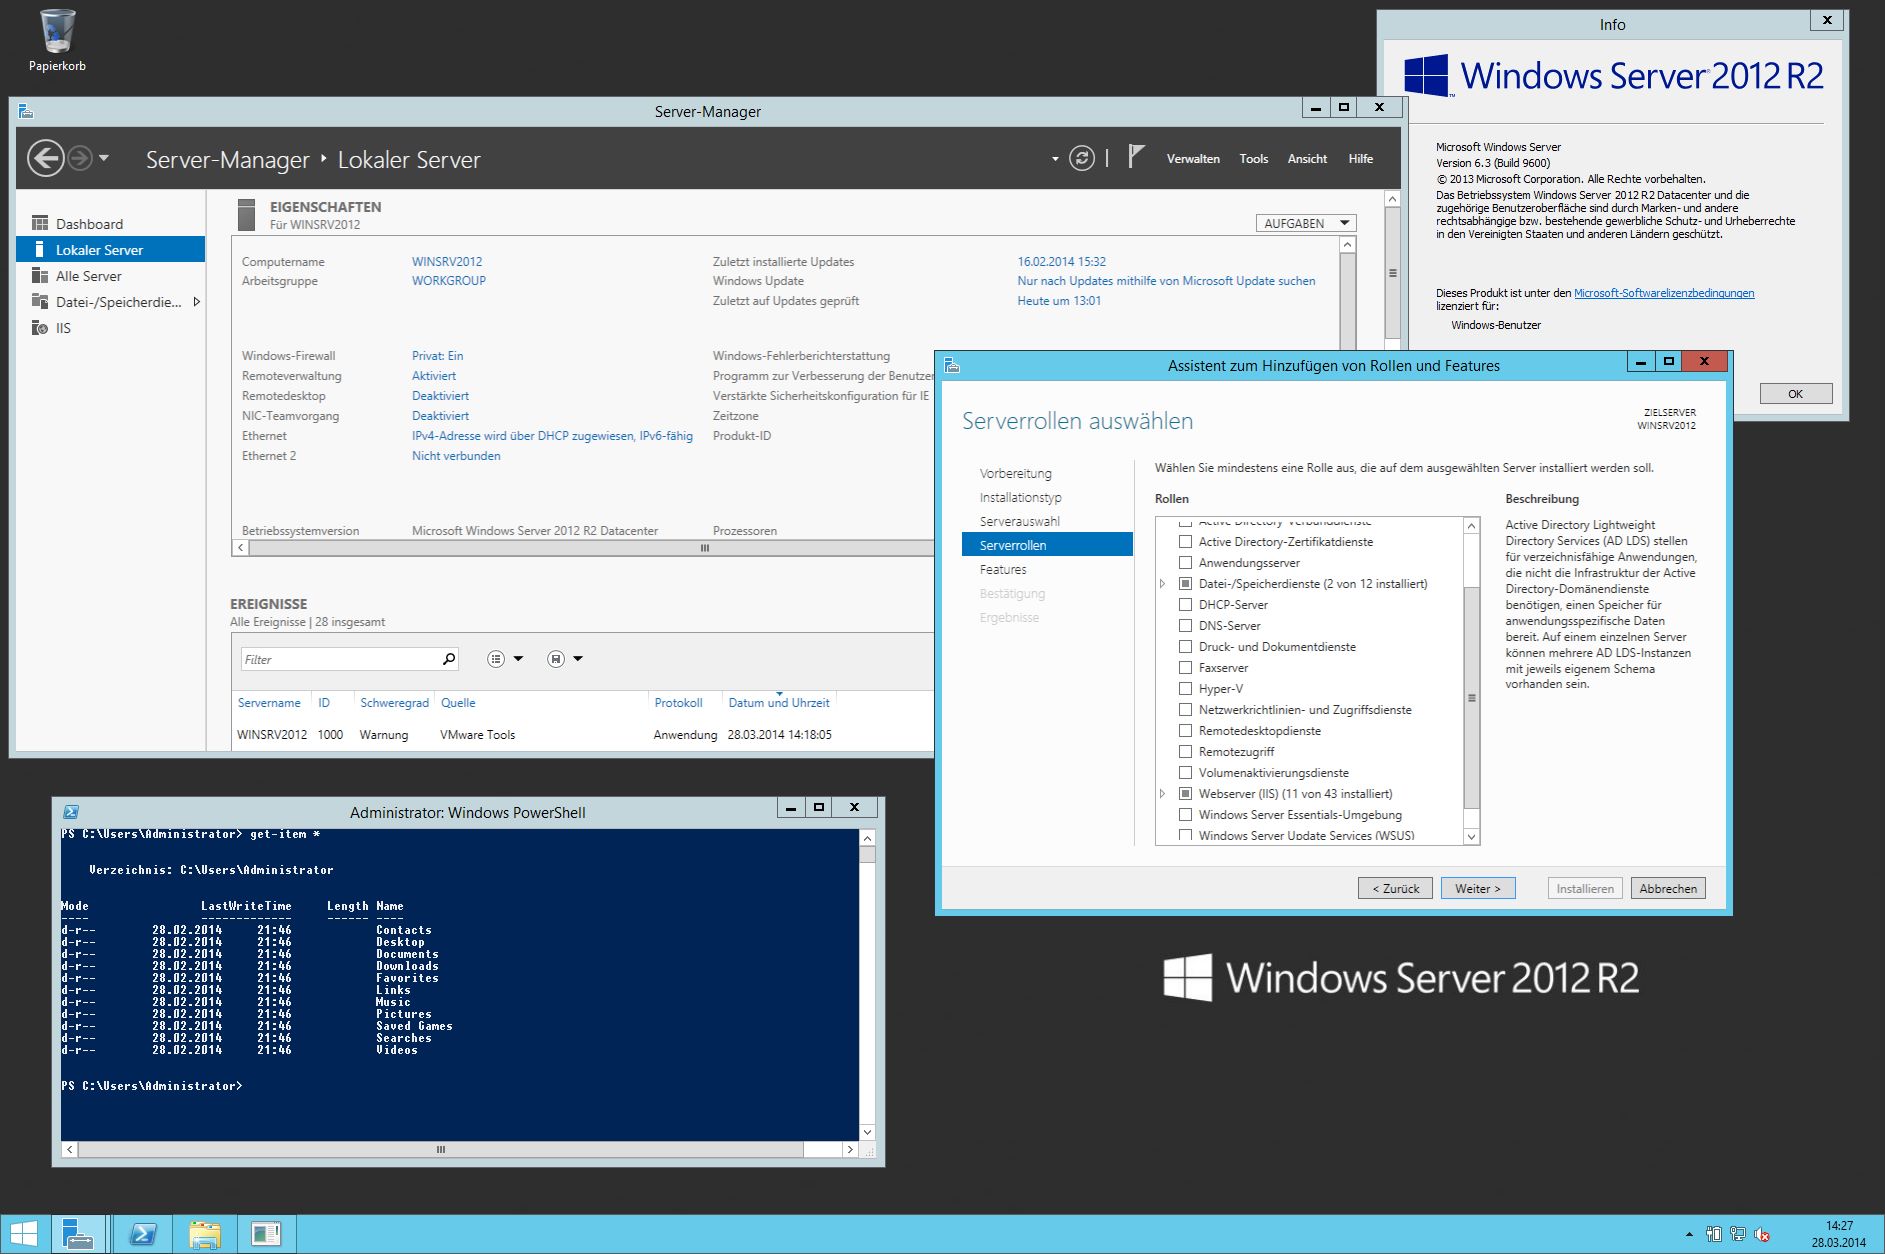
Step 1: Install the Windows Server 2012 R2
Before configuring a network switch using Windows Server 2012 R2, it is essential to ensure that the server operating system is installed correctly. The installation process sets the foundation for a stable and reliable network infrastructure. Follow these steps to install Windows Server 2012 R2:
- Obtain the Installation Media: Acquire the Windows Server 2012 R2 installation media, either in the form of a DVD or a downloadable ISO file.
- Boot from the Installation Media: Insert the installation media into the server and boot from it. Ensure that the server is configured to boot from the selected media.
- Initiate the Installation: Once the server boots from the installation media, follow the on-screen instructions to initiate the installation process. Select the appropriate language, time and currency format, and keyboard or input method.
- Enter the Product Key: Input the valid product key for Windows Server 2012 R2 when prompted. This key is essential for activating the operating system.
- Accept the License Terms: Review the license terms and accept them to proceed with the installation.
- Choose the Installation Type: Select the installation type based on your requirements. You can opt for a custom installation or an upgrade from a previous version of Windows Server.
- Select the Installation Drive: Choose the drive or partition where you want to install Windows Server 2012 R2. Ensure that the selected drive has sufficient space for the installation.
- Initiate the Installation: Once you have configured the installation settings, initiate the installation process and allow the system to copy the necessary files and install the operating system.
- Complete the Setup: Follow the on-screen prompts to complete the setup process, including setting the administrator password and configuring the initial settings.
By following these steps, you can successfully install Windows Server 2012 R2 on the target server. This lays the groundwork for configuring the network switch using the robust capabilities of Windows Server 2012 R2.
Step 2: Configure the Network Adapter
Configuring the network adapter is a crucial step in preparing the server to manage the network switch effectively. The network adapter settings determine how the server communicates with the network and plays a pivotal role in ensuring seamless connectivity. Follow these steps to configure the network adapter on the server:
- Access Network Connections: From the Control Panel, navigate to “Network and Sharing Center” and click on “Change adapter settings” to access the network connections.
- Identify the Network Adapter: Identify the network adapter that will be connected to the network switch. Right-click on the adapter and select “Properties” to modify its settings.
- Configure IP Address Settings: In the adapter properties, select “Internet Protocol Version 4 (TCP/IPv4)” and click “Properties.” Choose the option to “Use the following IP address” and enter the appropriate IP address, subnet mask, and default gateway for the server. These settings should align with the network configuration and IP scheme.
- Set DNS Settings: In the same properties window, navigate to the “DNS” tab and specify the DNS server addresses. You can also configure additional DNS settings as per the network requirements.
- Configure Advanced Settings: Depending on the network infrastructure, you may need to configure advanced settings such as DNS suffixes, WINS settings, and DNS registration. Click on “Advanced” to access these options.
- Apply the Settings: Once all the necessary configurations are completed, click “OK” to apply the settings and close the properties window. The network adapter is now configured with the specified network settings.
Properly configuring the network adapter ensures that the server can effectively communicate with the network switch and other network devices. These settings lay the foundation for seamless network operations and facilitate the subsequent configuration of the network switch using Windows Server 2012 R2.
Step 3: Install the Remote Server Administration Tools
Installing the Remote Server Administration Tools (RSAT) on a Windows client system is essential for remotely managing the network switch using Windows Server 2012 R2. RSAT provides a set of tools that enable administrators to manage roles and features, including networking, directly from a Windows client computer. Follow these steps to install RSAT on your Windows client system:
- Download RSAT: Visit the Microsoft Download Center and search for the Remote Server Administration Tools for Windows 10. Download the appropriate RSAT package that corresponds to the version of Windows 10 installed on the client system.
- Run the Installer: Once the RSAT package is downloaded, run the installer and follow the on-screen instructions to begin the installation process.
- Enable RSAT Features: After launching the installer, you will be prompted to select the specific RSAT features that you want to install. Choose the networking tools and any other relevant features necessary for managing the network switch.
- Complete the Installation: Proceed with the installation process and allow the installer to complete the setup of RSAT and the selected features on the Windows client system.
- Verify the Installation: Once the installation is complete, verify that the RSAT tools, including those related to networking and server management, are available on the Windows client system.
By installing RSAT on a Windows client system, network administrators gain the capability to remotely manage the network switch and perform essential networking tasks using the tools provided by Windows Server 2012 R2. This streamlined approach to network administration enhances efficiency and facilitates centralized management of network resources.
With RSAT installed, administrators can seamlessly configure and monitor the network switch, leverage advanced networking features, and ensure the optimal performance of the network infrastructure, all from a remote Windows client system.
Step 4: Configure the Network Switch using Windows Server 2012 R2
Configuring the network switch using Windows Server 2012 R2 involves leveraging the powerful networking features and management tools available within the operating system. This step is crucial in optimizing the network switch for performance, security, and seamless communication within the network infrastructure. Follow these essential steps to configure the network switch using Windows Server 2012 R2:
- Access Server Manager: Launch Server Manager on the Windows Server 2012 R2 system and navigate to the “Dashboard” or “Tools” menu to access the relevant networking tools.
- Open Network Switch Manager: Locate and open the Network Switch Manager, which provides a centralized interface for configuring and managing network switches within the network infrastructure.
- Discover Network Switches: Initiate the process of discovering network switches connected to the server. The Network Switch Manager will scan the network and identify the available network switches for configuration.
- Configure Switch Settings: Select the identified network switch from the list and proceed to configure its settings. This includes specifying port settings, VLAN configurations, link aggregation, and other relevant parameters based on the network requirements.
- Apply Configuration Changes: Once the desired settings are configured, apply the changes to the network switch. The Network Switch Manager will implement the specified configurations, ensuring that the network switch operates according to the defined parameters.
- Verify Network Switch Operation: After applying the configuration changes, verify the operation of the network switch to ensure that it is functioning as intended. This may involve testing connectivity, monitoring network traffic, and validating the configured settings.
By following these steps, network administrators can effectively configure the network switch using Windows Server 2012 R2, harnessing the advanced networking capabilities and intuitive management tools offered by the operating system. This streamlined approach to network switch configuration empowers administrators to optimize network performance, enhance security, and maintain a reliable network infrastructure.
Configuring the network switch using Windows Server 2012 R2 establishes a solid foundation for efficient network operations, enabling seamless communication, robust data transfer, and centralized management of network resources. With the network switch configured to align with the organization’s specific requirements, administrators can ensure the smooth and secure flow of data within the network environment.
Conclusion
Configuring a network switch using Windows Server 2012 R2 is a fundamental aspect of network management, enabling organizations to optimize network performance, enhance security, and streamline communication within the infrastructure. By following the comprehensive steps outlined in this guide, network administrators can leverage the robust capabilities of Windows Server 2012 R2 to configure the network switch effectively.
From the initial installation of Windows Server 2012 R2 to the configuration of the network adapter and the installation of Remote Server Administration Tools, each step plays a crucial role in preparing the server for managing the network switch. The process culminates in the detailed configuration of the network switch using the advanced networking features and intuitive management tools provided by Windows Server 2012 R2.
With the network switch configured to align with the organization’s specific requirements, administrators can ensure seamless communication, efficient data transfer, and a secure network environment. The centralized management capabilities offered by Windows Server 2012 R2 empower administrators to monitor and optimize the network switch, facilitating a reliable and high-performance network infrastructure.
By harnessing the power of Windows Server 2012 R2, organizations can lay the groundwork for a robust and resilient network environment, capable of meeting the evolving demands of modern business operations. The knowledge and practical insights gained from this guide will equip network administrators with the tools needed to configure a network switch using Windows Server 2012 R2 effectively, ultimately contributing to the seamless functioning of the organization’s network infrastructure.
With a well-configured network switch and the support of Windows Server 2012 R2, organizations can foster efficient collaboration, secure data transfer, and optimized network performance, thereby driving productivity and enabling the seamless flow of information across the network.