Introduction
Cleaning a network switch is an essential maintenance task that can help ensure the smooth operation and longevity of the device. Over time, dust, debris, and grime can accumulate within the switch, potentially leading to overheating, connectivity issues, and even hardware failure. By following a few simple steps, you can effectively clean your network switch and mitigate these potential problems.
Regular cleaning not only enhances the performance and reliability of the network switch but also contributes to a cleaner and more organized networking environment. Whether you are a seasoned IT professional or a small business owner managing your network, understanding the proper cleaning procedures can save you time and money in the long run.
In the following sections, we will guide you through the step-by-step process of cleaning a network switch, from powering off the device to reassembling it for operation. By the end of this guide, you will have the knowledge and confidence to maintain a clean and efficient network switch, ensuring the optimal functioning of your network infrastructure. Let's dive into the details and learn how to keep your network switch in top condition.
Step 1: Power Off the Network Switch
Before beginning the cleaning process, it is crucial to power off the network switch to avoid any potential electrical hazards and ensure the safety of the individual performing the cleaning. To power off the switch, locate the power button or switch on the device and firmly press it to initiate the shutdown sequence. Alternatively, if the switch is connected to a power outlet, unplug the power cord from the electrical socket to completely cut off the power supply.
It is important to wait for a few minutes to allow the switch to power down completely. This ensures that all internal components have ceased operation, minimizing the risk of electrical shock or damage during the cleaning process. Additionally, by powering off the switch, you prevent any potential data transmission interruptions or network connectivity issues while the cleaning is in progress.
Verifying that the switch is powered off is essential before proceeding to the next cleaning steps. This can be confirmed by checking for any indicator lights on the switch, which should be completely off once the device is powered down. By adhering to this initial step and ensuring the network switch is safely powered off, you establish a secure and controlled environment for the subsequent cleaning procedures.
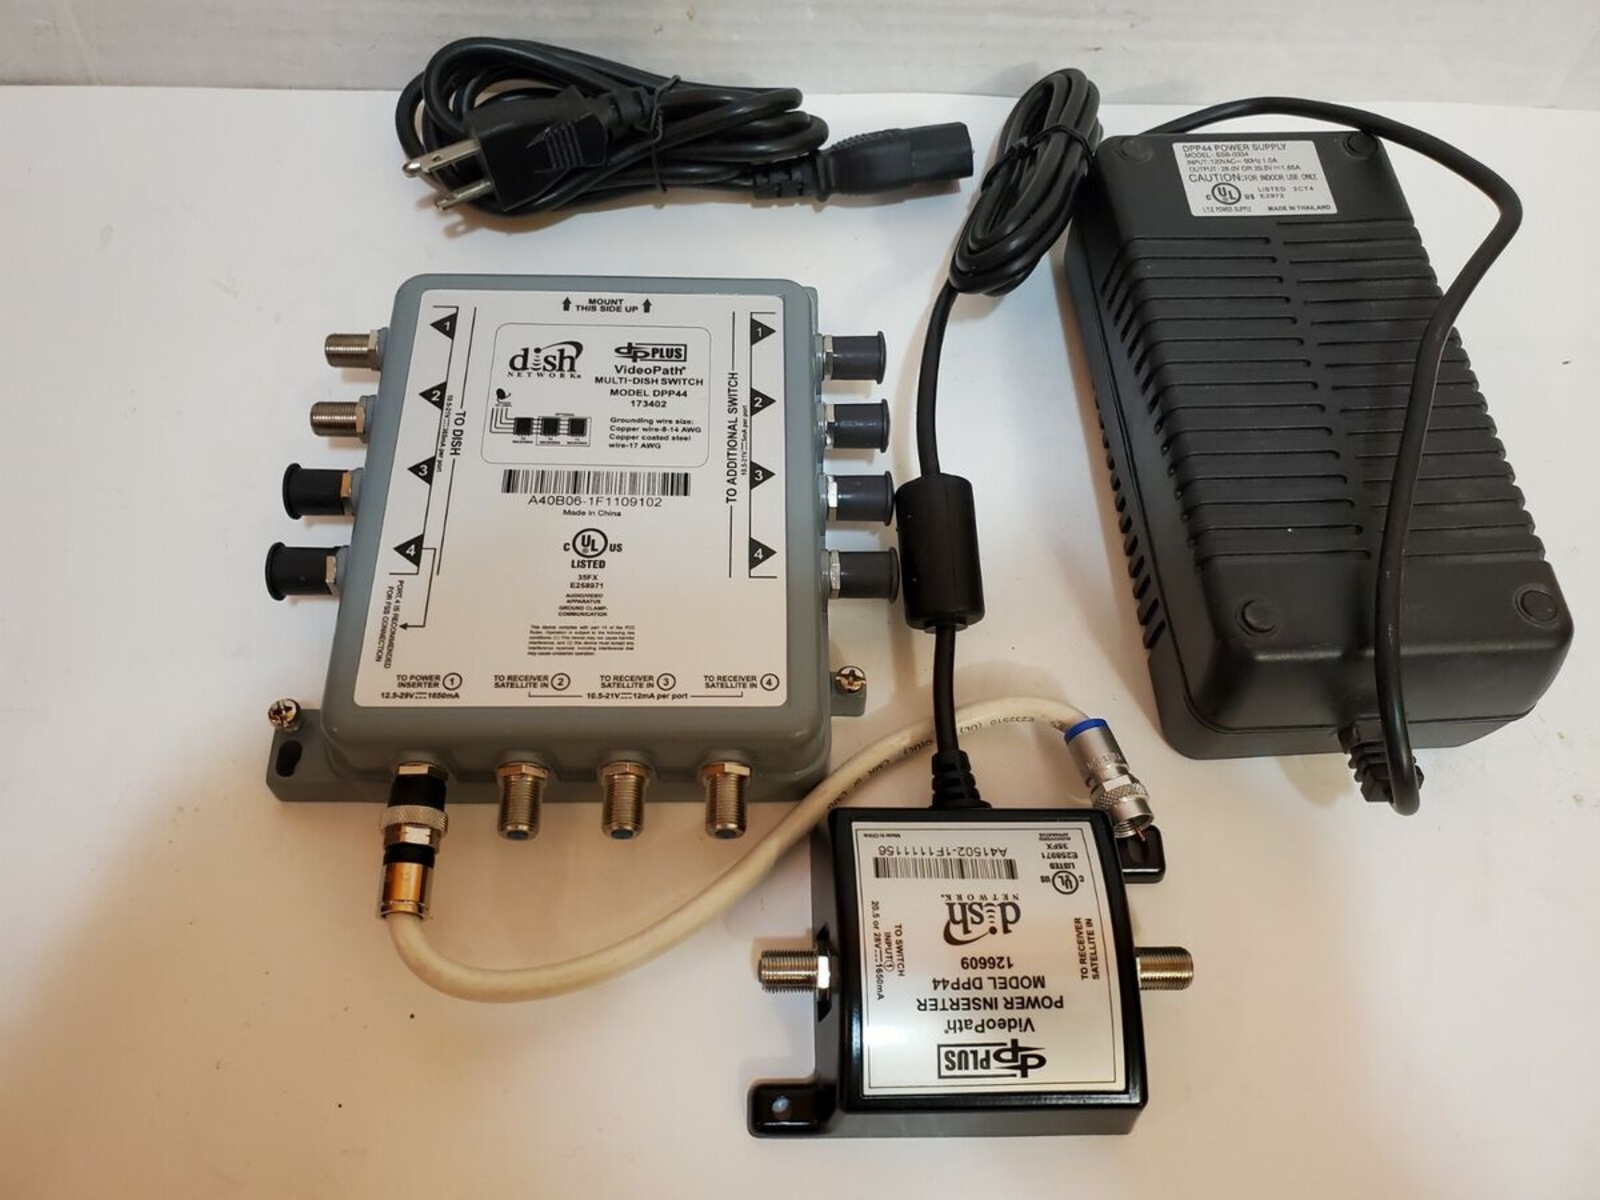
Step 2: Remove the Cables
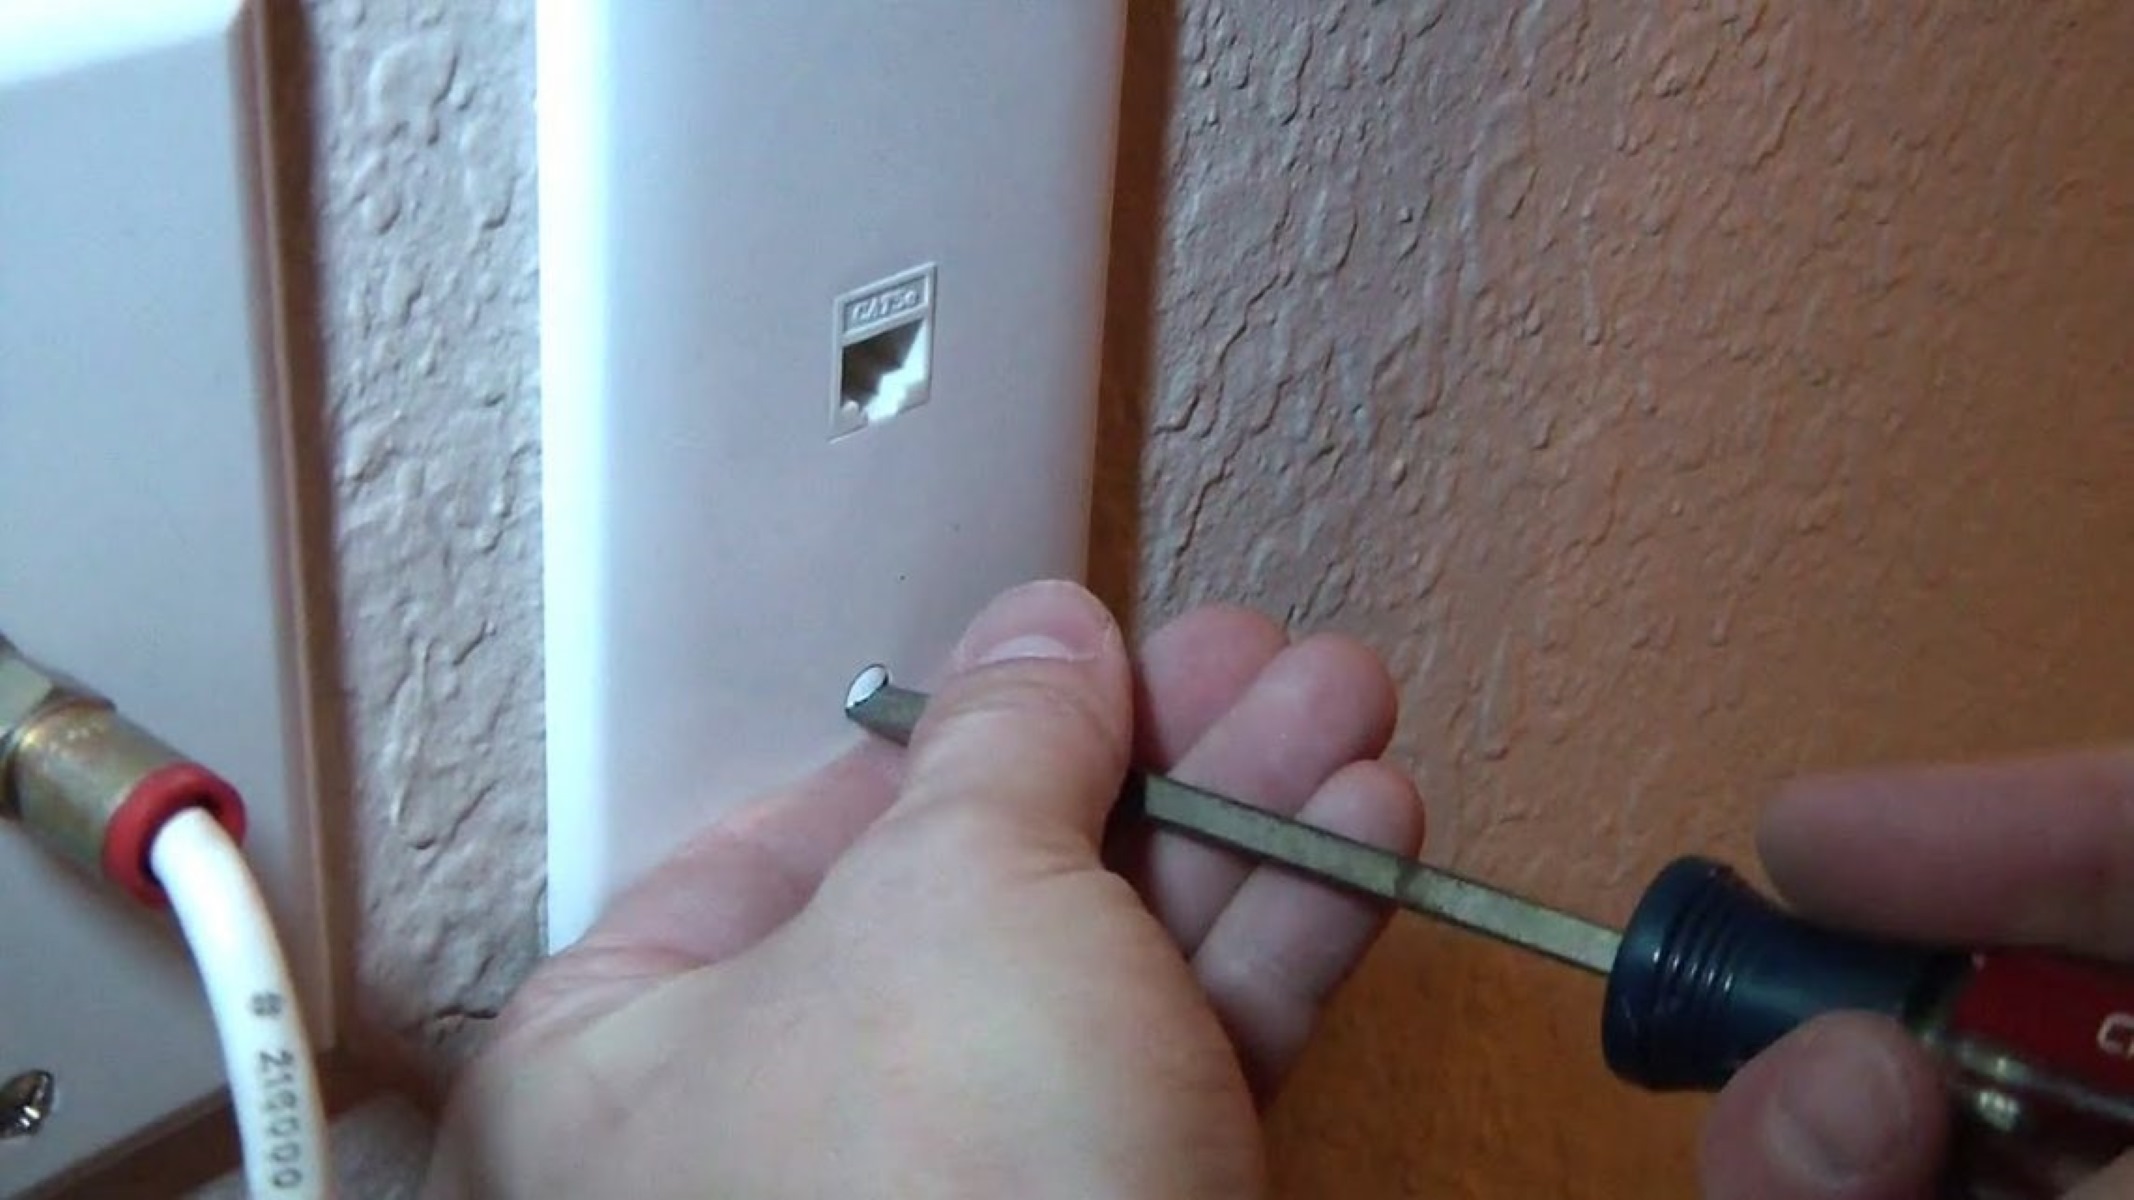
Once the network switch is safely powered off, the next step in the cleaning process is to remove all cables connected to the device. Carefully trace each cable from its respective port on the switch to its connected device, such as computers, printers, or other networking equipment. Gently disconnect each cable by firmly grasping the connector and carefully pulling it out of the port. It is important to handle the cables with care to avoid any damage to the connectors or the cable itself.
As you remove the cables, it is beneficial to label or make a note of their original positions and the devices to which they are connected. This labeling process can streamline the reconnection of the cables after the cleaning is completed, ensuring that each cable is accurately reattached to its designated port. Additionally, taking note of the cable positions can help troubleshoot any connectivity issues that may arise after the cleaning process.
Inspect the removed cables for any signs of damage, wear, or dust accumulation. If any cables appear worn or damaged, it may be necessary to replace them to maintain optimal network performance. Dust and debris on the connectors and cables can be gently removed using a soft, dry cloth or compressed air, ensuring that the cables are clean before reinstallation.
By removing and labeling the cables, you create a clear workspace for accessing the switch housing and performing the subsequent cleaning steps. This organized approach simplifies the cleaning process and facilitates the efficient reconnection of the cables once the network switch has been thoroughly cleaned.
Step 3: Open the Switch Housing
After removing the cables, the next essential step in cleaning a network switch is to access the internal components by opening the switch housing. Depending on the model and design of the switch, the housing may be secured with screws, latches, or clips. Carefully inspect the exterior of the switch to identify the fastening mechanism and use the appropriate tools, such as a screwdriver or a plastic opening tool, to safely release the housing.
It is crucial to refer to the manufacturer’s documentation or user manual for specific instructions on opening the switch housing, as different models may have unique methods for accessing the internal components. Following the recommended guidelines helps prevent accidental damage to the switch and ensures a smooth and controlled disassembly process.
Once the housing is opened, take note of the internal layout and the location of the switch components, including the circuit board, ports, and cooling fans. Carefully examine the interior for any visible dust, debris, or foreign particles that may have accumulated over time. These contaminants can impede airflow and contribute to overheating, potentially affecting the switch’s performance and reliability.
By opening the switch housing, you gain direct access to the internal components, allowing for thorough cleaning and inspection. This step sets the stage for the subsequent cleaning procedures, enabling you to address any accumulated dust and debris within the switch and promote optimal functionality and longevity.
Step 4: Use Compressed Air to Remove Dust
Once the network switch housing is open and the internal components are accessible, the next step involves using compressed air to effectively remove dust and debris from the switch’s interior. Compressed air, available in cans or through specialized equipment, provides a powerful and targeted method for dislodging and expelling accumulated dust particles without causing damage to the sensitive electronic components.
When using compressed air, it is crucial to maintain a safe distance of approximately 3-4 inches (7-10 centimeters) between the nozzle of the air canister or the air compressor and the internal components of the switch. This distance helps prevent the force of the compressed air from causing damage to delicate circuitry, ports, or cooling fans. Additionally, using short bursts of air rather than a continuous stream can effectively dislodge dust while minimizing the risk of component damage.
Direct the compressed air towards the switch’s internal components, paying particular attention to the circuit board, ports, and cooling fans. Carefully blow air across the components, moving methodically to cover the entire interior surface of the switch. This process dislodges and propels the accumulated dust and debris out of the switch housing, effectively cleaning the internal environment and promoting improved airflow and heat dissipation.
During the compressed air cleaning process, it is advisable to hold the switch in a stable position and avoid tilting it at extreme angles to prevent dislodged dust from resettling onto the components. By maintaining a steady and controlled orientation, you ensure that the expelled dust particles are effectively removed from the switch, contributing to a cleaner and more efficient internal environment.
Using compressed air to remove dust from the network switch’s interior is a critical step in the cleaning process, as it helps maintain the optimal functioning of the device and prevents potential performance issues related to dust accumulation. This thorough cleaning method sets the stage for addressing the switch’s external ports and the overall exterior of the device in the subsequent steps.
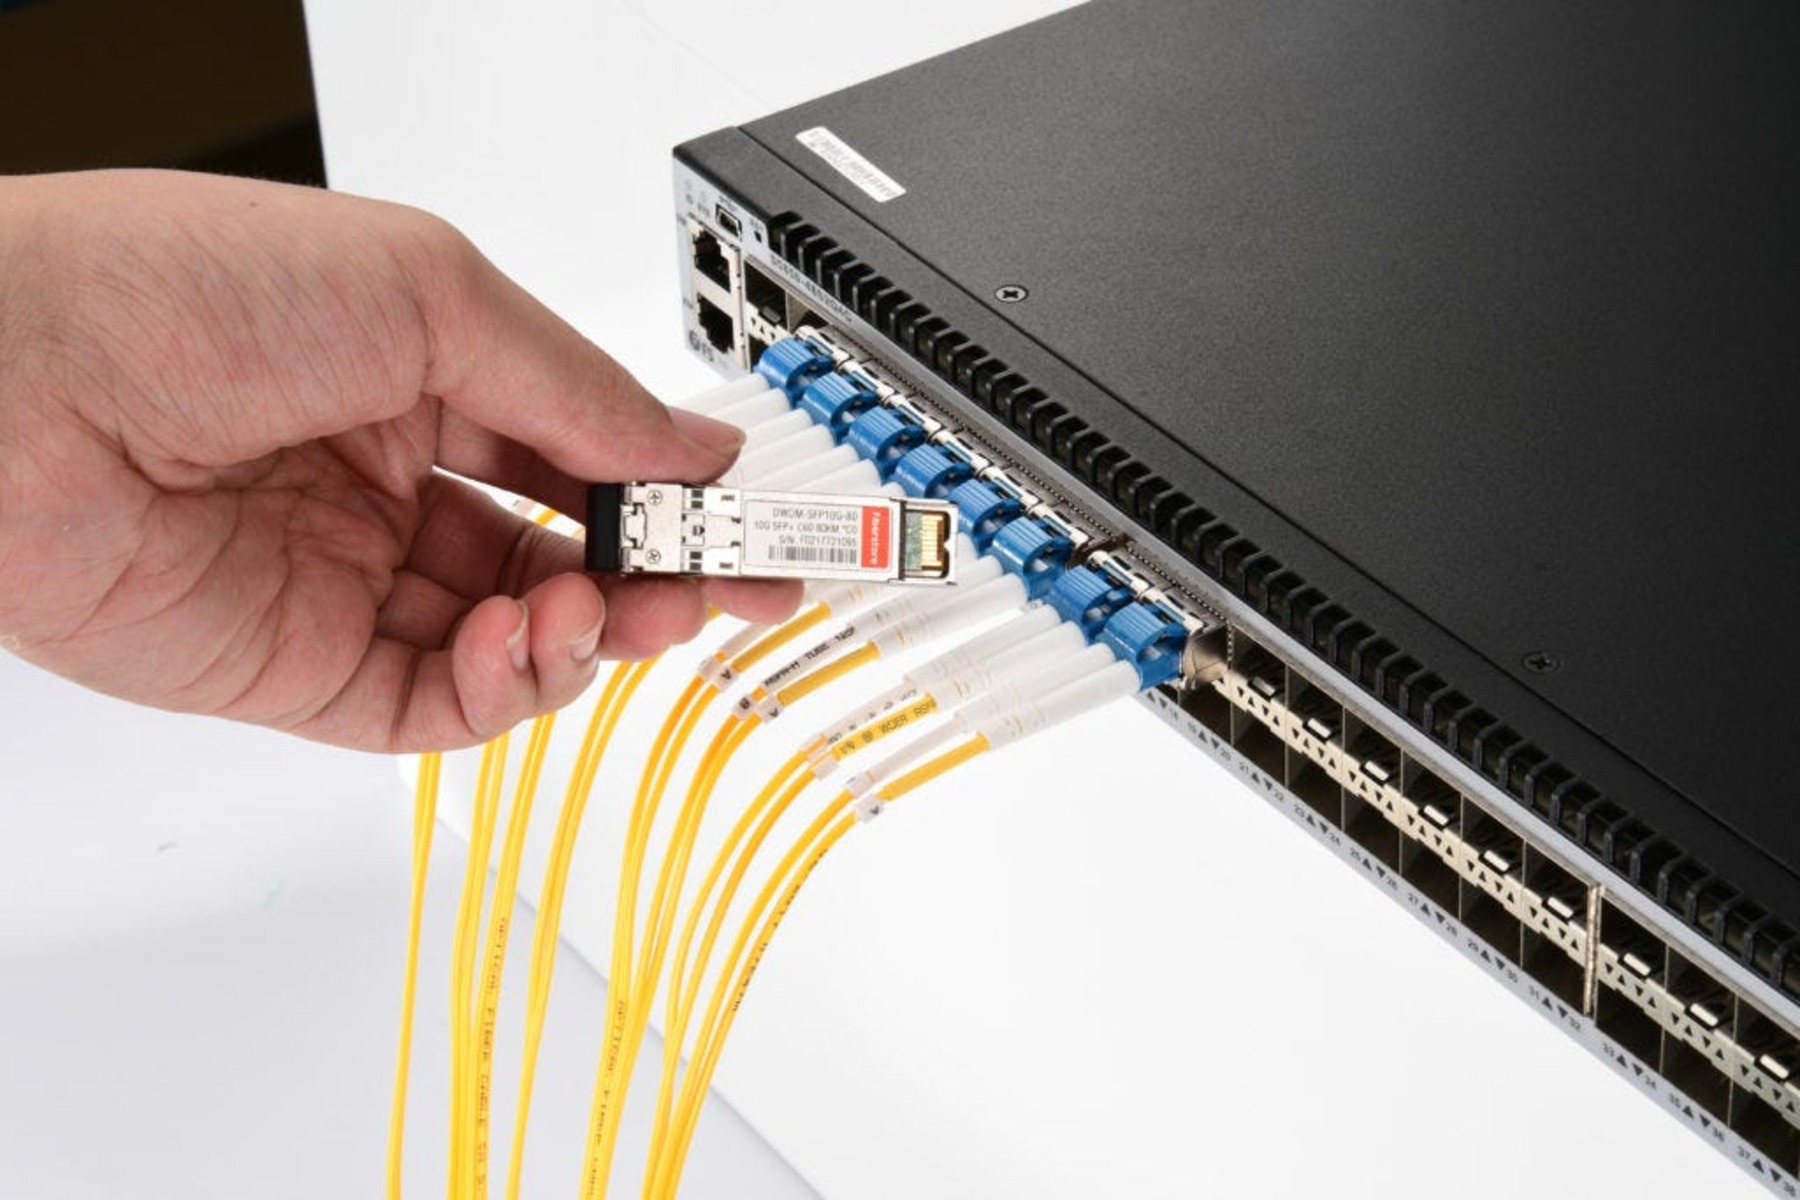
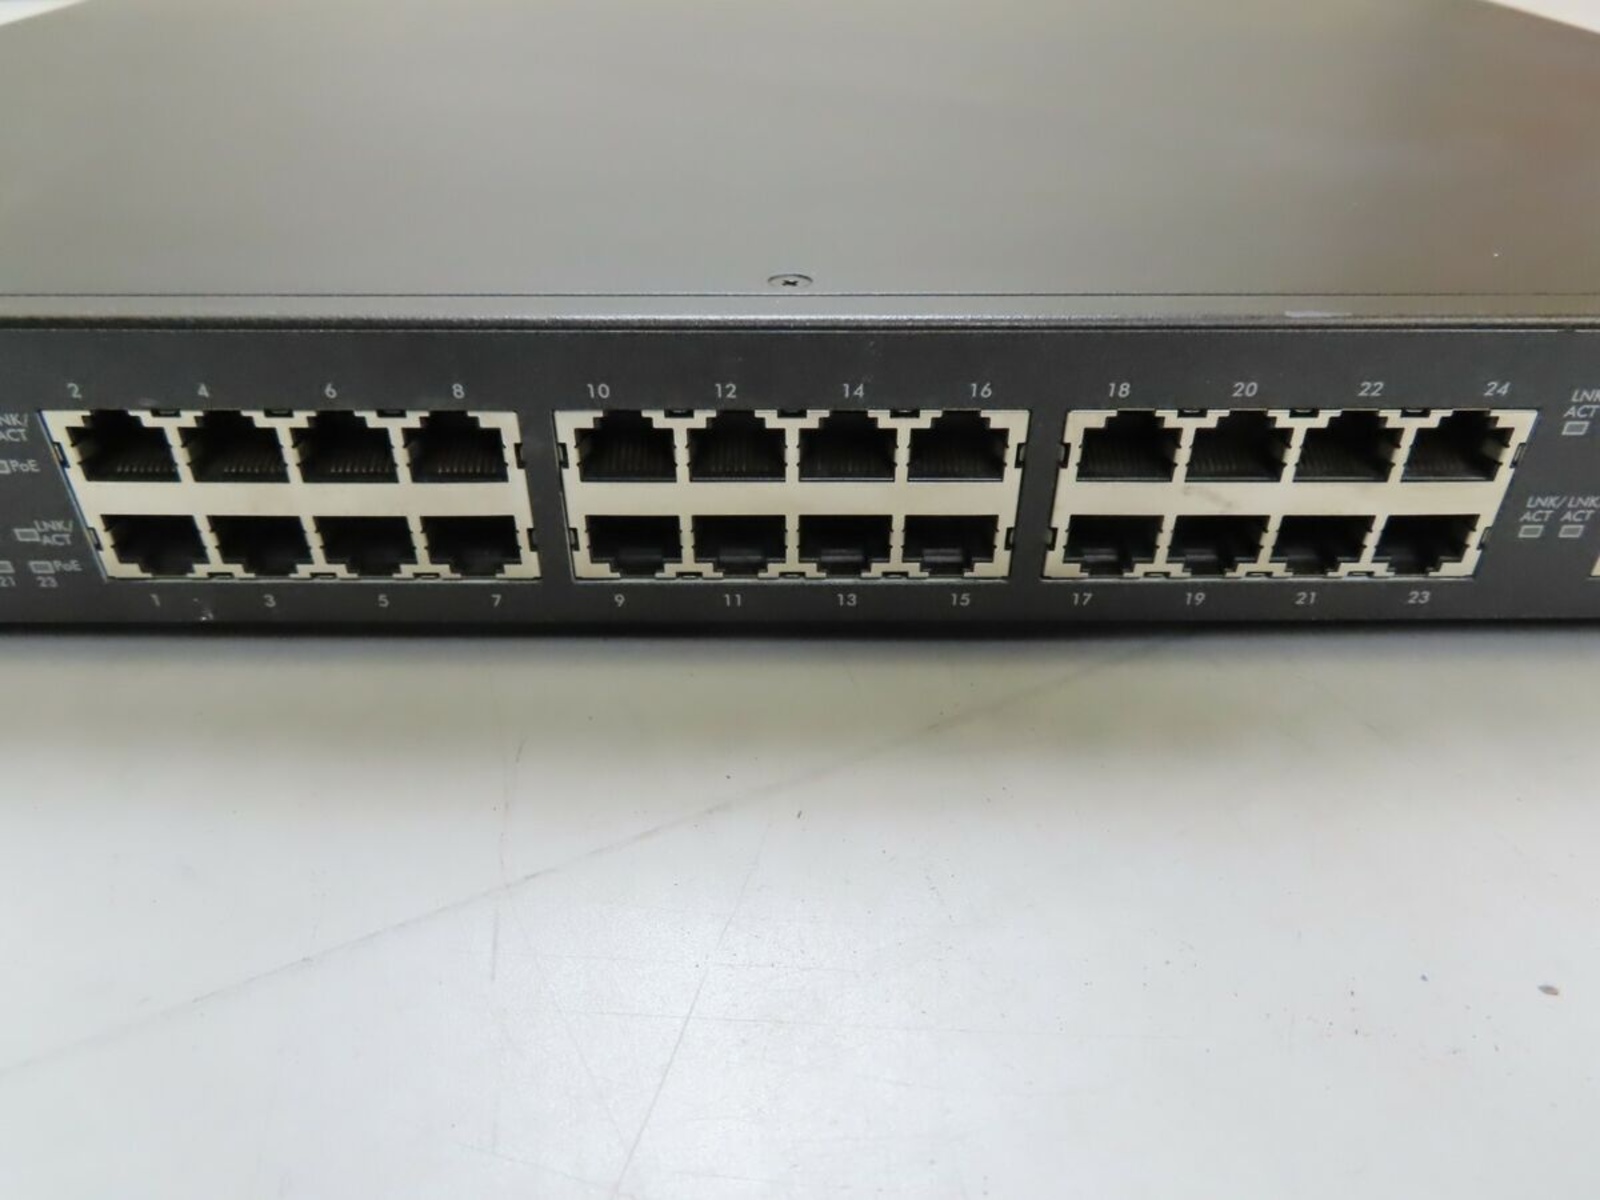
Step 5: Clean the Switch Ports
After addressing the internal components, the next crucial step in cleaning a network switch involves cleaning the switch ports to ensure optimal connectivity and data transmission. Over time, switch ports can accumulate dust, debris, and oxidation, potentially leading to connectivity issues and signal degradation. By thoroughly cleaning the switch ports, you can maintain reliable network connections and prevent potential data transmission disruptions.
To clean the switch ports, begin by inspecting each port for any visible debris, dust, or foreign particles. Using a small, soft-bristled brush, such as a clean and dry paintbrush or a specialized electronics cleaning brush, gently remove any loose debris from the ports. Take care to brush in a consistent direction, moving from the top to the bottom of each port to effectively dislodge and remove accumulated particles.
Following the initial brushing, use compressed air to blow out any remaining dust or debris from the switch ports. Direct short bursts of compressed air into each port, ensuring that any residual particles are expelled from the port’s interior. This process helps ensure that the switch ports are clean and free from obstructions that could hinder the proper insertion of network cables or the transmission of data signals.
In addition to physical cleaning, consider using a specialized electronics cleaning solution and lint-free swabs to gently clean the port contacts. Apply a small amount of the cleaning solution to the swab and carefully wipe the contacts within each port, removing any oxidation or residue that may impede signal transmission. Exercise caution to avoid excessive moisture and ensure that the cleaning solution is compatible with the switch’s port materials.
Thoroughly cleaning the switch ports is essential for maintaining reliable network connectivity and data transmission. By removing dust, debris, and oxidation from the ports, you can optimize the performance of the network switch and ensure seamless communication between connected devices. This meticulous cleaning process sets the stage for addressing the exterior of the switch in the subsequent steps.
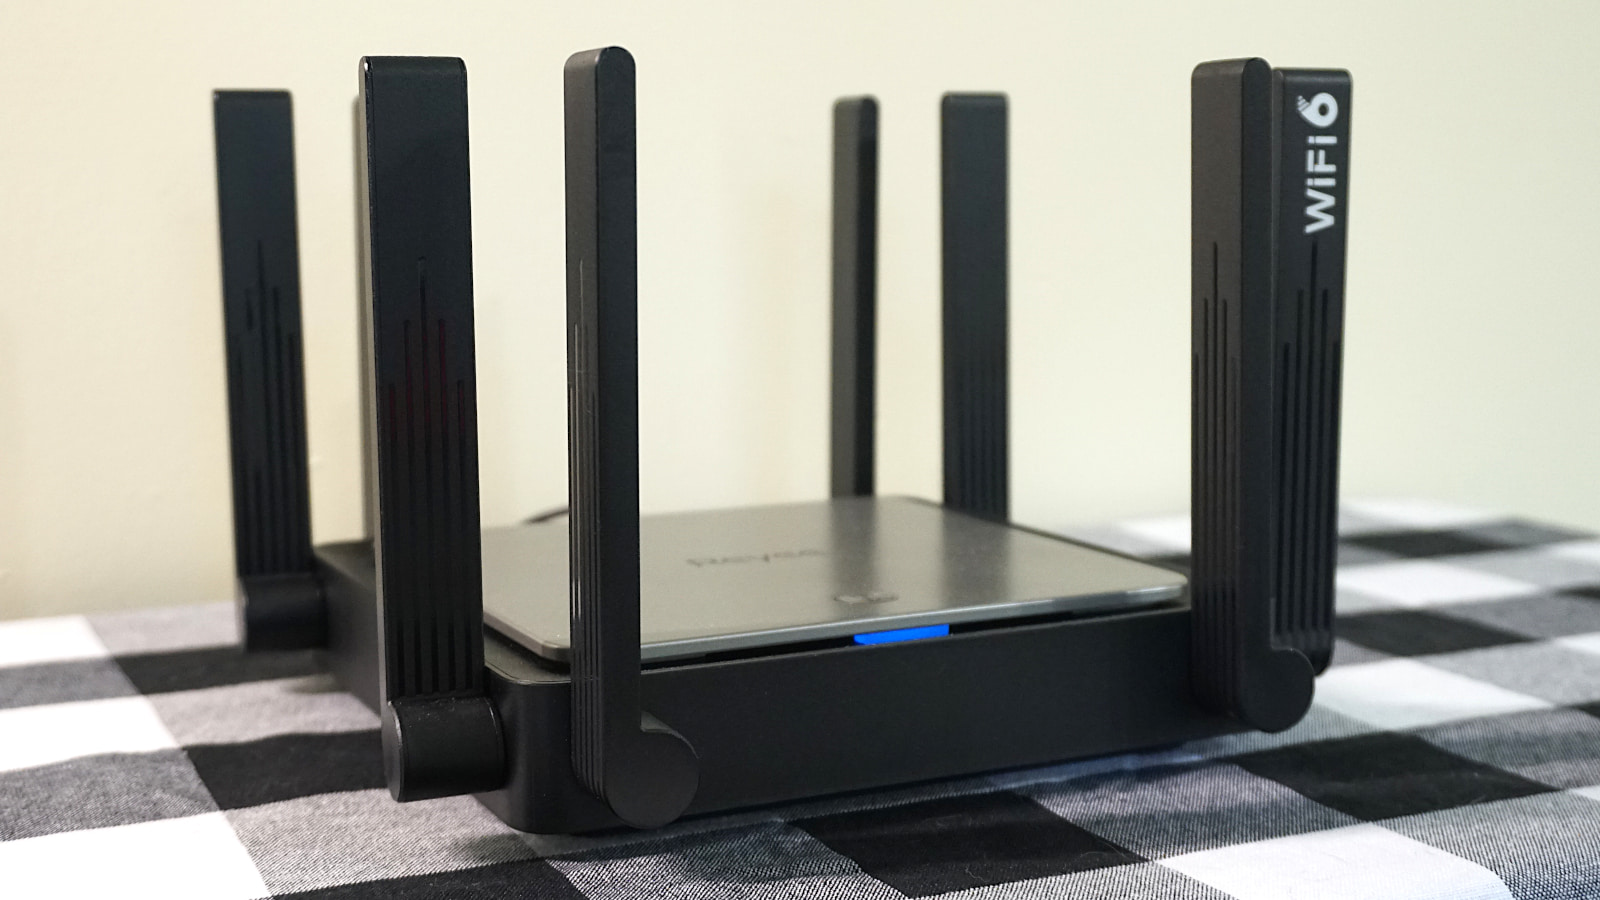
Step 6: Clean the Exterior of the Switch
As the internal and port cleaning procedures are completed, the next vital step in the network switch maintenance process involves cleaning the exterior of the device. The exterior surfaces of the switch, including the casing, vents, and indicator panels, can accumulate dust, grime, and fingerprints over time, detracting from the device’s professional appearance and potentially impacting its cooling efficiency.
To begin cleaning the exterior of the switch, use a soft, dry microfiber cloth to gently wipe down the casing and surfaces. This initial wiping helps remove loose dust and surface-level grime, restoring the exterior of the switch to a cleaner and more presentable state. Pay particular attention to the ventilation vents, ensuring that they are free from obstructions that could impede airflow and contribute to overheating.
For more stubborn stains or accumulated grime, lightly dampen the microfiber cloth with a small amount of water or a mild, non-abrasive cleaning solution. Carefully wipe the affected areas, exercising caution to avoid excessive moisture and ensuring that the cleaning solution is compatible with the switch’s exterior materials. Take care to dry the surfaces thoroughly with a separate dry microfiber cloth to prevent moisture damage.
In addition to the casing, clean the indicator panels and labels using a dry or slightly dampened cloth to remove any accumulated dust or smudges. Clear and legible indicator panels contribute to the ease of monitoring the switch’s status and activity, enhancing the overall functionality and visibility of the device within the network environment.
By thoroughly cleaning the exterior of the switch, you not only improve its aesthetic appeal but also contribute to its efficient operation and longevity. A well-maintained exterior promotes proper ventilation and cooling, essential for the switch’s optimal performance. This comprehensive cleaning process paves the way for the final step: reassembling the network switch for operation.
Step 7: Reassemble the Network Switch
After completing the cleaning and maintenance tasks, the final step involves reassembling the network switch to prepare it for operation within the network environment. The reassembly process encompasses carefully restoring the switch housing, reconnecting the cables, and ensuring that all components are securely in place, ready to resume their networking functions.
Begin by aligning the switch housing with the internal components, taking care to position it correctly to avoid any misalignment or potential damage during reassembly. Depending on the switch model, secure the housing using the appropriate fastening mechanism, such as screws, latches, or clips, following the manufacturer’s recommended guidelines for proper reassembly.
Once the switch housing is securely in place, proceed to reconnect the cables to their respective ports, referencing the labels or notes made during the initial cable removal. Carefully insert each cable connector into its designated port, ensuring a secure and snug fit to guarantee reliable network connectivity. Take time to verify that all cables are correctly reattached, minimizing the risk of connection errors or network disruptions.
After reconnecting the cables, perform a visual inspection of the switch to confirm that all components, including the indicator lights and ventilation vents, are in their proper positions and free from any obstructions. This thorough inspection ensures that the switch is reassembled correctly and ready to be powered on for operation.
Prior to powering on the network switch, double-check that the cleaning process has been completed satisfactorily, and all components are in their optimal condition. This includes verifying that the switch ports are clean, the exterior surfaces are free from dust and grime, and the internal components are free from visible debris.
By methodically reassembling the network switch and ensuring that all components are in their proper places, you set the stage for seamlessly reintegrating the switch into the network environment. This meticulous reassembly process marks the culmination of the cleaning and maintenance procedures, preparing the network switch to resume its essential role in facilitating network communication and connectivity.
Conclusion
Successfully cleaning a network switch is a critical aspect of maintaining a reliable and efficient network infrastructure. By following the comprehensive step-by-step cleaning process outlined in this guide, you have acquired the knowledge and skills to effectively clean and maintain a network switch, ensuring its optimal performance and longevity.
From powering off the switch and removing the cables to accessing the internal components, using compressed air to remove dust, and cleaning the switch ports and exterior, each step contributes to a thorough and meticulous cleaning process. By addressing both the internal and external aspects of the switch, you have taken proactive measures to mitigate potential issues related to dust accumulation, connectivity disruptions, and overheating.
Regularly cleaning your network switch not only enhances its functionality but also contributes to a cleaner and more organized networking environment. By maintaining a clean and well-maintained switch, you promote a professional and efficient networking infrastructure, benefiting both your organization and the connected devices.
Implementing the best practices for network switch maintenance, including cleaning and regular inspection, can help prevent potential hardware failures, connectivity issues, and performance degradation. By integrating these maintenance tasks into your network management routine, you contribute to the overall reliability and longevity of your network infrastructure.
As you complete the reassembly process and reintegrate the network switch into the network environment, take pride in the proactive steps you have taken to ensure the cleanliness and optimal functionality of the device. By adhering to the cleaning guidelines and best practices outlined in this guide, you have demonstrated a commitment to maintaining a robust and efficient network infrastructure.
As you continue to manage and maintain your network, remember that regular cleaning and maintenance are essential for preserving the performance and reliability of your network switch. By staying proactive and attentive to the cleanliness and functionality of your network devices, you contribute to a seamless and dependable network environment for your organization or business.