Introduction
Do you ever find yourself frustrated by dropped calls or poor cellphone signal strength? It's a common issue, especially in areas with limited cellular coverage or in buildings with thick walls that impede signal reception. However, there's no need to endure these signal woes indefinitely. You can take matters into your own hands by crafting your own effective cellphone signal booster. This do-it-yourself (DIY) project is not only cost-effective but also quite simple, requiring just a few readily available materials and basic technical know-how.
By building your own cellphone signal booster, you can significantly improve your cellphone's signal strength, leading to better call quality and faster data speeds. Whether you're in a rural area with weak signal reception or a city apartment with spotty coverage, this DIY solution can make a noticeable difference in your everyday connectivity.
In this guide, we'll delve into the world of cellphone signal boosters, exploring how they work and the materials needed to create one. We'll then walk you through the step-by-step process of building your own booster and provide tips for testing its effectiveness. By the end, you'll have the knowledge and confidence to construct a reliable signal booster that suits your specific needs.
So, let's roll up our sleeves and embark on this exciting journey of improving cellphone signal strength through DIY ingenuity. Get ready to bid farewell to dropped calls and frustratingly slow internet speeds as we dive into the art of crafting your very own effective cellphone signal booster.
Understanding Cellphone Signal Boosters
Before delving into the DIY process of creating a cellphone signal booster, it’s essential to understand the basic principles behind how these devices function. A cellphone signal booster, also known as a signal repeater, works by amplifying the existing cellular signal in the area and then rebroadcasting it to improve reception. This is particularly beneficial in locations where the natural signal is weak due to distance from cell towers, obstructions, or interference.
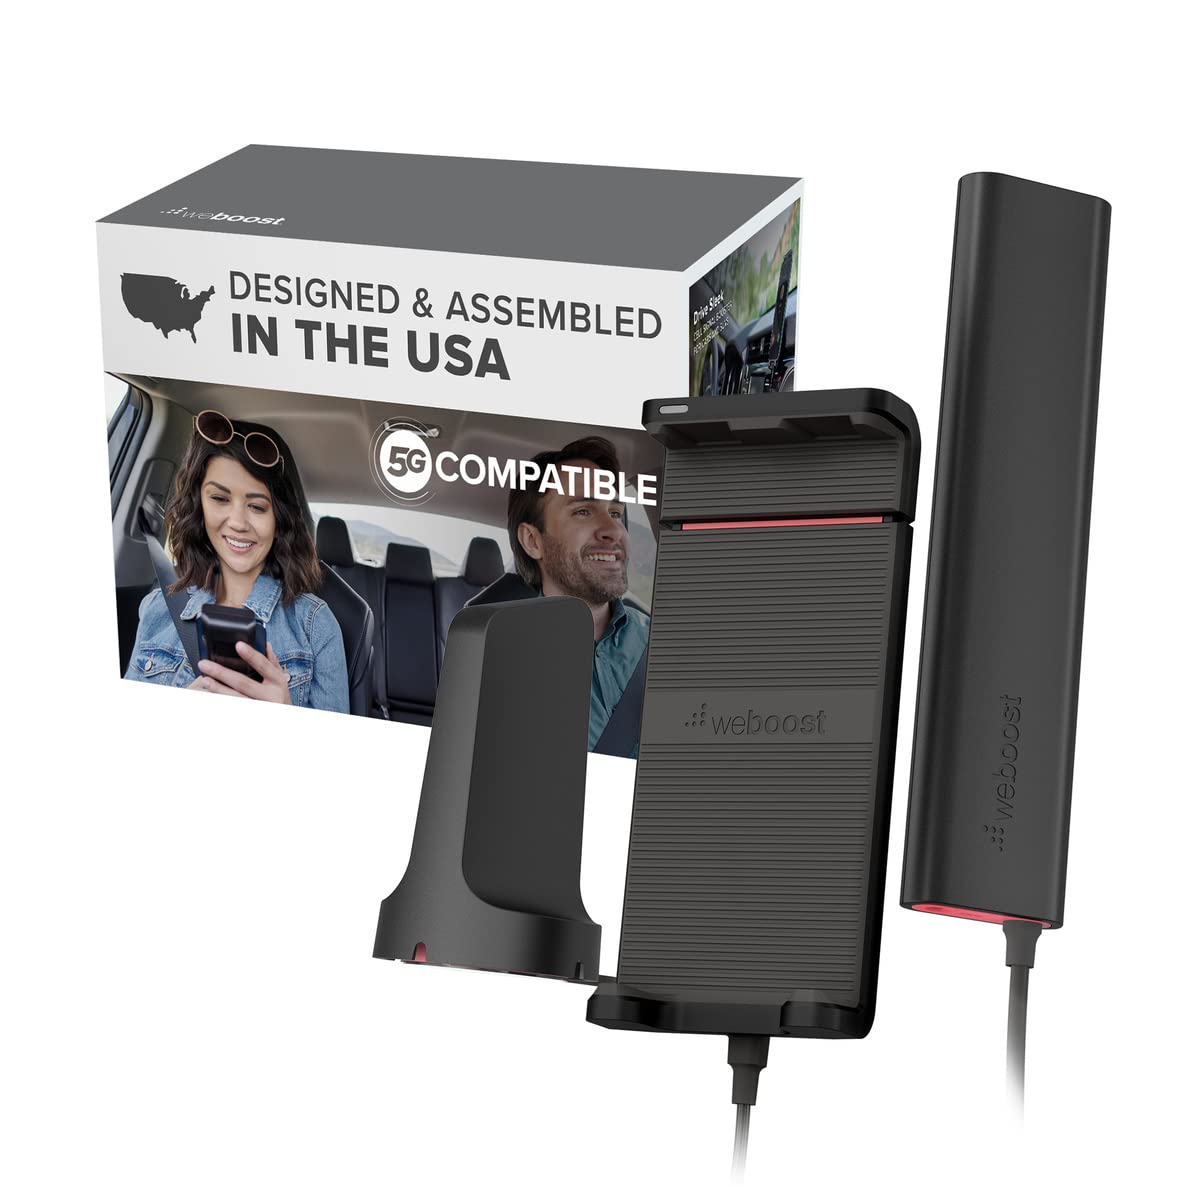
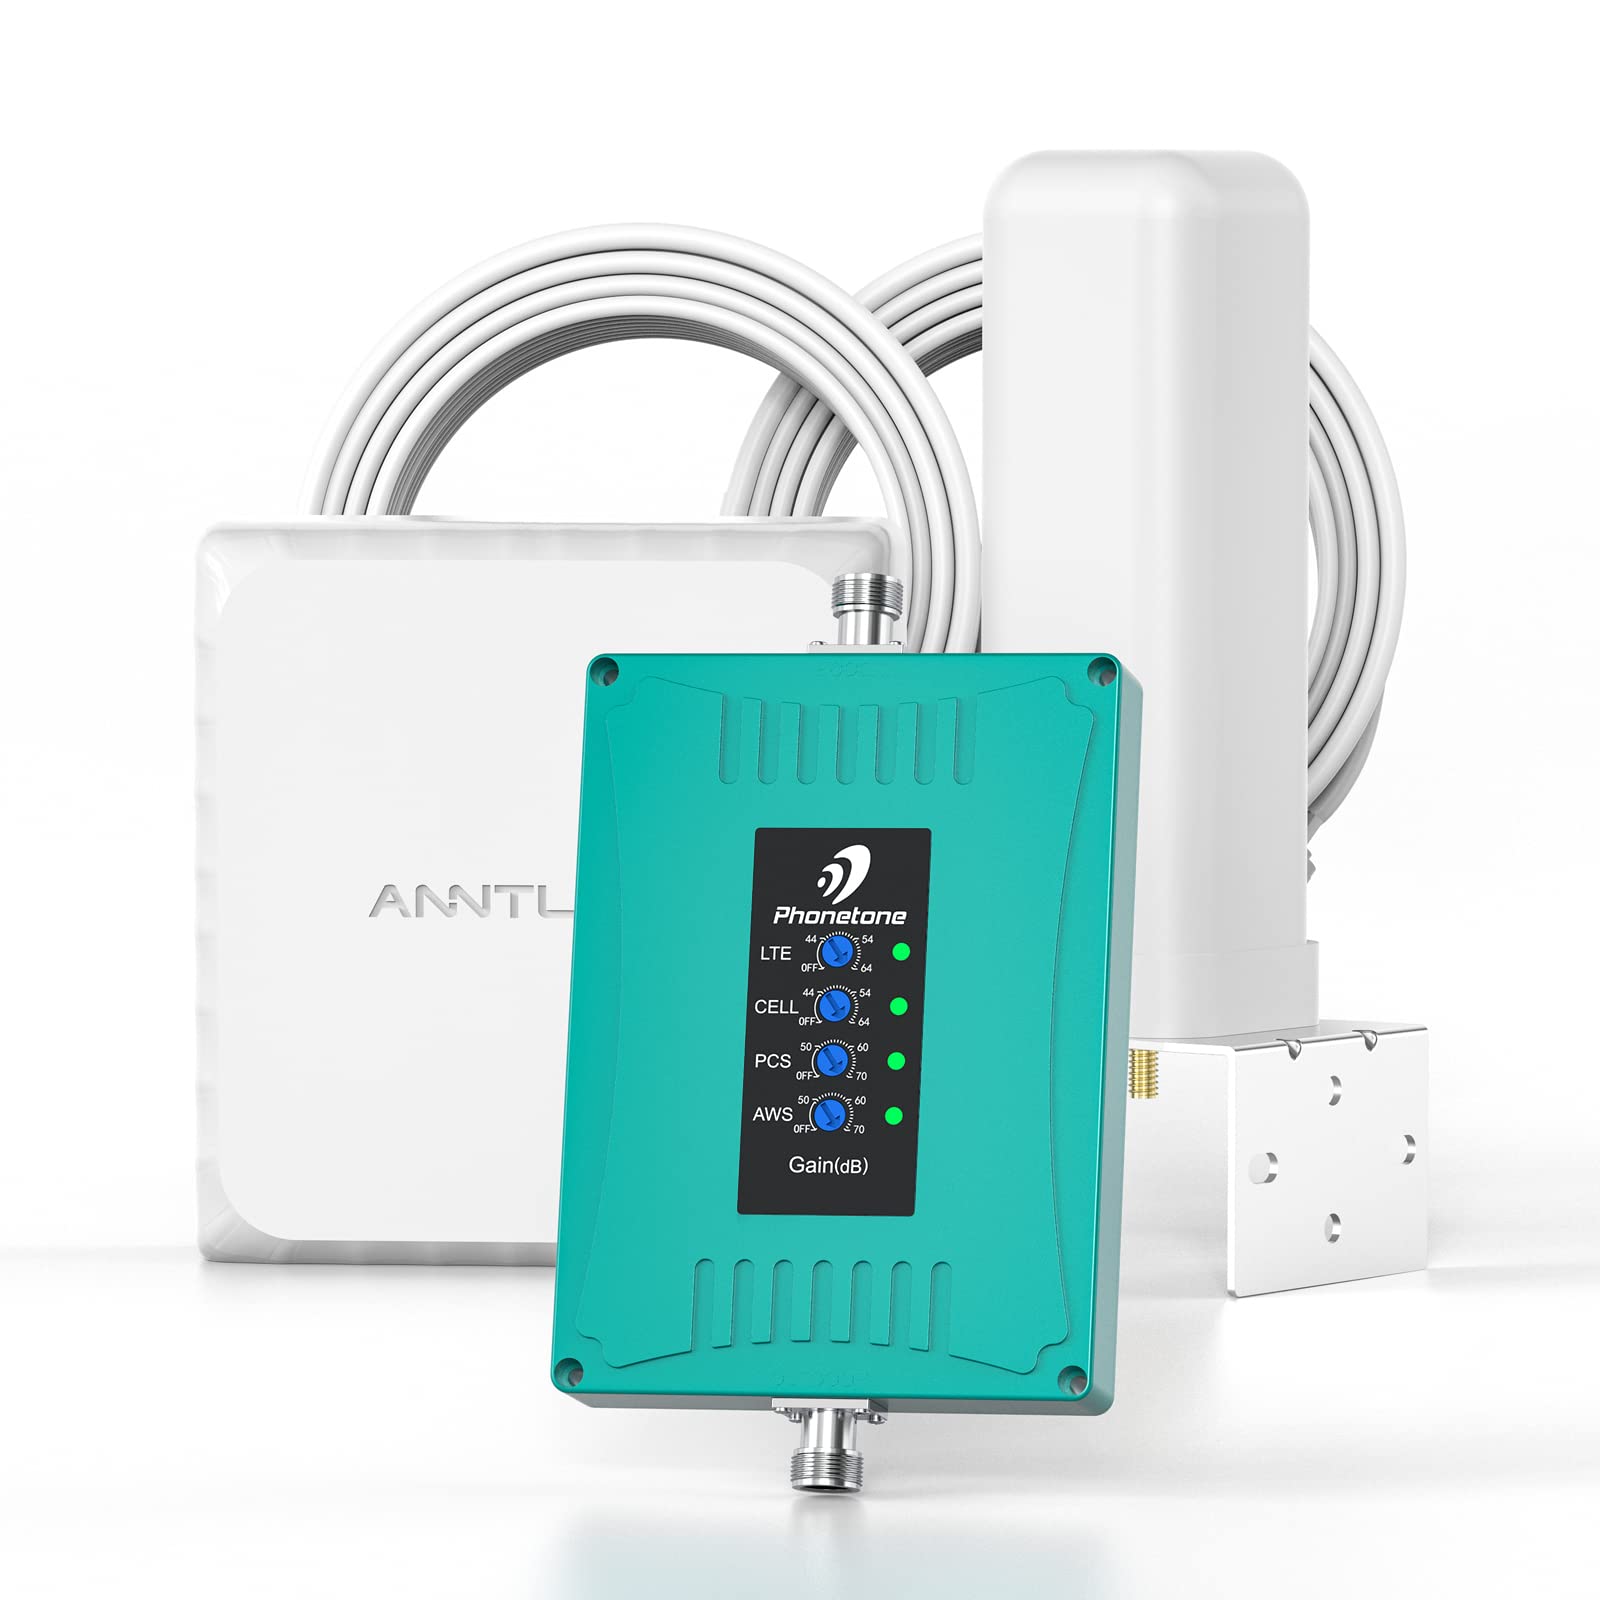
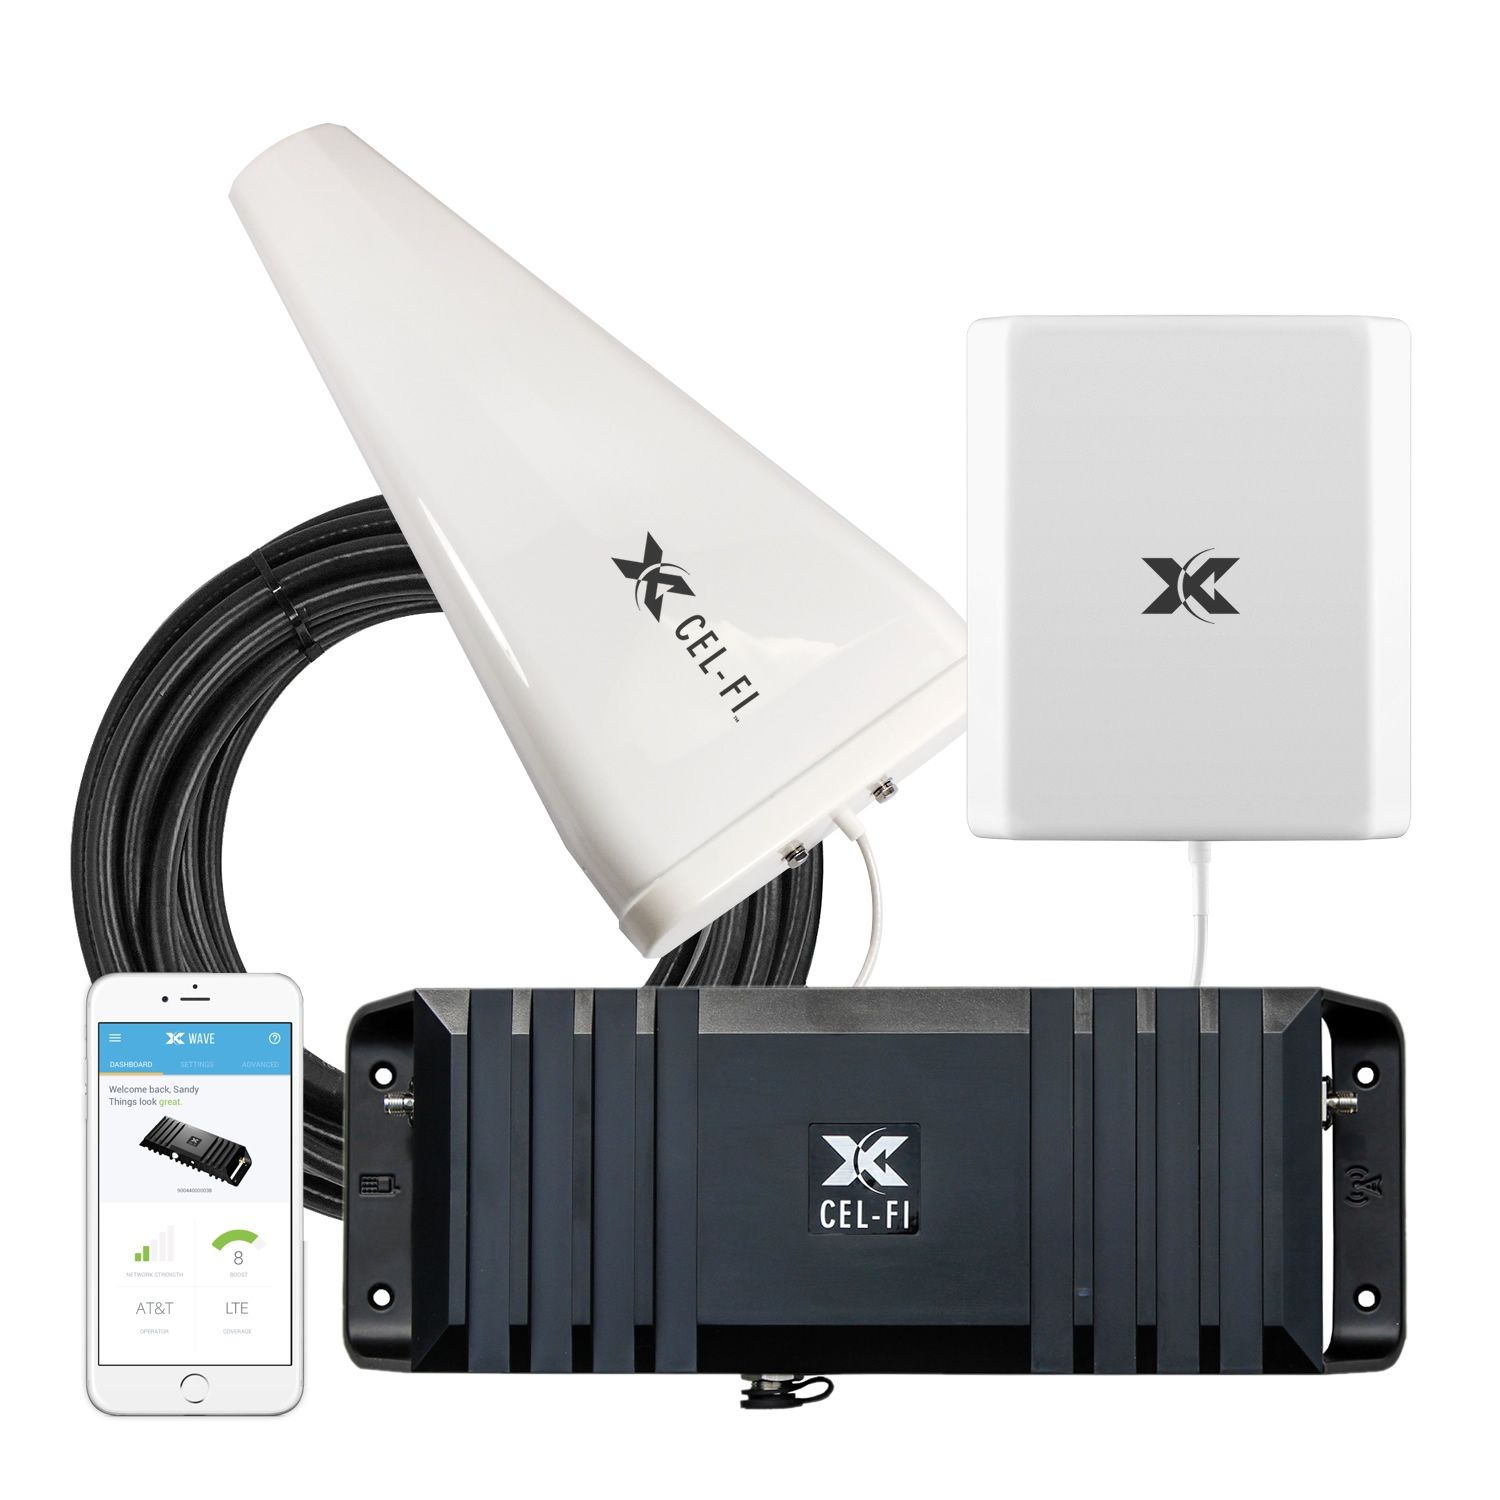
The booster consists of three main components: an external antenna, an amplifier, and an internal antenna. The external antenna is placed outside the building or vehicle to capture the existing weak signal. This signal is then passed to the amplifier, which strengthens it before transmitting it to the internal antenna. The internal antenna rebroadcasts the enhanced signal within the desired area, effectively improving cellphone reception and data speeds.
It’s important to note that cellphone signal boosters are regulated by the Federal Communications Commission (FCC) in the United States and similar regulatory bodies in other countries. This is to ensure that the devices operate within specified technical parameters and do not interfere with cellular networks. As such, when building your own signal booster, it’s crucial to adhere to the relevant regulations and guidelines to avoid any potential legal or technical issues.
Understanding the fundamentals of how cellphone signal boosters work will provide you with the necessary insight to construct an effective DIY solution. By comprehending the role of each component and how they interact to enhance signal strength, you’ll be better equipped to select the appropriate materials and design a booster that suits your specific requirements.
With this foundational knowledge in place, you’re now prepared to gather the materials needed for your DIY cellphone signal booster and begin the exciting process of crafting your own signal-enhancing device.
Materials Needed
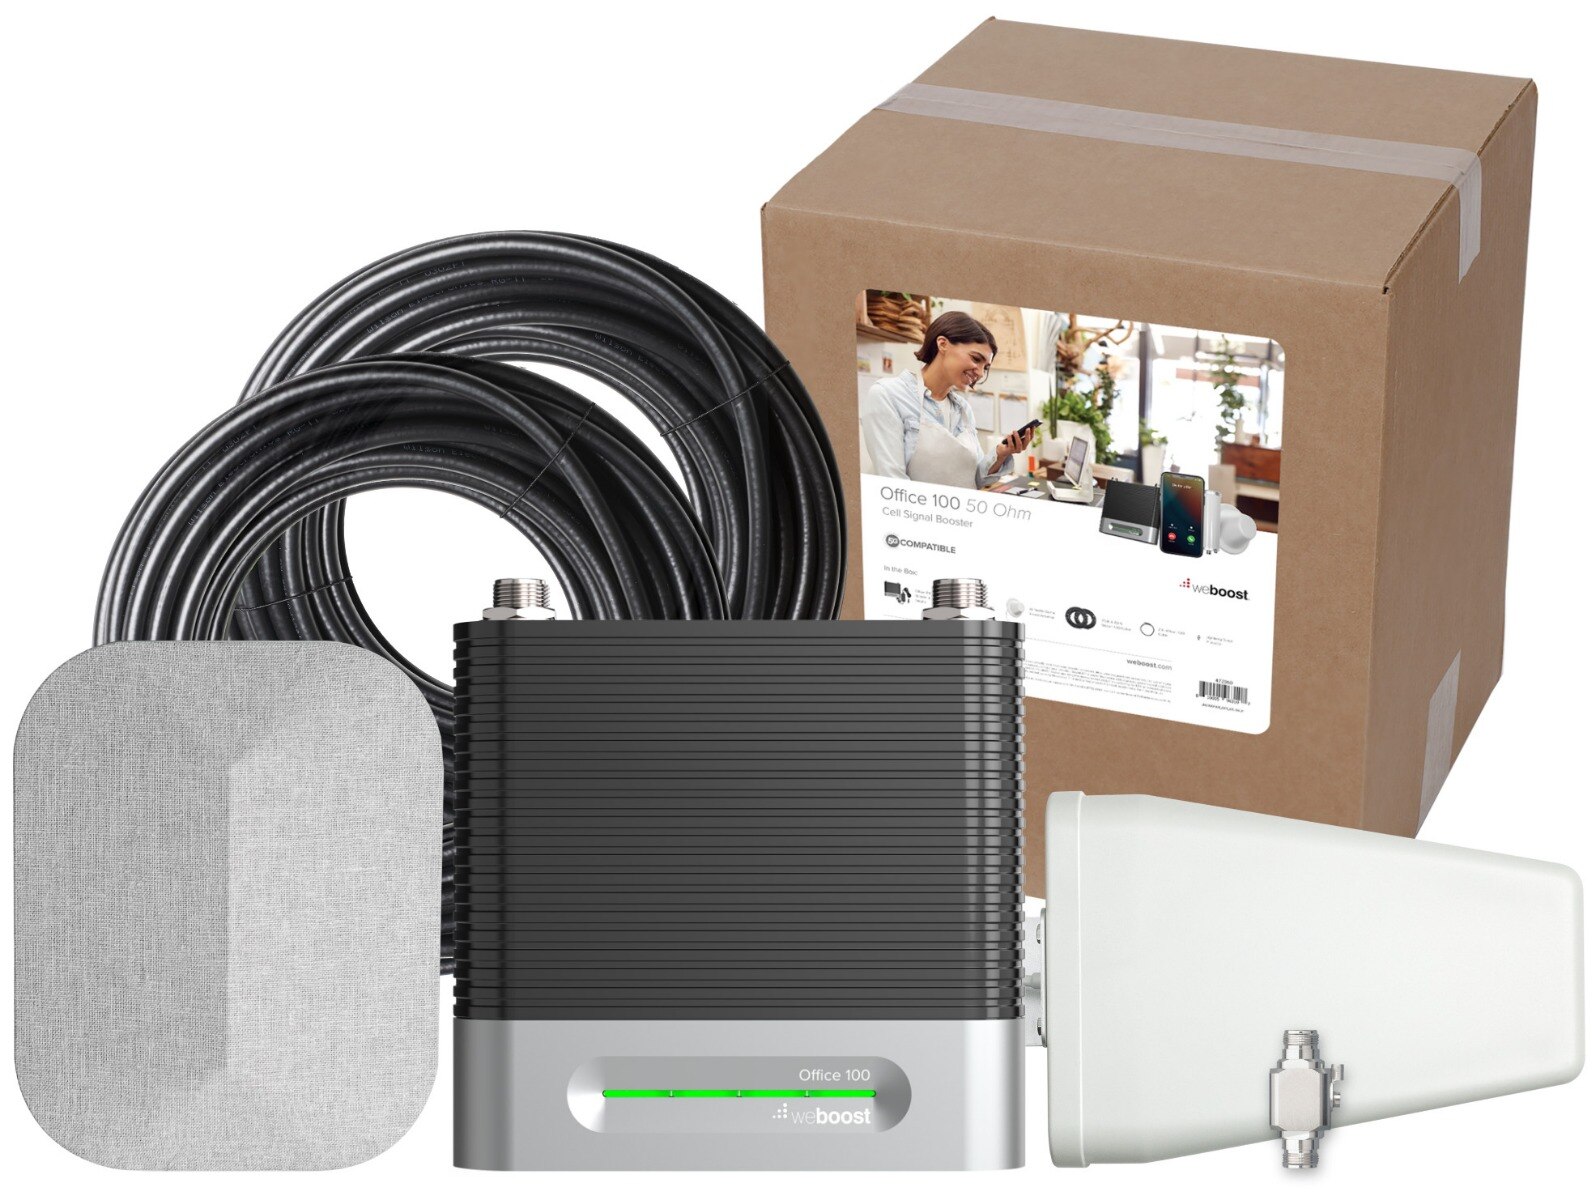
Before embarking on the construction of your DIY cellphone signal booster, it’s essential to gather the necessary materials to ensure a smooth and successful build. The following items are commonly required for creating a basic yet effective signal booster:
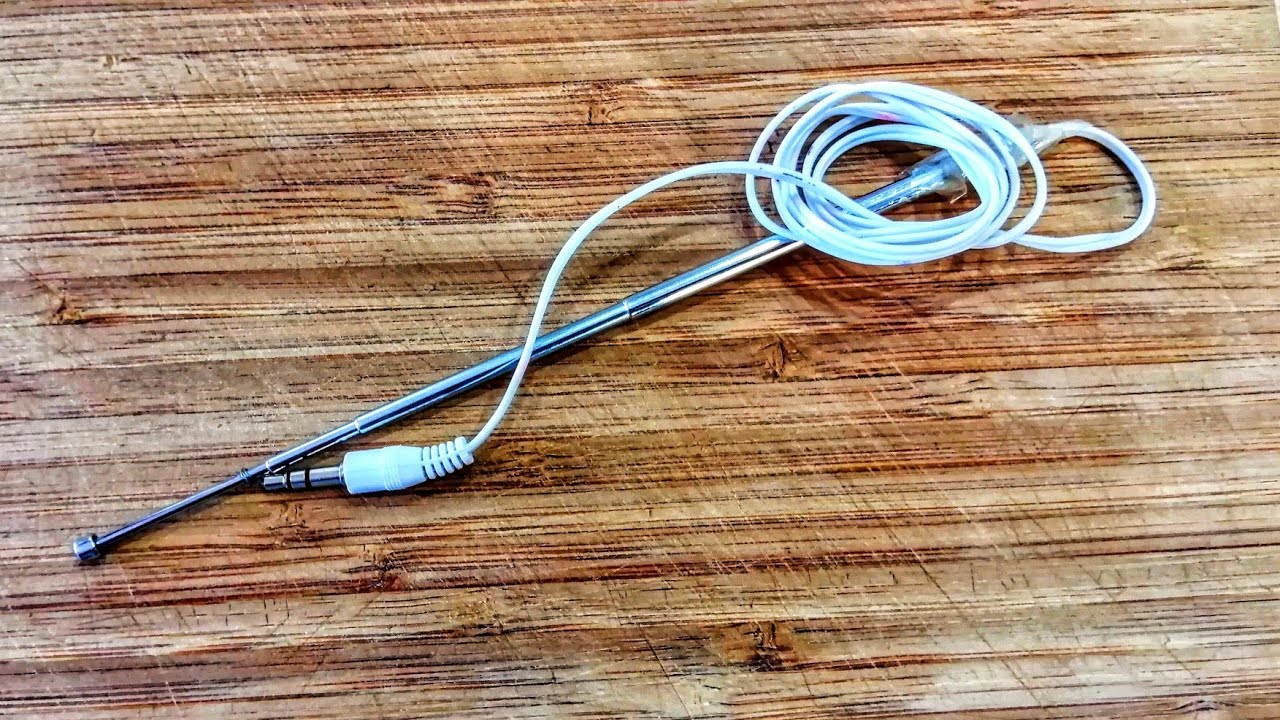
- External Antenna: A directional outdoor antenna is crucial for capturing the existing weak cellular signal. It’s important to select an antenna that is compatible with the frequency bands used by your cellular network provider.
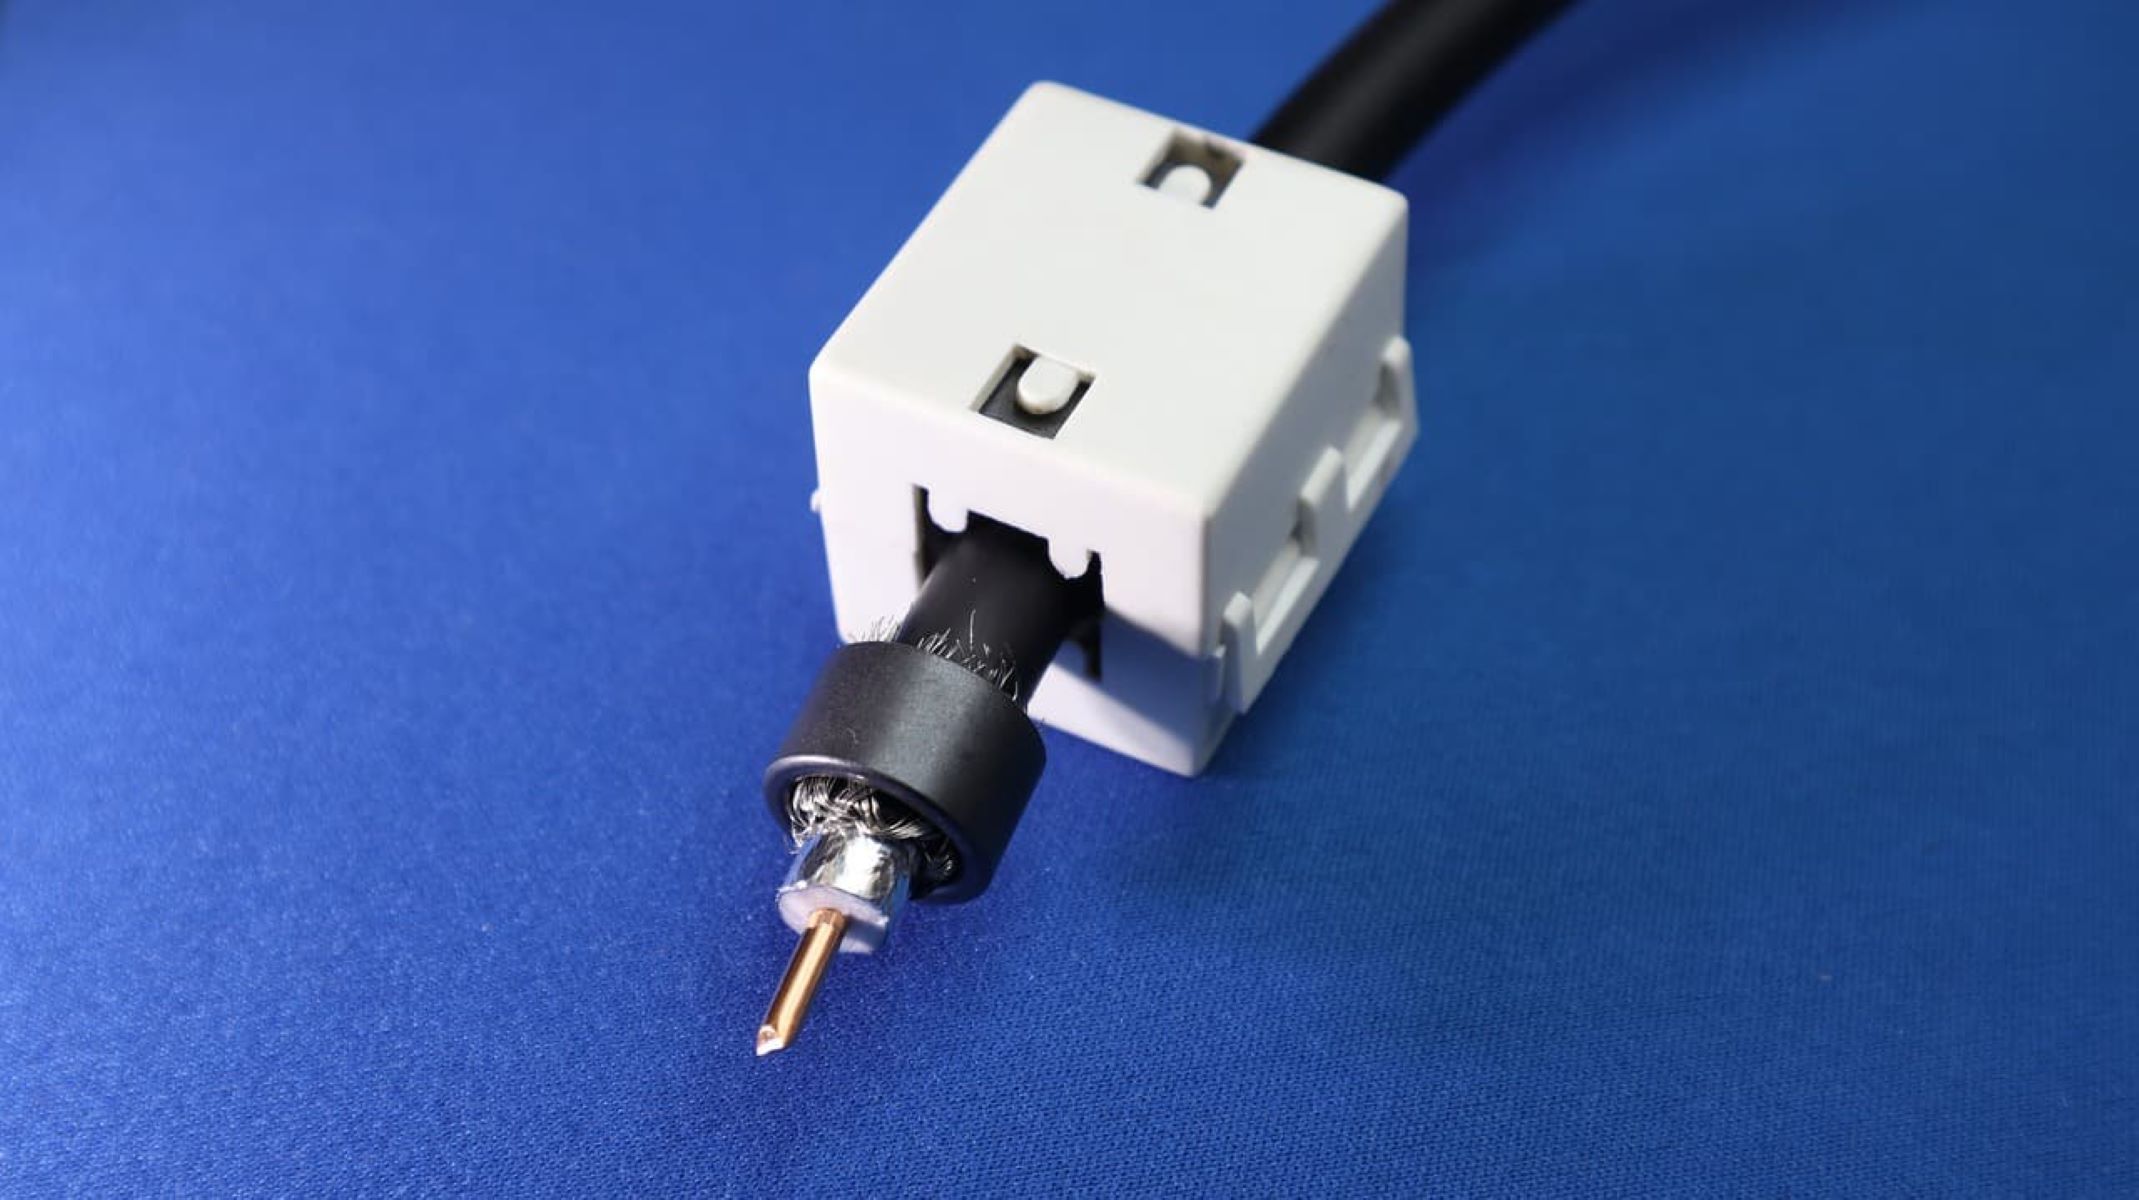
- Coaxial Cable: This cable is used to connect the external antenna to the amplifier, allowing the captured signal to be transmitted for amplification.
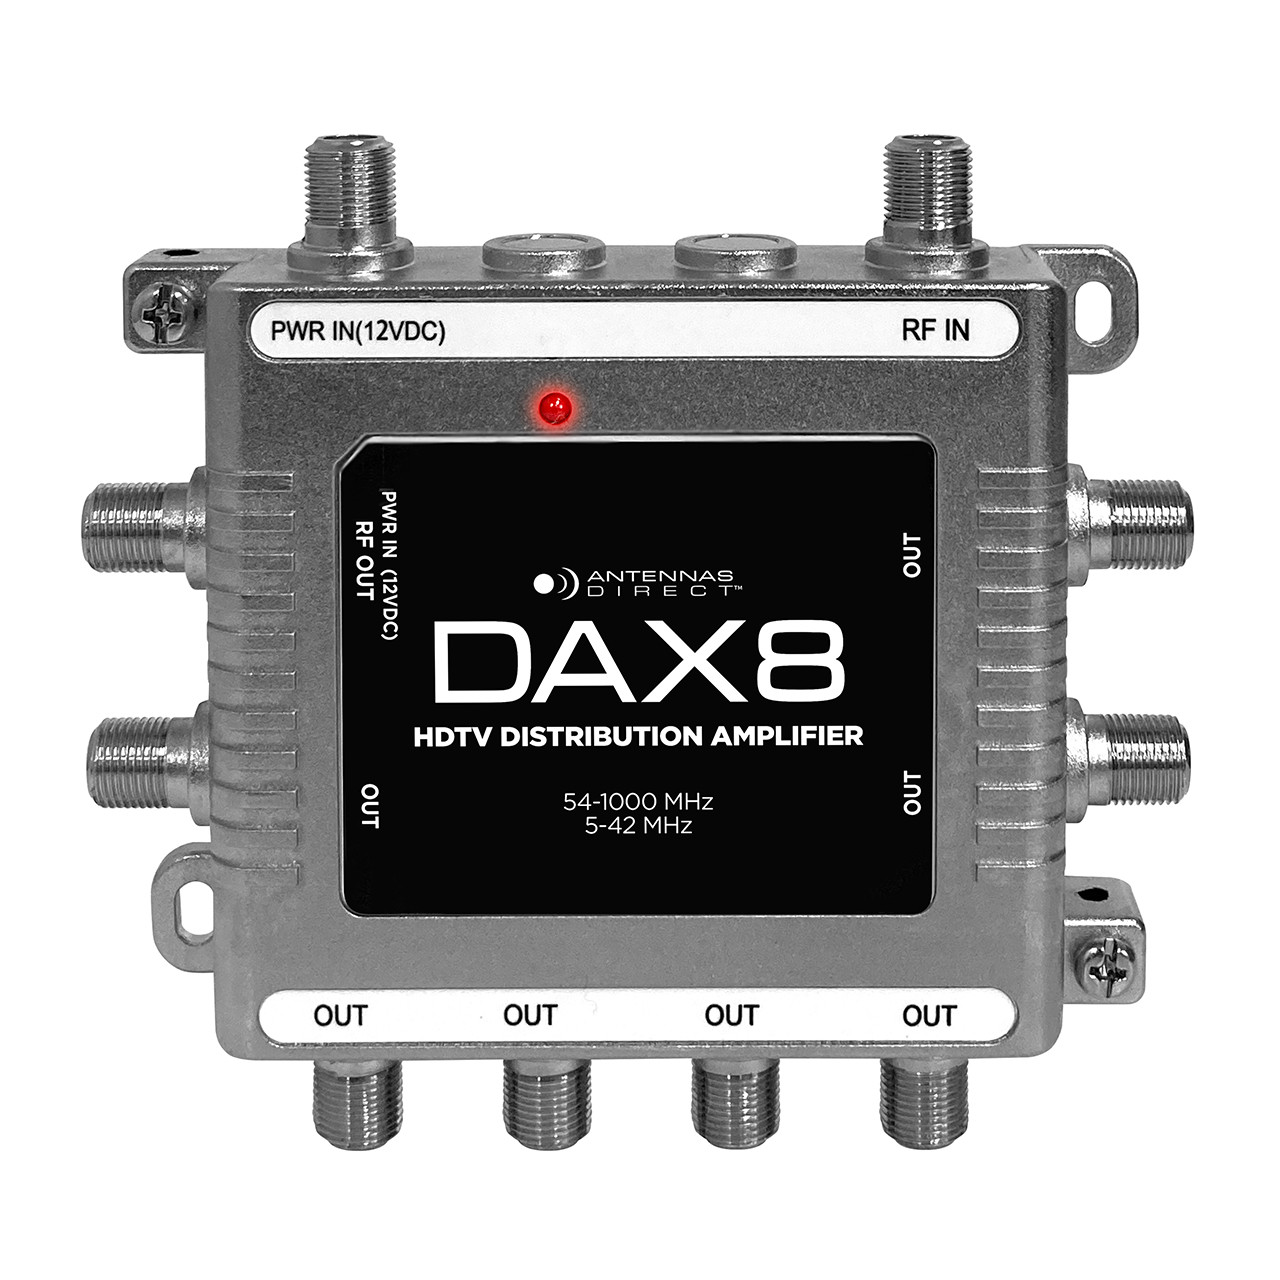
- Amplifier: The amplifier, also known as a signal booster or repeater, is the core component responsible for strengthening the captured signal before retransmitting it.
- Internal Antenna: This antenna is placed inside the building or vehicle to rebroadcast the amplified signal, improving cellular reception within the designated area.
- Power Supply: The amplifier requires a stable power source to function effectively. Ensure that the power supply meets the voltage and current requirements of the amplifier.
- Mounting Hardware: Depending on the chosen locations for the external and internal antennas, mounting hardware such as brackets, clamps, or adhesive mounts may be necessary for secure installation.
- Grounding Equipment (Optional): In certain setups, grounding equipment may be required to enhance the safety and performance of the signal booster system, particularly for outdoor installations.
It’s important to note that the specific materials needed may vary based on the design and specifications of the DIY cellphone signal booster you intend to build. Additionally, ensuring the compatibility of the components with your cellular network’s frequency bands is crucial for optimal performance.
By procuring these essential materials, you’ll be well-prepared to proceed with the construction of your DIY cellphone signal booster. With the necessary components in hand, you can confidently move on to the exciting phase of building your own signal-enhancing device.
Building Your Cellphone Signal Booster
Now that you have gathered the essential materials, it’s time to roll up your sleeves and commence the construction of your DIY cellphone signal booster. The following step-by-step guide will walk you through the process of assembling the components and setting up your homemade signal-enhancing device:
- Choose Optimal Antenna Locations: Identify suitable locations for the external and internal antennas. The external antenna should be placed where it can capture the best available cellular signal, while the internal antenna should be positioned to cover the desired area for signal enhancement.
- Install the External Antenna: Mount the external antenna securely in the chosen location, ensuring that it is oriented to receive the cellular signal with minimal obstruction.
- Connect the Coaxial Cable: Use the coaxial cable to link the external antenna to the amplifier. Ensure a secure and weatherproof connection to maintain signal integrity.
- Set Up the Amplifier: Install the amplifier in a well-ventilated and accessible location, connecting it to the power supply and the internal antenna using appropriate cabling.
- Position the Internal Antenna: Place the internal antenna in the designated area, ensuring that it can effectively rebroadcast the amplified signal throughout the intended coverage area.
- Secure All Components: Double-check the mounting and connections of all components to guarantee stability and optimal signal transmission.
- Power Up and Test: Power up the amplifier and verify that the signal booster is operational. Use your cellphone to test the signal strength and quality within the boosted area to ensure that the device is functioning as intended.
As you progress through these steps, it’s important to refer to the specific instructions provided with the components and adhere to any regulatory guidelines related to the installation and operation of the signal booster. Additionally, maintaining safety measures during the setup process is paramount to prevent any potential hazards or interference with the cellular network.
By following these guidelines and exercising care during the construction phase, you’ll soon have your own functional DIY cellphone signal booster ready to enhance your connectivity experience. Now, let’s move on to the crucial phase of testing the effectiveness of your newly constructed signal booster.
Testing Your Cellphone Signal Booster
With your DIY cellphone signal booster successfully assembled, it’s time to put it to the test and verify its effectiveness in improving signal strength and reception quality. The following steps will guide you through the process of testing your homemade signal booster:
- Signal Strength Assessment: Use your cellphone to measure the signal strength before activating the booster. Take note of the number of signal bars or use a signal strength app to quantify the initial reception quality.
- Booster Activation: Power up the signal booster and allow it to stabilize for a few minutes. Once operational, observe the indicators on the amplifier to ensure that it’s functioning correctly.
- Signal Reassessment: With the booster active, recheck the signal strength on your cellphone within the boosted area. Note any improvements in signal bars or enhanced reception quality compared to the initial assessment.
- Data Speed Test: Conduct a speed test using your cellphone’s data connection to assess any improvements in data transfer speeds facilitated by the signal booster. Compare the results with the speed test conducted prior to activating the booster.
- Call Quality Evaluation: Make a test call from within the boosted area to assess the call quality and determine if there are noticeable improvements in call clarity and reliability compared to the pre-boost conditions.
Throughout the testing process, it’s important to document and compare the signal strength, data speeds, and call quality before and after activating the signal booster. This will provide tangible evidence of the booster’s impact on enhancing cellular connectivity within the designated area.
Additionally, if you encounter any issues or inconsistencies during the testing phase, it’s advisable to review the installation and configuration of the signal booster, ensuring that all components are correctly positioned and connected. Troubleshooting any potential issues promptly will help optimize the performance of your DIY signal booster.
Upon completing the testing process and confirming the positive impact of your DIY cellphone signal booster on signal strength and reception quality, you can revel in the satisfaction of having crafted a functional and effective solution to address cellular connectivity challenges. Your successful testing results will serve as a testament to the practicality and value of your homemade signal booster.
Conclusion
Congratulations on successfully navigating the process of crafting your own effective cellphone signal booster through this insightful DIY guide. By understanding the fundamentals of signal boosters, gathering the necessary materials, and skillfully assembling and testing your homemade device, you’ve demonstrated resourcefulness and technical acumen in addressing the challenge of poor cellular signal reception.
Building a DIY cellphone signal booster not only empowers you to overcome signal issues in your specific environment but also fosters a deeper appreciation for the underlying technology that underpins modern communication. The hands-on experience of constructing and testing the booster has likely provided valuable insights into the intricacies of signal amplification and transmission, enriching your understanding of telecommunications engineering.
Furthermore, the satisfaction of witnessing tangible improvements in signal strength, data speeds, and call quality within the boosted area serves as a testament to the efficacy of your homemade solution. Your efforts have translated into a practical and cost-effective remedy for cellular connectivity challenges, offering a personalized and tailored approach to enhancing your communication experience.
As you reflect on the journey of crafting your DIY signal booster, consider the potential applications and benefits of this newfound knowledge. Whether it’s optimizing cellular reception in remote locations, improving connectivity in urban settings with signal obstructions, or simply gaining a deeper understanding of signal enhancement technology, the skills and insights gained from this endeavor can be applied in various contexts.
Ultimately, the DIY cellphone signal booster project not only addresses immediate connectivity concerns but also nurtures a spirit of innovation and problem-solving. It exemplifies the rewarding intersection of technology, creativity, and practicality, showcasing the transformative potential of DIY initiatives in overcoming everyday challenges.
With your newly constructed and tested cellphone signal booster in place, you can now enjoy improved connectivity and seamless communication within your designated area, all achieved through your ingenuity and determination. This accomplishment underscores the power of DIY solutions in shaping and enhancing our technological landscape, one inventive project at a time.